You’ve spent hours styling the perfect shot. The lighting is crisp, the composition is balanced, and your product looks incredible. But when you upload it to Amazon or Shopify, it gets rejected. Why? Because "good enough" doesn't cut it in the world of on-white ecommerce product photography. The difference between a sale and a bounce often lies in the invisible details-specifically, how clean your edges are and whether your image meets strict technical standards.
If you’re selling online, you know that customers can’t touch or try on your items. They rely entirely on visual cues. A messy background or a jagged edge screams "amateur," eroding trust before the customer even reads the description. This guide breaks down exactly what constitutes professional-grade on-white imagery, why clipping paths matter more than you think, and how to ensure your photos pass the toughest platform audits without losing your sanity.
Why Pure White Backgrounds Are Non-Negotiable
Let’s be real: not all white backgrounds are created equal. There’s a massive difference between a wall painted off-white, a seamless paper backdrop with shadows, and a digitally isolated pure white (RGB 255, 255, 255) background. For major marketplaces like Amazon, Walmart, and eBay, anything other than pure white is a violation of their style guides.
Amazon’s requirements are notoriously strict. They demand that the product fills at least 85% of the frame, sits against a pure white background, and has no props, text, or watermarks. If your background is #F9F9F9 instead of #FFFFFF, their algorithm might flag it. More importantly, inconsistent backgrounds make category pages look cluttered. When every seller uses the same standard, the shopper’s eye focuses solely on the product differences-price, features, and reviews. It levels the playing field.
But here’s the catch: achieving true white isn’t just about turning up the brightness in Photoshop. Over-brightening kills detail in light-colored products, like a white t-shirt or a ceramic mug. You lose texture, depth, and realism. The goal is separation, not erasure. You need the product to pop against the white while retaining its internal contrast and material properties.
The Art and Science of Clipping Paths
A clipping path is essentially a vector outline drawn around your product to isolate it from the original background. Think of it as digital scissors. In the early days of ecommerce, people used the Magic Wand tool and called it a day. Today, that approach results in fuzzy edges, halo effects, and visible artifacts when the image is resized.
Professional clipping paths use Pen Tool vectors because they create smooth, scalable curves that don’t pixelate. Whether you zoom in to 400% or shrink the image for a mobile thumbnail, the edge remains sharp. This precision is critical for products with complex shapes. Consider a pair of sneakers with laces, a necklace with thin chains, or fur-trimmed coats. These aren’t simple geometric shapes; they have intricate details that require meticulous attention.
There are different levels of complexity for clipping paths:
- Straight/Basic: Used for rectangular boxes or simple cylinders. Quick and cheap.
- Medium: Handles curved surfaces and moderate details, like shoes or bottles.
- Complex: Deals with hair, fur, feathers, or transparent materials. Requires manual refinement of every single strand.
- Super Complex: Multi-layered objects where parts overlap, like a hand holding a phone or jewelry draped over fabric.
Skipping this step or using automated AI tools without review often leads to "haloing." Haloing happens when pixels from the original background get trapped along the edge of the product. On a white background, this looks like a faint gray outline. On a colored banner later in the marketing funnel, it looks terrible. Always inspect your paths at 100% zoom or higher.
Mastering Shadow Techniques: Natural vs. Ghost
One of the biggest debates in product photography is shadow handling. Should you remove all shadows? Should you add fake ones? Or should you keep natural ones? The answer depends on the platform and the product type.
Amazon prefers minimal to no shadows for main images. They want the product floating cleanly. However, completely shadowless images can look flat and unrealistic, especially for heavy items like furniture or appliances. This is where "ghost mannequin" or "floating shadow" techniques come into play. A floating shadow is a soft, diffuse shadow added beneath the product to ground it visually without obscuring the bottom edge. It adds weight and dimension.
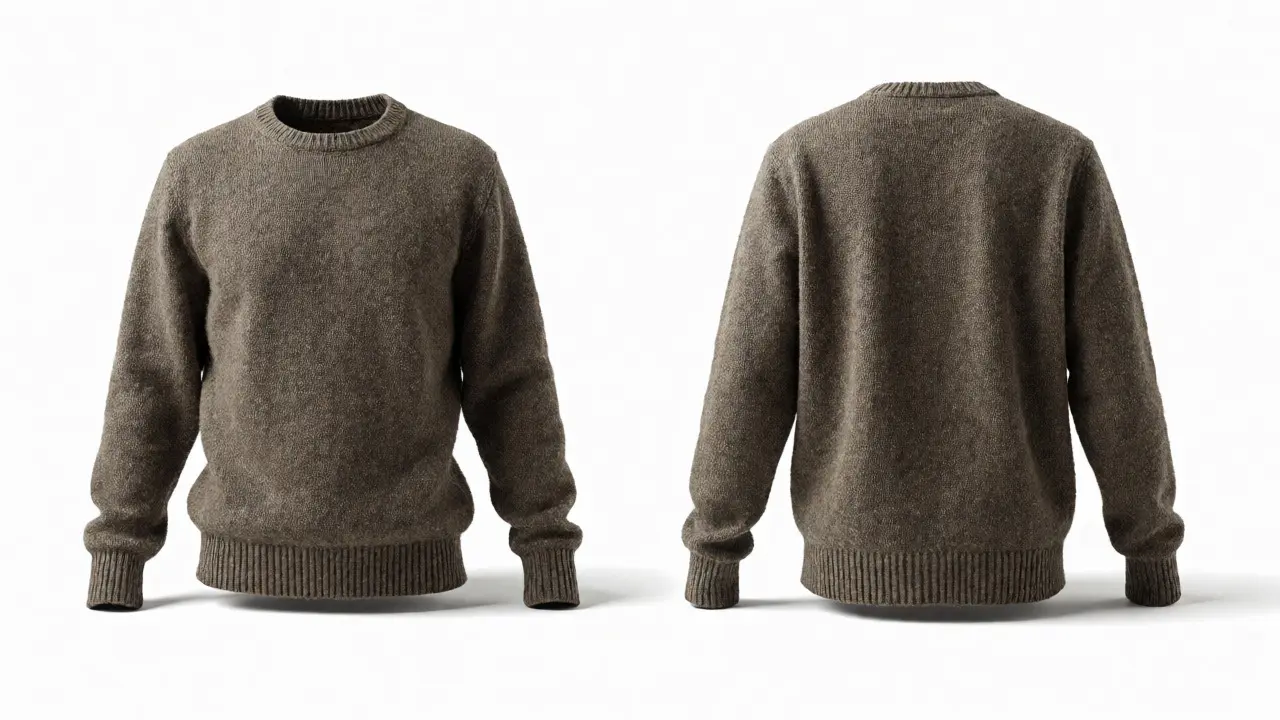
For clothing, the ghost mannequin effect is standard. You shoot the garment on a model or mannequin, then remove the body parts in post-production so the clothes appear worn by an invisible person. This requires careful stitching of front and back shots and precise clipping paths to maintain the shape of collars and sleeves.
| Shadow Type | Best For | Pros | Cons |
|---|---|---|---|
| Natural Drop Shadow | Furniture, Electronics | Realistic, high trust | Can clash if background isn't pure white |
| Floating Shadow | Shoes, Accessories | Adds depth, keeps focus on product | Requires skill to match perspective |
| No Shadow | Jewelry, Flat Items | Cleanest look, meets strict guidelines | Can look flat or disconnected |
| Ghost Mannequin | Apparel | Shows fit and drape accurately | Labor-intensive editing |
Technical Specifications That Matter
Once your product is clipped and shaded, you need to package it correctly. Most platforms have specific requirements for file size, resolution, and color space. Ignoring these can lead to compression artifacts or rejection.
Here are the general standards for 2026:
- Resolution: Minimum 1000 x 1000 pixels. Ideally, go for 3000 x 3000 pixels to allow for zoom functionality. Customers love being able to see the weave of a fabric or the finish on a metal.
- File Format: JPEG is the standard for final delivery due to smaller file sizes. TIFF is preferred for master files because it’s lossless. PNG is rarely used for large catalogs due to huge file sizes, unless transparency is required.
- Color Space: sRGB is the universal web standard. Adobe RGB is wider but may display incorrectly on some browsers. Stick to sRGB IEC61966-2.1 to avoid color shifts.
- File Size: Keep JPEGs under 1MB for fast loading, but aim for 500KB-800KB to balance quality and speed.
Don’t forget about naming conventions. "IMG_001.jpg" tells you nothing. Use descriptive names like "Nike-AirMax-White-SideView.jpg". This helps with SEO and makes managing thousands of SKUs manageable. Consistency in naming saves you hours when linking images to product listings via CSV uploads.
Common Pitfalls and How to Avoid Them
Even experienced photographers slip up. Here are the most frequent errors that ruin otherwise great photos:
Inconsistent Lighting Across SKUs: If you photograph ten variations of a shirt, they must look identical except for color. If one shot is slightly warmer or brighter, the catalog looks disjointed. Use manual camera settings (ISO, aperture, shutter speed) and consistent studio lights. Never rely on auto-mode.
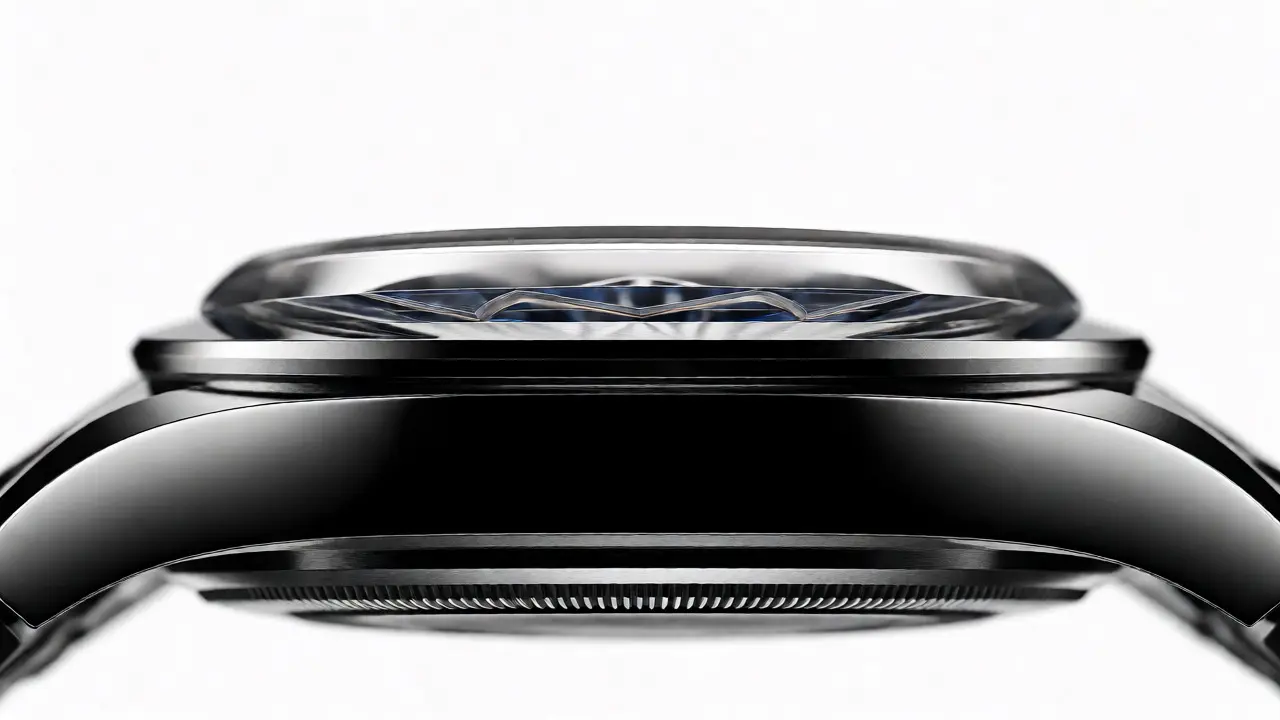
Ignoring Reflections: Glossy products like watches, smartphones, or perfume bottles reflect everything in the room-including the photographer. Use polarizing filters or black cards (flags) to control reflections. A stray reflection of a window can distract from the product’s design.
Over-Retouching: Removing every speck of dust or scratch can make a product look plastic. Realism builds trust. If you sell vintage items, leave the patina. If you sell luxury leather goods, show the grain. Retouching should enhance, not deceive.
Misaligned Perspectives: Ensure all products are shot from the same angle relative to the viewer. If one shoe is shot from a 45-degree angle and another from straight-on, the collection feels chaotic. Create a shooting template with marked positions on your table.
Building a Scalable Workflow
Doing this manually for hundreds of products is unsustainable. You need a workflow that balances quality with efficiency. Start by batching similar products. Shoot all red items together, then all blue. This minimizes color calibration adjustments.
Use actions in Photoshop for repetitive tasks like resizing, sharpening, and saving for web. Record an action that converts your file to sRGB, resizes it to 2000px wide, and exports it as a high-quality JPEG. Apply this to a whole folder in seconds.
Consider outsourcing complex clipping paths. While basic cuts are easy, intricate jewelry or fur requires skilled editors who understand topology. Many studios offer per-image pricing for complex paths. Calculate your break-even point: is it worth paying $2-$5 per image to save 30 minutes of your time? Usually, yes.
Finally, implement a QC (Quality Control) checklist. Before uploading, check every image for:
- Pure white background (RGB 255, 255, 255)
- No halos or gray fringes
- Correct aspect ratio (usually square 1:1)
- Product centered and filling 85%+ of frame
- Consistent lighting and color accuracy
What is the exact RGB value for a pure white background?
The standard for pure white backgrounds in ecommerce is RGB (255, 255, 255). This ensures compatibility across all devices and prevents any grayish tint that might occur with values like 250, 250, 250. Always verify this using the Info panel in Photoshop after setting your white point.
Do I need a clipping path for every product photo?
Yes, for main product images on major platforms like Amazon, you need a clean isolation from the background. Even if you shoot against a seamless white backdrop, minor imperfections or shadows usually require a clipping path to achieve the mandated pure white result. Lifestyle images may not need it, but primary listing images do.
How many pixels wide should my product images be?
Most platforms recommend a minimum of 1000 pixels on the longest side to enable zoom features. However, aiming for 2000 to 3000 pixels provides better quality for high-resolution screens and allows for future-proofing. Just ensure the file size remains reasonable (under 1MB for JPEGs) to maintain page load speeds.
What is the difference between a clipping path and masking?
A clipping path is a vector-based outline used for hard-edged objects, providing crisp, scalable edges. Masking is a pixel-based method used for soft edges like hair, fur, or smoke. Professional workflows often combine both: a clipping path for the main body and a mask for fine details to achieve the most realistic isolation.
Can I use AI tools for background removal?
AI tools are excellent for initial drafts and simple products. However, they often struggle with complex edges, transparent materials, or low-contrast scenarios. For high-stakes ecommerce photography, always review and refine AI-generated masks manually. Relying solely on automation can lead to rejections from strict marketplace algorithms.