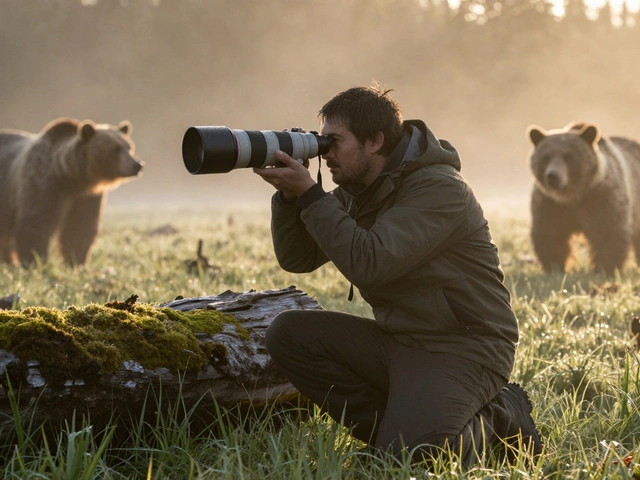
Most photographers wait for the sun. But if you want images that look like they belong in a high-end nature documentary, you need to embrace the gray. Wildlife photography is the art of capturing animals in their natural habitats, often requiring patience and specific technical adjustments for varying weather conditions. While clear skies are pretty, overcast lighting acts as a giant softbox, flattening harsh shadows and revealing textures in fur and feathers that direct sunlight would wash out. The challenge isn't just about making the shot; it's about keeping your gear dry and your hands steady when the elements turn hostile.
Why Bad Weather Makes Great Photos
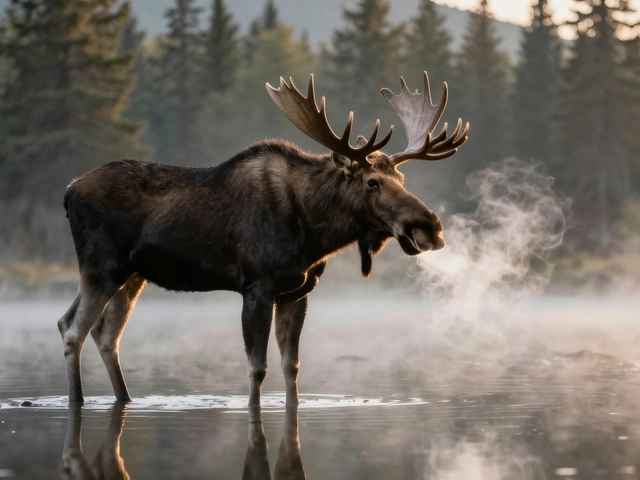
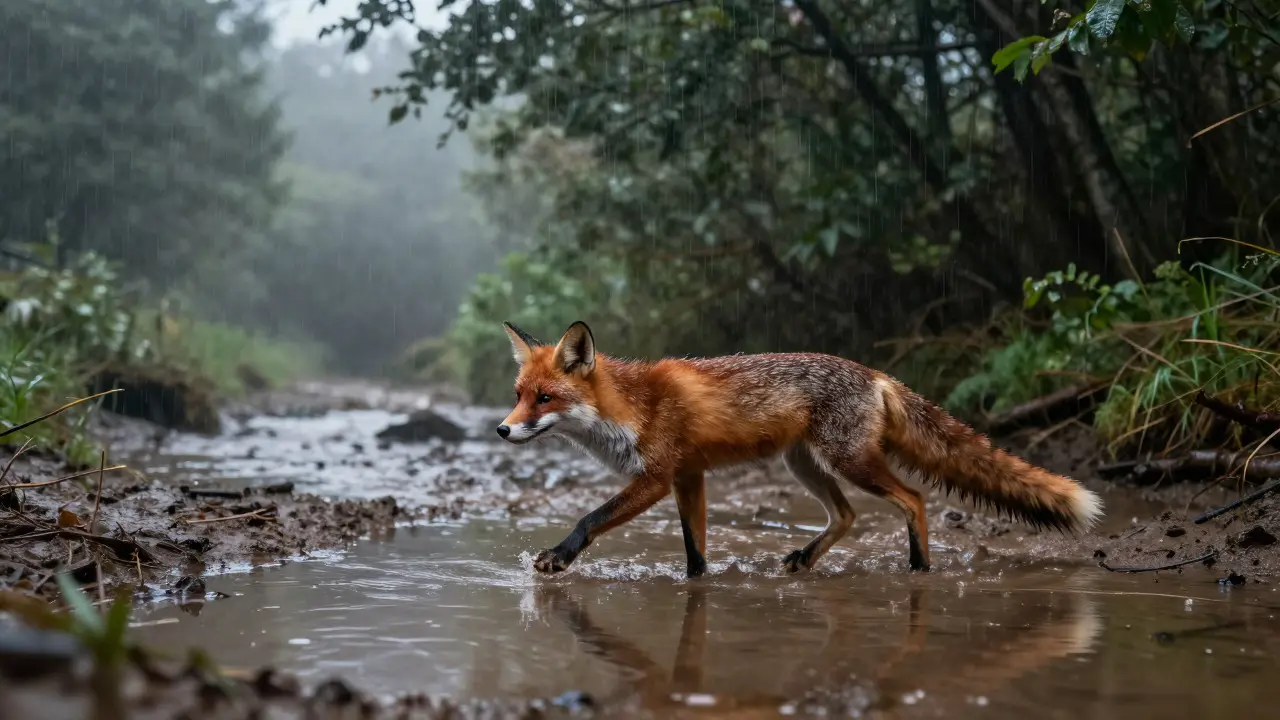
You might think rain ruins a day in the field, but consider what happens to an animal's behavior during a downpour. Many species become more active or visible because predators hide. A red fox trotting through a muddy stream looks far more dynamic than one sleeping in a sunny meadow. The atmosphere itself becomes part of the composition. Mist creates depth, separating foreground subjects from the background without needing a massive aperture blur. This atmospheric perspective adds a three-dimensional quality that flat, bright days often lack.
From a technical standpoint, diffused light simplifies exposure. You don't have to worry about clipping highlights on white snow or losing detail in deep black shadows under a tree canopy. The dynamic range is compressed, meaning your camera sensor captures more usable data in both the brightest and darkest parts of the frame. For landscape wildlife shots, this consistency allows you to use lower ISO settings, resulting in cleaner files with less digital noise. It’s a trade-off: you lose the dramatic rim lighting of sunset, but you gain clarity and texture.
Mastering Overcast Conditions
Overcast skies are the easiest starting point for beginners. The cloud cover filters the sun, creating even illumination across the scene. However, the downside is color saturation. Colors can look dull and desaturated if you rely on auto white balance. To fix this, shift your white balance slightly toward cooler temperatures (higher Kelvin) to counteract the blue cast of the sky, or shoot in RAW format to adjust it later in post-processing.
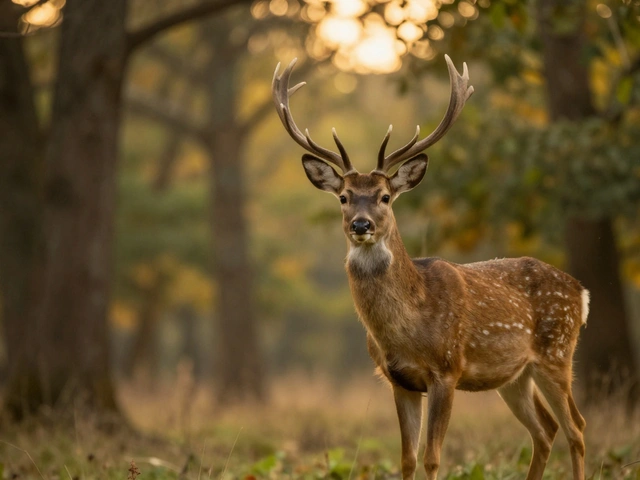
- Look for contrast: Since the light is flat, seek out dark backgrounds to make lighter animals pop. A deer against a dense, dark forest backdrop will stand out sharply.
- Use a polarizer: A circular polarizer helps cut through haze and reduces reflections off wet leaves or water surfaces, adding back some richness to the colors.
- Check the horizon: Sometimes, a break in the clouds reveals a patch of blue sky. This provides a directional light source that can add shape and dimension to your subject without the harshness of full sun.
When shooting birds in flight on an overcast day, the lack of strong backlighting means you can expose for the bird's body rather than the sky. This ensures you retain detail in the plumage, which is often lost when shooting into the sun.
Shooting in the Rain: Protection and Perspective
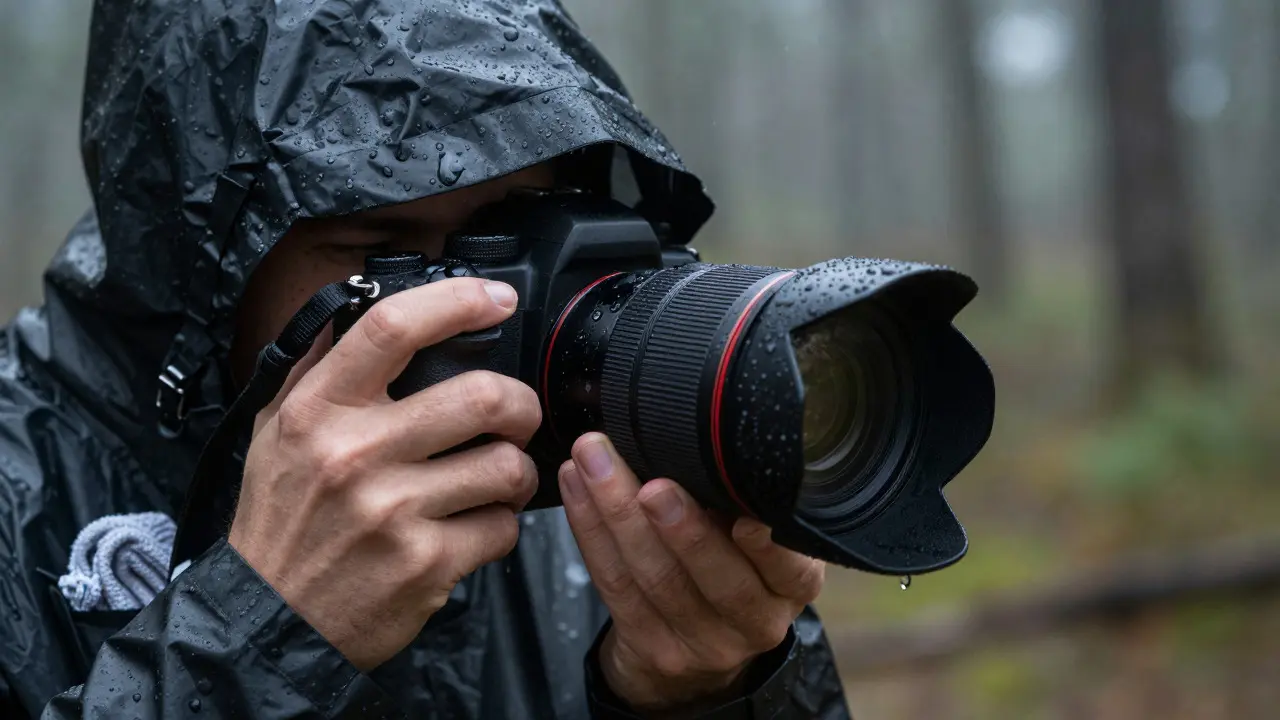
Rain introduces two main problems: getting wet and dealing with droplets on your lens. The solution to the first is proper gear protection. You need a reliable camera rain cover, not just a plastic bag taped to your strap. Quality covers have openings for buttons and ports, allowing you to operate your camera without exposing the electronics. Pair this with a microfiber cloth kept in an accessible pocket for quick lens wipes.
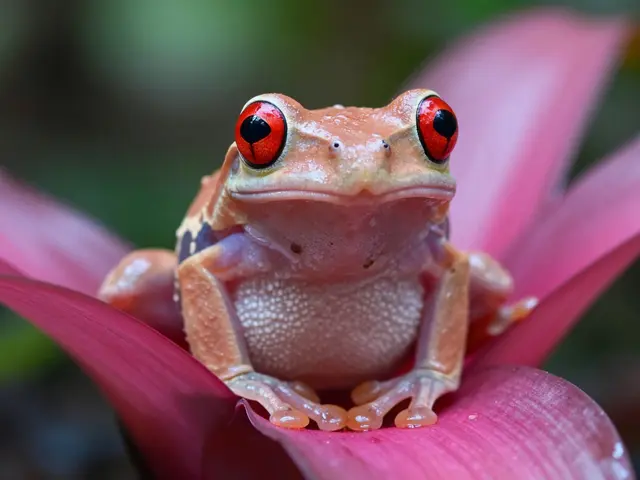
The second problem is actually an aesthetic opportunity. Raindrops on the lens can create a bokeh effect if you focus carefully, but usually, you just want them gone. More importantly, rain changes the environment. Puddles reflect light, creating symmetrical compositions. Wet fur clumps together, showing the true structure of the coat. If you're photographing amphibians or insects, rain is essential; many species only emerge during or immediately after rainfall.
| Item | Purpose | Pro Tip |
|---|---|---|
| Camera Rain Cover | Protects body from direct water spray | Ensure it has a wrist strap to prevent loss |
| Lens Hood | Blocks side rain and glare | Always keep attached, even indoors |
| Microfiber Cloths | Cleans lens and viewfinder | Keep multiple spares in waterproof pockets |
| Waterproof Backpack | Stores spare batteries and clothes | Use internal zip bags for extra security |
Tackling Snow and Cold Environments
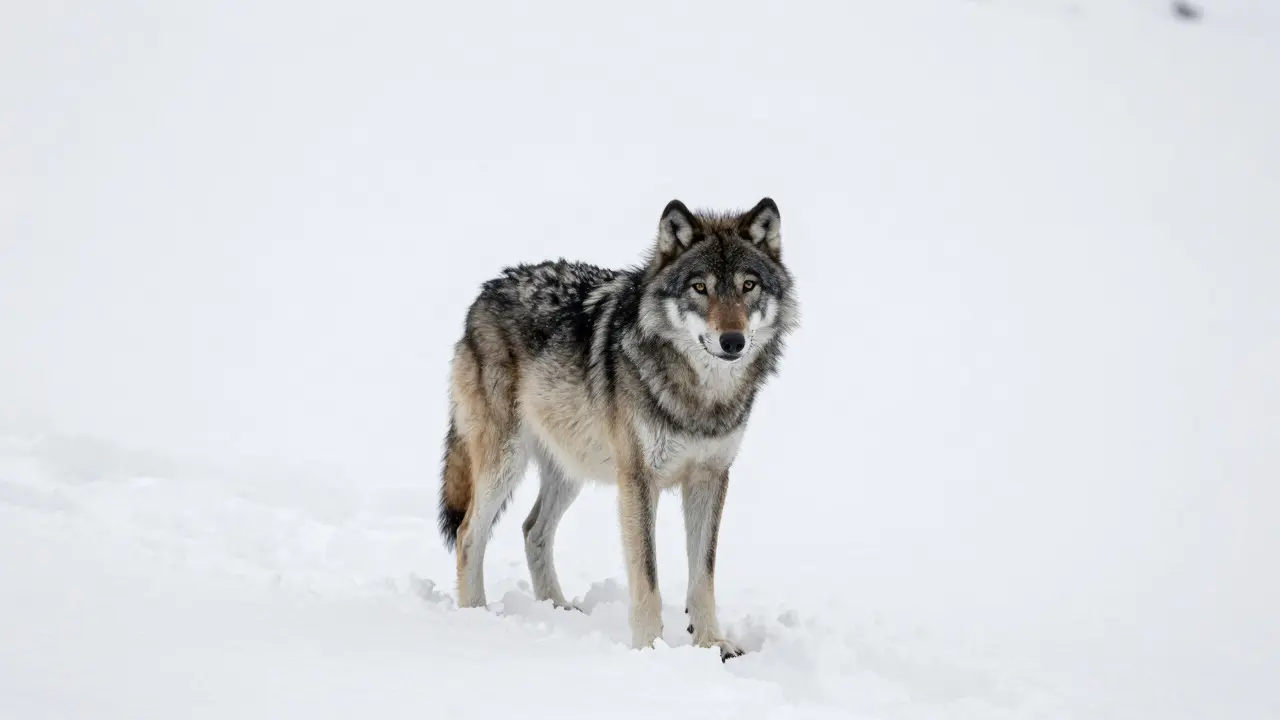
Snow is deceptively difficult. The human eye sees white snow as neutral, but cameras see it as too bright and tend to underexpose it, turning snow into gray mush. You need to apply exposure compensation, typically +1 to +1.5 stops, to ensure the snow renders as pure white. Alternatively, spot meter on a mid-tone object nearby, like a brown branch or a rock, and lock that exposure before framing your subject.
Battery life is the silent killer in cold weather. Lithium-ion batteries drain rapidly at low temperatures. Keep spare batteries in your inner jacket pocket close to your body heat. When swapping them out, do it quickly and avoid letting the cold battery sit in the open air for long periods. Condensation is another major risk. If you move from freezing outdoors into a warm car or cabin, your gear will sweat instantly. Put your camera and lenses in a sealed plastic bag before entering warm spaces. Let them acclimate slowly inside the bag for at least an hour before taking them out. This prevents moisture from damaging your electronics.
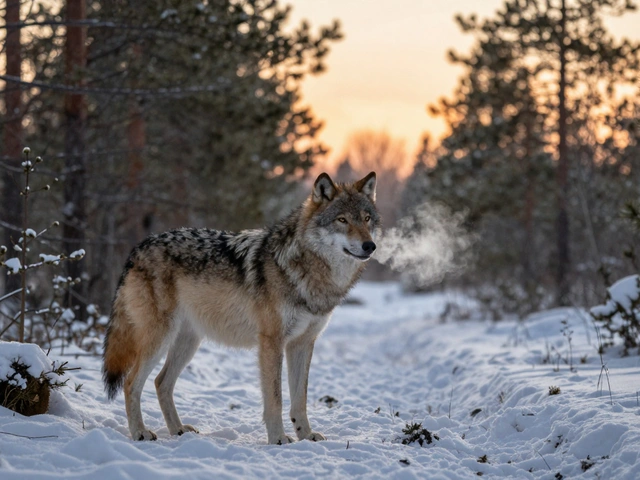
For composition, snow provides a clean canvas. It isolates subjects beautifully. Look for tracks in the snow to lead the viewer's eye toward the animal. The contrast between the bright snow and dark fur creates striking visual impact. Be mindful of wind, though; blowing snow can obscure your subject and get into your camera gaps.
Technical Settings for Diffused Light
Your camera settings need to adapt to the reduced light levels. In overcast or snowy conditions, you generally have more ambient light than at night, but less than on a sunny day. Here is a practical workflow:
- ISO Sensitivity: Start at your base ISO (usually 100 or 200). Increase it as needed to maintain a fast shutter speed. Modern sensors handle high ISO well, so prioritize motion freeze over graininess.
- Shutter Speed: Aim for at least 1/1000th of a second for moving animals. For stationary subjects, 1/500th is usually sufficient. Use burst mode to capture the exact moment of action.
- Aperture: Choose based on depth of field needs. f/4 to f/5.6 offers a good balance between subject isolation and keeping enough context sharp. Avoid wide apertures like f/2.8 unless you specifically want a creamy background, as focus precision becomes critical.
- Focus Mode: Switch to continuous autofocus (AF-C or AI Servo). Animals rarely stay still. Use a single point AF area to track the eye or head, especially in cluttered environments like forests.
White balance is tricky in mixed conditions. Auto White Balance (AWB) can struggle with the mix of cool sky light and warm earth tones. Shooting in RAW gives you the flexibility to correct this in post-production. If you must shoot JPEG, set your white balance to "Cloudy" or "Shade" to add warmth and compensate for the cool cast of the overcast sky.
Post-Processing Tips for Moody Images
Editing is where you finalize the mood. For overcast and rainy shots, resist the urge to boost vibrance too much. Instead, focus on local contrast. Use tools like Clarity or Texture to bring out the details in fur and bark without making the image look crunchy. Lower the blacks slightly to deepen the shadows, adding weight to the image. For snow scenes, watch out for halos around edges when increasing exposure. Use mask-based adjustments to target only the snow areas, leaving the subject's fur natural. Desaturate the blues in the sky slightly if it looks too artificial, aiming for a realistic gray tone that complements the subject.
Do I need a special lens for rain photography?
No, any telephoto lens works, but a lens hood is essential to block side rain. Ensure your lens has a weather-sealed mount if possible, as this protects the connection between the lens and camera body from moisture ingress.
How do I prevent condensation on my camera in cold weather?
Always put your gear in a sealed plastic bag before moving from cold outside to warm inside. Leave it in the bag for an hour to allow the temperature to equalize gradually. Taking it out immediately causes rapid condensation, which can damage circuits.
What is the best white balance setting for overcast days?
Shoot in RAW for maximum flexibility. If using JPEG, set the white balance to "Cloudy" or increase the Kelvin value by 200-400 degrees above auto to counteract the blue cast of the sky and restore natural skin/fur tones.
Is it better to shoot in rain or wait for it to stop?
Shooting during light rain often yields better results due to unique lighting and animal activity. Heavy rain makes visibility difficult and risks gear damage. Wait for heavy storms, but embrace drizzle and mist for atmospheric effects.
How does snow affect exposure settings?
Snow reflects a lot of light, tricking the camera into underexposing the scene. Add +1 to +1.5 stops of exposure compensation, or spot meter on a mid-tone object near the subject to ensure the snow appears white rather than gray.