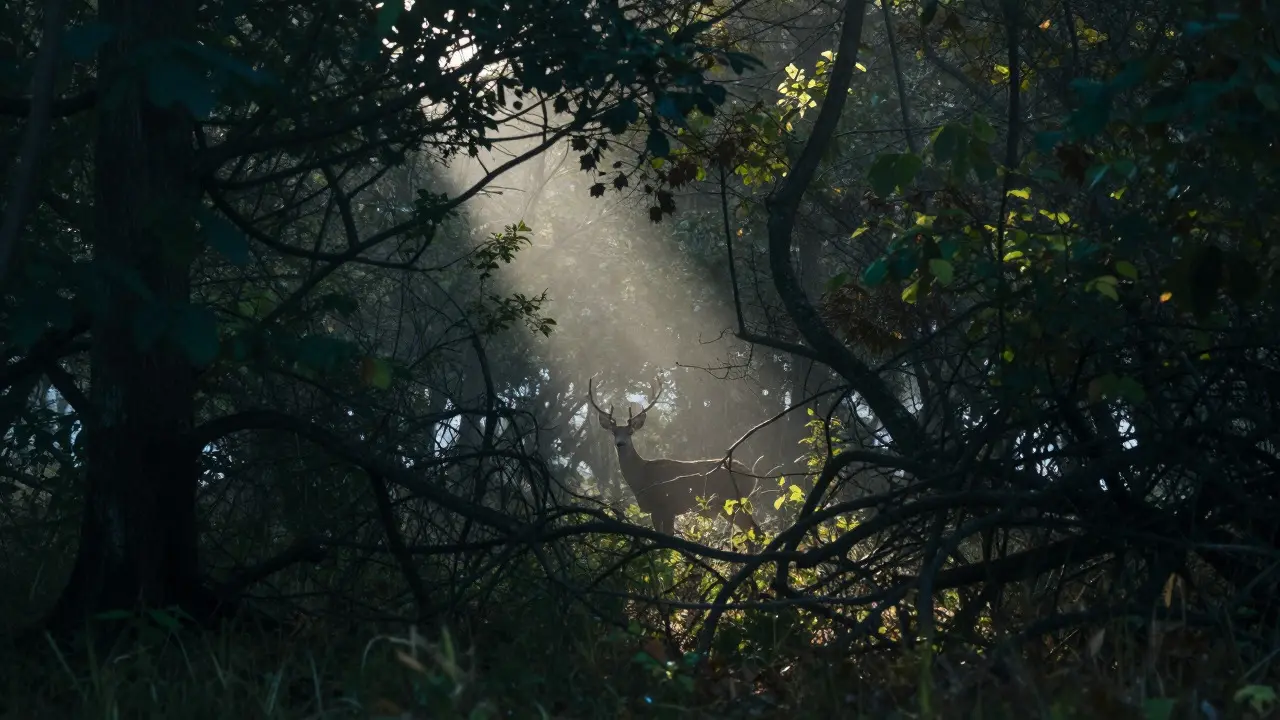
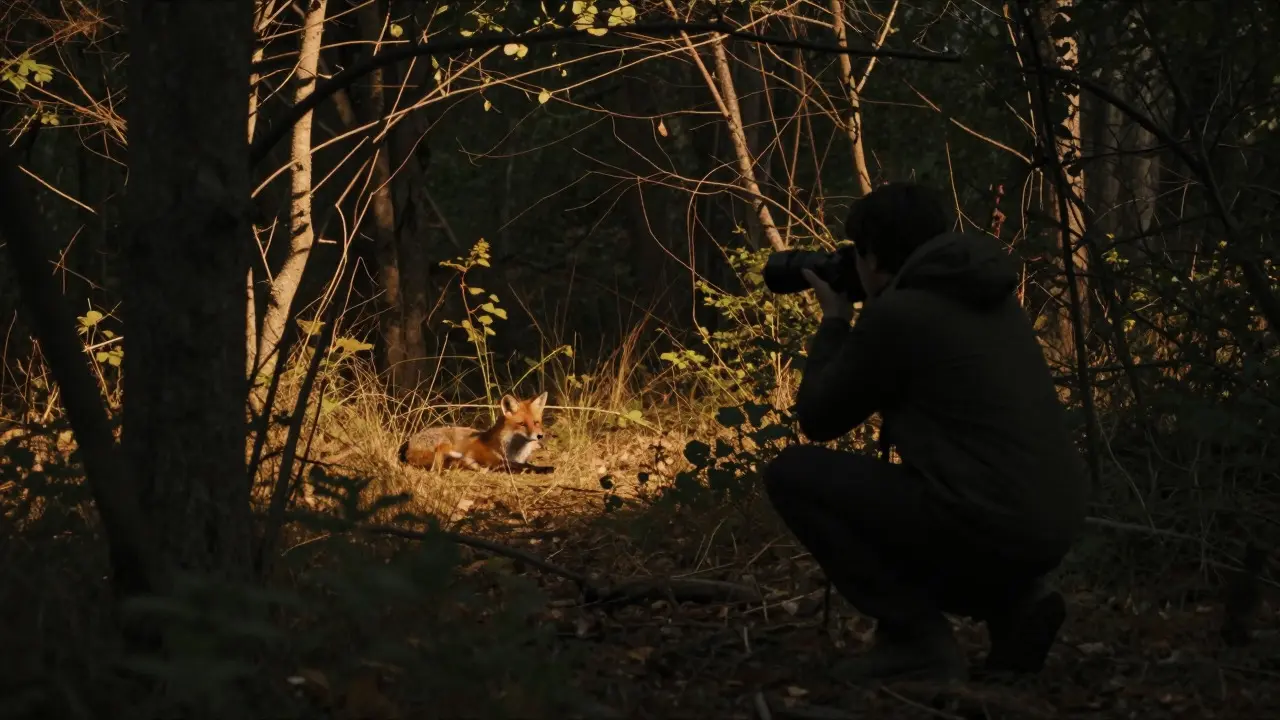
Standing in a dense forest at dawn, you hear the rustle of leaves but see nothing but shadows. The light is dim, the branches are tangled, and your subject is hidden behind a curtain of green. This is the reality of forest wildlife photography is the practice of capturing animals in their natural woodland habitats, characterized by challenging lighting conditions and physical obstructions like trees and undergrowth. Unlike open savannas where subjects stand out against a clear sky, forests demand a different approach. You aren't just taking pictures; you're solving puzzles with light and composition.
Understanding the Forest Light Environment
Light behaves differently under a canopy. In an open field, direct sunlight creates harsh shadows and high contrast. In a forest, the tree cover acts as a giant diffuser. This softens the light, reducing glare on fur or feathers, which is actually beneficial for texture detail. However, it also reduces overall brightness significantly. You might find yourself shooting at ISO levels that would be unthinkable in daylight.
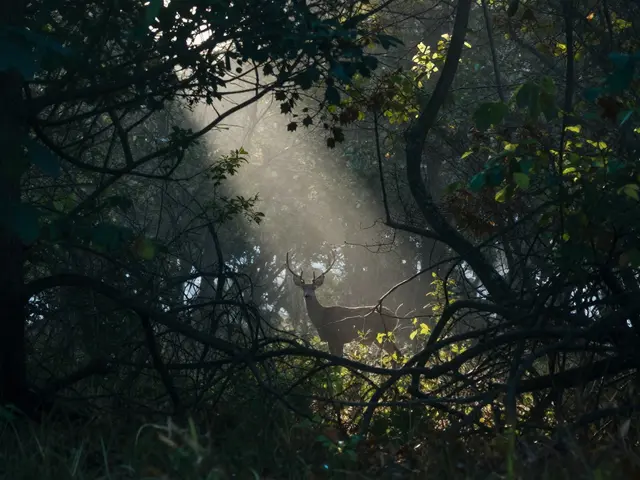
The quality of light changes rapidly. A single break in the canopy can create a shaft of bright sun that illuminates a specific spot while leaving the rest of the scene in deep shadow. This "dappled" light requires quick adjustments to your exposure settings. If you rely solely on auto-exposure, your camera will likely struggle to balance the bright highlights in the sunbeam with the dark shadows in the background, resulting in blown-out whites or crushed blacks.
Essential Gear for Challenging Conditions
Your equipment needs to handle two main problems: low light and physical barriers. Here is what makes a difference when the view is blocked and the light is scarce:
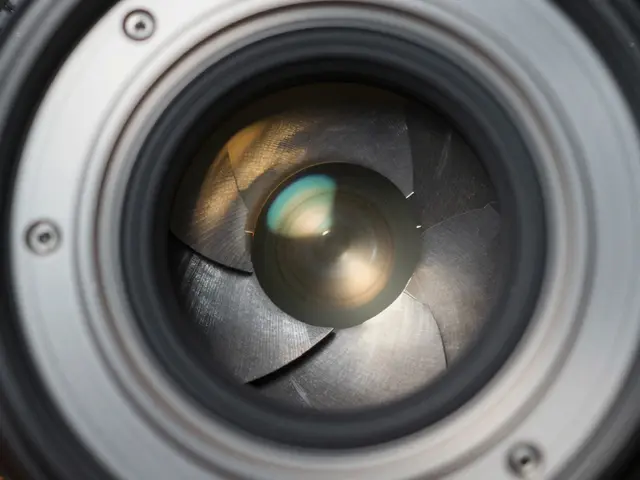
- Fast Prime Lenses: Lenses with wide apertures, such as f/1.4 or f/2.0, allow more light to hit the sensor. A 85mm f/1.4 lens is excellent for isolating a deer's eye from the surrounding darkness. While zoom lenses offer flexibility, primes often provide better low-light performance and sharper images.
- Image Stabilization: When shutter speeds drop below 1/60th of a second, hand-held shots become blurry. Optical Image Stabilization (OIS) or In-Body Image Stabilization (IBIS) allows you to shoot at slower speeds without a tripod. This is crucial when you cannot set up a heavy tripod in tight spaces.
- High ISO Performance Cameras: Modern mirrorless cameras handle high ISO values much better than older DSLRs. Look for bodies that maintain clean image quality at ISO 3200 or higher. Noise reduction is helpful, but preserving dynamic range is more important in mixed lighting.
Techniques for Shooting Through Obstacles
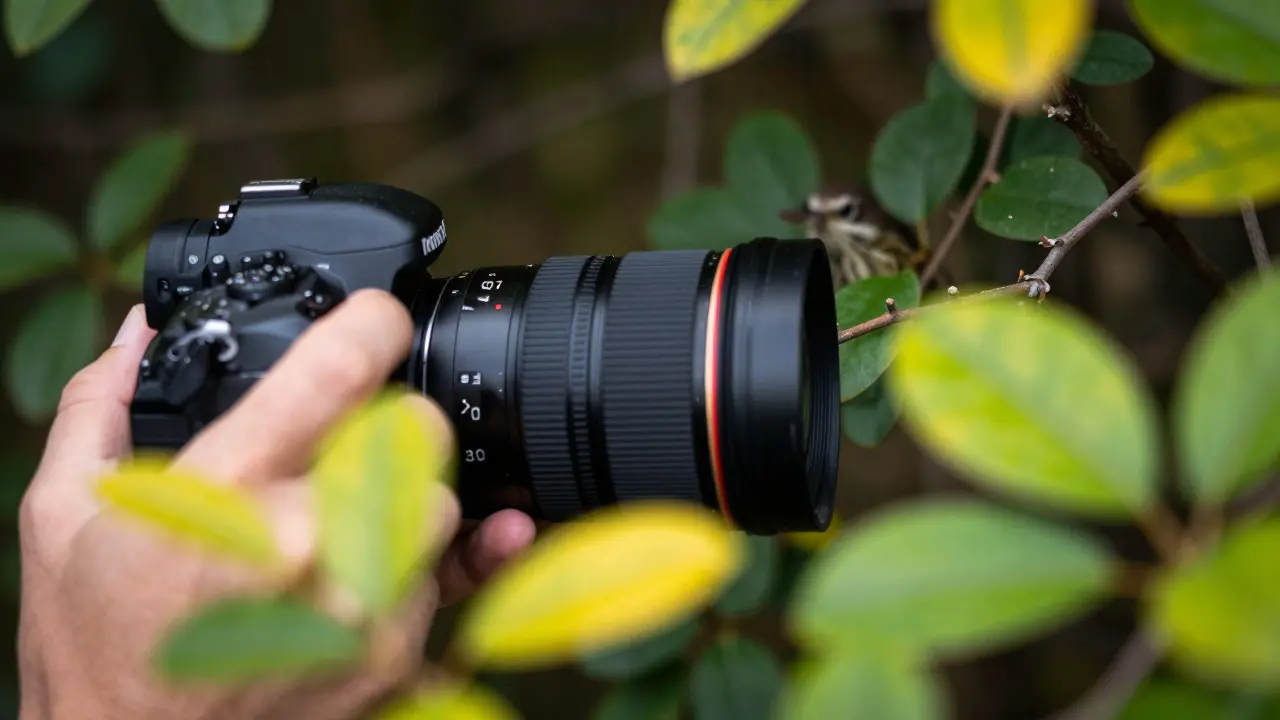
When branches block your view, you have three options: wait, move, or compose around the obstruction. Waiting is often the most effective strategy. Animals move constantly. A branch that blocks a bird's face now may be empty in ten seconds. Patience pays off here. Instead of forcing a shot through a gap, watch the subject's movement pattern and anticipate when they will step into a clearer area.
If waiting isn't possible, consider changing your angle. Crouch down lower to shoot through gaps in the underbrush, or climb slightly higher if safe to do so to look over the tops of bushes. Sometimes, using the obstruction as part of the composition works better than trying to remove it. A foreground leaf or branch can add depth and context, showing the viewer exactly how hidden the animal really is. Just ensure the focal point remains sharp on the animal's eye or nose, not on the blocking object.
Mastering Camera Settings in Dim Light
Setting your camera manually is non-negotiable in forests. Auto modes react too slowly to sudden changes in light. Here is a reliable starting point for low-light forest scenarios:
- Shutter Speed: Aim for at least 1/500th of a second for active animals. If the light is very low, you may need to drop to 1/250th or even 1/125th. Use stabilization to compensate for the slower speed.
- Aperture: Open your lens as wide as possible (lowest f-number). This maximizes light intake and helps isolate the subject from the busy background.
- ISO: Set this last. Start at ISO 800 and increase until you get the correct exposure. Don't fear noise. A noisy but sharp image is far better than a clean but blurry one.
- White Balance: Forest light tends to be cooler (bluer) due to shade. Set your white balance to "Daylight" or use a custom Kelvin setting between 5000K and 6000K to keep greens looking natural rather than overly blue.
| Strategy | Best For | Risk | Required Gear |
|---|---|---|---|
| Waiting for Gaps | Static or predictable subjects | Missing the moment entirely | Patience, remote release optional |
| Wide Aperture Isolation | Busy backgrounds, low light | Shallow depth of field missing parts of subject | Prime lens f/1.4 - f/2.8 |
| Including Obstructions | Adding context and depth | Cluttered composition distracting from subject | Standard zoom lens, careful framing |
| High ISO Boost | Fast action in very low light | Increased digital noise/grain | Camera with good high-ISO performance |
Composition Tips for Cluttered Scenes
Forests are visually chaotic. There are no empty horizons. To make your photos stand out, simplify your frame. Look for negative space-patches of bare ground, clearings, or areas of uniform color in the background. Place your subject against these simple areas. If the background is too busy, use a wider aperture to blur it out. Bokeh (the aesthetic quality of the blur) turns distracting twigs and leaves into smooth, colorful shapes that don't compete with your subject.
Also, pay attention to leading lines. Branches and trunks naturally form lines that draw the eye. Use them to guide the viewer toward the animal. If a branch points away from the subject, it might lead the eye out of the frame, which is undesirable. Rotate your crop or change your position to align these natural lines with your subject.
Ethical Considerations in Dense Habitats
Getting close to animals in forests is difficult, which is a good thing. It forces you to observe quietly. Avoid using calls or bait unless you are specifically documenting human-wildlife interaction, as this can alter natural behavior. Stay on established trails whenever possible to minimize impact on the ecosystem. Remember, the goal is to capture the animal as it exists in the wild, not as a performer reacting to your presence. Your best tool in the forest is silence and stillness.
What is the best lens for forest wildlife photography?
A fast prime lens, such as an 85mm f/1.4 or 135mm f/1.8, is often ideal because it lets in maximum light and creates strong background blur. However, a versatile zoom lens like a 70-200mm f/2.8 is also popular for its flexibility in varying distances.
How do I focus accurately when the subject is partially hidden?
Use single-point autofocus and place the focus point directly on the animal's eye or nose. If the subject is moving unpredictably, switch to continuous autofocus mode (AF-C) and let the camera track the subject. Pre-focusing on a likely path of movement can also help in very low light where AF struggles.
Is a tripod necessary for low-light forest shots?
Not always. With modern in-body image stabilization and faster lenses, many photographers shoot handheld. However, a compact travel tripod is useful for static subjects like sleeping birds or deer resting in dappled light, allowing for slower shutter speeds and lower ISO settings.
How should I edit forest wildlife photos?
Focus on local adjustments rather than global ones. Use masking to brighten only the subject while keeping the background dark and moody. Adjust white balance carefully to neutralize any unnatural color casts from shaded areas. Apply modest noise reduction to preserve texture in the fur or feathers.
What time of day is best for forest wildlife photography?
Early morning and late evening are typically the best times. During these hours, animals are more active, and the light is softer and warmer. Midday light can be too harsh in small clearings or completely absent in deep shade, making it harder to capture detailed images.