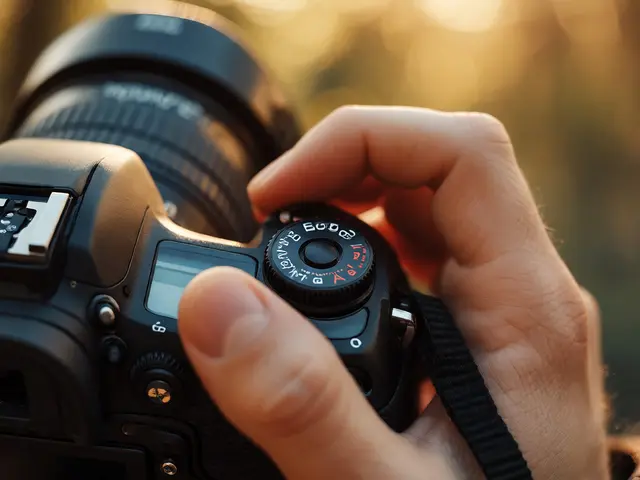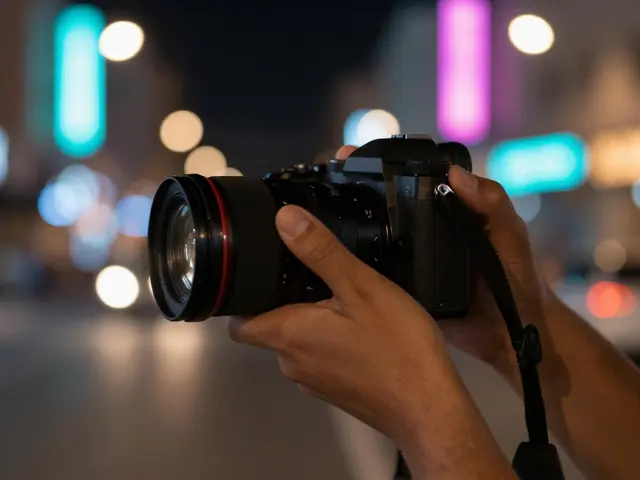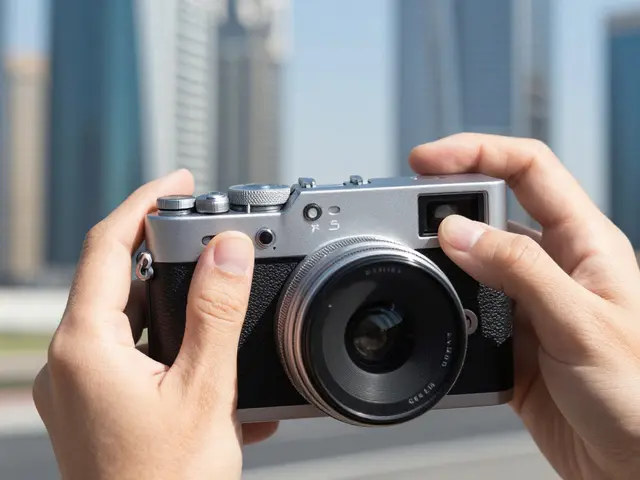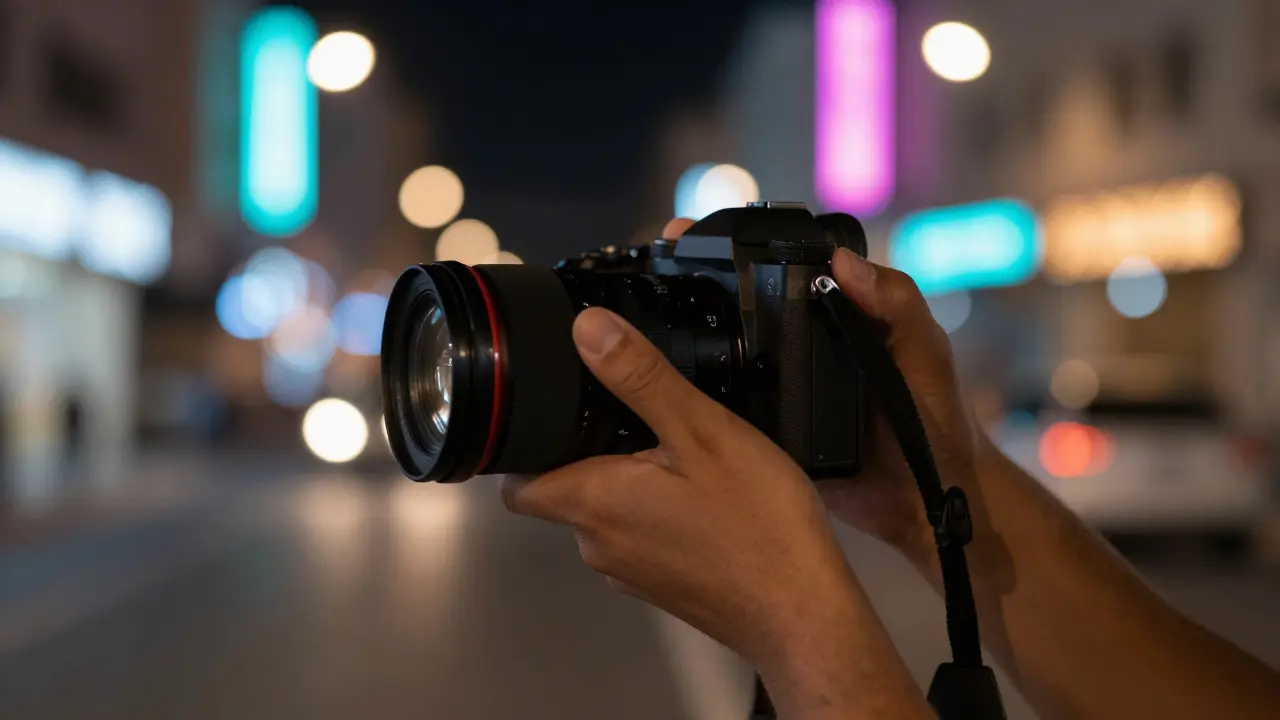
Shooting at night without a tripod feels like trying to catch water in your hands. The light is scarce, the shutter speeds are slow, and any slight tremor turns your sharp cityscape into a blurry mess. Yet, handheld night photography is entirely possible if you stop fighting the physics of light and start working with it. You don't need expensive gear or perfect conditions; you just need to understand how stabilization, ISO sensitivity is the camera sensor's ability to amplify signal from low light, trading clarity for brightness, and exposure work together.
The goal here isn't to mimic studio lighting. It’s about capturing the atmosphere of the night-the neon glows, the star trails, or the quiet street scenes-with enough detail to tell a story. By balancing these three core elements, you can shoot confidently even when the sun has long gone down.
Understanding the Exposure Triangle in Low Light
In daylight, you have plenty of photons hitting your sensor. At night, you’re starving for them. This scarcity forces you to make compromises. The exposure triangle consists of aperture, shutter speed, and ISO. In handheld scenarios, two of these variables become critical constraints.
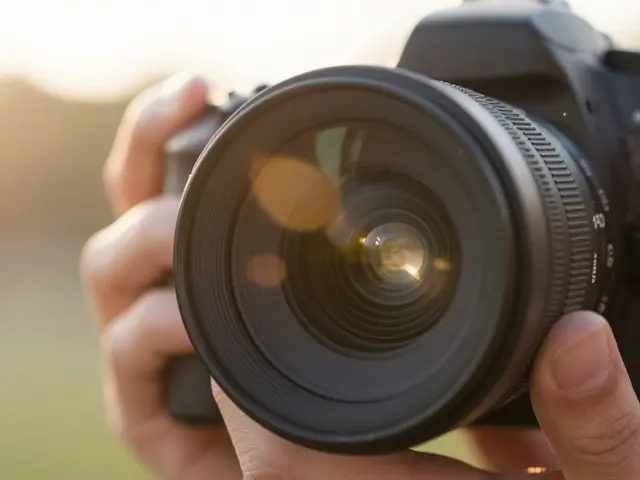
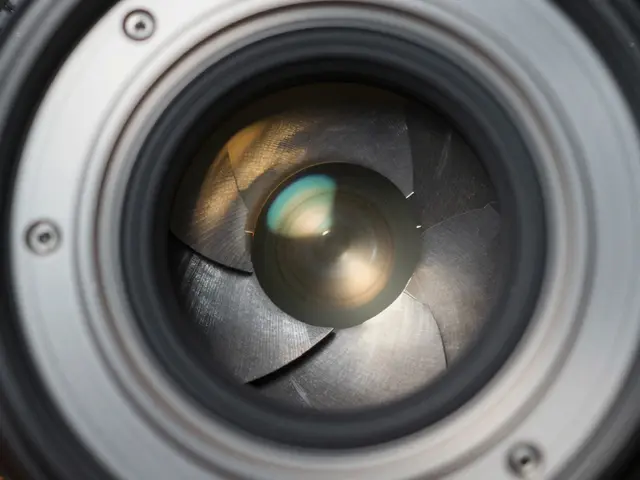
First, look at Aperture is the opening in the lens that controls how much light enters the camera. To get more light quickly, you want the widest aperture your lens offers. A fast prime lens with an f/1.4 or f/1.8 maximum aperture is a game-changer. It lets in significantly more light than a standard kit lens stuck at f/3.5 or f/5.6. If you’re shooting portraits or subjects with depth-of-field requirements, this is where you’ll find your margin for error.
Second, consider Shutter Speed is the duration the camera sensor is exposed to light. For handheld shooting, there is a hard limit dictated by human physiology. The general rule of thumb is the reciprocal of the focal length. If you’re using a 50mm lens, try not to go slower than 1/50th of a second. On a full-frame camera with a 24mm wide-angle lens, you can safely drop to 1/24th or even 1/20th before motion blur becomes noticeable. However, if you’re zoomed in on a distant subject, that safe speed drops dramatically.
This leaves ISO as your primary lever for adjusting exposure without blurring the image. But pushing ISO too high introduces digital noise, which looks like grainy speckles in the shadows. The trick is finding the sweet spot where the image is bright enough but clean enough to be usable.
Stabilization Techniques That Actually Work
Your body is the biggest source of vibration. Even if you think you’re steady, micro-movements happen. Here is how to minimize them:
- Brace Your Elbows: Tuck your elbows against your ribcage. This creates a stable tripod made of flesh and bone. If you’re holding the camera with one hand, press the other hand against your chest or use a wall, car door, or fence post for support.
- Breathe Control: Don’t hold your breath for long periods. Instead, take a deep breath, exhale halfway, and press the shutter button during that pause. This reduces the tremor caused by the diaphragm moving.
- Use Mirror Lock-Up (if applicable): On DSLRs, the mirror slapping up can cause shake. Enabling mirror lock-up eliminates this internal vibration. On mirrorless cameras, this isn't an issue, but electronic first curtain shutter can help reduce rolling shutter effects in some cases.
- Leverage Image Stabilization (IS/VR/OS): Modern lenses and bodies have optical stabilization. Turn it on. It typically buys you 3 to 5 stops of extra safety. This means you can shoot at 1/15th of a second instead of 1/60th without blur. Just remember to turn it off if you’re using a tripod, as it can sometimes counteract the stability of the mount.
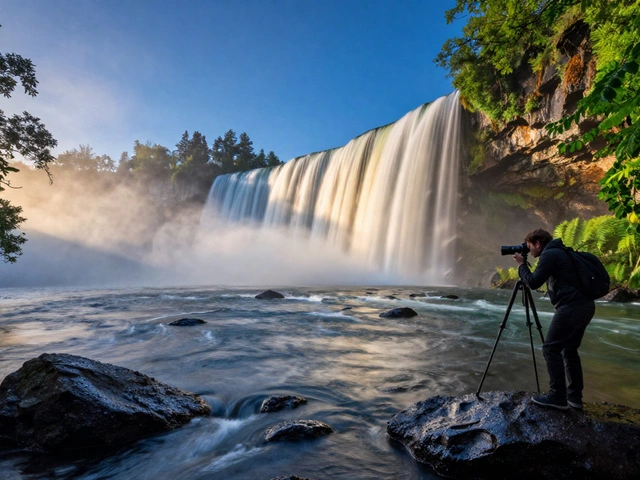
If you have access to a small travel tripod or a monopod, use it. A monopod provides vertical stability while allowing you to pan horizontally, which is perfect for street scenes. It’s lighter than a tripod and faster to deploy, making it ideal for spontaneous night shots.
Managing High ISO and Noise Reduction
We’ve all seen those grainy night photos that look like static TV screens. High ISO isn't inherently bad, but unmanaged high ISO is. Modern sensors handle high ISO remarkably well, especially full-frame models. A base ISO of 100 might be too dark for night scenes, so you’ll likely be shooting between ISO 1600 and ISO 6400.
Here’s a practical approach to managing noise:
- Shoot RAW: Always shoot in RAW format. JPEG compression locks in noise reduction algorithms that can smear details. RAW files allow you to apply non-destructive noise reduction in post-processing, giving you much more control over the final image.
- Expose to the Right (ETTR): Slightly overexpose your highlights (as long as they aren't blown out completely). Capturing more data in the shadows makes it easier to lift them later without introducing excessive noise. Underexposed shadows are the hardest to clean up.
- Understand Sensor Size: Full-frame sensors generally produce less noise at the same ISO compared to APS-C or Micro Four Thirds sensors because their pixels are larger and collect more light. If you’re on a crop-sensor camera, you might need to push your ISO slightly higher to achieve the same exposure, but the difference is often negligible in modern gear.
A good rule of thumb: If you can get a sharp image at ISO 3200, it’s better than a blurry image at ISO 400. Sharpness beats cleanliness every time. You can fix noise in Lightroom or Capture One; you can’t fix blur in post-production.
Practical Exposure Tricks for Different Scenarios
Night photography isn't one-size-fits-all. Different environments require different approaches.
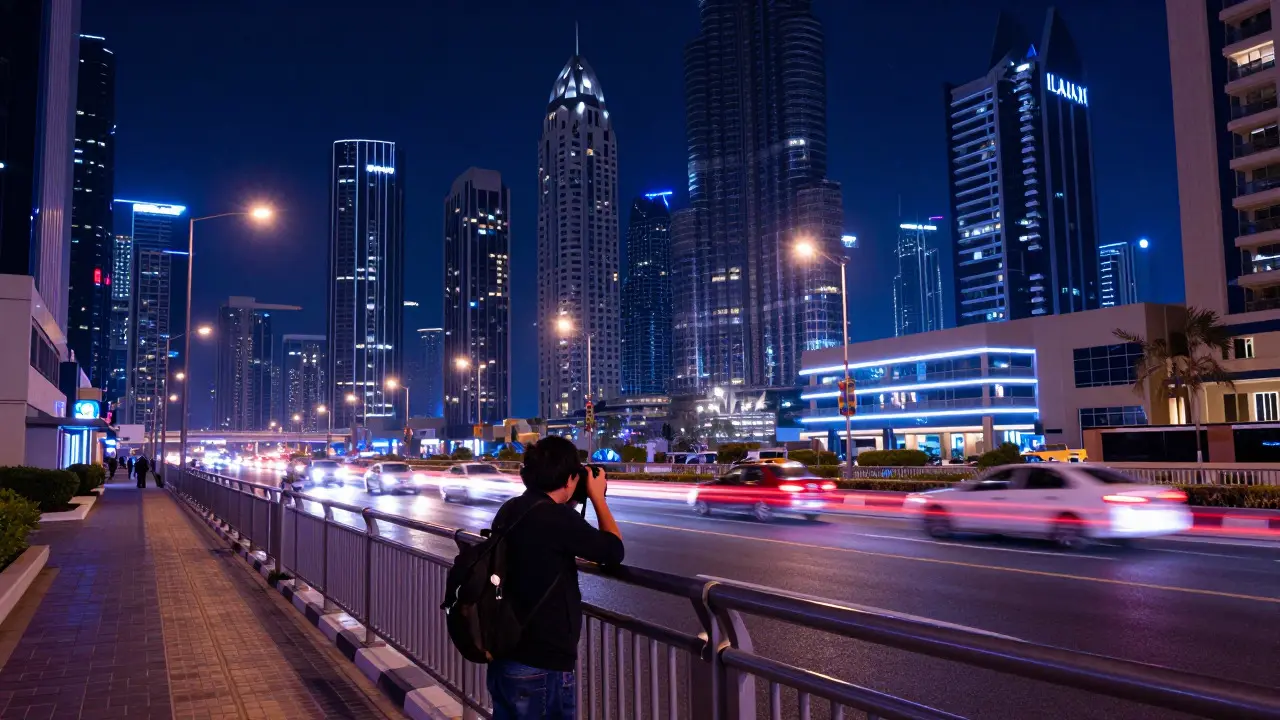
Cityscapes and Neon Lights: This is where you can play with longer exposures. Find a sturdy surface-a railing, a car hood, or a bench. Set your shutter speed to 2-5 seconds. Use a remote shutter release or the camera’s self-timer (2-second delay) to avoid pressing the button. Lower your ISO to 100-400 to keep noise minimal. The result will be smooth traffic trails and vibrant, saturated colors from the neon signs.
Street Portraits: You need to freeze movement. Keep your shutter speed at least 1/125th of a second. Use a fast lens (f/1.8 or wider). Push your ISO to 1600-3200. Ask your subject to stay still for a moment. If you have a flash, use it at a low power level (1/4 or 1/8) to fill in shadows without washing out the ambient background. This technique, known as ambient flash balance, creates a natural look that preserves the mood of the night.
Astronomy and Star Fields: If you’re shooting stars, you’re dealing with extremely low light. Use a wide-angle lens (14-24mm), set your aperture to its widest setting, and your ISO to 1600-3200. The shutter speed should follow the 500 Rule: divide 500 by your focal length to get the maximum shutter speed before stars start to trail. For a 20mm lens, that’s 25 seconds. For a 14mm lens, it’s about 35 seconds. Use a remote trigger and ensure your focus is locked to infinity (often requiring manual fine-tuning).
| Scenario | Shutter Speed | Aperture | ISO Range | Key Tip |
|---|---|---|---|---|
| Cityscapes | 2-5 sec | f/8 - f/11 | 100-400 | Use a stable surface and remote timer |
| Street Portraits | 1/125 sec+ | f/1.4 - f/2.8 | 1600-6400 | Freeze motion; use ambient flash if available |
| Star Fields | 15-30 sec | f/1.4 - f/2.8 | 1600-3200 | Follow the 500 Rule; focus manually to infinity |
| Indoor Events | 1/60 - 1/125 sec | f/1.8 - f/2.8 | 3200-12800 | Prioritize sharpness over noise reduction |
Post-Processing: Cleaning Up the Night
Even the best in-camera settings won't give you a perfect file. Post-processing is where handheld night photography comes alive. Start with white balance adjustments. Night scenes often have mixed color temperatures-warm streetlights and cool moonlight. Adjusting the temperature slider can unify the scene or enhance the contrast between warm and cool tones.
Next, tackle noise. In Adobe Lightroom or similar software, use the Luminance Noise Reduction slider. Be careful not to overdo it, or you’ll lose texture in fabrics, skin, or foliage. A moderate amount of noise actually adds character to night photos; complete removal can make images look plastic.
Finally, bring back the blacks. Night photos often suffer from crushed shadows. Lift the Blacks slider slightly to reveal detail in the darkest areas. Then, add a subtle vignette to draw the viewer’s eye toward the center of the frame. This simple step adds depth and professionalism to your final image.
Frequently Asked Questions
What is the highest ISO I should use for handheld night photography?
There is no strict limit. On modern full-frame cameras, ISO 6400-12800 is often usable with proper noise reduction. The key is to prioritize a sharp image over a clean one. If you must choose between a blurry photo at low ISO and a sharp photo at high ISO, always choose the sharp one.
Do I need a tripod for night photography?
Not necessarily. While a tripod allows for longer exposures and lower ISO, handheld shooting is perfectly viable for street scenes, portraits, and events. Use stabilization techniques like bracing your arms and leveraging image stabilization to extend your safe shutter speed limits.
How do I focus accurately in low light?
Autofocus can struggle in very dim conditions. Switch to manual focus and use live view to zoom in on your subject. Alternatively, use a flashlight or phone light to illuminate the subject briefly to help the autofocus system lock on, then switch back to manual focus to prevent hunting.
Is it better to underexpose or overexpose at night?
Slightly overexposing (Exposing to the Right) is generally better. It captures more data in the shadows, making it easier to recover details in post-processing without introducing significant noise. Just be careful not to blow out important highlights like streetlights or windows.
What lens is best for handheld night photography?
A fast prime lens with a maximum aperture of f/1.4 or f/1.8 is ideal. These lenses let in more light, allowing for faster shutter speeds and lower ISO settings. Popular choices include 35mm f/1.4 or 50mm f/1.8 lenses, which offer a natural perspective and excellent low-light performance.