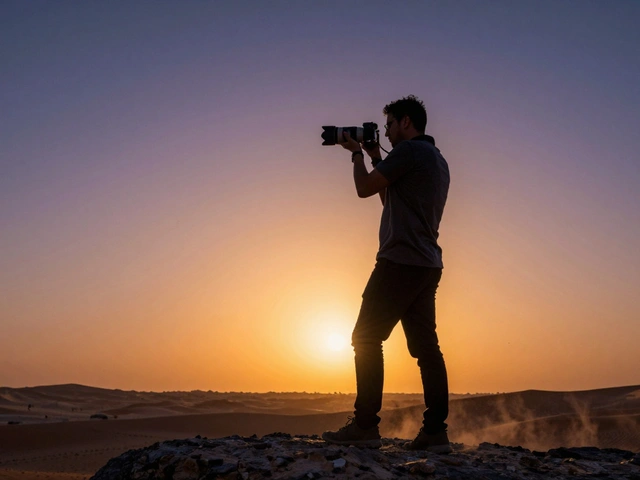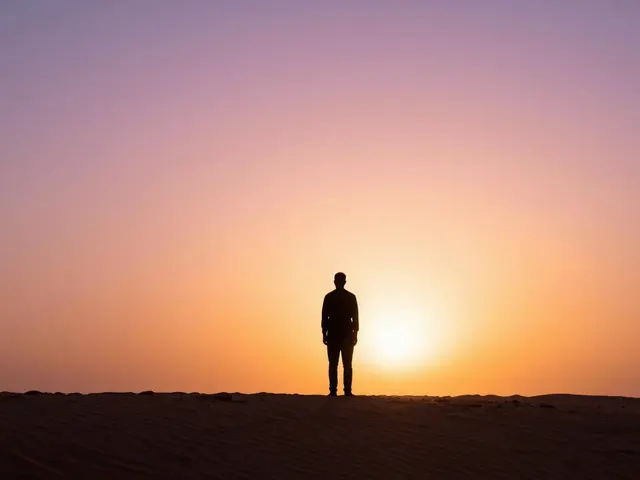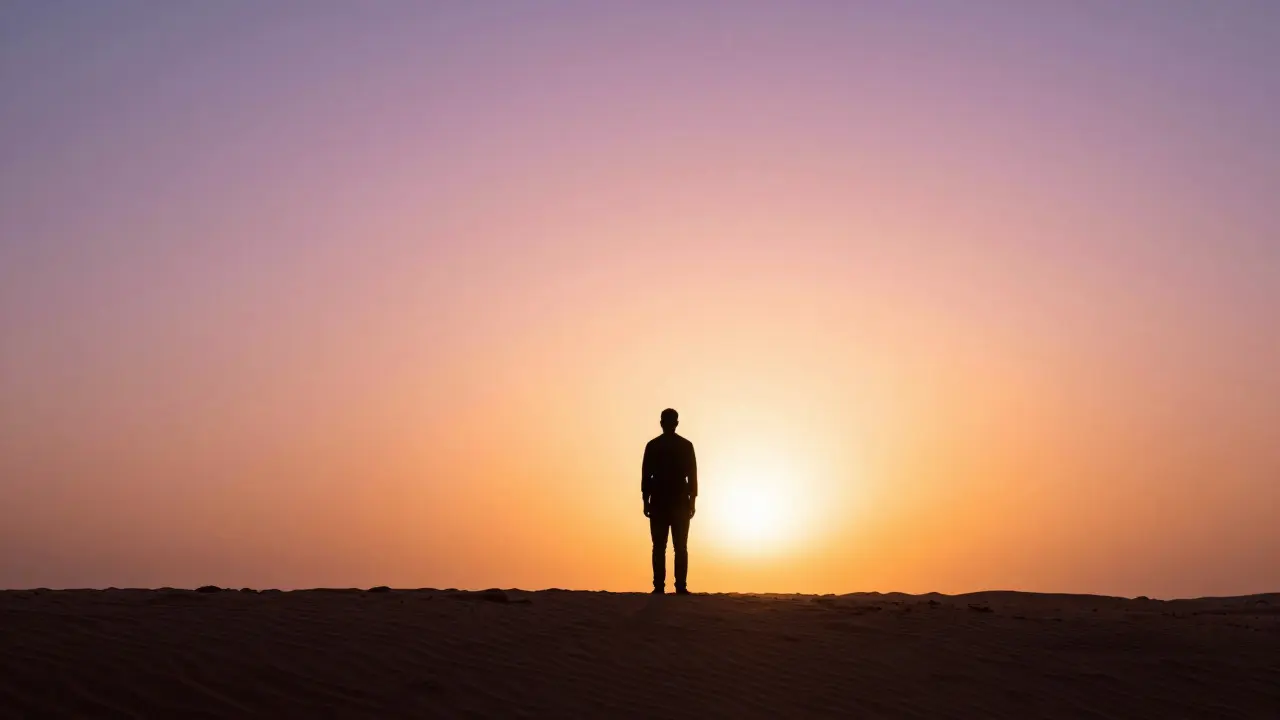
There is a specific kind of magic that happens when you strip away color and detail. You are left with pure form. This is the essence of Silhouette Photography, a technique that relies on backlighting to create high-contrast images where subjects appear as solid dark shapes against a bright background. It is not just about making things black; it is about controlling light so precisely that only the outline remains. If you have ever struggled with blown-out highlights or muddy mid-tones in your backlit shots, this guide will show you how to turn those mistakes into bold, graphic statements.
The Physics of Light and Shadow
To understand why silhouettes work, you need to look at how your camera meter works. Most cameras use an average metering mode. They try to make everything in the frame look like middle gray. When you point a camera at a person standing in front of the sun, the camera sees a very bright sky and a dark figure. It tries to balance them out by opening the aperture wider or slowing down the shutter speed. The result? A washed-out sky and a visible, underexposed subject. That is not a silhouette. That is a failed exposure.
A true silhouette requires you to ignore the subject entirely. You must expose for the brightest part of the scene. In technical terms, this means using Exposure Compensation, which allows you to manually adjust the brightness of the final image relative to what the camera's automatic meter suggests. By dialing in negative exposure values, typically between -1.0 and -2.0 stops, you force the camera to darken the entire frame. The bright background stays bright enough to be white or near-white, but the darker subject falls below the threshold of visibility, turning into a solid black shape.
Choosing the Right Subject
Not every object makes a good silhouette. If you photograph a messy pile of laundry against the sunset, you will just get a black blob. The key to successful shape emphasis is distinct outlines. You want subjects with clear, recognizable contours. Think of human profiles, birds in flight, tree branches, or architectural spires. The more unique the edge, the more interesting the image becomes.
Consider the concept of Visual Contrast, which refers to the difference in luminance or other properties that makes an object distinguishable from its surroundings. In silhouette photography, visual contrast is maximized when the boundary between the subject and the background is sharp. Avoid subjects with fuzzy edges or complex internal details that might bleed through if the exposure isn't perfect. A dancer with arms extended creates a dynamic line. A standing person with arms at their sides creates a static rectangle. Choose poses and objects that tell a story through their shape alone.
Mastering the Exposure Triangle
While exposure compensation is the primary tool, understanding the full Exposure Triangle, consisting of aperture, shutter speed, and ISO, gives you finer control over the final look. Here is how each element affects your silhouette:
- Aperture: A wide aperture (low f-number, like f/2.8) creates a shallow depth of field. This blurs the background, ensuring there are no distracting details competing with your subject's shape. It also lets in more light, which helps maintain a bright background without raising the ISO too high.
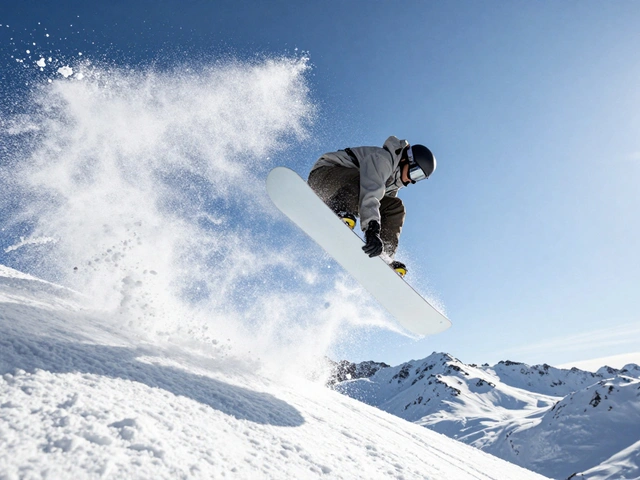
- Shutter Speed: For static subjects, a faster shutter speed freezes motion. If you are shooting birds or people moving, you need speeds above 1/500th of a second to avoid blur. Remember, blur destroys the crispness of a silhouette.
- ISO: Keep this as low as possible. High ISO introduces noise, which can fill in the "black" areas of your silhouette with gray speckles. Aim for ISO 100 or 200 if the light allows it.
The interplay between these settings determines the final texture of your image. A common mistake is keeping the ISO too high because the subject is dark. Don't do it. The subject should be pure black. Noise has no place in a graphic silhouette.
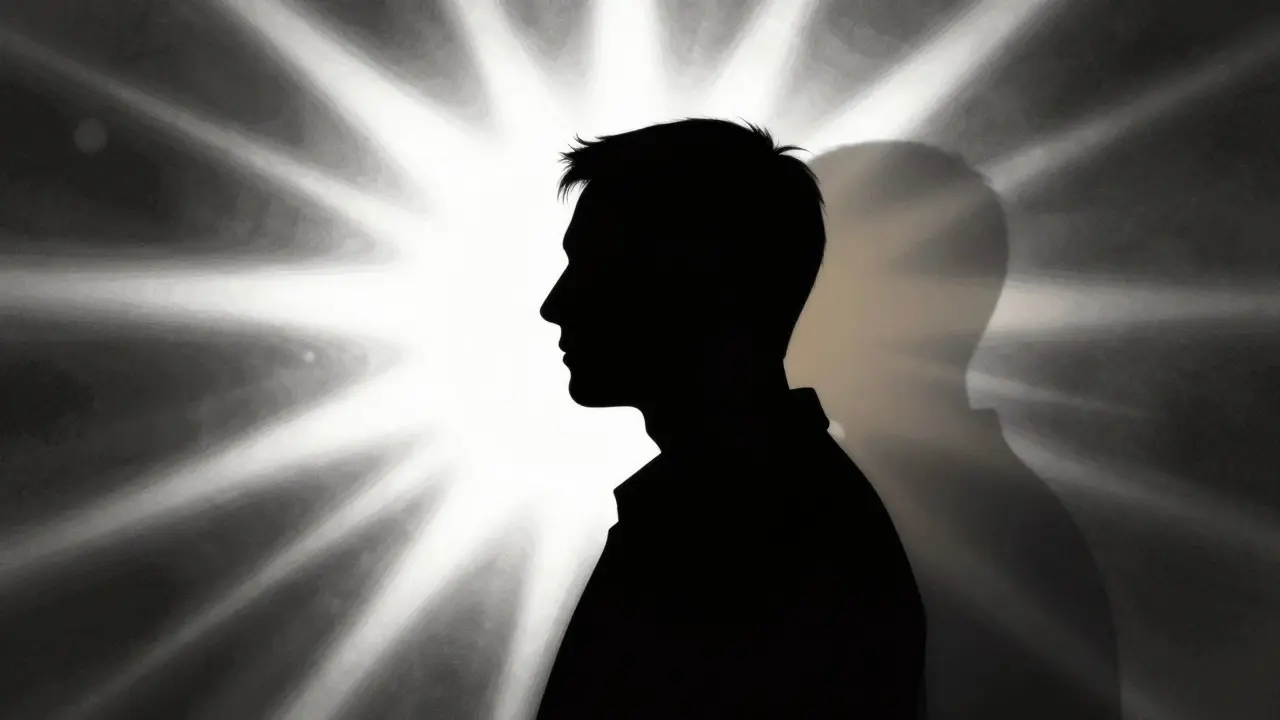
Composition and Negative Space
Once you have the exposure right, composition takes over. Silhouette photography is heavily reliant on Negative Space, which is the empty area surrounding the main subject in a composition. The larger the negative space, the more powerful the subject appears. Do not crowd the frame. Let the subject breathe. Place the subject off-center using the rule of thirds to create tension and movement.
Think about the horizon line. Placing it too high can make the image feel bottom-heavy. Placing it too low can make the subject look small. Experiment with placing the horizon at different levels to see how it changes the mood. A low horizon emphasizes the sky and the scale of the landscape. A high horizon focuses attention on the ground and the immediate environment. The goal is to create a balance where the viewer's eye is drawn immediately to the shape of the subject.
Common Mistakes and How to Fix Them
Even experienced photographers stumble with backlighting. Here are the most frequent errors and how to correct them instantly:
- Subject Too Close to Background: If the subject is touching the background, they may blend in. Ensure there is a physical distance between the subject and the light source behind them. This separation creates a clear edge.
- Internal Details Visible: If you can see the texture of clothes or hair strands, your exposure is too bright. Dial in more negative exposure compensation until the details disappear.
- Harsh Shadows on Face: While you want the face to be dark, you don't want unflattering shadows if you are capturing a profile. Position the subject so the light hits the back of their head, not the side.
- Camera Shake: Because you are often shooting in lower light conditions (sunrise/sunset), camera shake is a risk. Use a tripod or brace yourself against a stable surface. Alternatively, increase your shutter speed if the light permits.
These fixes are simple but critical. A single millimeter of misalignment in focus or exposure can ruin the graphic quality of the shot.

Post-Processing for Maximum Impact
Getting it right in-camera is great, but post-processing is where you refine the graphic nature of the image. Software like Adobe Lightroom or Capture One allows you to fine-tune the blacks. You can push the black slider down to ensure the subject is truly opaque. You can also increase the clarity and contrast to sharpen the edges further.
Be careful with saturation. While you want the background to be vibrant, oversaturating can cause halos around the subject's edges. Stick to natural colors or desaturate slightly for a more monochromatic, artistic feel. The goal is to enhance the shape, not to add artificial effects that distract from the simplicity of the form.
Frequently Asked Questions
What is the best time of day for silhouette photography?
The golden hours, shortly after sunrise and before sunset, offer the best light. The sun is low on the horizon, creating strong backlighting without being directly in the lens, which reduces glare and flare while providing rich colors in the sky.
Do I need a special lens for silhouettes?
No special lens is required, but a prime lens with a wide aperture (like 50mm f/1.8) is helpful. It allows you to isolate the subject from the background using shallow depth of field, ensuring the background remains smooth and uncluttered.
How far should the subject be from the background?
Ideally, the subject should be as close to the camera as possible, while the background is as far away as practical. This maximizes the separation and ensures the subject stands out clearly against the light source.
Can I take silhouettes during the day?
Yes, but it is challenging. You need a very bright background, such as a white wall or a bright window, and a subject that is significantly darker. Using manual mode and lowering the exposure significantly will help achieve the effect even in daylight.
Why does my silhouette look gray instead of black?
This usually happens because the exposure is not dark enough. The subject is receiving some ambient light. Try reducing the exposure compensation further or increasing the distance between the subject and the light source to deepen the shadow.