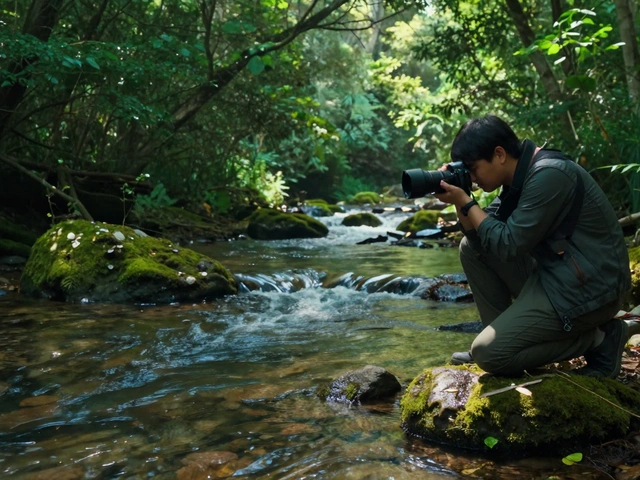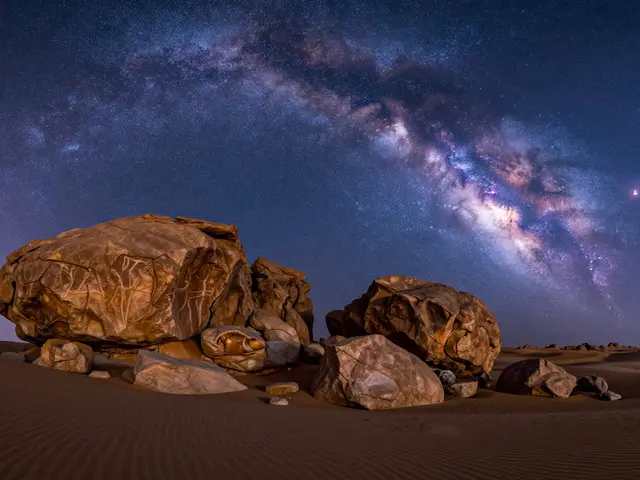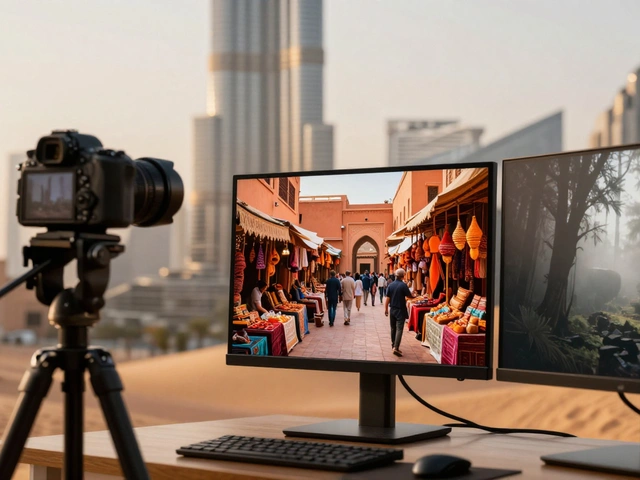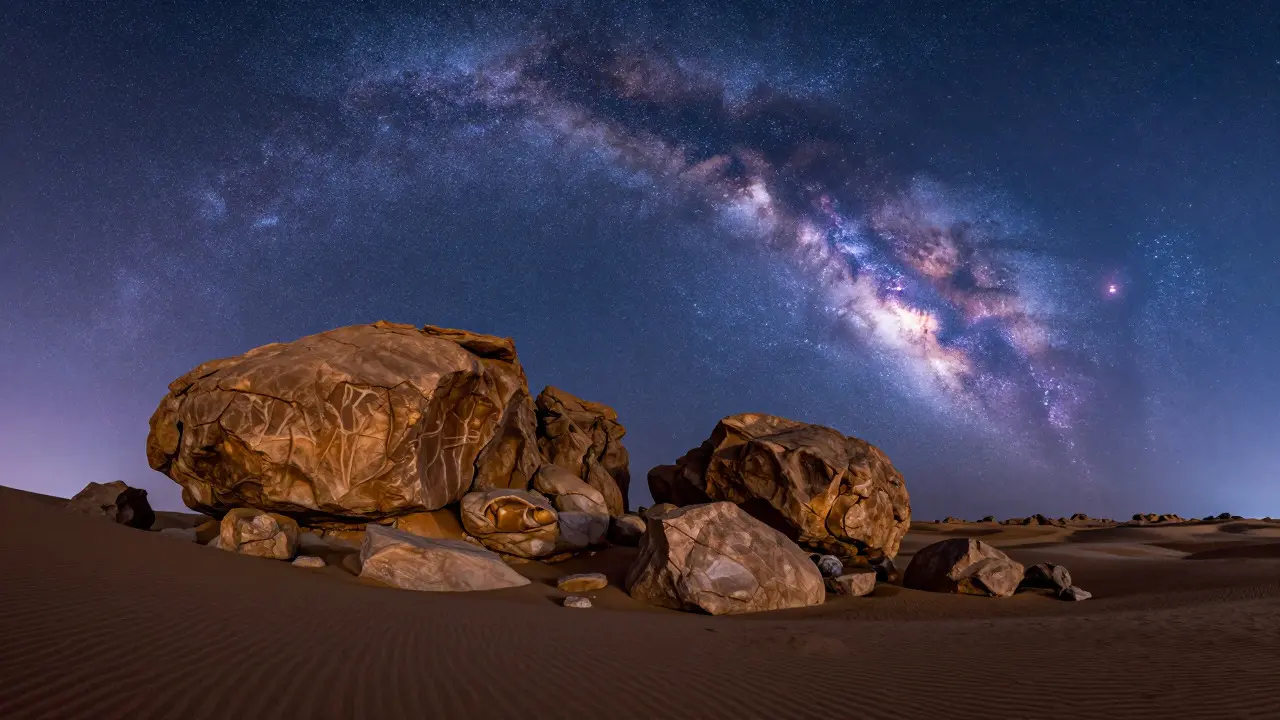
Staring at a photo of the Milky Way that looks like a black void with some white dots is a common frustration for new astrophotographers photographers who capture celestial objects such as stars, planets, and nebulae. The sky is beautiful, sure, but it feels empty without something to anchor your eye. That’s where foreground elements physical objects in the lower part of the frame that provide scale and context to night scenes come in. They turn a flat image into a three-dimensional scene, giving the viewer a sense of place and scale.
Why Your Foreground Matters More Than the Stars
You might think the stars are the main subject, but in terms of visual interest, the ground often does the heavy lifting. Human brains struggle to perceive depth in a two-dimensional image of distant light sources. We need reference points. A lone tree, a rocky outcrop, or a silhouetted cabin tells your brain exactly how far away those stars are. Without this anchor, the image can feel abstract or even confusing.
Think about the last time you looked up at the night sky from your backyard. You probably didn’t just see stars; you saw them against the roofline, the fence, or the neighbor’s oak tree. Those familiar shapes gave the scene meaning. In photography, we replicate this experience. The goal isn’t just to capture the cosmos; it’s to connect the cosmos to the earth. This connection creates an emotional hook that pure star fields rarely achieve on their own.
Choosing the Right Subject for Scale
Not every object works well as a foreground element. You need things that have distinct shapes and textures that survive low-light conditions. Here are some reliable choices that consistently produce strong results:
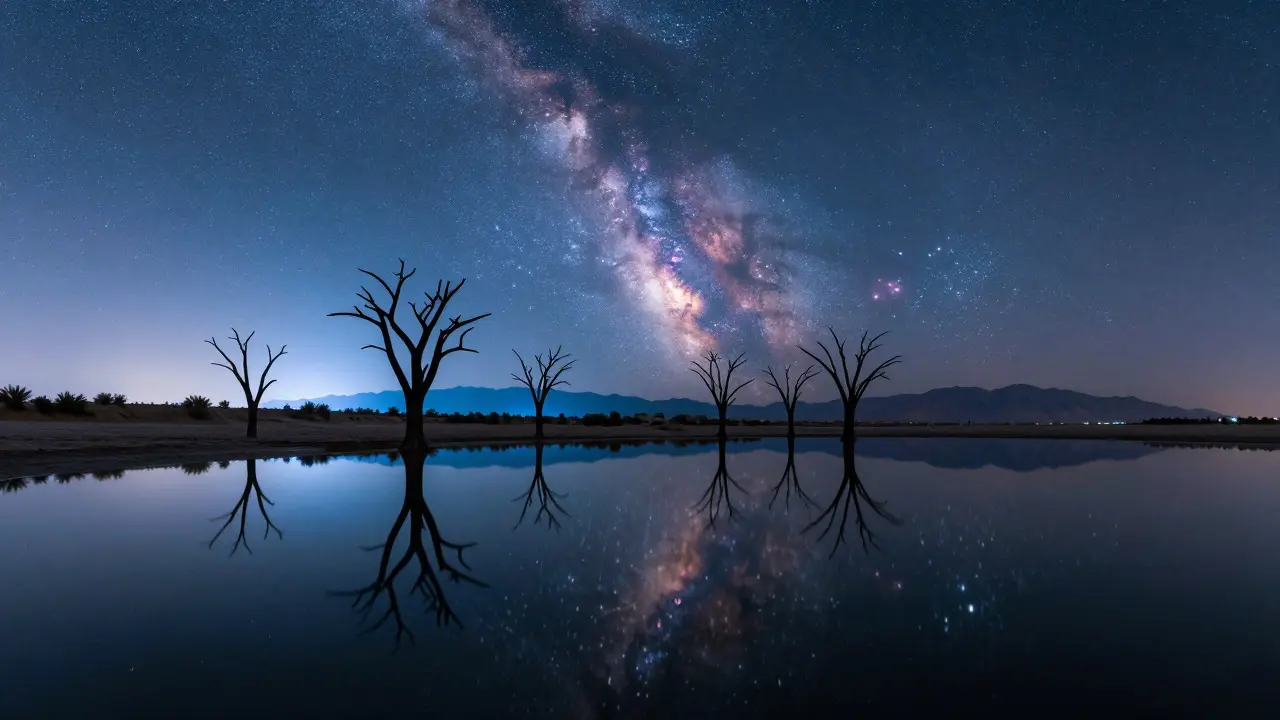
- Silhouetted Trees: These are the classic choice. Dead trees or bare branches work best because they create intricate patterns against the sky. Avoid dense foliage, which turns into a solid black blob unless you use a very fast lens.
- Rocks and Boulders: Large stones provide weight and stability to the composition. Look for rocks with interesting shapes or mineral veins that catch faint moonlight or artificial light.
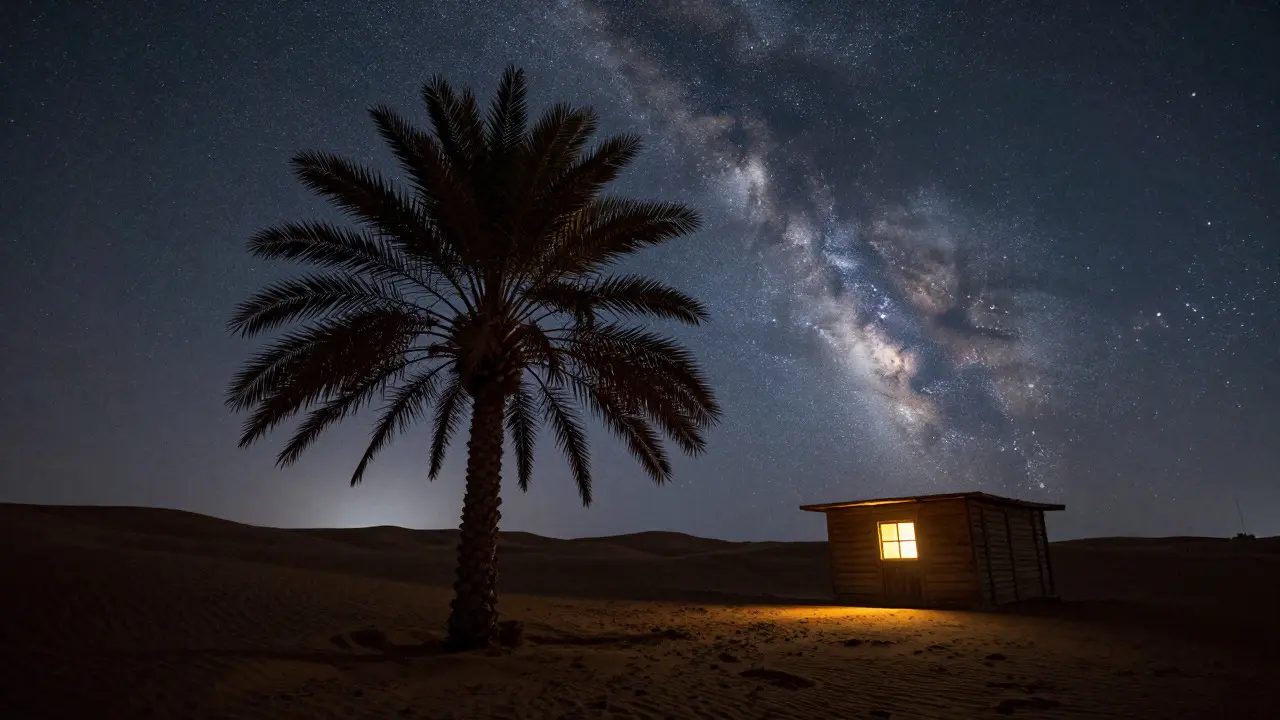
- Man-Made Structures: Cabins, wind turbines, lighthouses, or old bridges add a narrative element. A small window glowing warm yellow contrasts beautifully with the cool blue of the night sky.
- Water Reflections: If you’re near a lake or calm river, reflections double your visual impact. However, water requires extreme care with exposure settings to avoid motion blur.
Avoid cluttered areas. A single, well-placed subject is stronger than a chaotic mess of bushes and debris. Simplicity is key. If you have to choose between a busy forest edge and a single striking pine tree, go with the pine.
Lighting the Dark: Techniques for Visibility
The biggest technical challenge is that your foreground will be pitch black if you only expose for the stars. Star exposures typically range from 15 to 30 seconds at high ISO (like 3200 or 6400). During that time, any ambient light hitting your subject is minimal. So, how do you make the foreground visible without blowing out the sky?
There are two primary methods. The first is long-exposure blending a technique combining separate exposures of the sky and foreground into one image. You take one shot exposed for the stars (shorter shutter speed, higher ISO) and another shot exposed for the foreground (longer shutter speed, lower ISO). Then, you merge them in post-processing software like Adobe Lightroom or Photoshop. This gives you perfect detail in both areas.
The second method is flash illumination using artificial light sources to brighten specific foreground elements during the exposure. You can use a headlamp, a flashlight, or a dedicated LED panel. The trick is to keep the light source outside the frame. Shine it directly onto your subject while the camera captures the stars. For a more natural look, try "painting" with light-moving the light source slowly across the subject during the exposure. This prevents harsh hotspots and creates a softer, more organic glow.
| Technique | Best For | Pros | Cons |
|---|---|---|---|
| Long-Exposure Blending | Static landscapes, detailed textures | Maximum detail, no light artifacts | Requires post-processing skill, risk of misalignment |
| Direct Flash/Lamp | Close-up subjects, rocks, small structures | Fast, controllable intensity | Can look artificial if overdone, shadows may be harsh |
| Light Painting | Dramatic effects, highlighting edges | Creative control, soft transitions | Time-consuming, requires practice for consistency |
Composition Rules That Actually Work at Night
Standard daytime composition rules still apply, but they need tweaking for night scenes. The rule of thirds is your best friend here. Place your horizon line either in the bottom third (if the sky is the star) or the top third (if the foreground is the hero). Never put the horizon in the exact center unless you want a perfectly symmetrical reflection shot.
Leading lines are powerful tools at night. A winding path, a riverbank, or a row of trees can guide the viewer’s eye from the bottom of the frame straight up into the star field. This creates a visual journey that keeps people looking at the photo longer.
Also, pay attention to negative space. In night photography, the dark sky is a massive amount of negative space. Don’t fear it. Let the darkness breathe. A small, isolated subject surrounded by vast emptiness can be incredibly powerful. It emphasizes the scale of the universe compared to human presence.
Technical Settings for Sharp Results
To get a sharp foreground and crisp stars, you need to nail your camera settings. Here is a baseline setup to start with, assuming you are using a full-frame DSLR or mirrorless camera:
- Aperture: Set your lens to its widest aperture, usually f/2.8 or f/4. This lets in maximum light. Note that diffraction can soften images at very wide apertures on some lenses, so test your gear.
- ISO: Start at ISO 3200. Modern cameras handle noise well, and you can reduce it in post-processing. If your sky looks too dim, bump it to 6400.
- Shutter Speed: Use the 500 Rule to avoid star trails. Divide 500 by your crop factor (1x for full-frame, 1.5x for APS-C) and your focal length. For a 24mm lens on full-frame, 500/24 = ~20 seconds. This is your max safe exposure time.
- Focus: Switch to manual focus. Zoom in on a bright star or a distant light source and adjust until it is pinpoint sharp. Autofocus struggles in low light and will likely hunt or miss.
If you are shooting a foreground that requires a longer exposure (like 60+ seconds for blending), remember that stars will trail. This is why blending is necessary for complex scenes. For simple silhouettes, a single 20-second exposure with flash illumination might be enough.
Post-Processing: Bringing It All Together
Raw files from night shoots are flat and noisy. Post-processing is where the magic happens. When merging blended exposures, use a mask to blend the sky from the short exposure and the ground from the long exposure. Feather the mask edges heavily so the transition is invisible.
For color grading, lean into complementary colors. The night sky tends to be deep blues and purples. Warm up your foreground highlights slightly-add a touch of orange or yellow to windows, lamps, or sunlit rock faces. This contrast makes the image pop. Be careful not to oversaturate; natural tones always win over neon hues.
Finally, clean up noise. Use luminance noise reduction sparingly to keep texture in the foreground. Color noise reduction can be applied more aggressively, especially in the sky areas where smooth gradients are expected.
Frequently Asked Questions
What is the best focal length for night sky photography with a foreground?
Wide-angle lenses between 14mm and 24mm are ideal. They capture a broad view of the sky and allow you to include significant foreground details. Longer focal lengths compress the scene and make it harder to fit both a large sky area and a detailed ground element in the same frame.
Do I need a tripod for night sky photography?
Yes, a sturdy tripod is essential. Since you are using slow shutter speeds (15-30 seconds), any camera shake will result in blurry stars and soft foregrounds. A ball head is preferred over a pan-tilt head for precise framing adjustments.
How do I prevent my foreground from being completely black?
Use external lighting. Shine a flashlight or LED panel onto your subject during the exposure. Alternatively, take two separate photos-one exposed for the sky and one for the ground-and blend them in editing software. Both methods ensure visibility without overexposing the stars.
Is the moon bad for night sky photography?
It depends. A full moon washes out most stars, making it difficult to see the Milky Way. However, moonlight acts as a natural floodlight for your foreground, reducing the need for artificial lighting. Crescent or gibbous moons offer a good balance, providing some ambient light while keeping the sky dark enough for star visibility.
What should I do if my stars look like streaks?
Your shutter speed is too long for your focal length. Use the 500 Rule to calculate the maximum exposure time. For example, if you are using a 35mm lens on a full-frame camera, your max exposure should be around 14 seconds. Shorter exposures keep stars as points rather than trails.