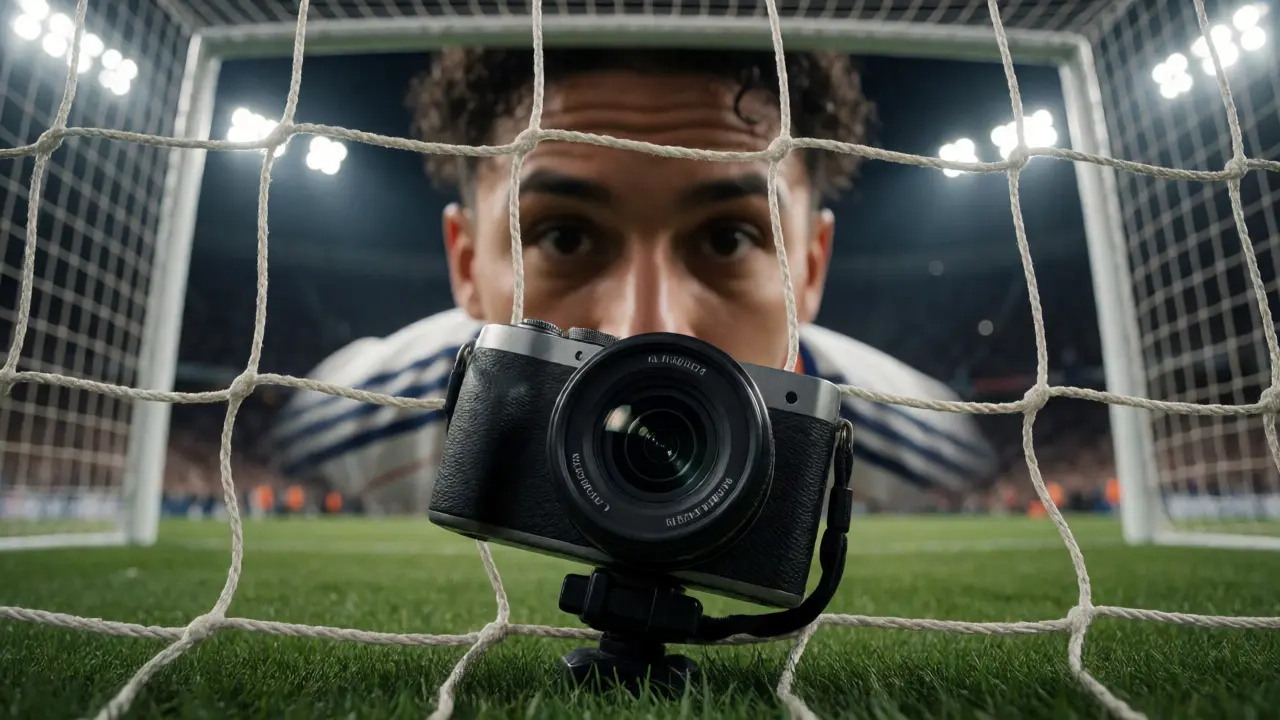
You know that moment when the striker winds up for a penalty kick? The crowd holds its breath. The goalkeeper shifts weight. If you’re stuck behind the goal line with a telephoto lens, you get the drama of the save but miss the raw emotion on the shooter’s face. Or worse, you’re so far back that the ball looks like a speck against the net. This is where remote cameras change the game entirely. They let you place glass inches from the action without putting yourself-or your expensive gear-in harm's way.
Think about the last big game you watched on TV. Those tight, visceral shots of players’ eyes widening or sweat flying off a helmet? Those rarely come from a guy standing ten feet away holding a massive white lens. They come from small, rugged boxes mounted on tripods, clamped to fences, or embedded in the turf. Using remote systems isn’t just about getting closer; it’s about seeing angles that human eyes can’t safely occupy. Whether you are shooting local high school football or tracking pro tennis, understanding how to deploy these tools separates amateur snapshots from broadcast-quality imagery.
Why You Need Remote Systems in Action Sports
Let’s be honest: standard lenses have limits. A 400mm f/2.8 is great, but it’s heavy, expensive, and requires you to stand still while chaos erupts around you. Remote setups solve three specific problems that plague every sports photographer.
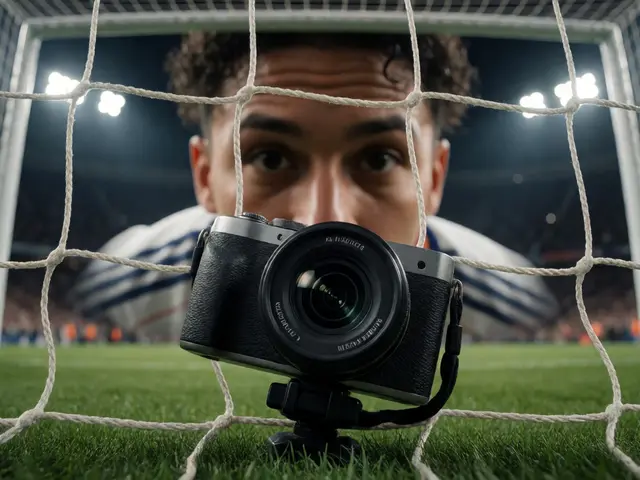
First, they eliminate physical danger. In contact sports like hockey or lacrosse, pucks and balls fly at speeds exceeding 100 mph. Standing near the boards with a $10,000 lens is a gamble. A remote unit tucked into a protective cage keeps your gear safe and lets you focus on timing rather than dodging projectiles. Second, they unlock unique perspectives. Mounting a wide-angle lens inside a soccer goal gives you a view no sideline photographer can match-you see the net ripple and the player’s reaction simultaneously. Third, they allow multi-camera coverage. Instead of one person trying to cover three zones, you can trigger five different angles with a single shutter release, capturing the play from start to finish.
This approach isn't reserved for ESPN crews anymore. Modern wireless triggers and compact mirrorless bodies have made this accessible to weekend warriors. You don’t need a production truck; you need a solid plan, reliable power, and the right mounting hardware.
Choosing the Right Camera Body for Remote Duty
Not every camera works well as a remote rig. Your main DSLR might be too bulky or lack the connectivity features needed for seamless operation. When picking a body for remote deployment, prioritize size, heat dissipation, and tethering capabilities over megapixel count.
Compact mirrorless cameras are currently the gold standard here. Models like the Sony Alpha series or Canon EOS R models offer excellent autofocus performance in small packages. Why does this matter? Because smaller bodies are easier to mount in tight spaces, such as between goal posts or under bleachers. Look for cameras with USB-C ports that support continuous power delivery (PD). Running off batteries alone is risky during long matches; if a battery dies mid-play, you lose the shot. Connecting via USB-C to a portable power bank ensures your camera stays alive for hours.
Another critical feature is silent electronic shutter capability. Mechanical shutters vibrate. If your camera is mounted on a flimsy tripod or attached to a vibrating fence, that vibration blurs your image. Electronic shutters remove this mechanical movement, resulting in sharper images even on less-than-perfect mounts. Also, check for robust Wi-Fi or Bluetooth apps. While wired tethering is more reliable, wireless control allows you to adjust ISO or aperture from across the field without running cables everywhere.
The Art of Goal and Net Placement
Placing a camera inside or near a goal requires precision. You aren’t just pointing a lens; you’re framing a dynamic scene where subjects move rapidly toward and away from the sensor. For soccer and hockey, the "inside-the-goal" shot is iconic. It captures the net bulging and the goalkeeper’s despair or triumph in one frame.
To achieve this, you need a wide-angle lens, typically between 16mm and 35mm. Wider than 16mm introduces extreme distortion that can make players look cartoonish unless used creatively. Position the camera low, near the ground, angled slightly upward. This perspective makes athletes look heroic and powerful. Use a fast prime lens, like a 24mm f/1.4, to gather light in stadium conditions and create a shallow depth of field that isolates the subject from the background noise.
| Position | Recommended Focal Length | Aperture | Primary Benefit |
|---|---|---|---|
| Inside Soccer/Hockey Goal | 16-35mm | f/2.8 - f/4 | Captures net interaction and facial expressions |
| Baseline Tennis/Basketball | 24-70mm | f/2.8 | Versatile framing for close-up action |
| Overhead/Crowd Angle | 50-85mm | f/1.8 - f/2.8 | Isolates players from distracting backgrounds |
| Turf Level (Football/Rugby) | 14-24mm | f/2.8 | Dramatic low-angle perspective of tackles |
Security is paramount when placing gear inside a goal. Referees and players will collide with your setup. Always use a safety cable or strap to secure the camera to a fixed point. If the camera falls, it could injure a player or end your shoot. Many pros use custom-made cages or heavy-duty brackets that bolt directly into the goal post structure. If bolting isn’t allowed, weighted sandbags combined with anti-slip mats provide stability without damaging surfaces.
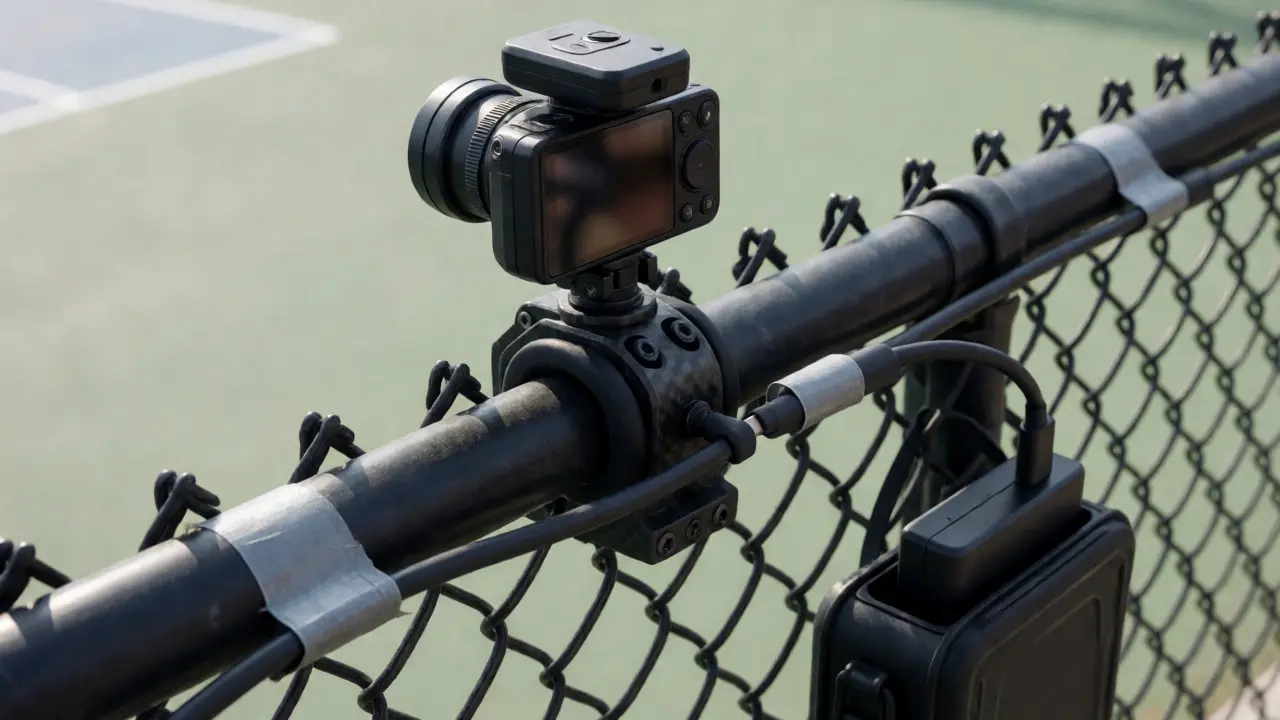
Rigging Up: Tripods, Brackets, and Stability
A shaky rig equals blurry photos. In sports, margins for error are tiny. A slight wobble on a telephoto lens turns a crisp image into mush. Therefore, your support system matters more than the camera itself. Standard lightweight travel tripods often fail in windy stadiums or on uneven turf.
Invest in sturdy carbon fiber legs or, better yet, specialized sports brackets. These brackets clamp onto existing structures like goal posts, fence rails, or lighting poles. Clamping reduces the footprint and keeps equipment out of the way of spectators and staff. Look for brackets with quick-release plates compatible with Arca-Swiss standards. This lets you swap cameras quickly if you decide to change lenses or positions during halftime.
Vibration dampening is another key factor. Some modern tripods come with built-in damping mechanisms, but DIY solutions work well too. Hanging a weight bag from the center column lowers the center of gravity, stabilizing the setup against wind gusts. If you’re mounting on a metal fence, use rubber pads between the clamp and the fence to absorb vibrations from cheering crowds. Remember, every connection point is a potential source of movement. Tighten everything twice. Check it again after ten minutes. Stadium environments are harsh; things loosen up.
Triggering and Connectivity: Wired vs. Wireless
How do you fire the shutter? This decision dictates your workflow. Two main methods dominate the market: wired tethering and wireless triggering.
Wired tethering offers unmatched reliability. Using software like Capture One or Lightroom, you connect your remote camera to a laptop via USB or Ethernet. Every time you press the shutter on your main camera, the signal sends instantly to the remote unit. There’s zero lag, no interference, and you can review images immediately on a large screen. This is ideal for controlled environments like tennis courts or basketball arenas where cable runs are manageable. However, cables can become tripping hazards. Use gaffer tape to secure them flat on the floor. Long USB cables can suffer from signal degradation, so consider active extension cables or fiber-optic USB links for distances over 15 feet.
Wireless systems, such as PocketWizard or Godox triggers, offer freedom of movement. You carry a transmitter in your hand, and receivers sit on each remote camera. This setup is perfect for outdoor fields where laying cables is impractical. The downside is latency. Even high-end wireless triggers have a slight delay-usually milliseconds-that can cause you to miss the peak moment by a fraction of a second. To mitigate this, anticipate the action. Don’t wait for the exact millisecond of impact; fire slightly early. Also, ensure all devices are on the same channel to avoid cross-talk with other photographers using similar gear nearby.
For hybrid scenarios, some photographers use both. They wire the primary angle for guaranteed capture and use wireless triggers for secondary, artistic angles. This redundancy saves your bacon when technology inevitably fails.
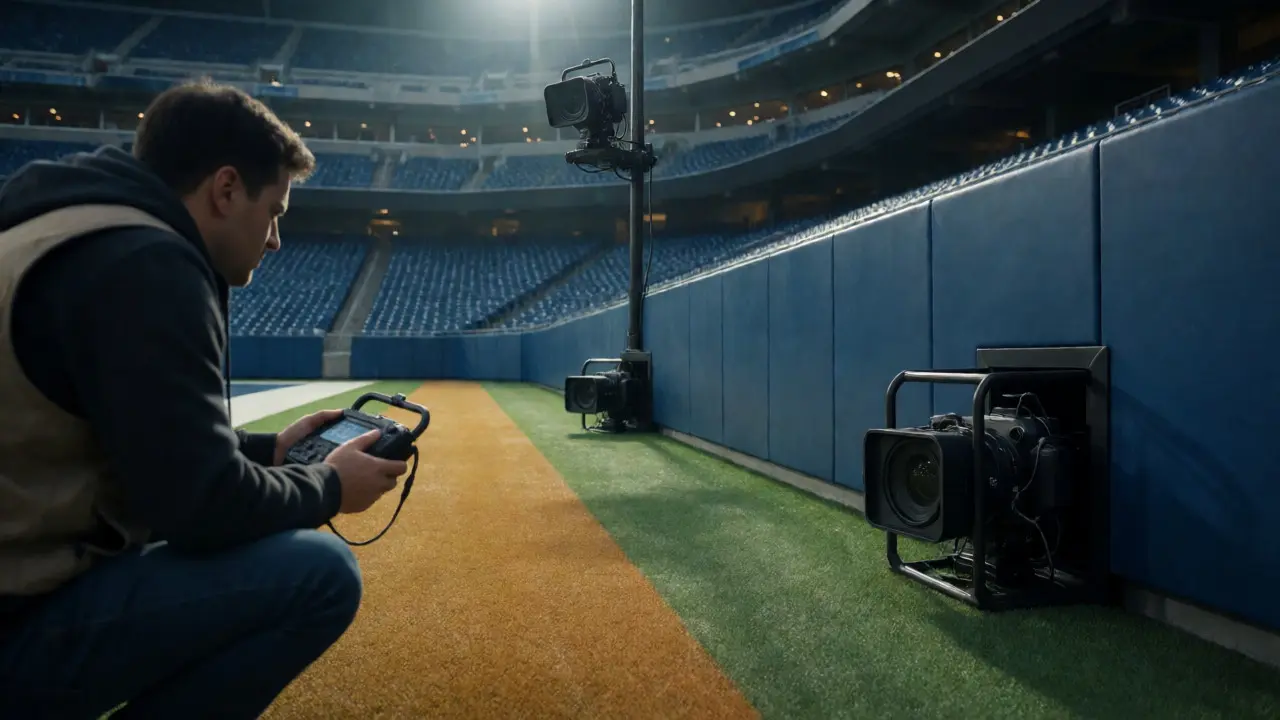
Power Management and Environmental Protection
Batteries die. Rain happens. Dust kicks up. Remote cameras operate in hostile environments, often unattended for long periods. You cannot afford to run out of power during a crucial play.
Use dummy batteries connected to external power banks. Brands like Wasabi Power or SmallRig make universal dummy batteries that plug into most mirrorless and DSLR bodies. Connect these to a high-capacity power bank (20,000mAh or higher) hidden in a waterproof case. This setup provides enough juice for an entire day of shooting. Keep spare batteries handy, but rely on the external power source for consistency.
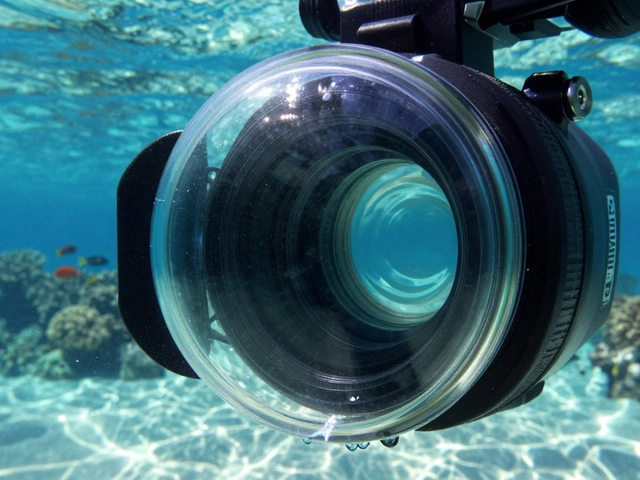
Weather sealing is non-negotiable. Even if it’s not raining, morning dew or spilled drinks can damage electronics. Wrap your remote cameras in rain covers designed for their specific model. For extra protection, especially in muddy sports like football, encase the camera in a clear plastic housing. Ensure the lens port remains clear but sealed. Ventilation is tricky; sealed cases can overheat in direct sunlight. Place shaded units in cooler spots or use small fans if temperatures exceed 90°F (32°C).
Practical Workflow Tips for Game Day
Setting up remotes takes time. Arrive early. Map out your positions before the teams warm up. Once the game starts, you won’t have time to fiddle with settings. Pre-focus your remote cameras. Since you can’t easily adjust focus remotely during fast action, set a hyperfocal distance or lock focus on a predictable zone, like the penalty spot or the free-throw line. Use a smaller aperture, like f/5.6 or f/8, to increase depth of field and reduce the chance of missed focus.
Test your triggers thoroughly. Fire ten test shots before kickoff. Check the histogram. Verify exposure. Make sure the images are landing on your computer or card correctly. Nothing ruins a shoot like realizing your receiver was on the wrong frequency after missing the winning goal.
Finally, communicate with officials. Some leagues require permission to place equipment within certain boundaries of the field. Get approval from the referee or tournament director before setting up. This avoids awkward interruptions during play and ensures your gear stays exactly where you put it.
Do I need a separate camera for each remote position?
Yes, generally you need one camera per position. Each angle requires its own lens and body to capture simultaneous moments. While some advanced setups use split optics, distinct cameras provide independent control over exposure and focus for each viewpoint.
Can I use my smartphone as a remote camera?
You can, but it’s limited. Smartphones lack the optical zoom and manual controls needed for professional sports. They are useful for B-roll or social media clips but struggle with fast-moving subjects in low light compared to dedicated interchangeable-lens cameras.
How do I prevent my remote camera from being stolen?
Use security cables, lockable cages, or place cameras in hard-to-reach spots. For high-value events, assign a volunteer or assistant to monitor the equipment. Insurance covering theft and accidental damage is also highly recommended for sports photographers.
What is the best lens for inside a soccer goal?
A wide-angle prime lens, such as a 24mm f/1.4 or 35mm f/1.8, works best. These lenses provide a broad field of view to capture the net and player reactions while maintaining sharpness and low-light performance.
Is wireless triggering reliable enough for professional sports?
High-end wireless triggers are very reliable, but wired connections are still preferred for critical moments due to zero latency. Many pros use wireless for secondary angles and wired for primary hero shots to balance convenience with absolute reliability.