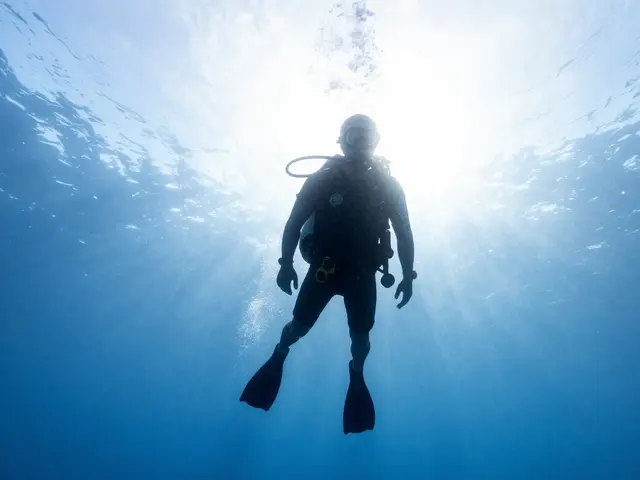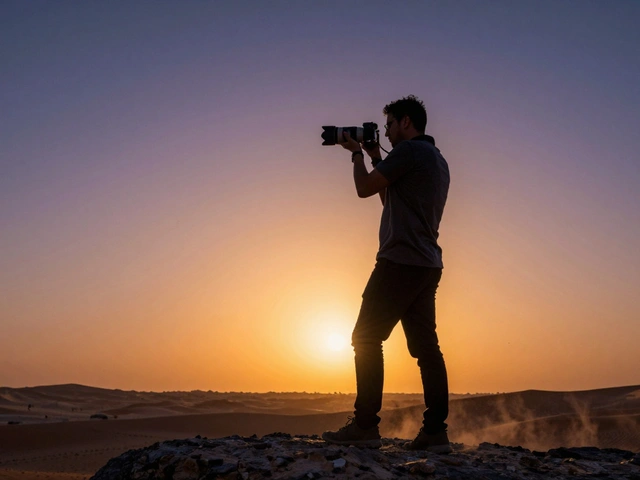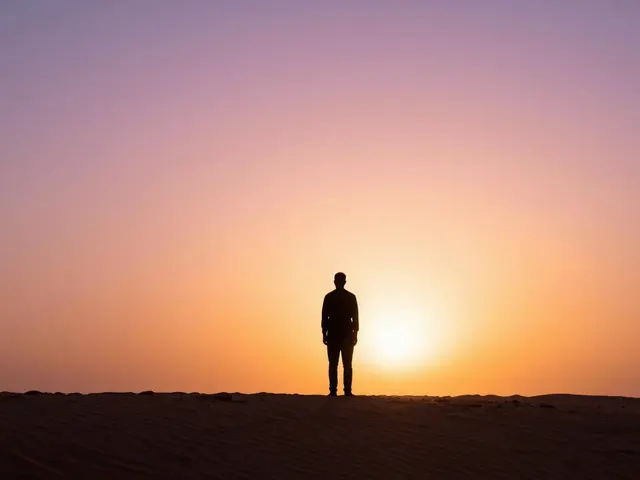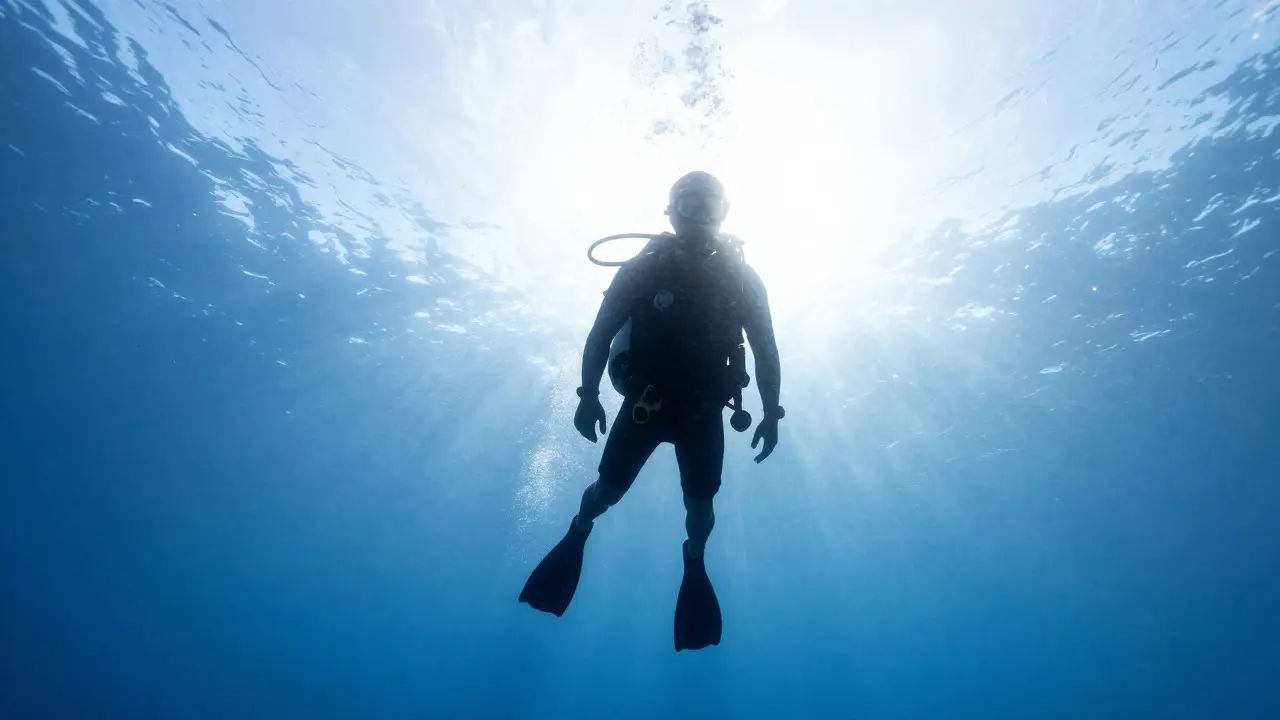
Most photographers chase light. In underwater silhouette photography, you do the opposite. You use the light source to erase detail, turning a swimmer, a diver, or even a fish into a stark black shape against a bright background. It is a technique that relies on contrast rather than color, creating images that feel graphic, dramatic, and timeless. If you have ever struggled with murky water hiding your subjects, this method offers a clean solution by removing the need for clear visibility.
The Core Principle of Backlighting
To create a silhouette is a photographic effect where the subject appears as a dark outline against a much brighter background. The physics are simple: the camera meter reads the brightest part of the scene first. When you place a subject between the camera and a strong light source, the sensor prioritizes exposing the light, leaving the subject underexposed to near-black. This works in air, but it becomes even more effective underwater because water naturally absorbs light and scatters particles, which can muddy standard shots. By silhouetting, you bypass the murk entirely.
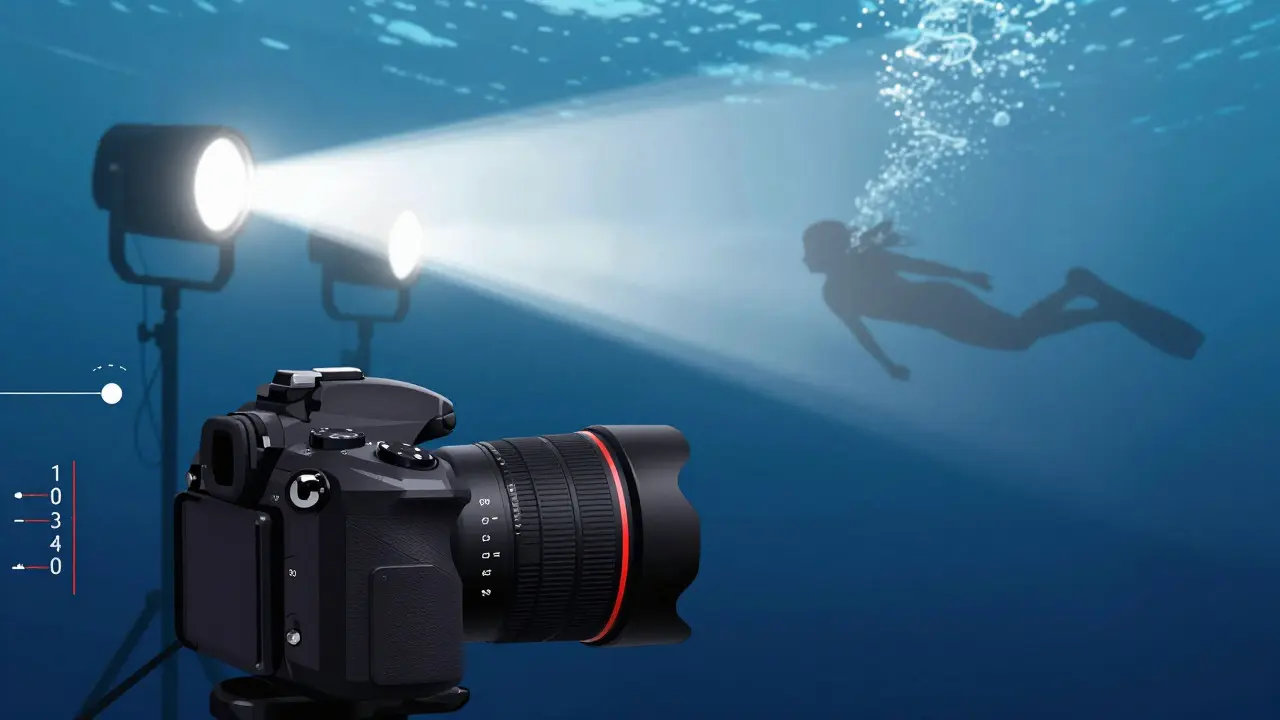
You need three elements to make this work: a subject, a strong backlight, and a distance between them. The further the subject is from the light source, the darker it appears. If the subject is too close to the light, fill light will bounce off their body, revealing unwanted details like skin texture or gear straps. Aim for at least 10 to 15 feet of separation if possible, though in tight spaces, even 5 feet can work if the light intensity is high enough.
Choosing the Right Light Source
Not all light sources are created equal when shooting silhouettes. You want a source that is significantly brighter than the ambient environment. Here are the most reliable options:
- Sunlight (Surface): The most powerful natural source. Shoot looking up toward the surface during midday when the sun is high. The surface acts as a massive white screen. Avoid golden hour; the light is too warm and diffuse, often failing to create a pure black silhouette.
- Artificial Strobes: Use your external flash units set to full power. Position them behind the subject relative to the camera. A single strobe can be sufficient if placed centrally, but two strobes provide more even illumination of the background.
- Headlights/Dive Lights: For solo divers or macro shooters, a powerful dive light held by a buddy or mounted on a separate housing can serve as a compact backlight. This is useful in caves or wrecks where surface light doesn't reach.
Camera Settings for Maximum Contrast
Your settings must force the camera to ignore the subject's brightness. Here is the technical setup that ensures crisp results:
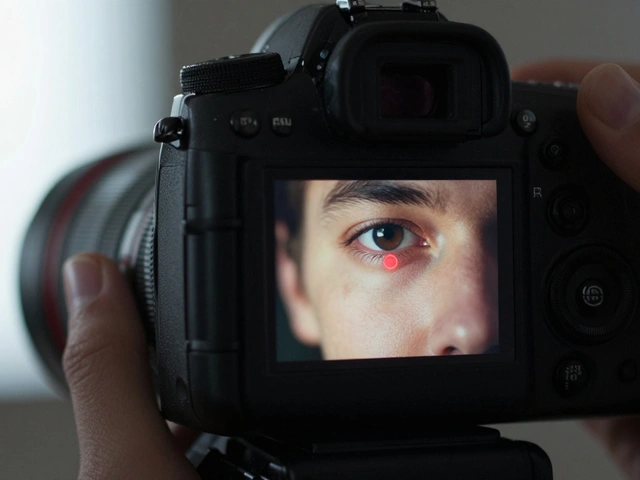
- Metering Mode: Switch to Spot Metering. Aim the spot directly at the brightest part of the background (the sun reflection or the lit water column). Do not aim at the subject.
- Exposure Compensation: Dial in -1 to -2 stops. Even after spot metering, cameras tend to err on the side of safety. Under-exposing slightly guarantees the subject stays black without crushing the highlights in the background.
- Aperature: Use f/8 to f/11. You need a deep depth of field to ensure both the subject and the immediate background are sharp, although the subject’s details don’t matter as much as its shape.
- ISO: Keep it low (100-400) to minimize noise in the bright background areas. High ISO adds grain that ruins the smooth gradient of the water.
| Light Source | Intensity Control | Ideal Conditions | Common Pitfall |
|---|---|---|---|
| Sunlight (Surface) | Fixed (depends on time/weather) | Clear days, midday, shallow water | Overexposed sky/surface glare |
| External Strobe | High (adjustable power) | Night dives, deep water, controlled environments | Uneven lighting causing gray shadows |
| Dive Light | Medium (fixed beam) | Caves, wrecks, solo shooting | Beam spill revealing subject details |
Composition and Subject Selection
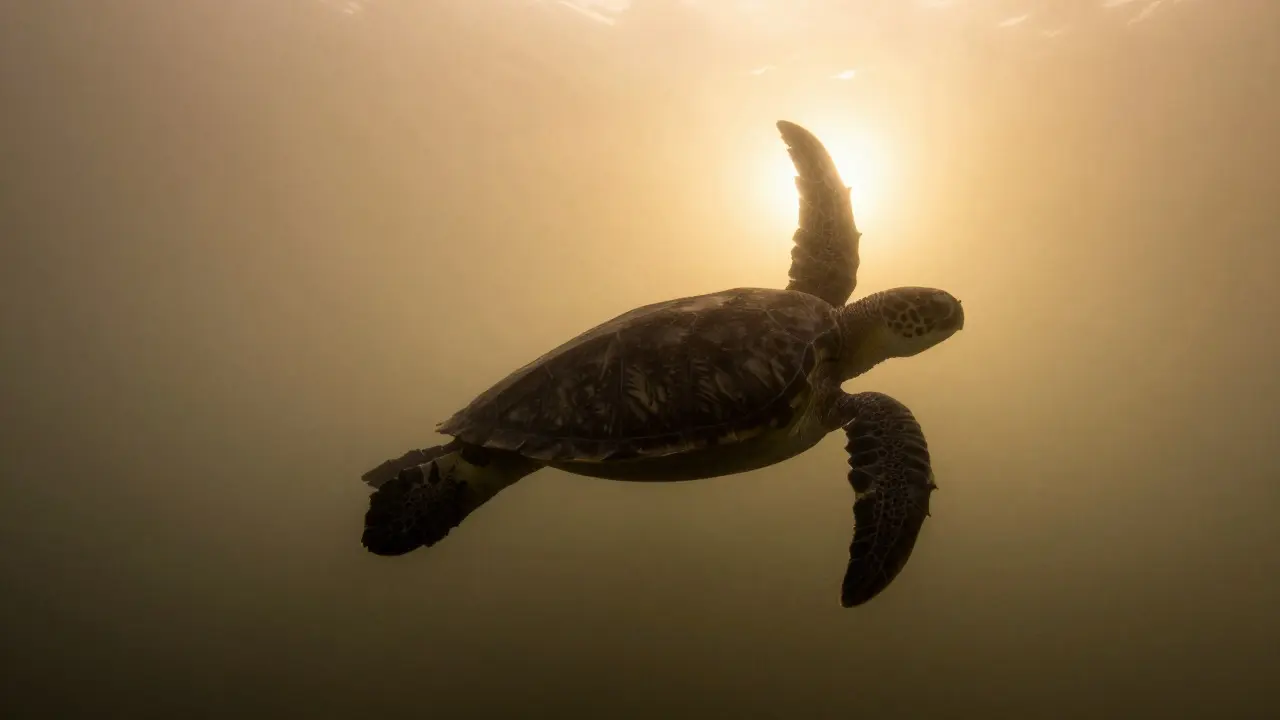
A silhouette is only as good as its shape. Complex shapes become unrecognizable blobs. Choose subjects with distinct outlines. A diver holding a camera has a recognizable profile. A sea turtle with extended flippers creates a dynamic cross shape. A group of swimmers overlapping creates interesting negative space. Avoid cluttered backgrounds. Since the background is bright, any debris, bubbles, or particulate matter will stand out sharply. Wait for a moment of stillness in the water column. Bubbles rising through the light path look great if they are sparse, but a cloud of bubbles destroys the mood. Position yourself so the horizon line (if visible) sits either at the very top or bottom third of the frame, keeping the focus on the subject.
Common Mistakes and How to Fix Them
Even with correct settings, silhouettes can fail. Here is what usually goes wrong and how to fix it instantly: The Subject is Gray, Not Black: This means there is too much fill light hitting the front of the subject. Move the subject further away from the light source, or increase your exposure compensation to -2 or -3 stops. Alternatively, angle the light source higher so it hits the water above the subject rather than directly behind them. The Background is Blown Out: If the background is pure white with no texture, you lose the sense of place. Check your histogram. You want the highlights to peak just before clipping. Reduce your aperture size (higher f-number) to let in less light, or lower your ISO. If using artificial light, reduce the strobe power slightly. Unwanted Reflections: If you are shooting near the surface, your mask or dome port might reflect the light source onto the subject. Angle your housing slightly downward or use a matte filter on your dome port to reduce internal reflections.
Post-Processing for Clean Results
Raw files are essential here. In post-production, you will likely need to adjust the blacks slider to deepen the shadow tones of the subject. Be careful not to crush the entire image; you want the subject to be solid black, but the surrounding water should retain some tonal variation. Increase clarity slightly to make the edges of the silhouette pop against the bright background. If there are stray bubbles or small debris in the bright area, use the healing brush tool to remove them. The goal is a clean, graphic look where the eye is drawn immediately to the shape.
Frequently Asked Questions
Can I shoot silhouettes in murky water?
Yes, actually. Murky water is ideal for silhouettes because the lack of visibility prevents the subject's details from being seen anyway. As long as you have a strong light source behind the subject, the murkiness only affects the background color, not the silhouette itself.
What is the best time of day for surface silhouettes?
Midday is best. The sun is high, providing intense, direct light. Early morning and late afternoon produce softer, warmer light that tends to reveal more detail on the subject, making it harder to achieve a true black silhouette.
Do I need a wide-angle lens?
No, but it helps. Wide-angle lenses allow you to capture more of the environment and include the light source in the frame easily. However, telephoto lenses can compress the perspective, making the subject appear closer to the light source, which can enhance the silhouette effect in certain compositions.
How do I handle moving subjects like fish?
Use a fast shutter speed (1/250s or faster) to freeze motion. Anticipate the subject's path and pre-focus on the point where they will intersect the light beam. Patience is key; wait for the subject to move into the perfect alignment with the backlight.
Does water temperature affect the shot?
Indirectly. Cold water holds more dissolved gases, which can lead to more bubble formation. Warm water may have different particulate suspension levels. However, the primary factor is light intensity, not temperature. Just ensure your equipment is rated for the specific thermal conditions to avoid condensation inside the housing.