You just bought a camera. Maybe it was a shiny new mirrorless model, or perhaps you finally upgraded from your smartphone because the photos looked flat and boring. Now you’re staring at a menu with fifty options, wondering why your shots look nothing like the ones on Instagram. Here’s the truth: gear doesn’t make the photographer. Understanding light does.
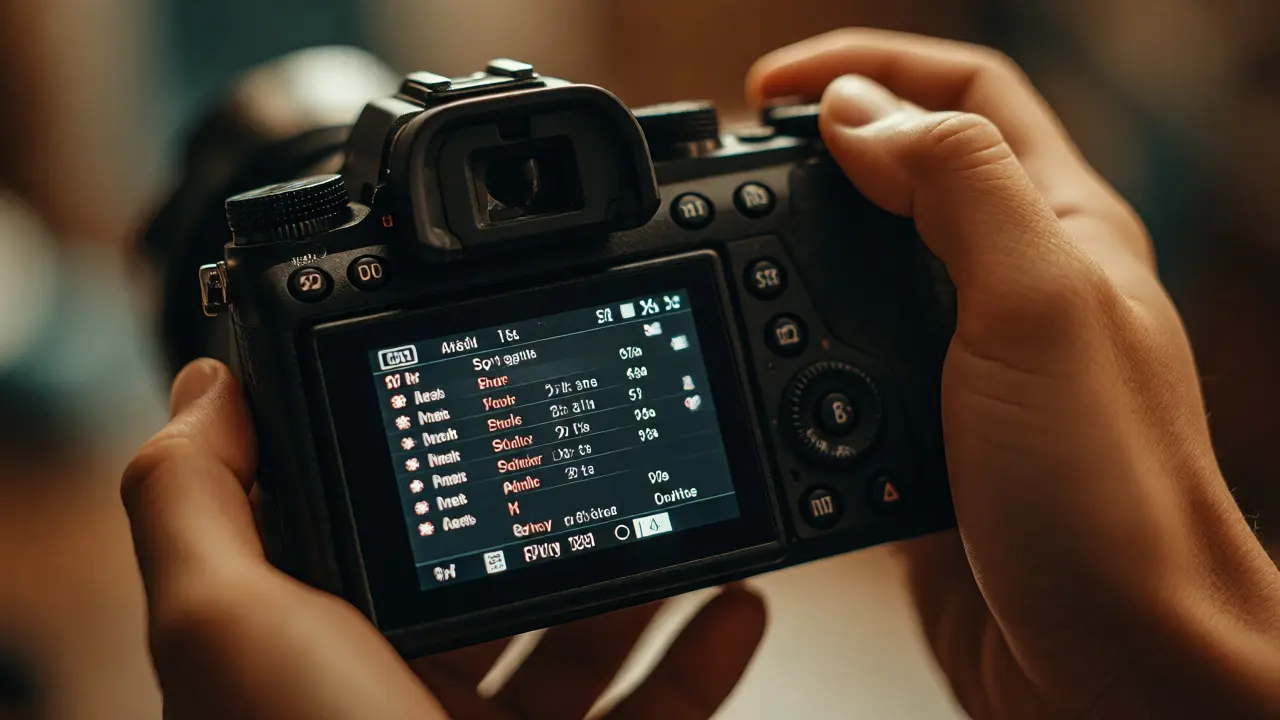
Most beginners get stuck in "Auto Mode" forever because they’re afraid of breaking something. But photography is simply the art of capturing light. If you understand how your camera sees light, you can take great pictures with any device. This guide strips away the jargon and gives you a clear path from confusion to confidence. We’ll cover the three settings that control everything, how to frame a shot so people actually stop scrolling, and what to do when things go wrong.
The Exposure Triangle: Your Camera’s Core Logic
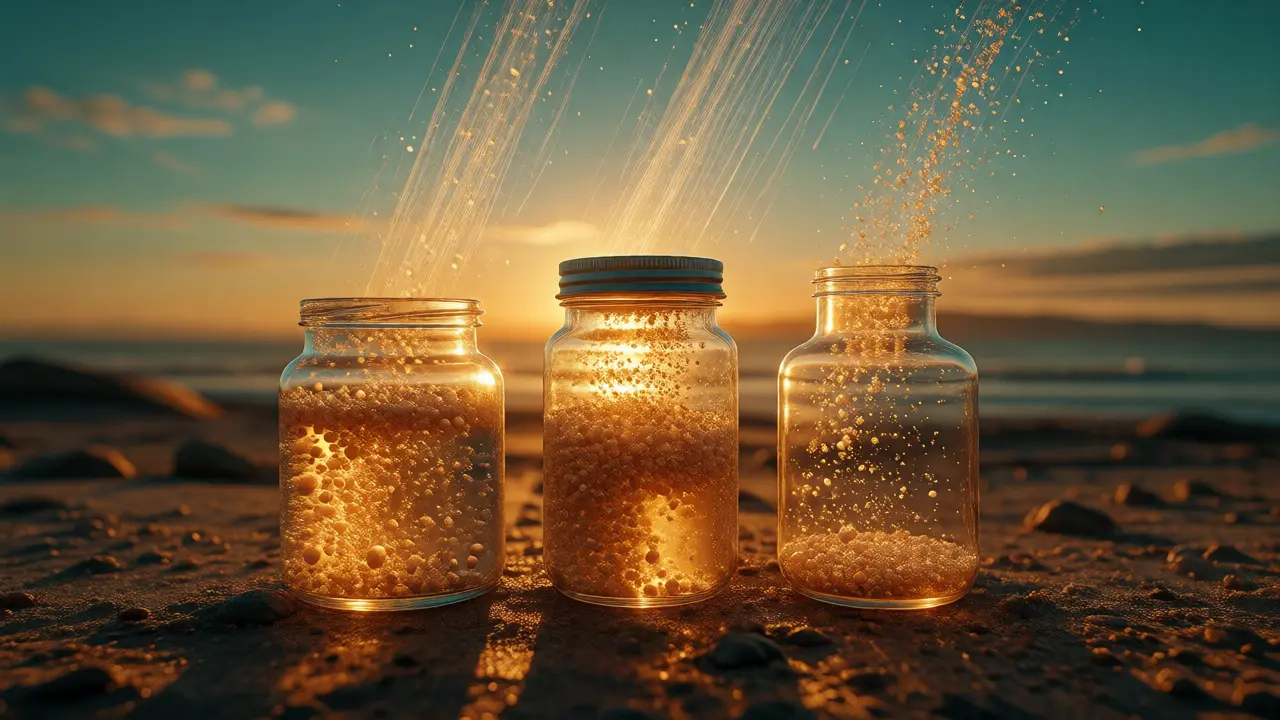
Think of your camera as a bucket catching rain (light). You have three ways to fill that bucket: the size of the opening, how long you leave it out, and how sensitive the bottom is. These are Aperture, Shutter Speed, and ISO. Together, they form the Exposure Trianglea fundamental concept in photography describing the relationship between aperture, shutter speed, and ISO. You cannot change one without affecting the others.
Aperture controls the size of the lens opening. It’s measured in f-stops, like f/1.8 or f/16. A lower number means a bigger hole, letting in more light and blurring the background (that creamy look called bokeh). A higher number means a smaller hole, keeping everything sharp from front to back. Use wide apertures (f/1.8-f/4) for portraits where you want the subject to pop. Use narrow apertures (f/8-f/16) for landscapes where every rock and tree needs detail.
Shutter Speed determines how long the sensor is exposed to light. Measured in fractions of a second (like 1/500) or full seconds, it freezes motion or creates blur. To freeze a running dog, you need fast speeds like 1/1000s. To capture silky waterfalls, you need slow speeds like 1/2s, which requires a tripod. The general rule? Keep your shutter speed faster than 1 over your focal length to avoid hand-shake blur. Shooting at 50mm? Don’t go slower than 1/50s.
ISO is your sensor’s sensitivity to light. In bright daylight, keep it low (ISO 100) for crisp, noise-free images. In dim rooms, bump it up (ISO 1600-3200). Higher ISO adds digital noise-grainy speckles that reduce quality. Modern cameras handle high ISO better than older ones, but always start low and raise it only when necessary. If your photo is too dark, increase ISO before you slow down your shutter speed if you’re handheld.
| Scenario | Aperture (f-stop) | Shutter Speed | ISO |
|---|---|---|---|
| Portrait (Daylight) | f/1.8 - f/2.8 | 1/200s - 1/500s | 100 - 200 |
| Landscape (Sunny) | f/8 - f/11 | 1/100s - 1/250s | 100 |
| Action/Sports | f/2.8 - f/4 | 1/1000s+ | 400 - 800 |
| Indoor Low Light | f/1.8 - f/2.8 | 1/60s - 1/125s | 1600 - 3200 |
Composition: Making Photos Look Professional
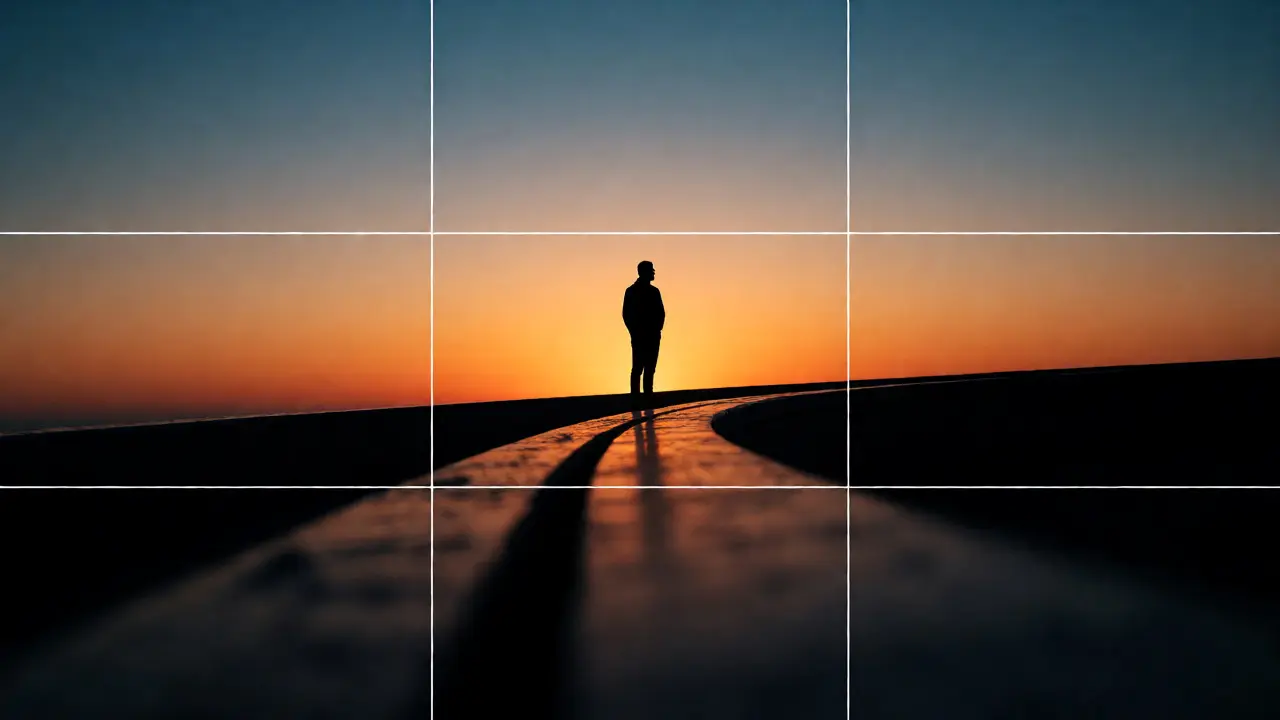
Great settings don’t save a bad composition. Composition is how you arrange elements within the frame. The most famous trick is the Rule of Thirdsa guideline suggesting an image should be imagined as divided into nine equal parts by two equally spaced horizontal lines and two equally spaced vertical lines. Imagine a tic-tac-toe grid over your viewfinder. Place your subject along these lines or at their intersections, not dead center. Centering often feels static; off-center feels dynamic.
Look for leading lines. Roads, fences, rivers, or even shadows can draw the viewer’s eye toward your subject. If you’re shooting a portrait, ensure there’s no distracting object growing out of the person’s head. Check the edges of your frame constantly. Beginners often include half-cut objects or random trash bins. Clean frames win.
Light direction matters more than light amount. Side lighting creates texture and depth, perfect for moody portraits. Front lighting flattens features, good for clean product shots but less dramatic. Backlighting can create silhouettes or beautiful rim light around hair, but it tricks your meter into underexposing the face. When in doubt, shoot during the "Golden Hour"-the first hour after sunrise and last hour before sunset. The light is soft, warm, and forgiving.
Choosing Your First Gear Without Overspending
You don’t need $2,000 worth of lenses. You need one good lens. Most beginner kits come with a "kit lens" (usually 18-55mm). It’s okay for learning, but it has a small maximum aperture (f/3.5-5.6), meaning it struggles in low light and can’t blur backgrounds well. The best upgrade for beginners is a prime lens, specifically a 50mm f/1.8a popular prime lens known for its affordability, sharpness, and ability to produce shallow depth of field. Often called the "Nifty Fifty," it costs under $200 for most brands. It forces you to move your feet instead of zooming, teaching you perspective.
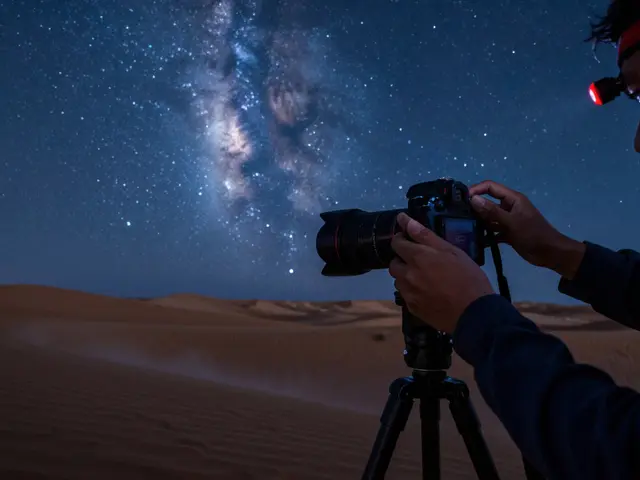
Don’t buy filters yet. Polarizers and ND filters are useful later, but they won’t fix poor technique. Invest in a sturdy tripod instead. Handheld stability limits your creativity. A tripod lets you experiment with long exposures, star trails, and self-portraits. Also, get extra batteries. Mirrorless cameras eat power fast, and missing a shot because your battery died is painful.
Editing Basics: Less Is More
Raw files look flat compared to JPEGs. That’s intentional. Raw captures more data, giving you room to adjust. Use free software like Darktable or paid tools like Adobe Lightroom. Start with the basics: Exposure, Contrast, Highlights, Shadows, and White Balance.
- White Balance: Fix color casts. If indoor photos look orange, shift the temperature cooler (blue).
- Exposure: Brighten or darken the overall image. Don’t blow out highlights (pure white areas with no detail).
- Contrast: Add punch. Be careful; too much crushes details in shadows.
- Cropping: Straighten horizons. A tilted ocean line looks amateurish. Crop to improve composition.
Avoid heavy filters. If you need a filter to make the photo interesting, the photo wasn’t strong enough. Editing should enhance reality, not replace it. Save versions frequently. You might prefer your original edit six months later.
Common Mistakes Beginners Make
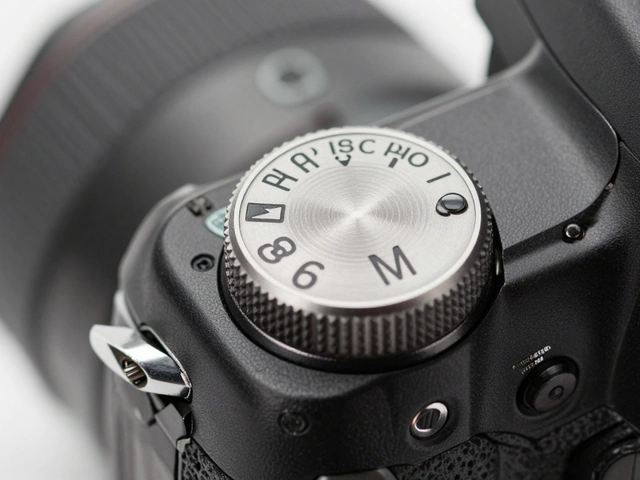
First, relying entirely on Auto Mode. Switch to Aperture Priority (Av or A mode). You choose the aperture; the camera picks the rest. This teaches you how depth of field works without worrying about shutter speed constantly. Second, ignoring the histogram. This graph shows tonal distribution. If the graph touches the left edge, shadows are crushed (lost detail). If it touches the right, highlights are blown. Aim for a bell curve in the middle unless you’re intentionally shooting high-key or low-key.
Third, shooting only horizontally. Try vertical orientation. Many subjects (people, trees, buildings) fit better vertically. Rotate your camera. Fourth, neglecting focus points. Don’t let the camera guess where to focus. Select a single focus point and place it on the subject’s eye. For portraits, eyes must be sharp. If the nose is sharp but eyes are soft, the photo fails.
Your First Month Plan
Here is a simple roadmap to build habits:
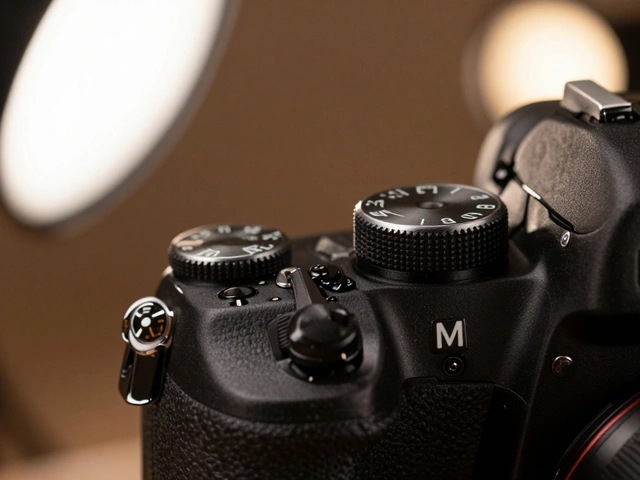
- Week 1: Master Manual Mode. Shoot 100 photos daily using only M-mode. Adjust ISO, Aperture, and Shutter manually. Learn how changing one affects the others.
- Week 2: Practice Composition. Go to a park. Take 50 photos using the Rule of Thirds. Then take 50 ignoring it. Compare them. See the difference?
- Week 3: Explore Light. Shoot the same subject at noon, golden hour, and blue hour. Notice how shadows and colors change.
- Week 4: Edit Your Best 10. Import them into editing software. Apply basic corrections. Share them online for feedback.
Photography is a skill, not a talent. You improve by doing, failing, and analyzing. Keep your camera accessible. If it’s buried in a bag, you won’t use it. Clip it to your belt or keep it in a jacket pocket. The best camera is the one you have with you.
Do I need an expensive camera to start photography?
No. Your current smartphone or a used entry-level DSLR/mirrorless camera is sufficient. Skills matter more than megapixels. Focus on learning composition and light before upgrading gear.
What is the best mode for beginners?
Aperture Priority (A or Av) is ideal. It lets you control depth of field while the camera handles shutter speed automatically. Once comfortable, move to Manual Mode for full control.
Why are my photos blurry?
Blurriness usually comes from camera shake (shutter speed too slow) or missed focus. Increase shutter speed to at least 1/60s for handheld shots and ensure your focus point is on the main subject.
Should I shoot in RAW or JPEG?
Shoot RAW if you plan to edit photos. It retains more data for recovering shadows and highlights. Shoot JPEG if you want ready-to-share files with minimal processing.
How do I know if my exposure is correct?
Check the histogram on your camera screen. Ideally, the graph shouldn't touch the far left (underexposed) or far right (overexposed) edges. Trust your eyes too; if it looks natural, it's likely correct.