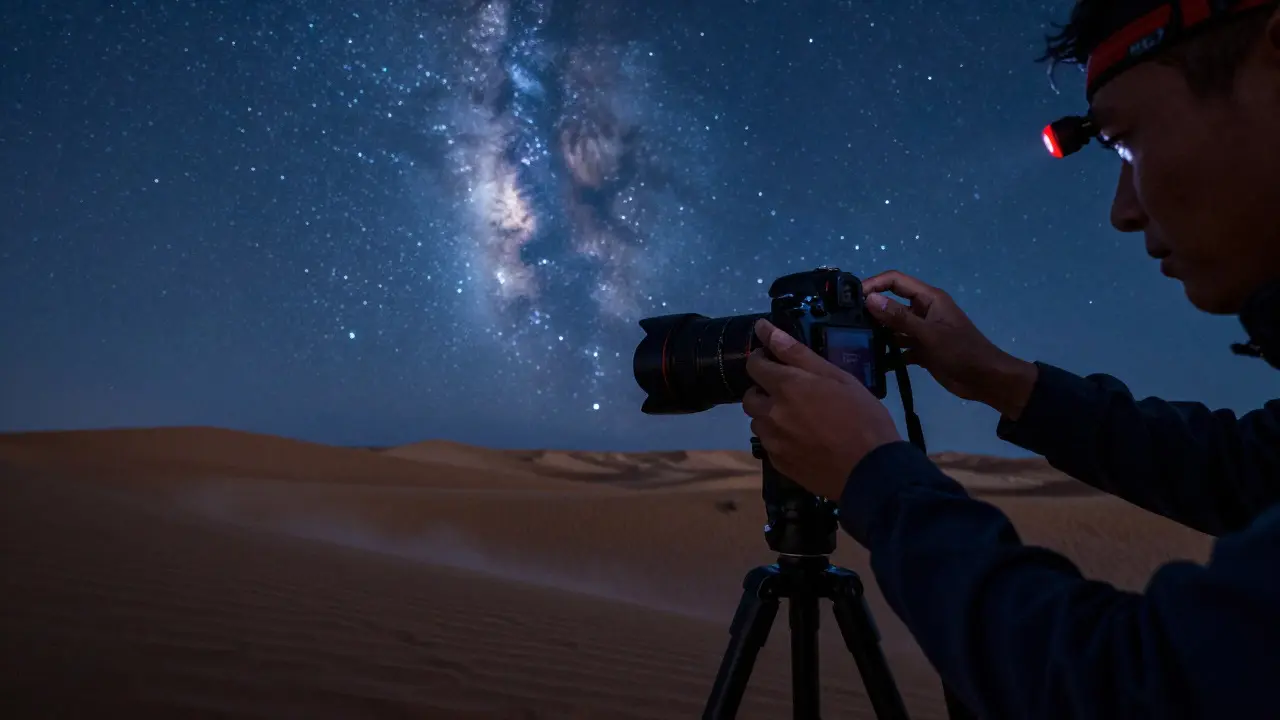
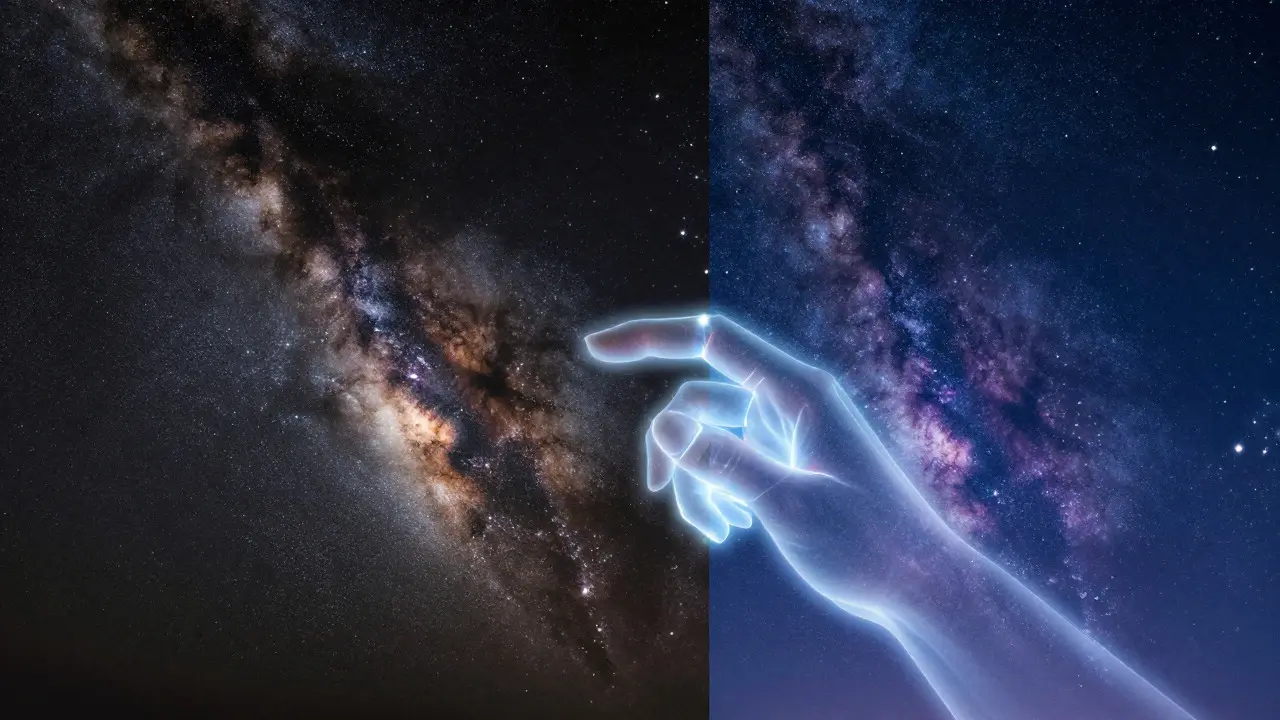
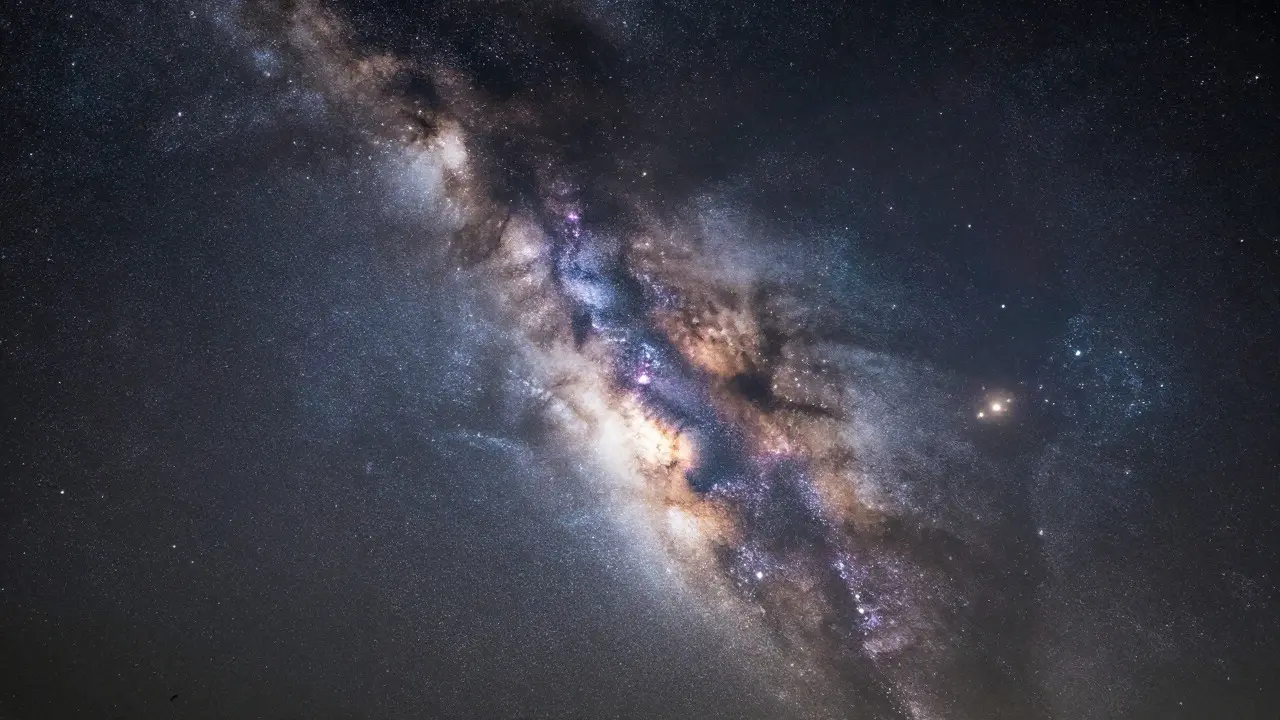
Staring at a raw file from your last night under the stars can feel like looking at digital static. The sky is dark, the Milky Way core looks muddy, and the stars seem to fade into the background. This is where astrophotography post-processing comes in. It isn't about faking the scene; it's about revealing what your camera sensor actually captured but couldn't display properly in a single JPEG. We are going to walk through the exact workflow to pull out that deep blue nebula glow and make those pinpoint stars pop without turning them into glowing blobs.
You don't need expensive software or a PhD in physics. You just need a clear understanding of how light behaves in long exposures and how to separate the signal from the noise. Whether you are using Adobe Lightroom, Photoshop, or free tools like Siril, the logic remains the same. Let’s get your images looking like they belong on a magazine cover, not a technical test card.
Understanding the Raw Data: Why Your First Look Is Wrong
Before touching a slider, you have to understand why your image looks bad initially. When you shoot astro photos, you are dealing with extremely low light levels. Your camera sensor amplifies this faint light, which brings up the noise floor. In standard photography, noise is an enemy. In astrophotography, some of that "noise" is actually the faintest details of the galaxy.
The key concept here is dynamic range. The brightest stars might be clipping (pure white) while the darkest parts of the sky are nearly black. If you stretch the histogram too aggressively, you lose detail in both areas. The goal is to expand the tonal range so that the faint dust lanes become visible without blowing out the bright cores of constellations.
- Signal: The actual photons from stars and gas clouds.
- Noise: Random electronic fluctuations in the sensor.
- Clipping: Pixels that hit maximum brightness (255) and lose all color information.
Your job in the first stage is to balance these three elements. If you see banding in the sky gradient, it means you haven't stretched the shadows enough. If the stars look like fuzzy halos, you’ve over-sharpened or added too much contrast.
Step-by-Step Workflow for Star Enhancement
Here is the practical sequence I use for every Milky Way shot. This works best if you start with a RAW file. Converting to JPEG before editing locks in the noise and limits your recovery options.
- White Balance and Temperature: Start by setting the temperature. For most Milky Way shots, a temperature between 3500K and 4500K gives a natural blue tone. Avoid pushing it too high (orange) unless you want a warm sunset vibe, as it kills the coolness of space.
- Exposure and Contrast: Increase the exposure slightly to lift the blacks. Then, add a small amount of contrast. Don’t go overboard; you want to preserve the subtle gradients in the nebulae.
- Highlights and Shadows: This is critical. Lower the highlights to recover detail in the brightest stars. Raise the shadows to reveal the faint dust lanes in the Milky Way core.
- Clarity and Dehaze: Use Clarity sparingly (around +10 to +20) to enhance mid-tone contrast. This helps the structure of the galaxy stand out. Be careful with Dehaze; it can introduce noise if pushed too far.
At this stage, the image should look "normal" but a bit flat. That’s okay. The magic happens in the next steps.
Separating Stars from Sky: The Masking Technique
This is the secret sauce that separates amateur shots from professional ones. If you sharpen the whole image, the stars will get haloed, and the sky will get grainy. If you only sharpen the stars, the sky stays smooth. To do this, you need to create a mask.
In Lightroom, you can use the Radial Filter or the Adjustment Brush. But a better method is using a dedicated plugin like AstroModa or simply duplicating the layer in Photoshop. Here is the manual way if you don’t have plugins:
- Create a new layer in Photoshop.
- Use a brush with soft edges and low opacity to paint over the stars.
- Apply Unsharp Mask or High Pass filter to this layer only.
- Set the blending mode to Overlay or Soft Light.
This technique ensures that your sharpness settings affect only the point sources (stars) and leave the diffuse light (Milky Way) untouched. The result is crisp stars against a smooth, noise-free background.
| Tool | Best For | Learning Curve | Cost |
|---|---|---|---|
| Adobe Lightroom | Global adjustments, color grading | Low | Subscription |
| Adobe Photoshop | Local masking, star separation | Medium | Subscription |
| Siril | Stacking, advanced noise reduction | High | Free |
| DeepSkyStacker | Basic stacking for beginners | Low | Free |
Managing Noise Without Losing Detail
Noise reduction is tricky. If you reduce it too much, the fine texture in the nebulae disappears, leaving a plastic-looking sky. If you reduce it too little, the image looks gritty. The trick is to apply noise reduction in two stages.
First, apply global noise reduction to the entire image. In Lightroom, set Luminance noise around 30-50% and Color noise around 50-70%. This cleans up the general graininess. Second, apply local noise reduction to the sky area only. Since the sky is supposed to be smooth, you can be more aggressive here. Use a mask to isolate the sky and increase the noise reduction sliders further. This keeps the stars sharp while making the background velvety.
Remember, noise is frequency-dependent. Fine grain (high frequency) is harder to remove than large clumps (low frequency). Focus your efforts on the high-frequency noise in the sky areas.
Color Grading for a Natural Look
Many people make their Milky Way look purple or orange because they push the vibrance too hard. Nature doesn't work that way. The Milky Way is mostly white, with hints of red (hydrogen alpha emission) and blue (reflection nebulas).
To achieve a natural look, follow these rules:
- HSL Panel: Adjust the Hue of the Blue channel to shift towards cyan or azure. This mimics the reflection nebulas seen in the Orion Nebula.
- Vibrance vs. Saturation: Always prefer Vibrance over Saturation. Vibrance boosts muted colors without oversaturating already vibrant ones. This prevents skin tones (if there are any) or landscape elements from looking unnatural.
- Split Toning: Add a very subtle teal to the shadows and a warm amber to the highlights. This adds depth and dimension without changing the base color temperature.
Avoid using presets blindly. A preset designed for a cityscape will ruin your astro shot. Instead, build your color profile from scratch based on the specific conditions of your shoot.
Common Mistakes to Avoid
Even experienced photographers fall into these traps. Watch out for them:
- Over-sharpening Stars: If stars have colored fringes (purple or green), you’ve sharpened too much. Back off until the fringes disappear.
- Ignoring the Horizon: The lower part of the sky often has more atmospheric distortion. Consider cropping or blurring the horizon line slightly to maintain focus on the upper sky.
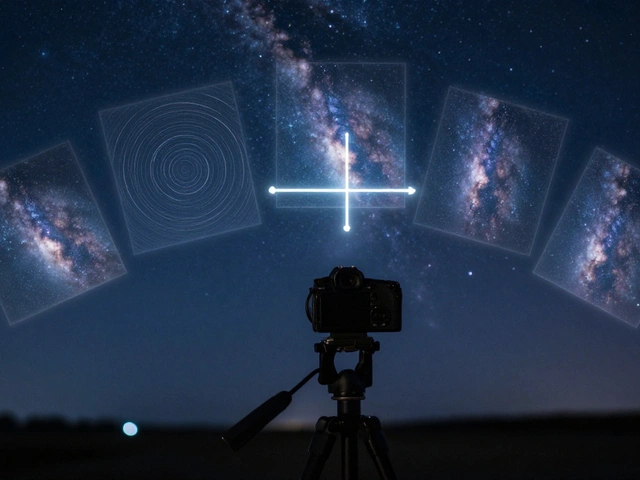
- Forgetting White Balance Consistency: If you stitched multiple frames together, ensure the white balance is identical across all of them. Even a slight difference creates visible seams.
- Exporting at Low Quality: Always export at 100% quality with no compression. Astro images are large, and compression artifacts show up immediately in the dark areas.
Final Checks Before Export
Before you save your final image, zoom in to 100% and check the following:
- Are the stars round? If they are elongated, your tracking was off, or you cropped incorrectly.
- Is there banding in the sky gradient? If yes, add a bit more shadow lift.
- Does the foreground look natural? If you included a landscape element, ensure its lighting matches the ambient moonlight or artificial light source.
- Check the corners for vignetting. Sometimes, adding a slight vignette can draw the eye to the center, but don’t overdo it.
Once you’re satisfied, export your image as a TIFF for archival purposes and a JPEG for sharing. Keep your RAW files safe; they are your insurance policy if you ever want to re-edit the image with new techniques.
Do I need a telescope to take good Milky Way photos?
No. Most stunning Milky Way wide-angle shots are taken with DSLR or mirrorless cameras and prime lenses (like 14mm or 24mm). Telescopes are used for deep-sky objects like galaxies and nebulae, but for the galactic core, a wide field of view is essential.
What is the best aperture for astrophotography?
Shoot at your lens’s widest aperture, usually f/1.4 to f/2.8. Wider apertures let in more light, allowing for shorter exposures that prevent star trails. However, avoid stopping down beyond f/5.6 as diffraction starts to soften the stars.
How do I fix star trails in my photos?
Star trails happen when your exposure time exceeds the 500 Rule limit (500 divided by focal length). To fix this, use a shorter shutter speed, crop the image, or use a motorized tracker. In post-processing, you can sometimes stack multiple short exposures to simulate a longer one without trails.
Should I edit in RGB or HSB mode?
Start in RGB for global adjustments. Switch to HSB (Hue, Saturation, Brightness) when fine-tuning colors. HSB allows you to adjust the intensity of specific colors independently, which is crucial for balancing the reds and blues in the Milky Way.
Is stacking necessary for single-shot astrophotography?
Stacking is highly recommended if you can capture multiple frames. It reduces random noise significantly. However, if you only have one shot, focus on careful noise reduction in post-processing. Single-shot images can still look great if the initial exposure was well-planned.