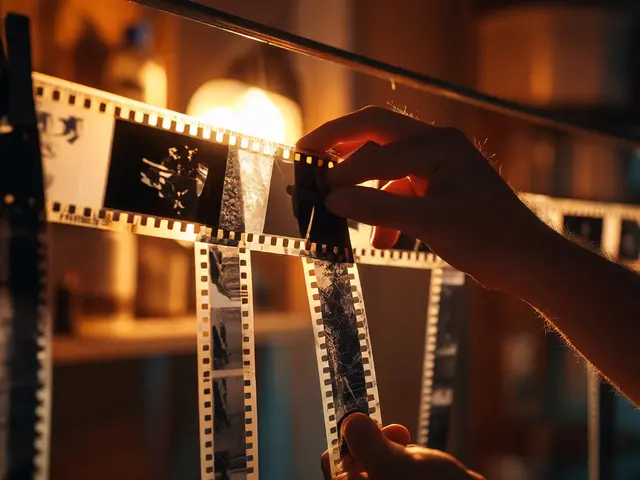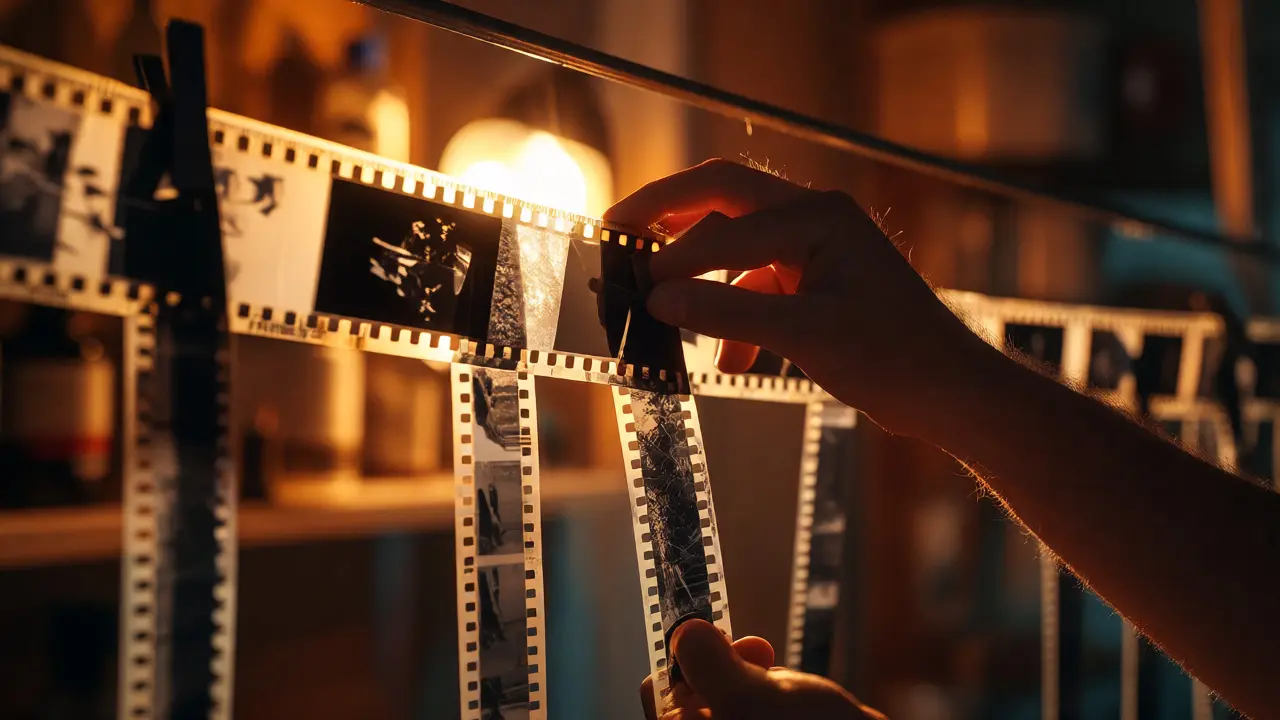
There’s a specific kind of magic that happens when you pull a developed negative out of the drying cabinet. It’s not just an image; it’s a physical object holding light and shadow in silver halide crystals. In an era dominated by instant digital feedback, black and white film photography remains a deliberate, tactile craft that rewards patience with timeless aesthetic depth. Unlike color film, where hue can distract from composition, monochrome forces you to see the world in tones, textures, and contrast. This isn’t just about removing color; it’s about understanding how light interacts with form.
If you’re picking up a medium format camera or a classic 35mm SLR for the first time, the learning curve feels steep because there is no LCD screen to check your work. You have to trust your meter, your knowledge of film speed, and your intuition. But once you grasp the core mechanics of exposure and development, you unlock a creative control that digital sensors often struggle to replicate authentically. Let’s break down exactly how to master these classic techniques without getting lost in the chemistry.
Choosing Your Weapon: The Right Film Stock
Your choice of film stock is arguably more critical than the camera body itself. Each emulsion has a distinct personality defined by its grain structure, contrast index, and latitude. When selecting a roll, you aren’t just choosing a brand; you’re choosing a visual language.
Kodak Tri-X 400 is the industry standard for reportage and street photography. It features a pronounced grain structure that adds texture and grit to images, making it ideal for high-contrast scenes. On the other hand, Ilford HP5 Plus offers slightly finer grain and better highlight retention, making it a versatile all-rounder for beginners who want flexibility in mixed lighting conditions.
For landscape photographers seeking smooth tonal gradations, Fomapan 100 provides exceptional sharpness and minimal grain at ISO 100. However, it has narrower dynamic range, meaning you must expose carefully to avoid losing detail in shadows. Here is a quick comparison of popular stocks:
| Film Stock | ISO Speed | Grain Structure | Best Use Case |
|---|---|---|---|
| Kodak Tri-X 400 | 400 (pushable to 1600) | Pronounced, classic look | Street, Documentary, Low Light |
| Ilford HP5 Plus | 400 (pushable to 3200) | Moderate, fine grain | All-purpose, Portraiture |
| Fomapan 100 | 100 | Very Fine | Landscape, Studio, Detail-heavy |
| Ilford Delta 100 | 100 | Extremely Fine (Tabular Grain) | High-resolution scans, Large Format |
Don’t be afraid to experiment. Many photographers develop their own rolls, which allows them to tweak contrast by adjusting development times. This leads us to the next pillar of monochrome mastery: exposure strategy.
Mastering Exposure: The Zone System Basics
You’ve likely heard of the Zone System. Developed by Ansel Adams and Fred Archer, it divides the tonal scale into ten zones, ranging from Zone 0 (pure black) to Zone X (pure white). Zone V represents middle gray, which is what your light meter aims for.
The misconception is that you need complex math to use it. You don’t. At its core, the Zone System teaches you to visualize the final print before you press the shutter. If you want deep blacks in your foreground rocks, you meter for those shadows and place them on Zone III (visible detail in shadows). If you want bright but detailed clouds, you place highlights on Zone VII or VIII.
Here’s a simplified workflow for field use:
- Meter the most important shadow area. Take a spot reading on the darkest part of the scene where you still want visible detail.
- Set your aperture/shutter. Adjust settings so this shadow reads two stops under the meter’s middle gray target (placing it on Zone III).
- Check highlights. Meter the brightest area. Ensure it falls within three to four stops over the shadow reading. If it’s too bright, consider using a graduated neutral density filter or accepting some highlight clipping if stylistically appropriate.
This approach prevents the common beginner mistake of relying solely on average metering, which often results in muddy mid-tones and crushed shadows. By controlling where your tones fall, you dictate the mood of the photograph directly in-camera.
The Darkroom Art: Printing and Contrast Control
While scanning negatives is convenient, the true soul of black and white film lives in the darkroom. Printing allows you to dodge and burn-manipulating light exposure on specific parts of the paper-to guide the viewer’s eye. This is where variable contrast papers shine. These papers contain emulsions sensitive to blue and green light. By changing filters during projection, you can alter the contrast grade from soft (Grade 0) to hard (Grade 5) without changing chemicals.
Consider a portrait with a bright window behind the subject. A straight print might blow out the background while leaving the face flat. Using variable contrast filters, you can increase the contrast to deepen the background shadows while dodging the face to keep it luminous. This local contrast manipulation creates separation and depth that digital sliders rarely match perfectly.
Key darkroom tools include:
- Enlarger: Projects the negative onto photographic paper.
- Safelight: Allows visibility without fogging the paper (usually red or amber).
- Dodging/Burning Tools: Wire hangers with cardboard shapes to block or add light selectively.
- Trays: For developer, stop bath, and fixer solutions.
Even if you scan your films, learning basic printing principles improves your editing skills. Understanding how contrast affects perception helps you make better decisions during post-processing, even if you never step foot in a wet darkroom again.
Composition Through a Monochrome Lens
Without color to differentiate elements, composition relies heavily on shape, line, texture, and tonal contrast. A vibrant red flower against green leaves might disappear in black and white if both convert to similar shades of gray. To succeed, you must train your eye to see value structures rather than hues.
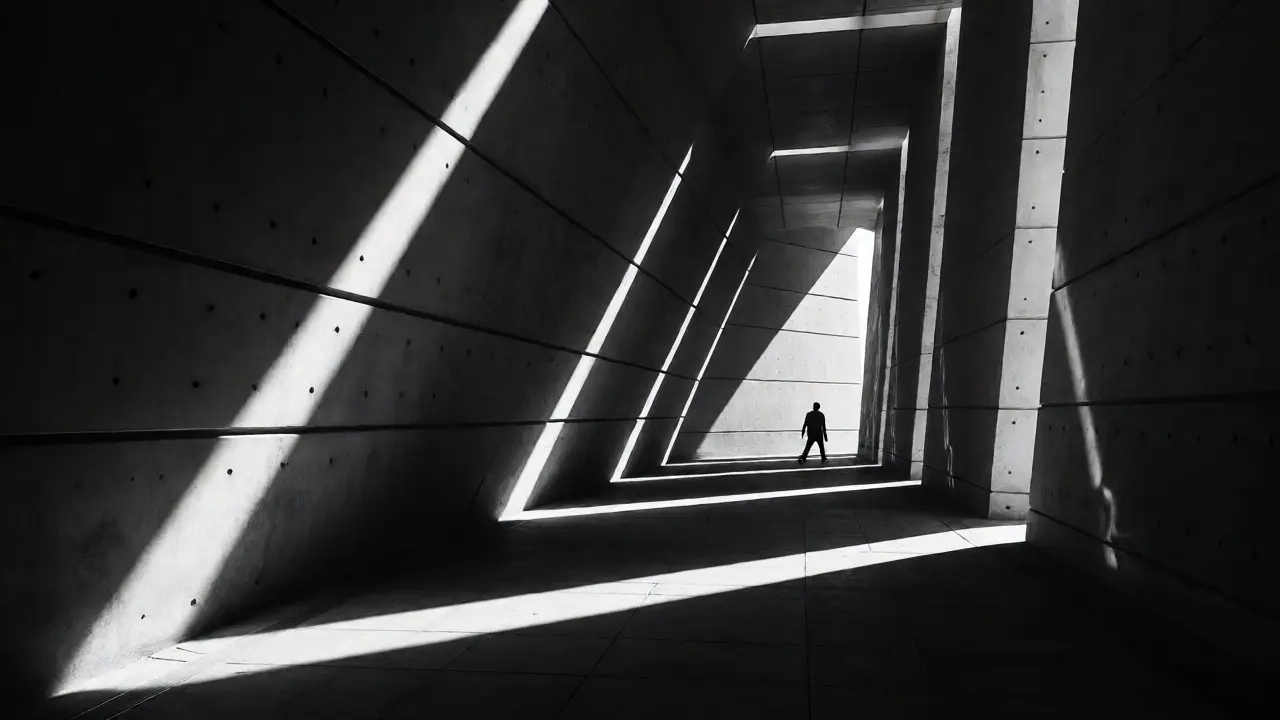
Look for strong leading lines and geometric patterns. Shadows become powerful compositional tools. Hard sunlight creates dramatic chiaroscuro effects, carving subjects out of darkness. Conversely, overcast days provide soft, diffused light that emphasizes texture and subtle tonal transitions, perfect for intimate portraits or moody landscapes.
One practical tip: squint at your scene. Squinting reduces color sensitivity and blurs details, allowing you to see the underlying tonal map. If the image looks balanced and compelling when squinted at, it will likely translate well to monochrome. If it looks like a muddy blob, reconsider your angle or wait for different light.

Digital Post-Processing for Film Emulation
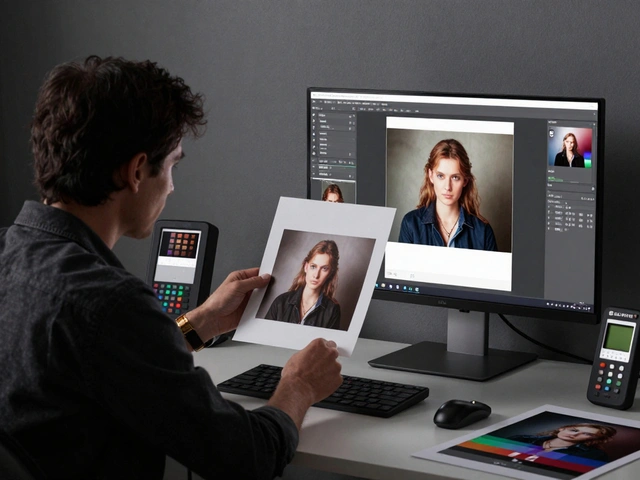
Not everyone wants to set up a darkroom. Scanning your negatives and editing digitally is a valid and popular workflow. However, simply desaturating a color image doesn’t capture the essence of film. True emulation requires replicating the non-linear response curves of film stocks.
When editing scanned files, focus on preserving the characteristic S-curve of film contrast. Digital sensors tend to clip highlights abruptly, whereas film rolls off gently. Use curves adjustments to lift the toe (shadows) and shoulder (highlights) slightly to mimic this behavior. Add grain intentionally if the scan is too clean; real film grain is organic and varies with exposure, unlike uniform digital noise.
Software like SilverFast or dedicated plugins can help calibrate profiles for specific stocks like Kodak T-Max or Ilford Delta. The goal isn’t to fake imperfection but to honor the medium’s inherent characteristics. Remember, the scan is just an interpretation of the negative; the negative holds the original data.
Troubleshooting Common Issues
Even experienced shooters face problems. Here are quick fixes for frequent issues:
- Negatives are too thin: Likely underexposed. Increase film speed rating (e.g., rate ISO 400 film at 200) to allow more light.
- Negatives are too dense/dark: Overexposed or over-developed. Reduce development time or lower the rated ISO.
- Scratches on negatives: Often caused by dirty equipment or improper handling. Clean holders and ensure gentle loading.
- Uneven development: Check agitation consistency. Agitate every 30 seconds with consistent inversion strokes to ensure fresh developer reaches all areas of the film.
Patience is key. Film photography slows you down, forcing intentional choices. That slowness is the feature, not the bug. It transforms taking photos from a burst-mode activity into a mindful practice of observation and anticipation.
Is black and white film harder to shoot than color?
It requires different skills rather than being inherently harder. You lose the safety net of correcting white balance later, and you must anticipate tonal relationships. However, many find it easier because there are fewer variables to manage compared to color grading.
Can I shoot color film in black and white mode?
No, color film contains dye layers that create color upon development. While you can scan a color negative and convert it to grayscale digitally, it lacks the specific grain structure and tonal response of native black and white film.
What is push processing in film photography?
Push processing involves underexposing the film and extending development time to compensate. This increases contrast and grain, making it useful for low-light situations or achieving a gritty, high-contrast aesthetic.
Do I need a darkroom to do black and white film photography?
No. You can have labs develop and scan your film. Many photographers only print occasionally or exclusively scan their work. The darkroom is optional but offers the highest level of creative control over the final image.
Which black and white film is best for beginners?
Ilford HP5 Plus is widely recommended due to its wide exposure latitude, forgiving nature, and availability. It handles a variety of lighting conditions well and produces consistent results, helping new shooters learn exposure without excessive waste.