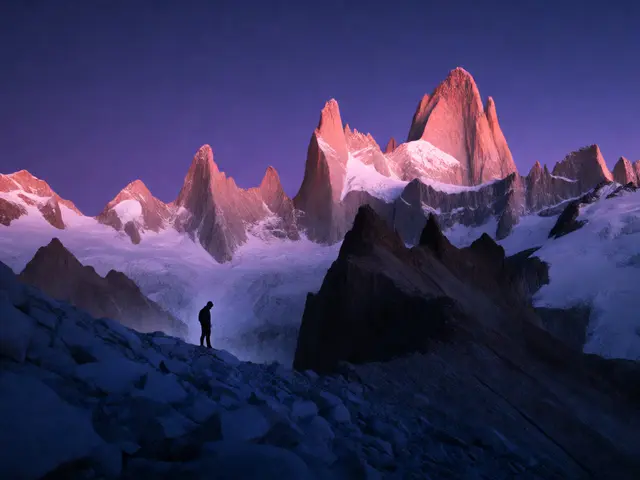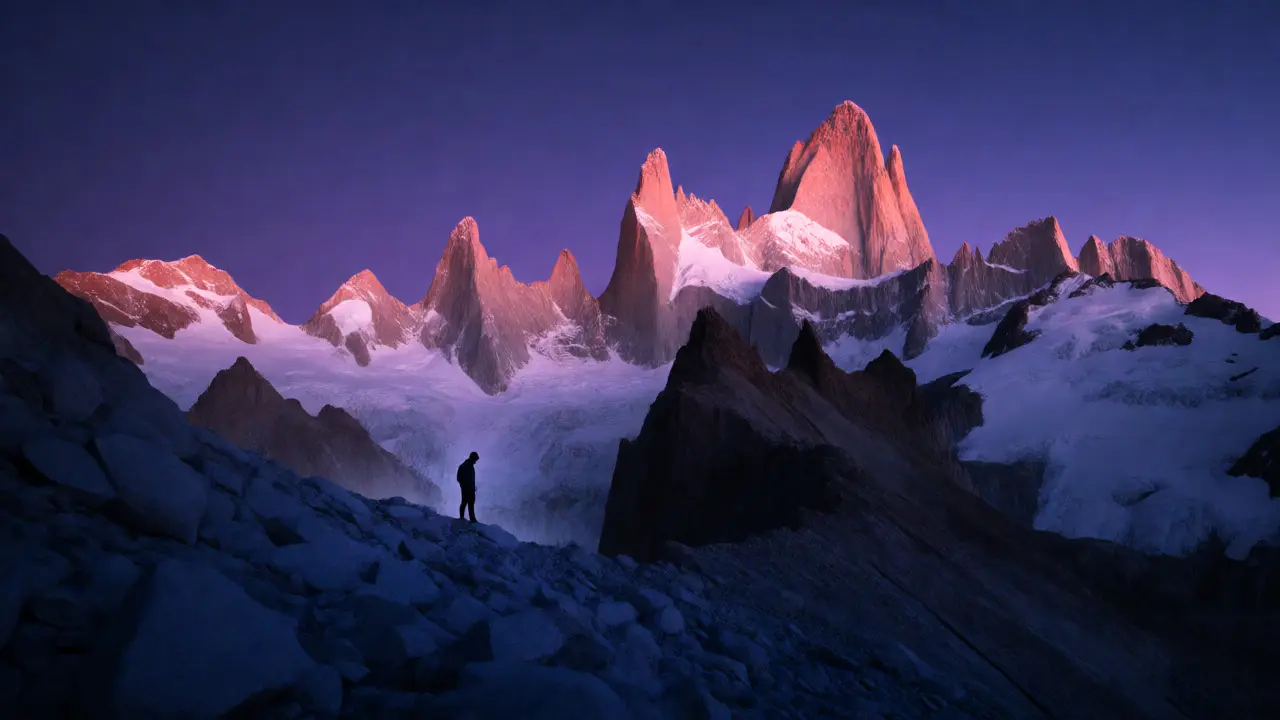
You’ve hiked for hours. Your legs burn, your lungs ache from the thin air, and you’re finally standing on that ridge you’ve dreamed about for months. The view is exactly what you imagined-sharp granite teeth biting into a violet sky, snowfields glowing pink in the early light. But when you pull out your camera and snap a shot, something feels off. The image looks flat. It lacks the depth, the drama, the sheer scale that hit you in the chest when you looked up with your own eyes.
This is the classic trap of mountain and peak photography: capturing the grandeur without conveying the feeling. Mountains are massive, static, and often intimidating subjects. They don’t pose, they don’t move, and they rarely cooperate with your exposure settings. If you want photos that make people feel small in the best possible way, you need more than just a wide-angle lens. You need to understand how light behaves at altitude, how to use foregrounds to create scale, and why patience beats gear every single time.
Chasing Light: Why Golden Hour Isn't Enough
Most beginners rush to shoot mountains during sunrise or sunset because the colors are pretty. That’s fine for postcards, but it’s lazy for serious work. At high altitudes, the light changes rapidly due to atmospheric clarity and angle. You need to look beyond the standard golden hour window.
Consider blue hour. This is the period before sunrise or after sunset when the sun is below the horizon but still illuminates the upper atmosphere. In mountain environments, this creates a stunning contrast between the cool, blue-toned shadows in the valleys and the warm, lingering light hitting the highest peaks. This phenomenon, often called "alpenglow," happens quickly-sometimes lasting only ten minutes. If you’re not set up and ready before the sun even breaks the horizon, you’ll miss it entirely.
Midday light is another beast. While photographers usually avoid harsh noon sun, mountains can actually benefit from it if you know how to handle it. Direct overhead sunlight eliminates soft gradients but reveals texture in rock faces and snow patterns. Use a polarizing filter here to cut glare off ice fields and deepen the blue of the sky. Without one, your whites will blow out, and the sky will look washed out and pale.
Composition: Creating Scale and Depth
A photo of a mountain range alone can look like a wallpaper pattern. It’s beautiful, sure, but it doesn’t tell a story. To make your viewer feel the size of the peak, you need reference points. This is where foreground interest becomes non-negotiable.
Think about adding elements that humans recognize as having a specific size. A lone pine tree, a hiking boot, a tent, or even a person looking up at the summit instantly communicates scale. When you place these objects in the lower third of your frame, the brain automatically calculates the distance and height of the background subject. Without them, a 14,000-foot peak might look indistinguishable from a 500-foot hill in a foggy valley.
Use leading lines to guide the eye toward the peak. Rivers, trails, ridgelines, and roads all serve this purpose. Instead of placing the mountain dead center (which can feel static), try positioning it according to the rule of thirds, letting the leading line draw the viewer’s gaze through the frame to the main subject. This creates movement in an otherwise still scene.
Technical Settings: Managing Dynamic Range
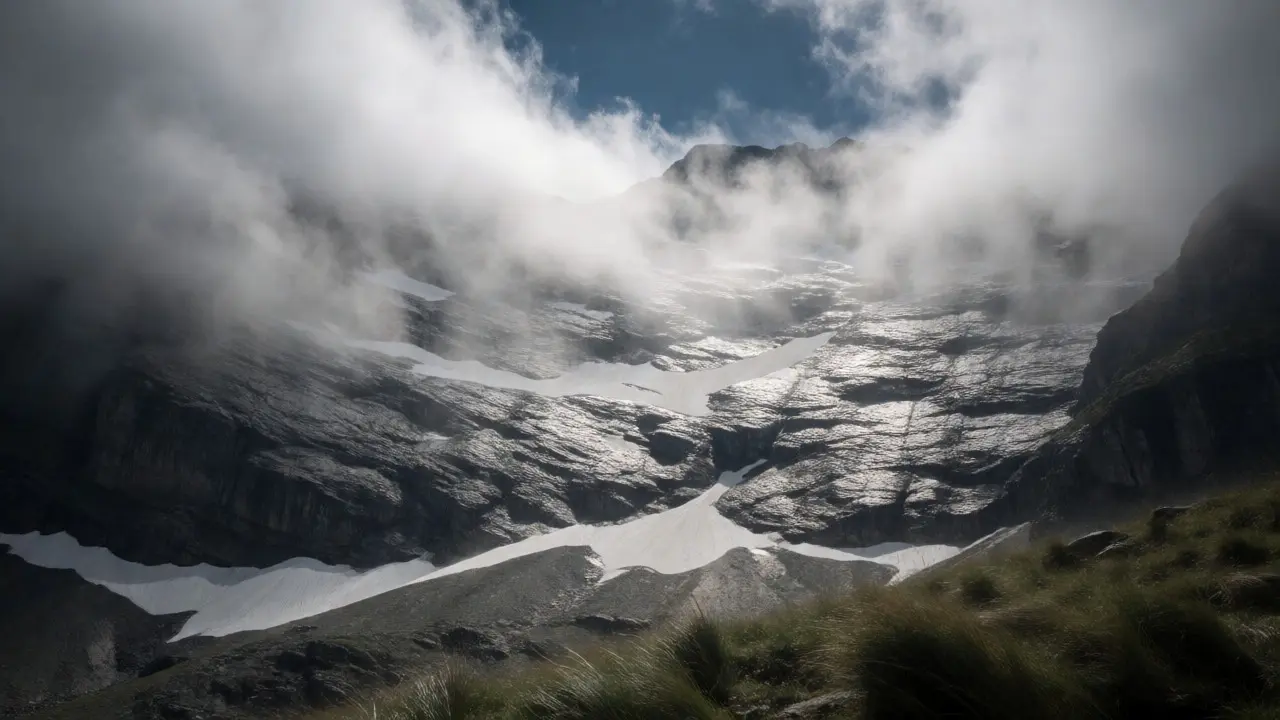
Mountains present a technical nightmare for cameras: extreme dynamic range. You have bright, reflective snow against deep, dark shadowed valleys. Your sensor struggles to capture detail in both simultaneously. Here’s how to handle it without relying solely on heavy editing later.
First, shoot in RAW. This gives you maximum flexibility to recover highlights and lift shadows. Second, expose to the right (ETTR). This means pushing your histogram as far to the right as possible without clipping the highlights. Digital sensors record more data in the brighter parts of the image. By overexposing slightly and pulling down the exposure in post-production, you retain cleaner shadow details and reduce noise.
If the contrast is too extreme even for ETTR, consider bracketing exposures. Take three shots: one underexposed for the sky/snow, one correctly exposed for midtones, and one overexposed for the shadows. Blend these together in software like Lightroom or Photoshop using HDR merging. Just be careful with wind-blown clouds or moving water; misalignment can ruin the composite.
Gear Choices: Lenses and Filters
You don’t need the most expensive camera body to take great mountain photos, but your lens choice matters immensely. Wide-angle lenses (16-35mm) are popular for exaggerating perspective and making foregrounds appear larger relative to distant peaks. However, they can also distort vertical lines if you tilt the camera up. Keep your horizon level and use tilt-shift lenses or correction tools in post to fix converging verticals.
Telephoto lenses (70-200mm or longer) offer a different advantage: compression. They make distant peaks appear closer and larger than they really are. This is perfect for isolating a specific jagged summit or layering multiple ridges into a tight, graphic composition. Many pros carry both a wide and a telephoto zoom to switch perspectives quickly.
| Lens Type | Focal Length | Best For | Effect on Perspective |
|---|---|---|---|
| Wide Angle | 14-24mm | Vast landscapes, dramatic skies, including large foregrounds | Exaggerates depth, makes foregrounds appear closer/larger |
| Standard Zoom | 24-70mm | Versatile compositions, environmental portraits | Natural perspective, minimal distortion |
| Telephoto | 70-200mm+ | Isolating peaks, compressing layers, detail shots | Compresses distance, makes backgrounds appear closer |
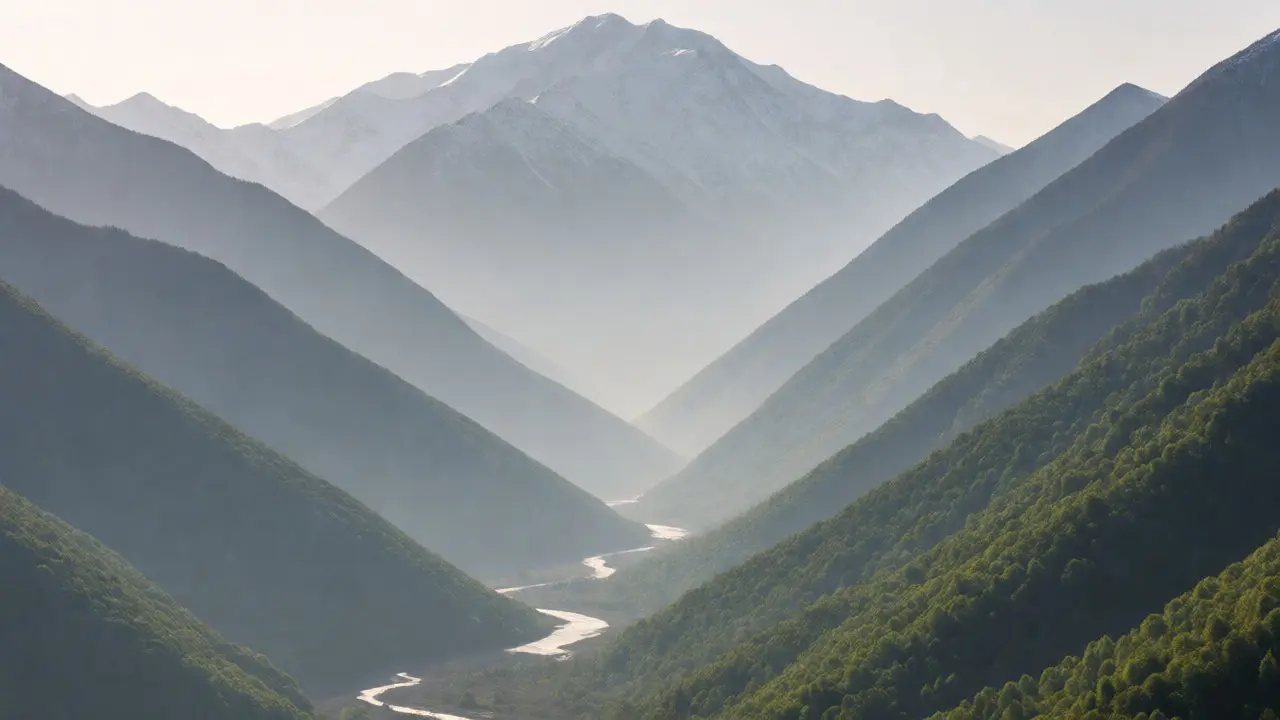
Weather and Atmosphere: Embracing the Elements
Clear blue skies are boring. Seriously. Some of the most powerful mountain images happen when the weather turns nasty. Storm clouds rolling over a peak add drama, mystery, and tension. Rain, snow, and fog obscure parts of the landscape, forcing the viewer’s imagination to fill in the gaps.
Learn to read the weather charts. Alpine weather changes fast. A clear morning can turn into a whiteout by noon. Check local forecasts specifically for wind speed and cloud cover percentage. Wind affects stability-if you’re shooting long exposures with a tripod, strong gusts can blur your image. Use a weight hook on your tripod or hang your backpack from the center column to stabilize it.
Fog is your friend, not your enemy. It simplifies complex scenes by hiding cluttered backgrounds. A single peak emerging from a sea of clouds is far more striking than a full view of a cluttered range. Wait for the fog to break or roll in; these moments are fleeting but reward those who wait.
Post-Processing: Enhancing Reality, Not Replacing It
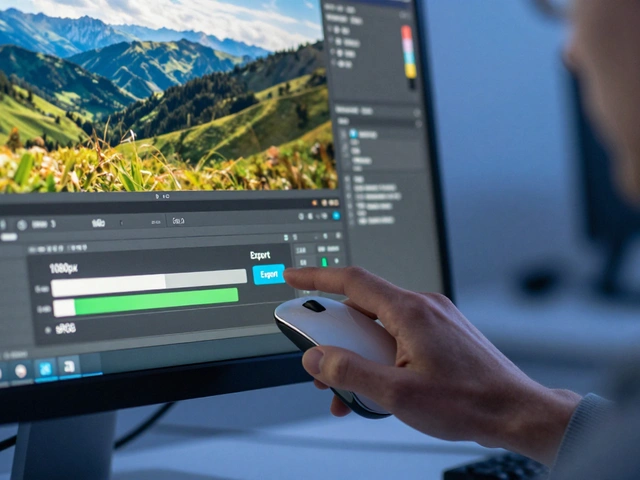
Editing is where many photographers lose their way. The goal isn’t to make the mountain look like a neon alien planet. It’s to restore what your eye saw. Start with basic corrections: white balance, exposure, contrast. Then move to localized adjustments.
Use radial filters to brighten the peak slightly while keeping the foreground darker. This draws attention to the main subject. Dodge and burn techniques help sculpt the light, emphasizing textures in the rock and snow. Be subtle. If your saturation sliders are maxed out, you’ve gone too far. Natural mountain colors-granite grays, snow whites, forest greens-are muted. Respect that palette.
What is the best time of day for mountain photography?
While golden hour (sunrise and sunset) offers warm, directional light, blue hour is often superior for capturing alpenglow on peaks. Midday light can work well for revealing texture if you use a polarizer to manage glare.
Do I need a drone for mountain shots?
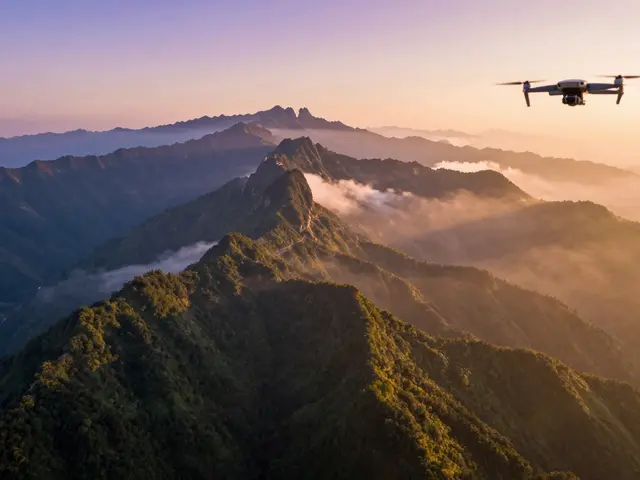
Not necessarily. Drones provide unique aerial perspectives, but ground-level shots with proper composition and foreground interest often convey scale better. Regulations also restrict drone use in many national parks.
How do I keep my camera stable in windy conditions?
Use a sturdy carbon fiber tripod, extend only the thicker lower legs, and hang weight (like a backpack) from the center column. Turn off image stabilization when using a tripod to prevent micro-vibrations.
Why do my mountain photos look flat?
Flatness usually results from lack of foreground interest or poor lighting. Add recognizable objects (trees, people) for scale and shoot during low-angle light to create shadows that define shape and texture.
Should I use HDR for mountain landscapes?
Yes, if the dynamic range exceeds your camera's capability. Bracket exposures and merge them to retain detail in both bright snow and dark shadows. Avoid excessive HDR processing that leads to halos and unnatural colors.