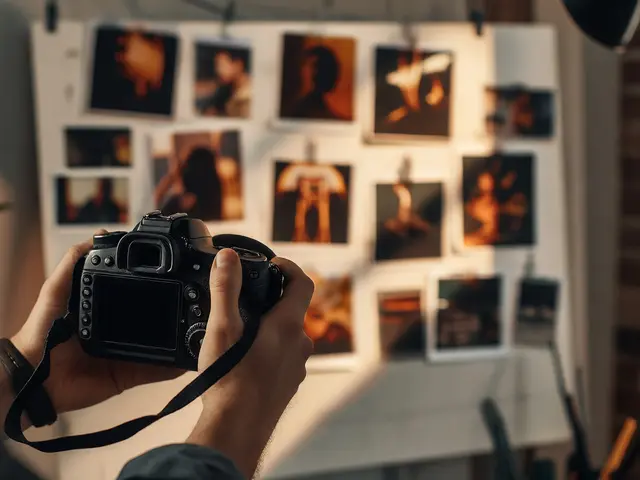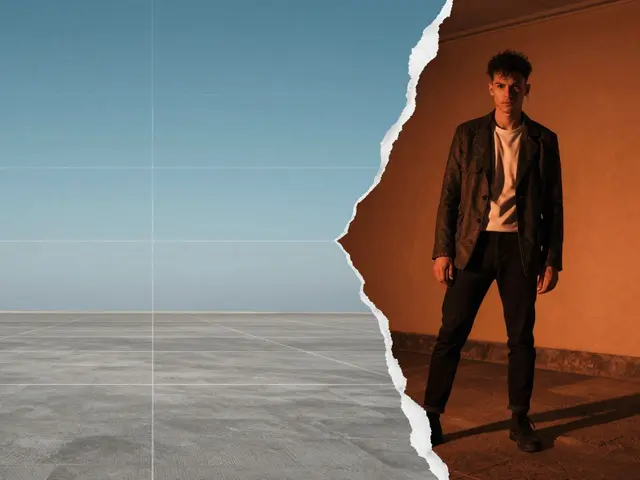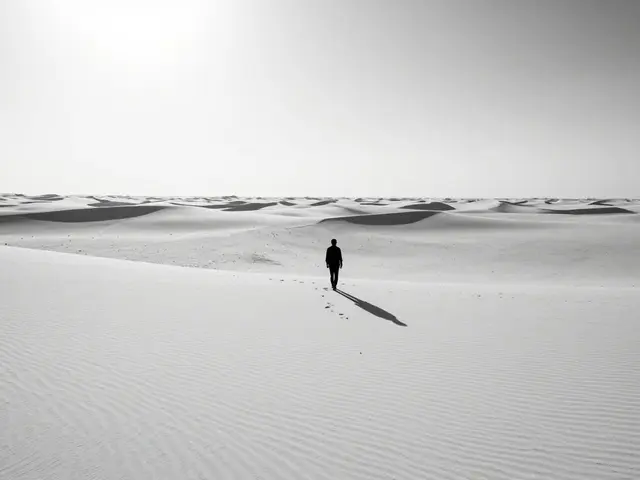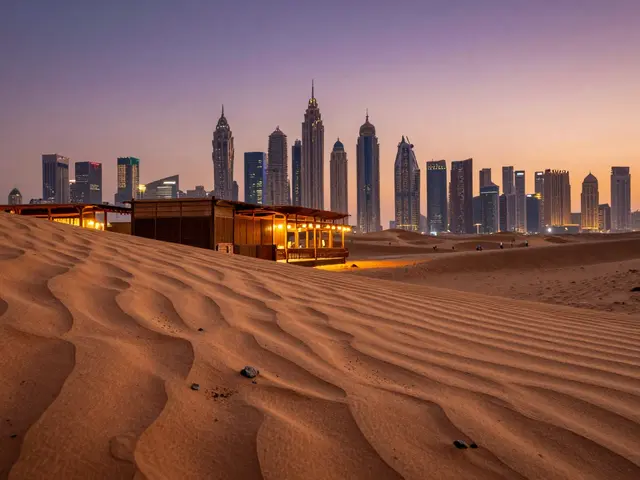
Ever stared at a photo and felt like it was telling two stories at once? That’s the magic of double exposure photography. It’s not just about stacking pictures; it’s about merging light, shadow, and emotion into a single frame that feels dreamlike yet grounded. Whether you’re shooting on film or editing in post-production, this technique transforms ordinary moments into artistic statements.
What Makes Double Exposure Different?
Double exposure is a photographic technique where two or more images are superimposed onto a single frame, creating a composite visual effect. Unlike simple collage work, double exposure relies on transparency and layering. The first image acts as the base, while the second adds texture, context, or contrast. Think of it as painting with light rather than pigment. You’re not just placing objects side by side; you’re letting them bleed into each other.
This method has roots in early cinema and fine art photography. Pioneers like Man Ray used it to explore the subconscious, blending faces with landscapes to evoke memory and identity. Today, digital tools make it accessible to anyone with a smartphone, but the core principle remains the same: find the harmony between two disparate elements.
The Core Ingredients: Light, Shadow, and Subject Matter
Before you open any software, understand what makes a double exposure work. Three elements drive the success of your composition:
- Contrast in Tones: A dark silhouette against a bright background creates natural separation. If both images are mid-tone, they’ll muddy together.
- Subject Hierarchy: Decide which image is the “hero.” Usually, a human profile or animal shape works best as the base because its outline is recognizable. The secondary image should fill that space without competing for attention.
- Thematic Connection: The two images should share an emotional or conceptual link. A portrait blended with wildflowers suggests growth; one blended with storm clouds suggests turmoil. Random combinations often feel disjointed.
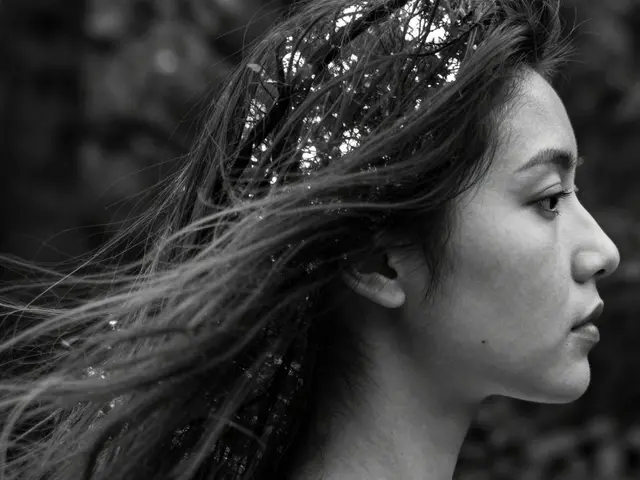
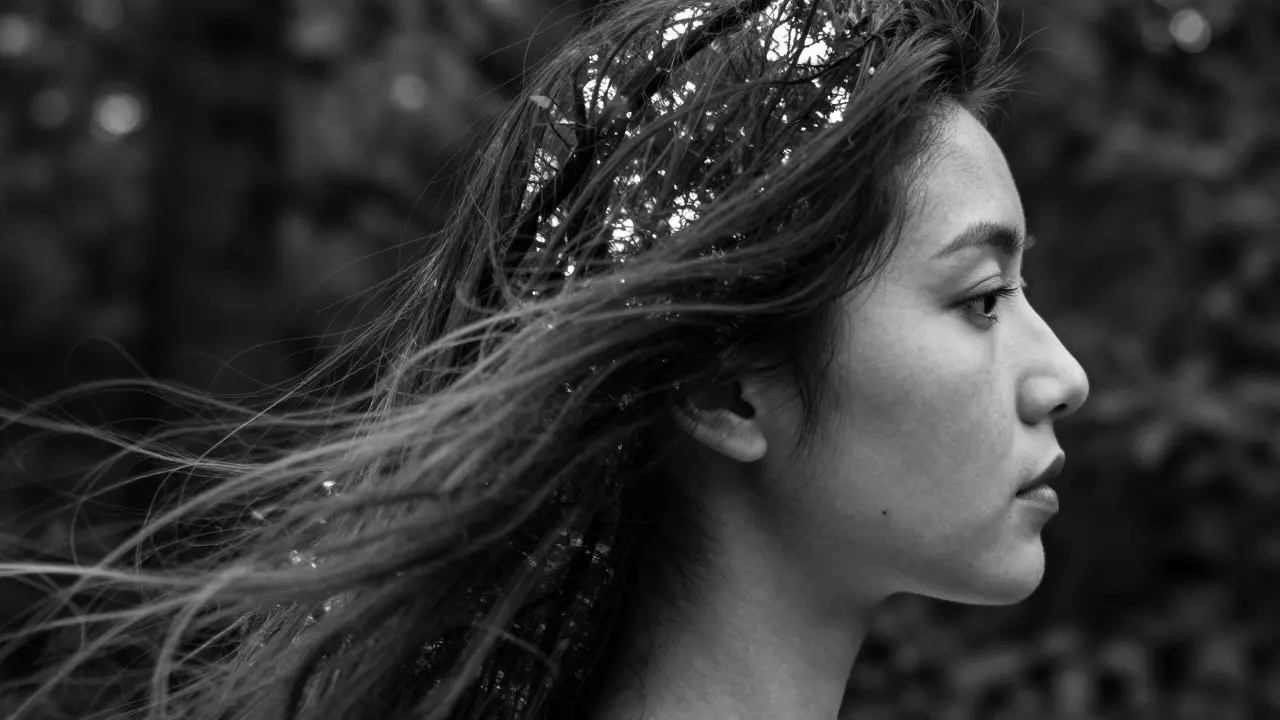
For example, imagine a woman’s profile facing right. Her hair flows left. If you overlay a forest canopy, the branches can mimic the flow of her hair. This isn’t accidental-it’s intentional design. The eye follows the lines from the face into the trees, creating a seamless narrative.
Techniques: In-Camera vs. Digital Post-Production
You have two main paths to achieve this look. Each has its own charm and technical demands.
In-Camera Double Exposure
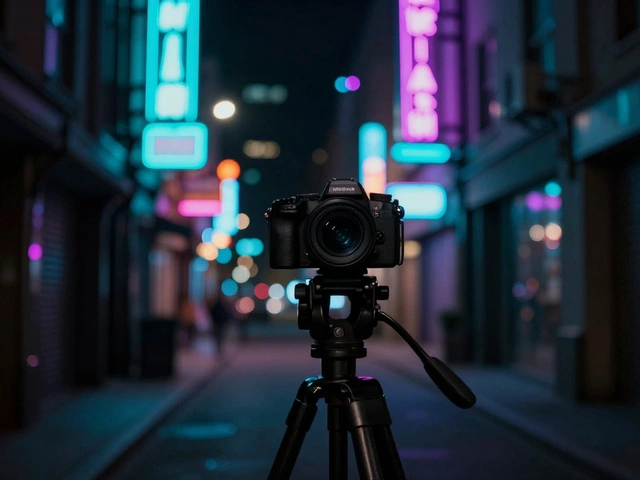
This is the purist’s approach. Many modern mirrorless cameras, such as the Sony A7 series or Fujifilm X-T systems, have a built-in double exposure mode. Here’s how it works:
- Take your first shot (usually a high-contrast silhouette).
- Select the double exposure function in the menu.
- Take the second shot. The camera will automatically blend them based on the exposure settings.
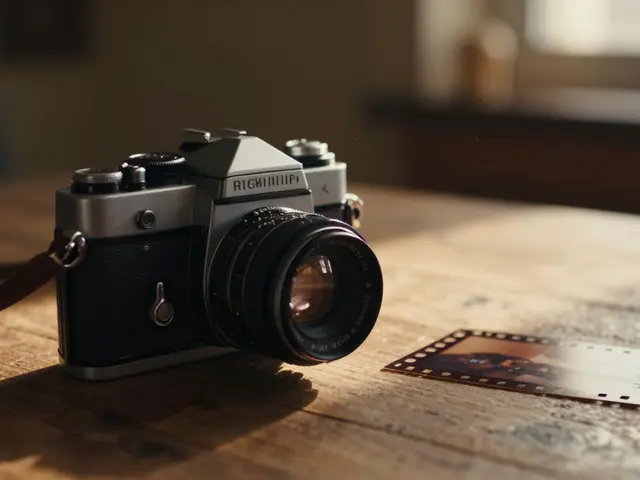
The advantage? You get immediate feedback. No computer needed. The disadvantage? Limited control. You can’t adjust opacity, masking, or color balance later. It’s all or nothing. Film photographers have done this for decades by leaving the film unadvanced after the first shot, exposing the second image over the first. It’s messy, unpredictable, and wonderfully organic.
Digital Blending in Post-Production
Most contemporary artists prefer this route. Software like Adobe Photoshop or Lightroom gives you total control. Here’s a streamlined workflow:
- Import Both Images: Open your base portrait and your secondary texture (e.g., sky, foliage) in the same file.
- Place Layers: Drag the secondary image above the base. Align it roughly where you want the details to appear.
- Adjust Blend Modes: Change the top layer’s blend mode to “Multiply” or “Screen.” Multiply darkens, Screen lightens. Experiment until the edges soften naturally.
- Masking: Use a layer mask to erase parts of the top layer that clutter the composition. Paint with black to hide, white to reveal.
- Refine Edges: Zoom in and clean up harsh lines. Add subtle noise or grain to unify the textures.
This method allows for infinite iteration. You can swap out the secondary image five times if you’re not happy. It’s slower, but the result is polished and intentional.
Common Mistakes and How to Avoid Them
Even experienced photographers trip up on these pitfalls:
- Too Much Detail: If the secondary image is busy (like a crowded street), it distracts from the main subject. Stick to abstract patterns or soft gradients.
- Ignoring Negative Space: Don’t fill every pixel. Leave some areas of the base image untouched to give the viewer’s eye a rest.
- Mismatched Color Palettes: If the base is warm-toned and the overlay is cool, it can look jarring unless that’s your intent. Harmonize colors using adjustment layers.
- Over-Blending: Sometimes less is more. If the two images are too indistinguishable, the concept gets lost. Maintain enough clarity so the viewer can identify both elements.
Tools and Resources for Beginners
You don’t need expensive gear to start. Here’s what helps:
| Tool | Platform | Best For | Learning Curve |
|---|---|---|---|
| Adobe Photoshop | Desktop/Mac | Precise masking and professional results | Steep |
| Snapseed | iOS/Android | Quick mobile edits with basic blending | Gentle |
| Lightroom | Desktop/Mobile | Color grading and tone matching before blending | Moderate |
| VSCO | iOS/Android/Web | Film-like aesthetics and quick presets | Gentle |
If you’re new, start with Snapseed or VSCO on your phone. They offer intuitive sliders for exposure and blending. Once you grasp the basics, move to desktop software for finer control. Many free tutorials online break down the masking process step-by-step, so you can learn at your own pace.
Creative Ideas to Spark Your Imagination
Stuck for inspiration? Try these prompts:
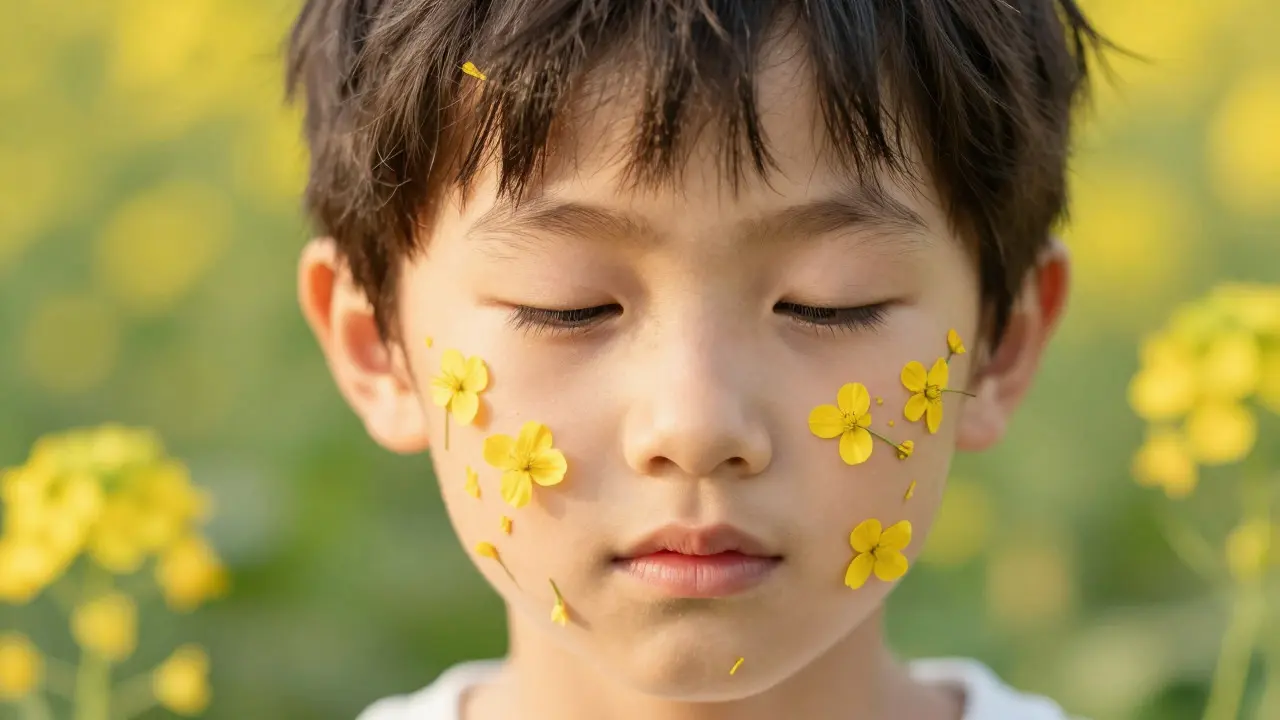
- Nature & Identity: Blend a child’s face with blooming flowers to symbolize innocence and growth.
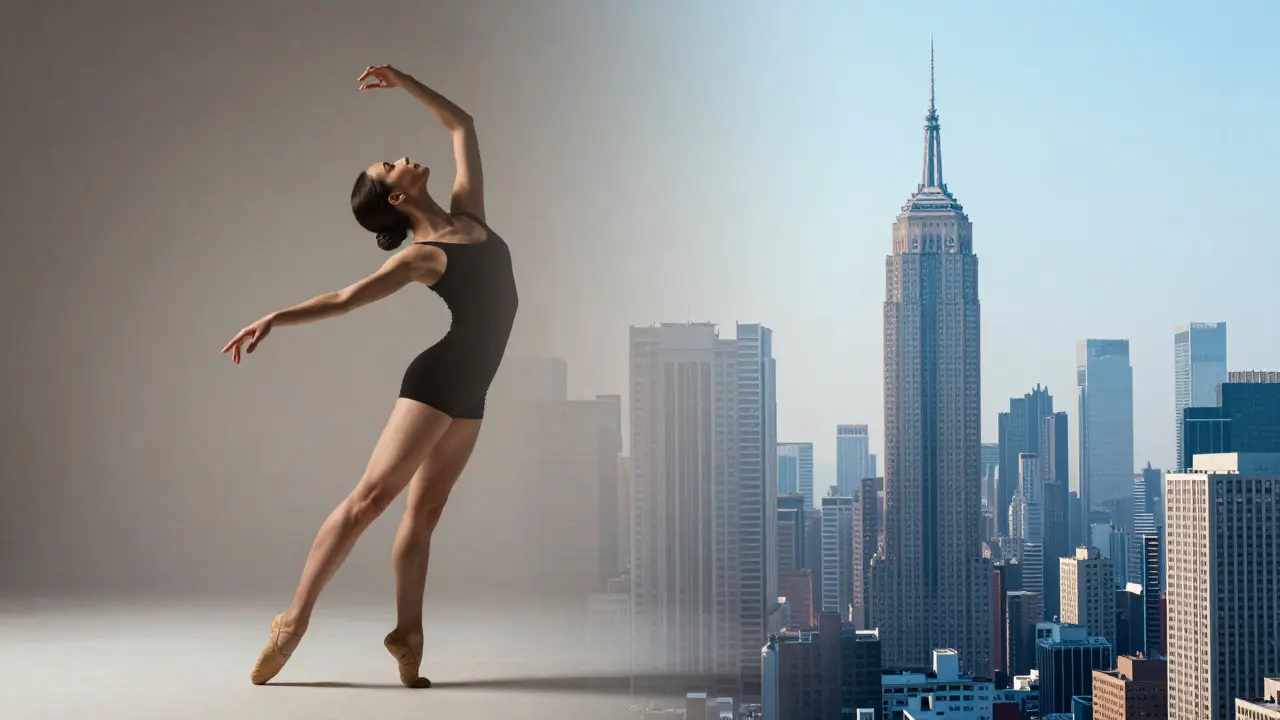
- Urban & Abstract: Overlay city skyscrapers on a dancer’s silhouette to represent movement within structure.
- Memory & Time: Combine an old family photo with a current landscape to show continuity across generations.
- Emotion & Weather: Use rain clouds inside a person’s hair to visualize sadness or introspection.
The key is to think metaphorically. What does the secondary image represent? How does it enhance the story of the primary subject? Ask yourself these questions before you start editing.
Frequently Asked Questions
Do I need a special camera for double exposure?
No. While some cameras have a built-in double exposure mode, you can achieve the effect digitally with any camera that produces high-resolution images. Smartphones work perfectly well for digital blending.
Which blend mode is best for double exposure?
“Multiply” is ideal for dark overlays on light bases, while “Screen” works for light overlays on dark bases. “Overlay” offers a balanced mix. Test different modes to see which fits your specific images.
Can I use more than two images in a double exposure?
Yes, though it’s called multiple exposure. Adding a third layer can introduce depth, but be careful not to clutter the composition. Keep the additional layers subtle and low-opacity.
How do I keep the main subject clear in a double exposure?
Use a layer mask to reduce the opacity of the secondary image in critical areas, like the eyes or face. Ensure the base image has strong contrast and sharp focus to anchor the viewer’s attention.
Is double exposure popular in commercial photography?
It’s more common in fine art and editorial work, but brands use it in campaigns to convey creativity, mystery, or transformation. It’s a powerful tool for standing out in crowded ad spaces.