You’ve probably heard the old photography rule: "If you want better photos, switch to Manual mode." It sounds like a commandment carved in stone, right? But here is the truth that many seasoned photographers whisper about-shooting in automatic exposure isn't cheating. In fact, it’s often the smarter choice depending on what you are trying to capture.
The debate between manual and automatic isn't about which mode makes you a 'real' photographer. It is about control versus speed. One gives you absolute precision over every pixel of light; the other gives you back your attention so you can focus on the moment. Knowing when to hand the reins to your camera and when to take them back is the secret to consistent, high-quality images.
Understanding the Exposure Triangle
Before we dive into the modes, let's quickly ground ourselves in what these modes actually control. Your camera manages exposure through three variables: Aperture, the size of the lens opening that controls depth of field and light intake, Shutter Speed, how long the sensor is exposed to light, controlling motion blur, and ISO, the sensor's sensitivity to light, affecting image noise.
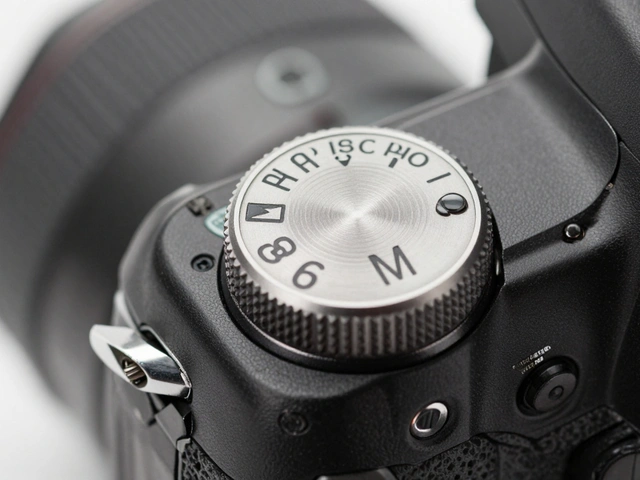
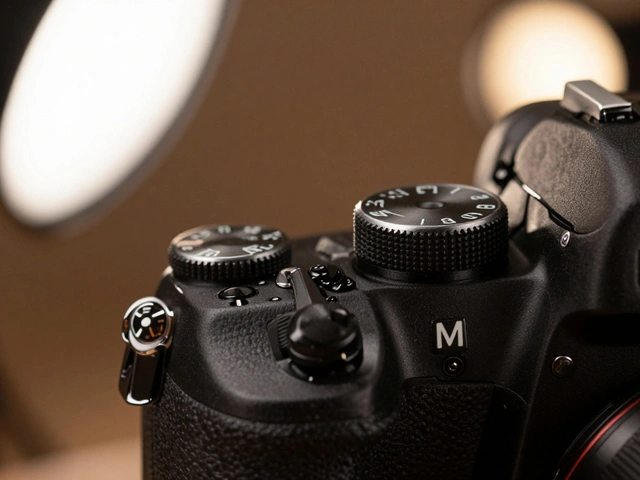
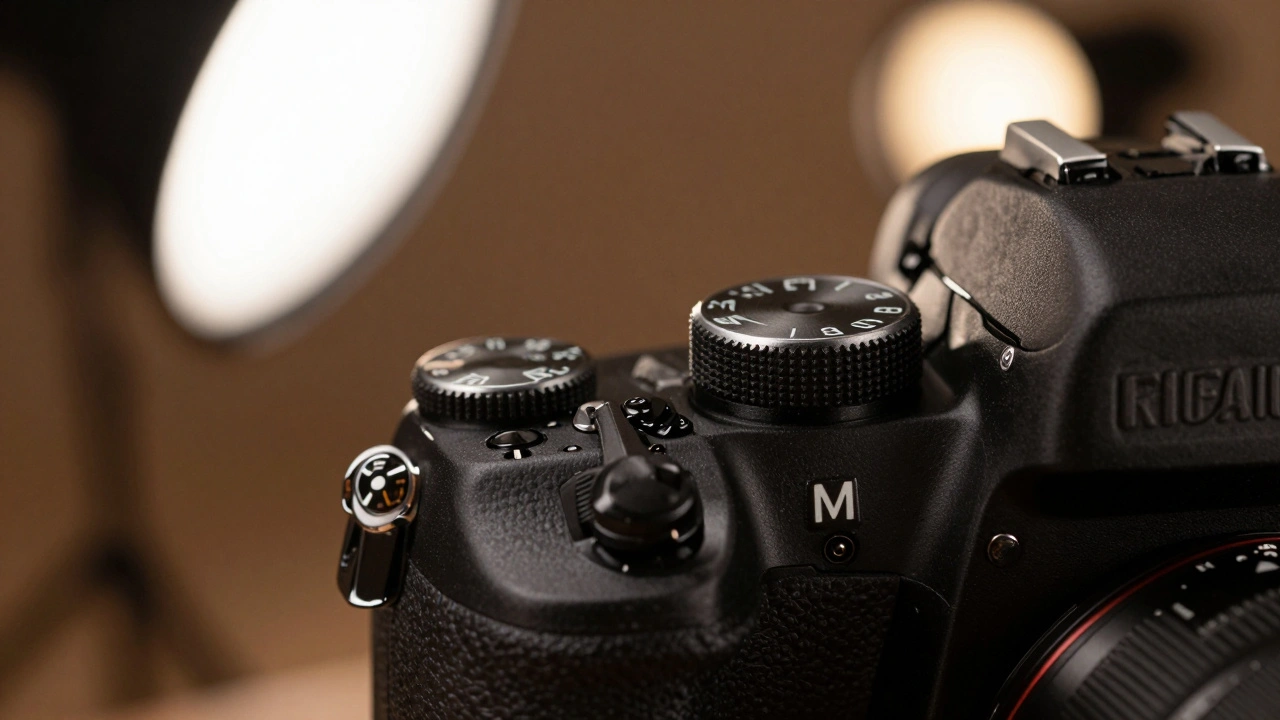
In Manual Mode (M), a camera setting where the user defines all exposure parameters, you set all three. In Automatic Modes, settings like Aperture Priority or Program Auto where the camera calculates one or more parameters, the camera’s metering system calculates the missing pieces to achieve what it thinks is a 'correct' exposure. The goal is always the same: getting the right amount of light onto the sensor. The difference is who does the math.
When to Choose Manual Exposure
Manual mode is not just for studio pros. It shines in specific scenarios where consistency is king or where the camera’s brain gets confused. Here is when you should flip that dial to M:
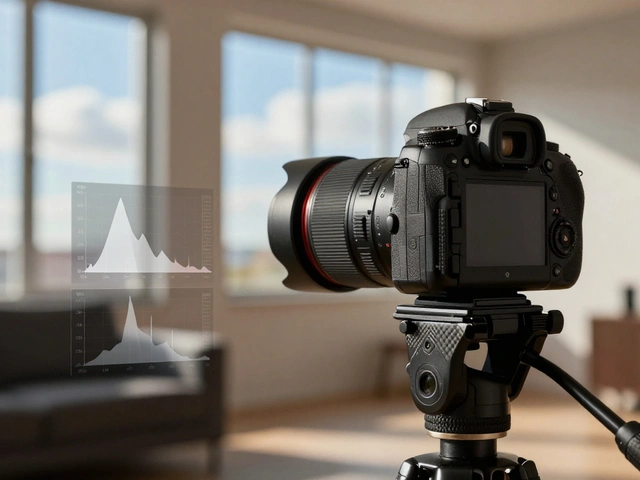
- Consistent Lighting Environments: If you are shooting portraits in a studio with strobes or outdoors under stable shade, the light isn't changing. Once you nail the exposure, you don't want the camera guessing for every single shot. You set it once, check the histogram, and shoot away. This ensures every photo has identical brightness, making editing later much faster.
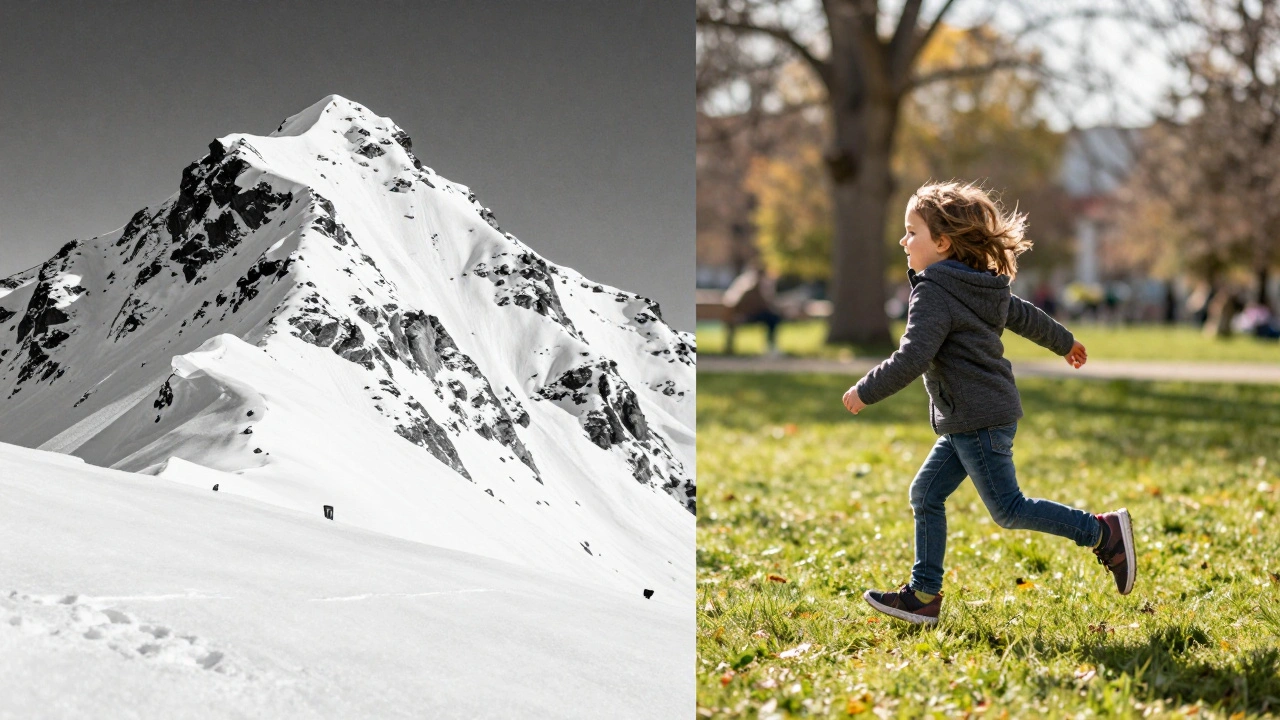
- High-Contrast or Extreme Scenes: Cameras measure light by aiming for middle gray. If you photograph a snow-covered mountain, an automatic mode will try to darken the white snow to make it gray, resulting in a muddy, blue-ish mess. If you shoot a dark stage performance, it might blow out the lights. In Manual mode, you tell the camera exactly how bright or dark you want the scene to be, ignoring its attempt to average everything out.
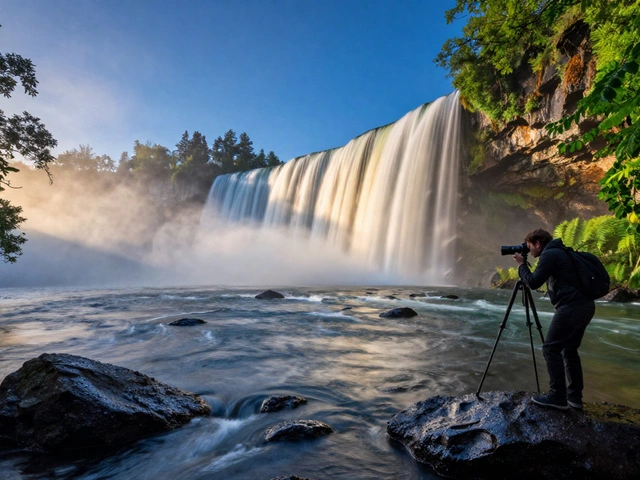
- Long Exposures: Want silky smooth waterfalls or star trails? These require shutter speeds of seconds or minutes. An automatic mode might decide that a fraction of a second is enough because there is moonlight, ruining the effect. Manual lets you lock in that long duration precisely.
- Using Manual Flash: If your flash is set to manual power output, TTL (Through-The-Lens) automation won't work well. You need to match your camera's aperture and ISO to the fixed power of the flash. Doing this in Manual mode prevents the camera from adjusting settings that would unbalance your carefully calculated flash ratio.
The biggest advantage here is predictability. You aren't hoping the camera makes the right call; you are forcing it to do exactly what you intend. As photographer Eliot Voss often notes, learning to read the histogram in Manual mode builds a deeper intuition for light that no auto-mode can teach you.
When Automatic Exposure Wins
There is a myth that using automatic modes means you aren't thinking. That couldn't be further from the truth. Using Aperture Priority (A/Av), a semi-automatic mode where the user sets aperture and the camera selects shutter speed or Shutter Priority (S/Tv), a semi-automatic mode where the user sets shutter speed and the camera selects aperture allows you to prioritize creative elements while letting the camera handle the technical grunt work.
Here is when you should trust the automation:
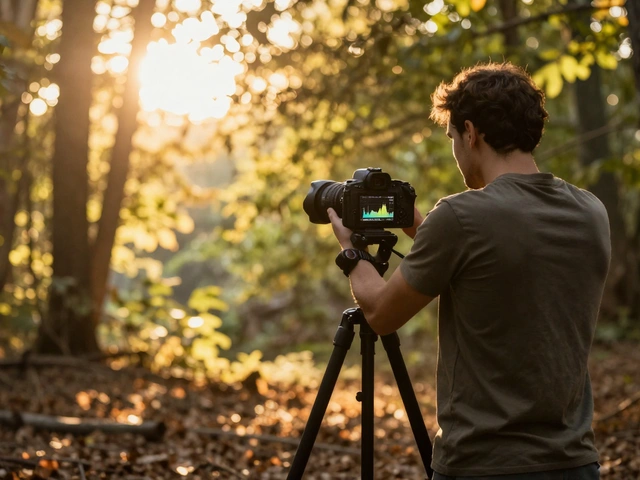
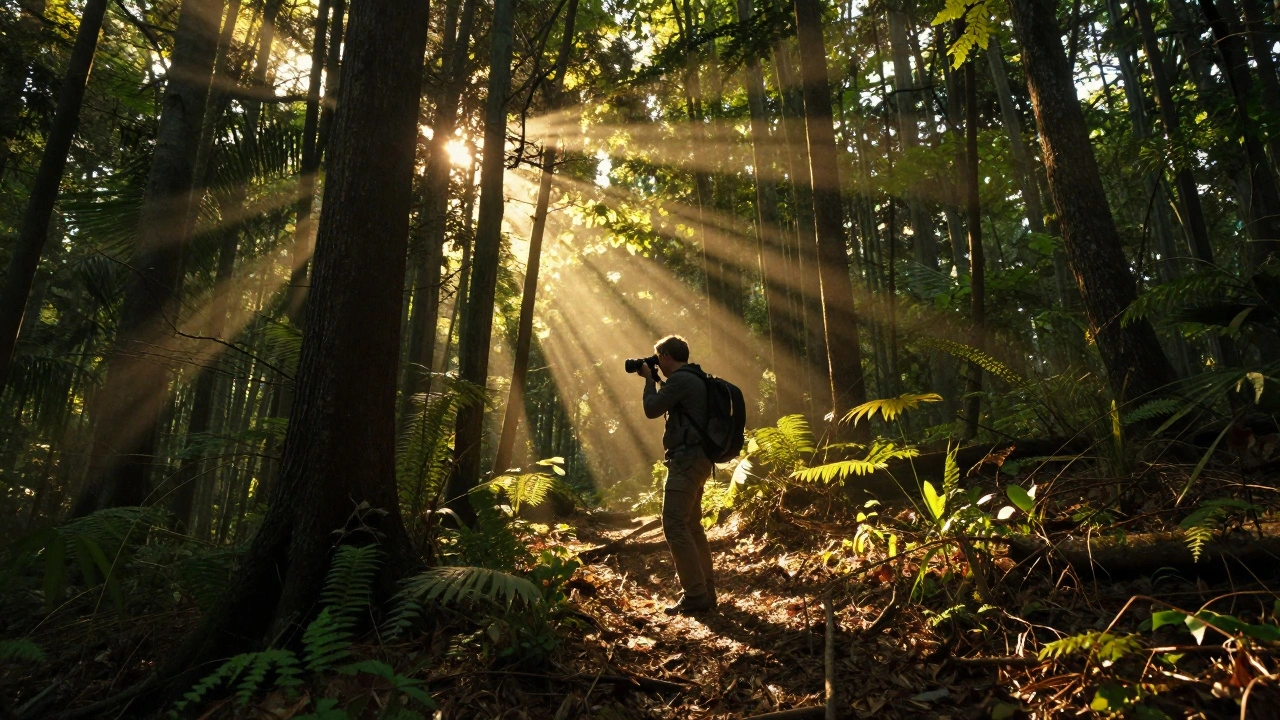
- Rapidly Changing Light: Imagine hiking through a forest where sunbeams pierce through leaves, or shooting a landscape as clouds roll in and out. In Manual mode, you’d be constantly stopping to adjust your shutter speed, missing the perfect composition. In Aperture Priority, you keep your desired depth of field locked, and the camera instantly adjusts the shutter speed for each frame to maintain correct exposure.
- Action and Sports: When a child is running toward you or a car is speeding by, your priority is freezing motion. Switch to Shutter Priority, lock in a fast speed like 1/1000s, and let the camera widen the aperture if needed. If you were in Manual, you might miss the shot because you were fiddling with dials instead of tracking the subject.
- Casual Travel and Family Moments: Sometimes, the experience matters more than the technical perfection. If you are at a wedding reception dancing or watching your kids play, pulling up your viewfinder to tweak ISO ruins the immersion. Full Auto or Program Mode lets you stay present. Modern cameras are incredibly smart; they rarely get basic exposures wrong in good light.
- Golden Hour Landscapes: During the hour after sunrise or before sunset, light is soft and even. The contrast is low, meaning the camera’s metering is unlikely to be fooled. Aperture Priority works beautifully here, allowing you to focus on framing and leading lines while the camera handles the subtle shifts in ambient light.
The key benefit here is speed and cognitive freedom. You free up mental bandwidth to focus on composition, timing, and emotion-the things that actually make a photo memorable.
The Hybrid Approach: Auto ISO
You don't have to choose between total control and total surrender. Enter Auto ISO, a feature that automatically adjusts sensor sensitivity to maintain exposure. This is the best of both worlds for many photographers.
You can shoot in Manual mode but enable Auto ISO. This means you lock in your Aperture (for depth of field) and Shutter Speed (for motion), and the camera only adjusts the ISO to get the exposure right. This is fantastic for street photography or wildlife, where light changes slightly but you need to maintain a specific look. Just be aware that some cameras limit exposure compensation range when Auto ISO is active, typically to ±3 stops, so you still have room to bias the exposure if needed.
Comparison: Manual vs. Automatic
| Feature | Manual Mode (M) | Automatic/Semi-Auto (A/S/P) |
|---|---|---|
| Control Level | Total control over all settings | Shared control; camera adjusts remaining variables |
| Best For | Studio, long exposures, high contrast scenes | Action, changing light, casual shooting |
| Learning Curve | Steep; requires understanding of exposure triangle | Low to Moderate; easier for beginners |
| Consistency | High; exposure stays fixed unless changed manually | Variable; exposure shifts with lighting changes |
| Speed | Slower; requires adjustment between shots if light changes | Fast; instant adaptation to new conditions |
Common Pitfalls to Avoid
Even experts make mistakes with exposure modes. Here are two common traps:
The "Gray World" Trap in Auto Mode: Remember that your camera’s meter aims for middle gray. If you shoot a black cat against a white wall in Aperture Priority, the camera might lighten the cat and darken the wall to find that average gray. Always check your histogram. If the peaks are hugging the left side (underexposed) or right side (overexposed), use exposure compensation (+/- button) to nudge the camera in the right direction.
The "Set and Forget" Trap in Manual Mode: Don't switch to Manual and assume you never need to look again. If you are shooting outdoors, the sun moves. Clouds pass. Shadows lengthen. If you notice your images getting progressively darker or brighter, you need to adjust. A quick glance at the LCD screen or histogram every few shots keeps you honest.
Finding Your Workflow
So, which one should you use? Start with Aperture Priority. It is the most versatile semi-automatic mode. It lets you control the artistic look (depth of field) while ensuring you don't miss a shot due to bad exposure. As you become more comfortable, start switching to Manual for static scenes to see how the settings interact. Use Full Auto when you just want to enjoy life without thinking about f-stops.
The best photographer is the one who captures the moment, regardless of the mode dial setting. Technical perfection means nothing if you missed the smile, the explosion, or the sunset because you were too busy tweaking ISO.
Is Manual mode better than Automatic?
Not necessarily. Manual mode offers greater control and consistency, which is crucial for studio work or tricky lighting. However, Automatic modes are faster and more reliable in changing light or action scenarios. The "better" mode depends entirely on your specific shooting situation and priorities.
Can I use autofocus in Manual mode?
Yes, absolutely. Exposure mode (Manual/Auto) is separate from focus mode. You can shoot in full Manual exposure and still use Single or Continuous Autofocus. Many professionals do this to save time on focusing while maintaining strict control over exposure.
What is Aperture Priority mode used for?
Aperture Priority (A or Av) is ideal when you want to control depth of field (background blur) but need the camera to handle shutter speed. It is popular for portraits (wide aperture for blur) and landscapes (narrow aperture for sharpness from front to back).
Why does my camera underexpose white subjects in Auto mode?
Cameras meter for middle gray. White subjects reflect a lot of light, confusing the meter into thinking the scene is too bright, so it darkens the exposure. To fix this, use exposure compensation to add light (+EV) or switch to Manual mode and expose to the right on the histogram.
Should beginners shoot in Manual or Auto?
Beginners should start with Aperture Priority or Program Auto to learn composition and lighting without being overwhelmed by technical settings. As they understand how aperture, shutter speed, and ISO affect an image, they can gradually transition to Manual mode for more control.