You know that feeling when you’re scrolling through Zillow and hit a listing with a blurry, ground-level shot of a roof? It’s frustrating. You can’t see the lot size, you don’t know if the backyard is actually usable, and you definitely can’t tell if the neighborhood looks like a ghost town or a vibrant community. That’s where real estate aerial photos change the game. They aren’t just pretty pictures; they are data visualizations that show the full story of a property.
Most sellers think their job is done once the interior is staged. But buyers today are savvy. They want to see the relationship between the house and its surroundings before they even schedule a tour. If you’re an agent or a photographer, ignoring the sky view means leaving money on the table. Let’s break down how drones provide the critical context that ground cameras simply cannot capture.
Why Ground-Level Shots Fall Short
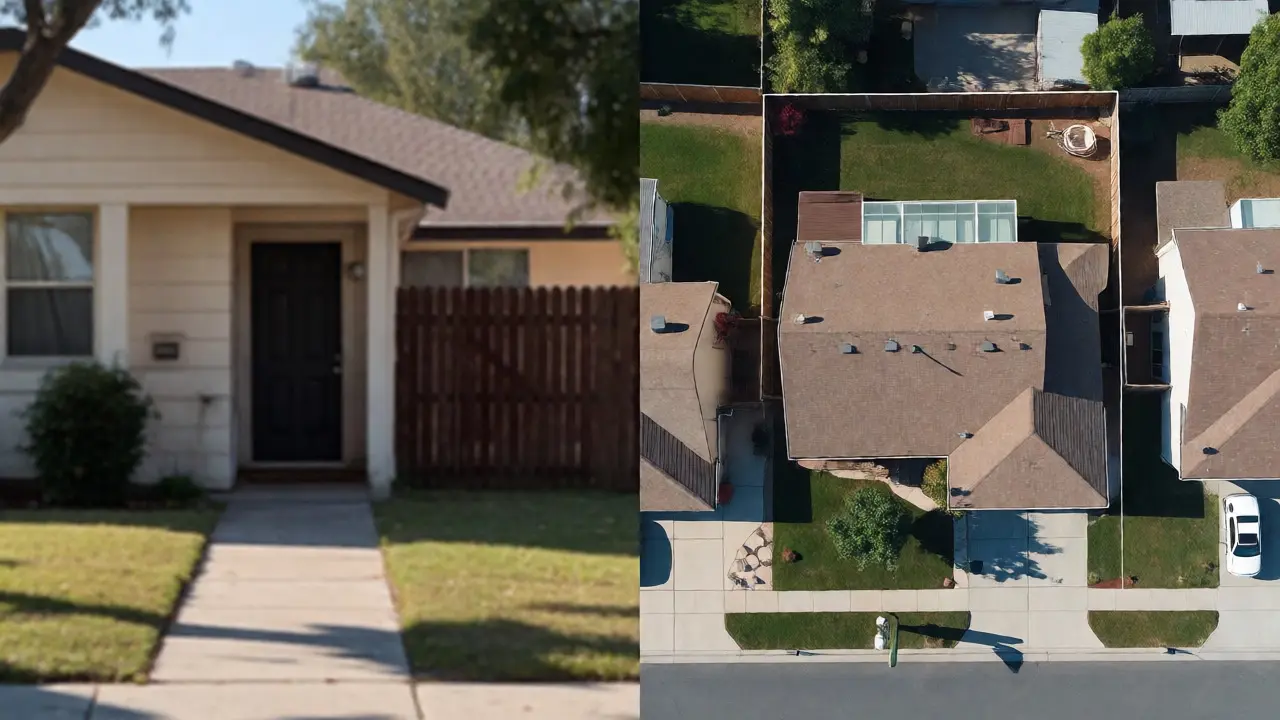
Think about the last time you bought something big. Did you look at it from one angle? Probably not. You walked around it. For houses, walking around often isn’t enough because trees, fences, and neighboring structures block your view. A standard photo taken from the driveway shows you the front door. It doesn’t show you that the “spacious” backyard is actually a narrow strip squeezed between two other houses.
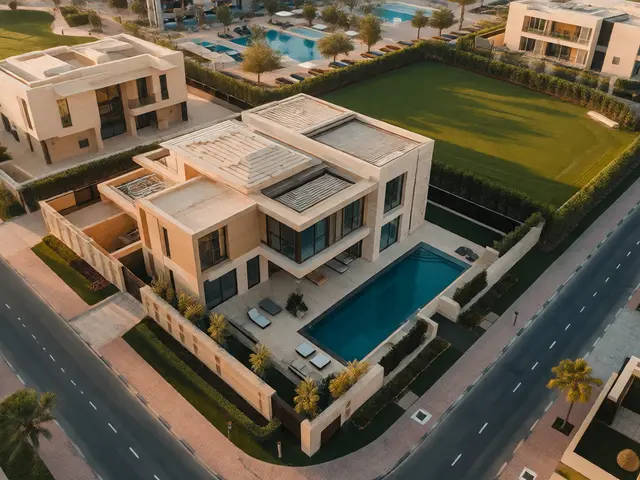
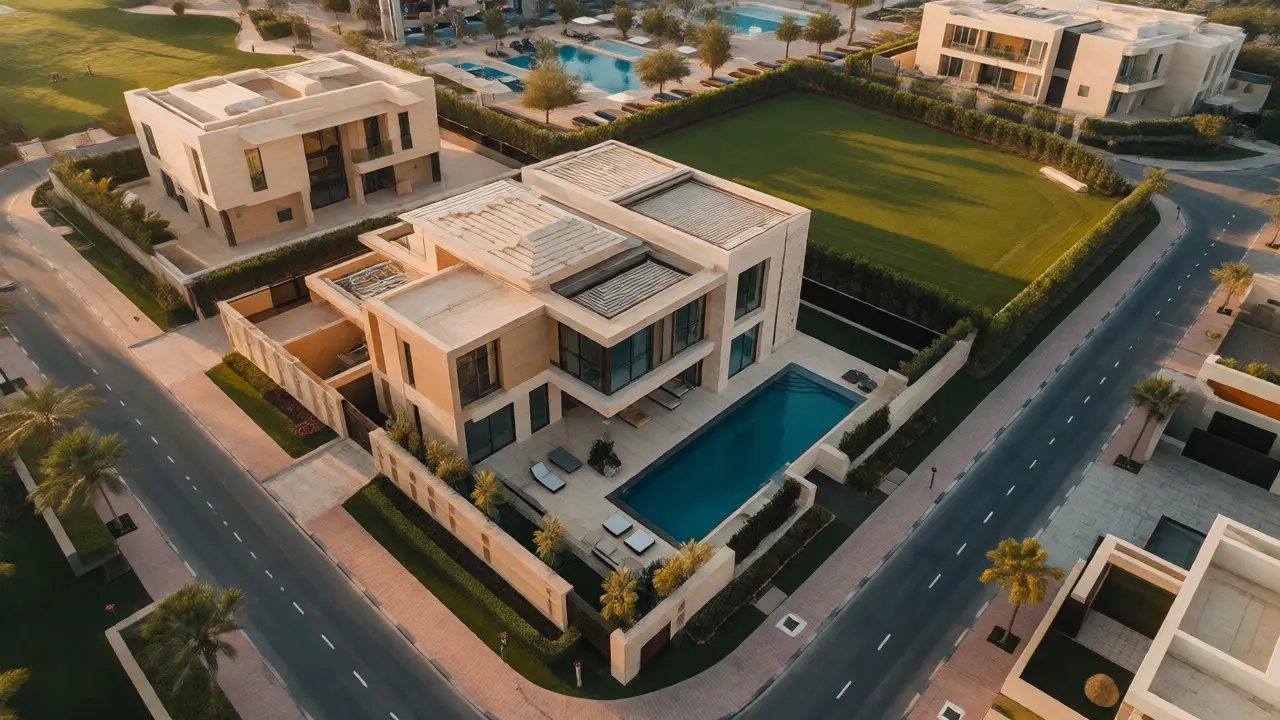
Aerial imagery solves this by offering a bird’s-eye perspective. This view reveals:
- Lot boundaries: Buyers can instantly see the actual shape and size of the land.
- Neighborhood density: Is the house isolated or packed tight against neighbors?
- Proximity to amenities: How close is the park, the school, or the noisy highway?
- Property condition: Roof damage, overgrown yards, or poor drainage issues become obvious from above.
This context builds trust. When a buyer sees exactly what they’re getting, they feel more confident making an offer. It reduces the “cat in the bag” anxiety that kills many deals during the inspection phase.
The Drone as Your New Camera Rig
Not long ago, getting these shots meant hiring a helicopter pilot for $500 an hour. Today, a consumer-grade drone costs less than a decent lens and does 90% of the work. The technology has matured to the point where stability and image quality are no longer barriers. Modern drones feature gimbal-stabilized cameras that shoot 4K video and high-resolution stills, ensuring every pixel counts.
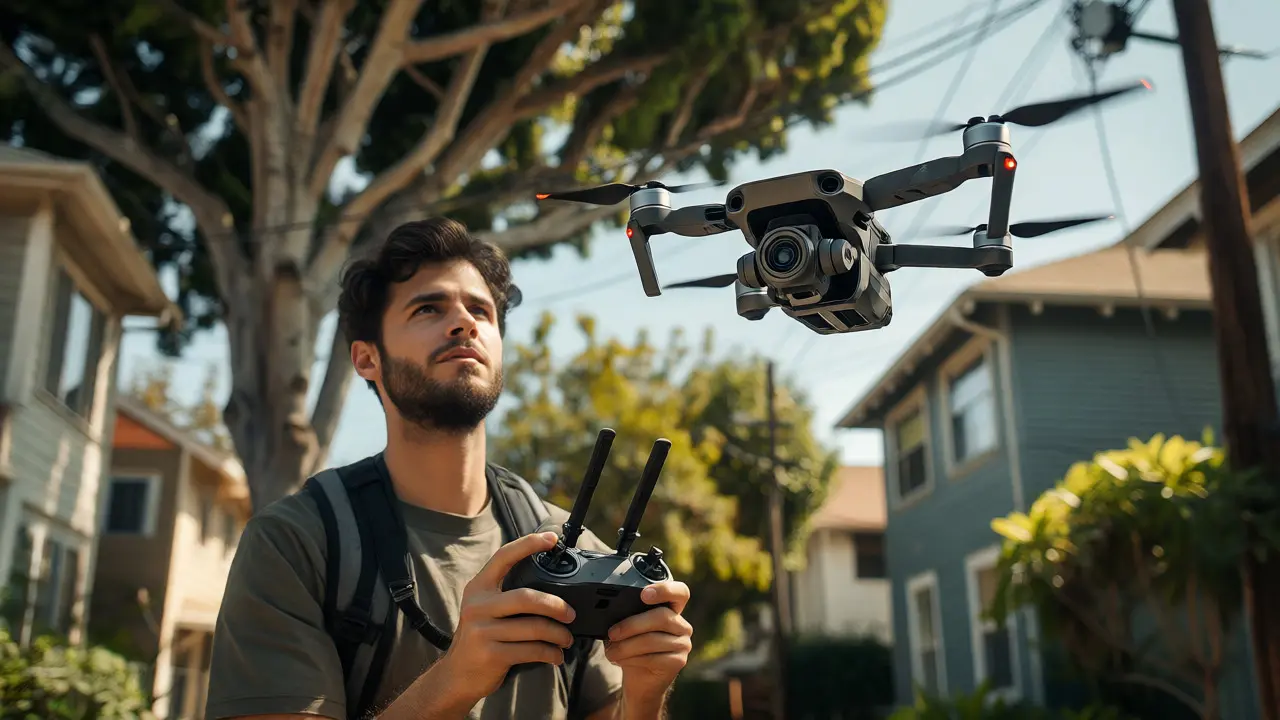
But hardware is only half the battle. The skill lies in flying safely and framing the shot correctly. In Portland, Oregon, where I live, we deal with unique challenges. Our neighborhoods are dense with large Douglas fir trees, and our weather shifts fast. A drone pilot here needs to understand wind patterns better than someone flying in open desert terrain. You have to account for tree cover, power lines, and strict local ordinances regarding flight heights near residential zones.
If you’re shooting for real estate, you need a drone capable of vertical takeoff and landing (VTOL) in tight spaces. Many backyards in older neighborhoods don’t have room for a traditional runway-style drone. Compact models with folding arms are essential for agents who need to move quickly from listing to listing without hauling bulky gear.
Capturing the Right Angles for Maximum Impact
It’s tempting to just hover directly over the house and snap a picture. Don’t do that. A straight-down top-down view, known as a nadir shot, is useful for showing lot lines, but it lacks depth. It looks like a map, not a home. To create emotional connection, you need oblique angles-shots taken from 30 to 45 degrees above the horizon.
Here is a simple checklist for capturing effective aerials:
- The Hero Shot: Start low and fly backward while tilting the camera up. This creates a dynamic reveal of the entire property.
- The Lot Overview: Fly higher (around 100-200 feet) to capture the full parcel including any outbuildings, pools, or gardens.
- The Neighborhood Context: Pan slightly to include nearby landmarks like parks, lakes, or shopping centers. This helps remote buyers visualize their lifestyle.
- The Detail Shot: Get close to specific features like a new roof, a landscaped garden, or a deck. Show off the investment.
Lighting matters more than most people realize. Midday sun creates harsh shadows that hide details under eaves and trees. Early morning or late afternoon light provides soft, directional illumination that makes textures pop. However, avoid shooting into the sun unless you want a silhouette effect. Most buyers want clarity, not artistry.
Legal and Safety Considerations You Can’t Ignore
Flying a drone isn’t a free-for-all. In the United States, the Federal Aviation Administration (FAA) regulates commercial drone use. If you’re charging for photos, you’re operating commercially, which requires Part 107 certification. Ignoring this rule can lead to fines that dwarf your profit margin.
Beyond federal laws, check local city codes. Some municipalities ban flights over private property without explicit permission. Always get written consent from the seller before launching. It protects you from liability if a gust of wind sends your drone crashing into a neighbor’s window. Insurance is also non-negotiable. A single crash can cost thousands in repairs or third-party damages.
| Feature | Importance for Real Estate | Recommended Spec |
|---|---|---|
| Camera Resolution | High detail for zooming in on digital tours | 20MP+ Still / 4K Video |
| Sensor Size | Better low-light performance for dusk shoots | 1-inch Sensor or larger |
| Obstacle Avoidance | Prevents crashes near trees and wires | Multi-directional sensors |
| Flight Time | Allows multiple setups per battery charge | 25+ minutes |
| Portability | Easy transport between listings | Foldable design under 2 lbs |
Integrating Aerials into Your Marketing Strategy
Once you have the files, don’t just dump them into a folder. Use them strategically. On MLS listings, place the best aerial shot as the primary image or immediately after the hero interior shot. This stops the scroll. For social media, short looping videos of the drone pulling away from the house perform exceptionally well on Instagram Reels and TikTok.
Consider creating a composite image that blends the aerial view with a floor plan overlay. This helps buyers orient themselves within the space. Some advanced tools allow you to draw property lines directly onto the photo, clarifying exactly what is included in the sale. This is particularly helpful for rural properties where fences might be old or unclear.
Also, think about virtual staging. You can digitally add furniture to patios or decks in the aerial view. It helps buyers imagine outdoor living spaces, which are major selling points in markets like Portland where patio culture is strong.
Common Mistakes That Ruin Aerial Shots
I’ve seen countless listings ruined by avoidable errors. The biggest one is shooting on a cloudy day. Gray skies make everything look flat and depressing. Wait for blue skies if possible. Another common issue is forgetting to clean the lens. Fingerprints and dust spots are magnified when viewed on large screens.
Then there’s the “too high” problem. Flying too high makes the house look like a toy model. It loses all texture and character. Keep your altitude moderate unless you’re specifically trying to show the broader neighborhood context. Balance is key.
Finally, ignore the background. If there’s a dumpster behind the house or a neighbor’s unfinished construction project, frame your shot to minimize it. You can’t always edit out a pile of junk, so try to hide it with careful positioning.
Future-Proofing Your Skill Set
The market is evolving. Static images are becoming the baseline. The next step is interactive 3D mapping and photogrammetry. Tools now allow you to stitch together hundreds of overlapping aerial photos to create a navigable 3D model of the property. This gives buyers an unprecedented level of control-they can rotate, zoom, and explore the site from any angle.
Learning basic editing software like Lightroom or Photoshop is crucial. Adjusting exposure, contrast, and saturation can transform a mediocre raw file into a stunning final product. Don’t rely solely on auto-enhancements. Take the time to fine-tune each image to match the warmth and appeal of the interior photos.
Drones are no longer a luxury add-on; they are a standard expectation for competitive real estate marketing. Mastering this tool allows you to present properties with honesty and flair. It respects the buyer’s time and intelligence by giving them the full picture before they ever knock on the door.
Do I need a license to fly a drone for real estate photos?
Yes, if you are using the footage for commercial purposes, such as selling a home, you typically need FAA Part 107 certification in the United States. Recreational flyers do not need this license, but commercial operators must pass an aeronautical knowledge test to ensure they understand airspace rules and safety regulations.
How high should I fly my drone for real estate photography?
For general property shots, an altitude between 50 and 150 feet is usually ideal. This height provides a clear view of the structure and immediate surroundings without losing detail. For neighborhood context shots, you may go up to 300-400 feet, but keep in mind that FAA regulations generally limit recreational and certified commercial flights to 400 feet above ground level.
What is the best time of day for aerial real estate photos?
The golden hours-shortly after sunrise and just before sunset-are best for lighting. The sun is lower, casting softer shadows and providing warm tones that make homes look inviting. Avoid midday when the sun is directly overhead, as this creates harsh contrasts and deep shadows under roofs and trees that can obscure important details.
Can drones help sell rural properties?
Absolutely. Rural properties often have large acreages that are difficult to convey with ground-level photos. Aerials clearly show field boundaries, barns, driveways, and proximity to roads or water sources. This context is vital for buyers interested in farming, hunting, or privacy, as it demonstrates the scale and utility of the land.
How much does professional drone photography cost?
Costs vary widely based on location and complexity, but typical packages range from $100 to $300 per listing. This usually includes a set number of edited still images and sometimes a short video clip. Prices increase if you require 3D mapping, twilight shots, or additional editing services like property line overlays.