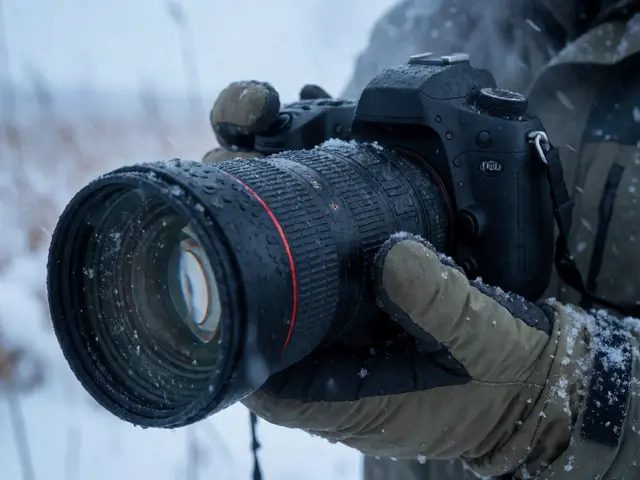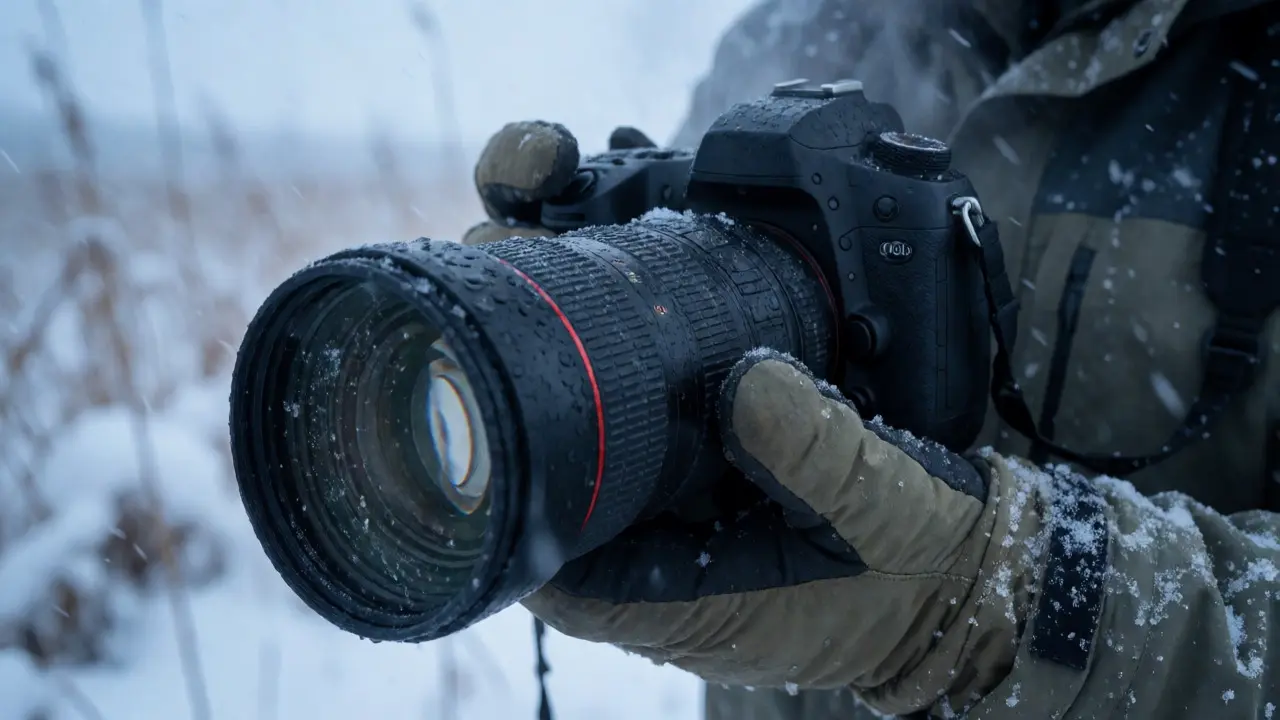
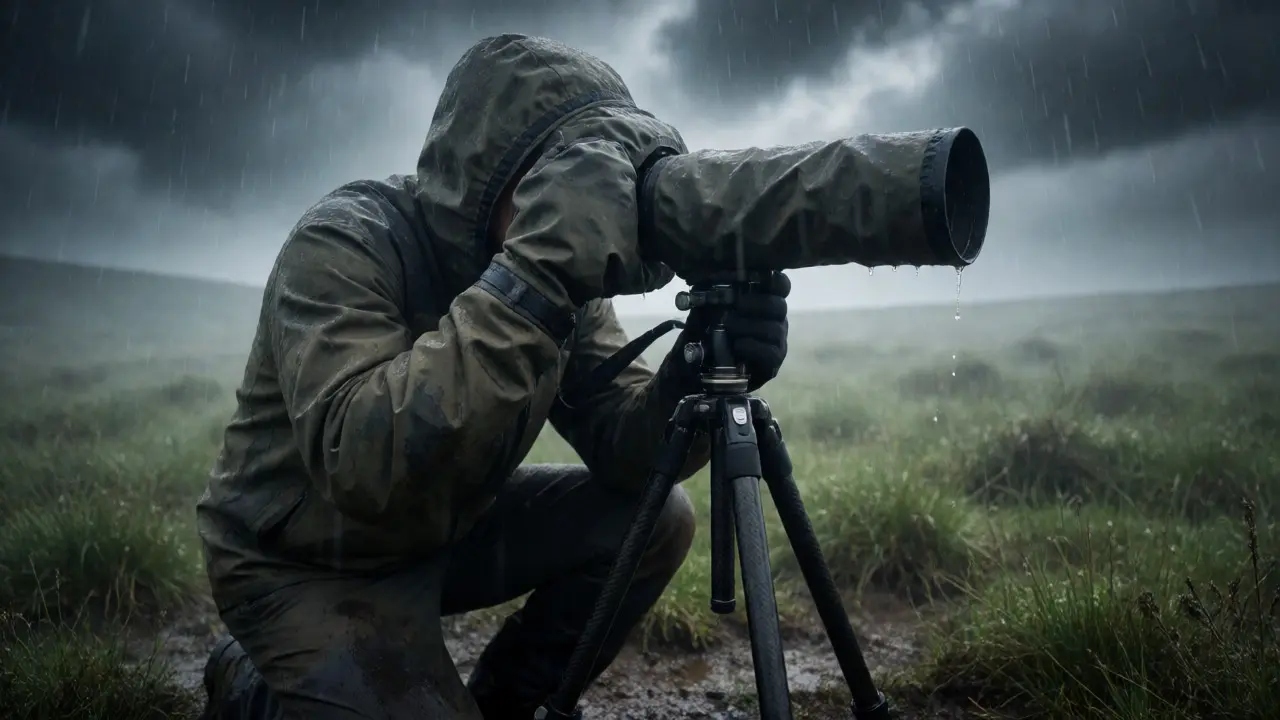
You’re knee-deep in a marsh in Alaska, or maybe you’re crouched in the freezing rain of a Scottish moor. Your fingers are numb, your lens is fogging up, and there’s a real chance that one wrong move could turn your $5,000 camera into an expensive paperweight. Most people think "weather sealing" means you can dunk your camera in a river. It doesn’t. It means you have a fighting chance when nature decides to test your patience.
Wildlife photographers know that the best moments rarely happen on sunny, dry afternoons. The rarest behaviors often occur during storms, snow, or extreme humidity. If your gear isn’t ready, you miss the shot. If your gear fails, you lose more than just a photo-you might lose a season’s worth of investment. This guide breaks down what actually matters when you’re pushing your equipment past its comfort zone.
What Weather Sealing Actually Means
Before you spend money on new bodies or lenses, you need to understand what the marketing terms actually promise. Weather sealing is not a single feature; it’s a system of gaskets, O-rings, and design choices meant to keep moisture and dust out of sensitive electronics and mechanics. It does not mean waterproof. There is a massive difference between resisting a heavy drizzle and surviving submersion.
Manufacturers like Canon, Nikon, Sony, and Olympus (now OM System) use different standards. Some cameras have extensive sealing around every button, dial, and port. Others only seal the battery compartment and memory card slot. You need to check the specific model’s manual, not just the brand reputation. A professional-grade body from ten years ago might be better sealed than a consumer-grade mirrorless from today.
| Standard | Protection Level | Real-World Application |
|---|---|---|
| IPX4 | Splash resistant from any direction | Light rain, accidental splashes |
| IPX5 | Low-pressure water jets | Heavy rain, washing off mud |
| IPX6 | High-pressure water jets | Storms, salt spray exposure |
| MIL-STD-810G | Military grade durability | Dust, vibration, temperature extremes |
The Lens Is Often the Weakest Link
Your camera body might be a tank, but if your lens has a cheap plastic mount or poor internal seals, you’re vulnerable. In wildlife photography, long telephoto lenses are standard. These large barrels have more surface area for water to seep in, especially around the focus ring and zoom mechanism.
When shopping for wildlife glass, look for lenses with fluorine coatings on the front element. These coatings repel water and oil, making it easier to wipe away droplets without smearing them across the glass. Without this coating, you’ll spend half your time trying to clean the lens while the animal walks away.
Also, pay attention to the rear mount. If you shoot in dusty environments like deserts or savannas, dust getting between the lens and sensor is a nightmare. Lenses with rubber gaskets at the mount prevent this. If your current lens lacks this, consider using a protective filter as a sacrificial barrier, though remember that filters can introduce flare issues if they’re low quality.
Batteries Die Faster in the Cold
If you’re shooting in winter conditions, physics is against you. Lithium-ion batteries rely on chemical reactions to produce energy, and cold temperatures slow these reactions down. At -10°C (14°F), your battery capacity can drop by 30% or more. That “full charge” indicator you saw indoors? It’s lying to you outside.
Here’s the practical fix: keep spare batteries in an inside pocket close to your body heat. Only swap them out when necessary. Once a battery cools down, it won’t recharge fully in the field unless you have a portable power bank designed for cold weather. Some photographers even wrap their camera in a neoprene sleeve to insulate the battery compartment. It adds bulk, but it keeps the electrons flowing.
Condensation is another silent killer. When you bring a freezing camera into a warm car or tent, moisture forms on the internal components. This can short-circuit circuits or cause fungus growth over time. Always put your gear in a sealed plastic bag before bringing it inside. Let it come to room temperature gradually while still in the bag. This prevents condensation from forming directly on the metal and glass.
Protecting the Sensor from Dust and Sand
In arid environments, the enemy isn’t water-it’s fine particulate matter. Wind-driven sand can infiltrate the mirror box or sensor area when you change lenses. Every time you swap a lens outdoors, you’re opening the door to disaster.
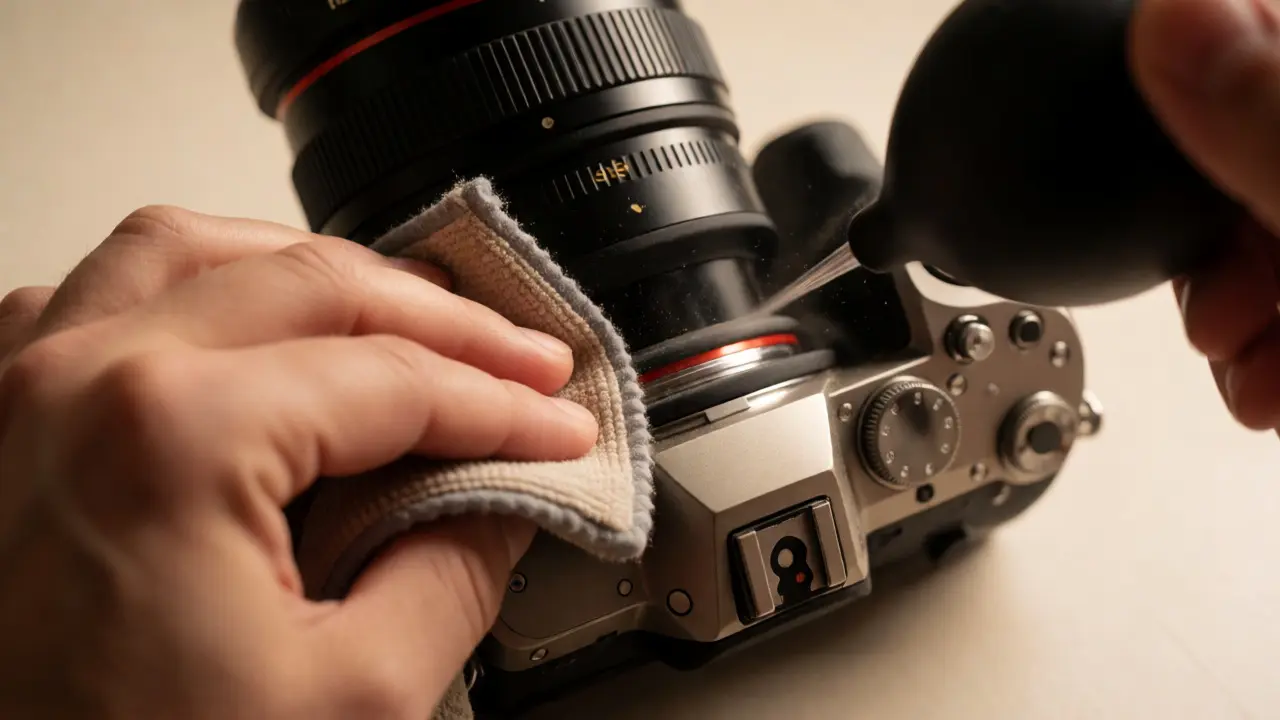
Adopt the "body cap discipline." Never leave the camera body exposed longer than three seconds. Change lenses with the camera facing downward to let gravity help keep dust out. Use a blower bulb to clear dust from the lens mount before attaching a new lens. If you’re working in extremely sandy areas, consider carrying two bodies with lenses already attached. Yes, it’s heavier, but it eliminates the risk of sensor contamination entirely.
Some newer mirrorless cameras have sensor-shift stabilization mechanisms that can be damaged by gritty dust. Cleaning these sensors requires specialized tools and care. Prevention is always cheaper and less stressful than repair.
Rain Covers and DIY Solutions
Even the most weather-sealed gear benefits from physical barriers. Dedicated rain covers are essential for prolonged exposure to precipitation. They protect the viewfinder, buttons, and dials from being saturated, which helps maintain grip and functionality.
You don’t always need to buy expensive branded covers. A simple shower cap works wonders for keeping the front element of a wide-angle lens dry. For telephoto lenses, a custom-fitted cover made from breathable waterproof fabric is ideal. Avoid non-breathable plastics if you’re shooting in humid heat, as trapped moisture can fog up the interior of the lens.
Don’t forget your tripod. Carbon fiber tripods resist corrosion better than aluminum, but all legs should have locking mechanisms that work with wet or gloved hands. Flip locks are generally faster and more reliable in cold weather than twist locks, which can seize up when frozen.
Maintenance After the Shoot
Weather sealing degrades over time. Rubber gaskets crack, lubricants dry out, and screws loosen. After a tough day in the elements, your maintenance routine matters as much as your shooting technique.
- Wipe down thoroughly: Use a microfiber cloth to remove all visible moisture and dirt. Pay special attention to seams and crevices where water pools.
- Air dry completely: Leave battery and card doors open in a dry, well-ventilated area for several hours before storing.
- Check seals regularly: Inspect rubber gaskets for cracks or brittleness. Replace them if they look compromised.
- Lubricate moving parts: Occasionally, apply a tiny amount of silicone-based lubricant to focus rings if they feel stiff (check manufacturer guidelines first).
Neglecting post-shoot care is how minor issues become major repairs. Saltwater exposure is particularly harsh. If you’ve been near the ocean, wipe everything down with a damp fresh-water cloth to remove salt crystals, then dry immediately. Salt accelerates corrosion significantly.
Is Weather Sealing Worth the Cost?
This depends on your shooting style. If you mostly photograph birds in suburban parks on clear days, a mid-range camera with basic splash resistance is fine. But if you chase wolves in Yellowstone winters or monitor sharks in tropical storms, weather sealing isn’t a luxury-it’s insurance.
Weigh the cost of the gear against the cost of replacement. A broken shutter unit or corroded motherboard can cost hundreds of dollars and take weeks to repair. During those weeks, you’re missing opportunities. For professionals, downtime equals lost income. For enthusiasts, it means missed once-in-a-lifetime moments.
Ultimately, weather-sealed gear gives you confidence. You stop worrying about whether it’s going to rain and start focusing on composition and timing. That mental shift alone improves your photography.
Can I wash my weather-sealed camera under running water?
No, not directly. While weather-sealed cameras resist water jets, they are not designed for continuous high-pressure streams. Water can force its way past seals if the pressure is too high. Instead, wipe the camera down with a damp cloth or use a gentle mist to rinse off salt or dust, then dry immediately.
Do all professional cameras have full weather sealing?
Not necessarily. Some pro-focused models prioritize speed and weight over extensive sealing. Always check the specific model's IP rating or manufacturer documentation. Entry-level "pro-style" bodies may have minimal sealing compared to flagship models.
How do I prevent lens fogging in cold weather?
Acclimatize your gear slowly. Keep the camera in a closed bag when moving from cold to warm environments. Using hand warmers placed near the lens barrel (not touching it directly) can also help keep the lens temperature slightly above the dew point, preventing condensation.
Does weather sealing void the warranty if it fails?
It depends on the manufacturer and the type of damage. If water enters despite proper use, many brands will cover the repair. However, if you submerge the camera or expose it to pressures beyond its rated limits, the warranty may be voided. Always document the incident and consult support promptly.
Are third-party lenses weather-sealed?
Some are, but not all. Brands like Sigma and Tamron offer weather-sealed versions of their popular telephoto lenses, often labeled as "Contemporary," "Art," or "Sports" lines with specific sealing claims. Verify the exact model specifications, as older versions of the same focal length may lack sealing.