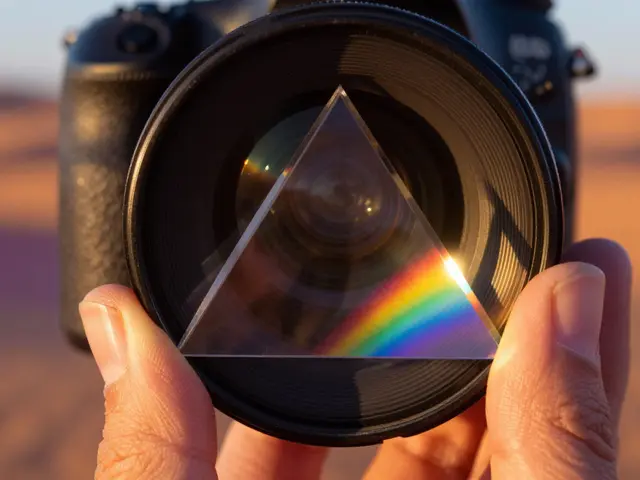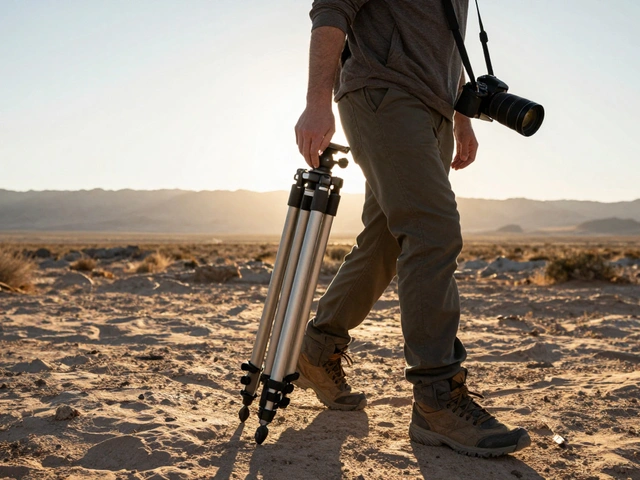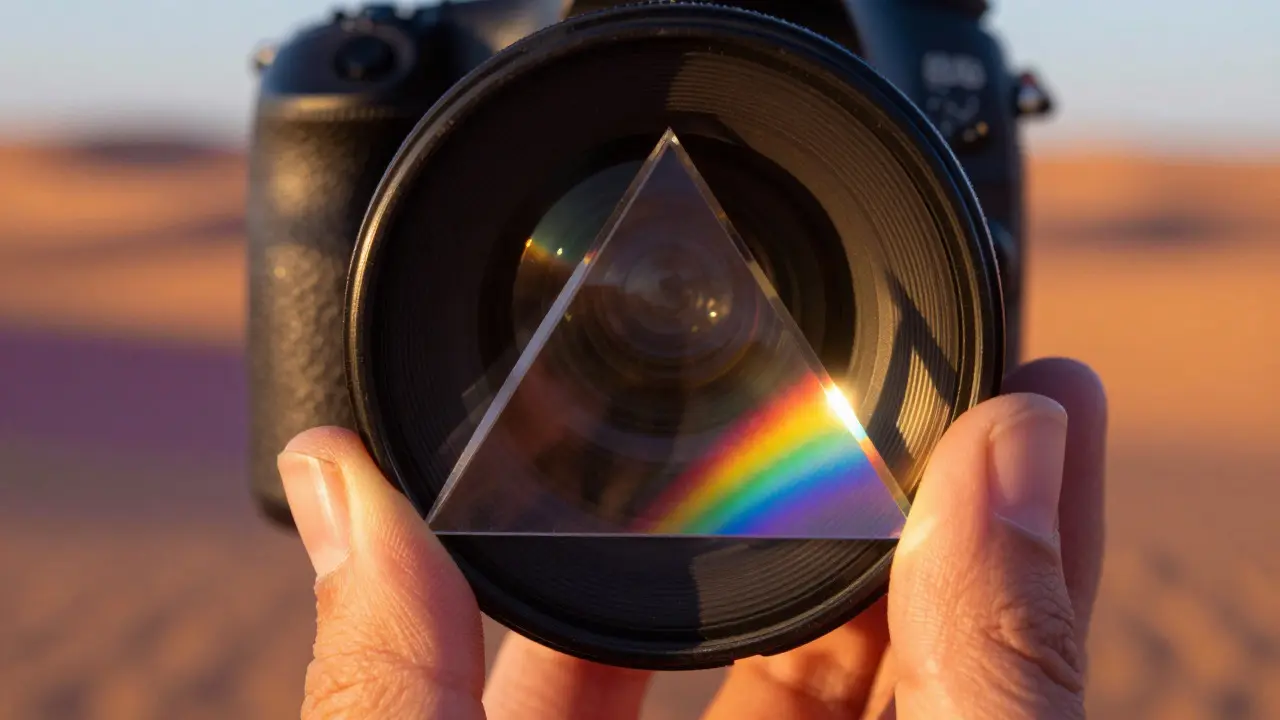
Ever seen a photo where the light doesn't just illuminate the subject but shatters into rainbows, creating a dreamy, almost surreal atmosphere? That’s the magic of in-camera refractions. Unlike digital overlays that feel flat and artificial, these effects happen physically within your lens system. You are manipulating photons before they even hit the sensor. It is a technique that separates the casual shooter from the creative artist who understands optics.
Many photographers dismiss prisms as gimmicks, reserved for abstract art or music festivals. But when used with intent, prism and crystal effects add depth, color separation, and emotional texture to portraits, landscapes, and street scenes. The key is control. Without understanding how light bends through different materials, you’re just guessing. With it, you can predict exactly where those chromatic flares will land.
The Physics Behind the Magic
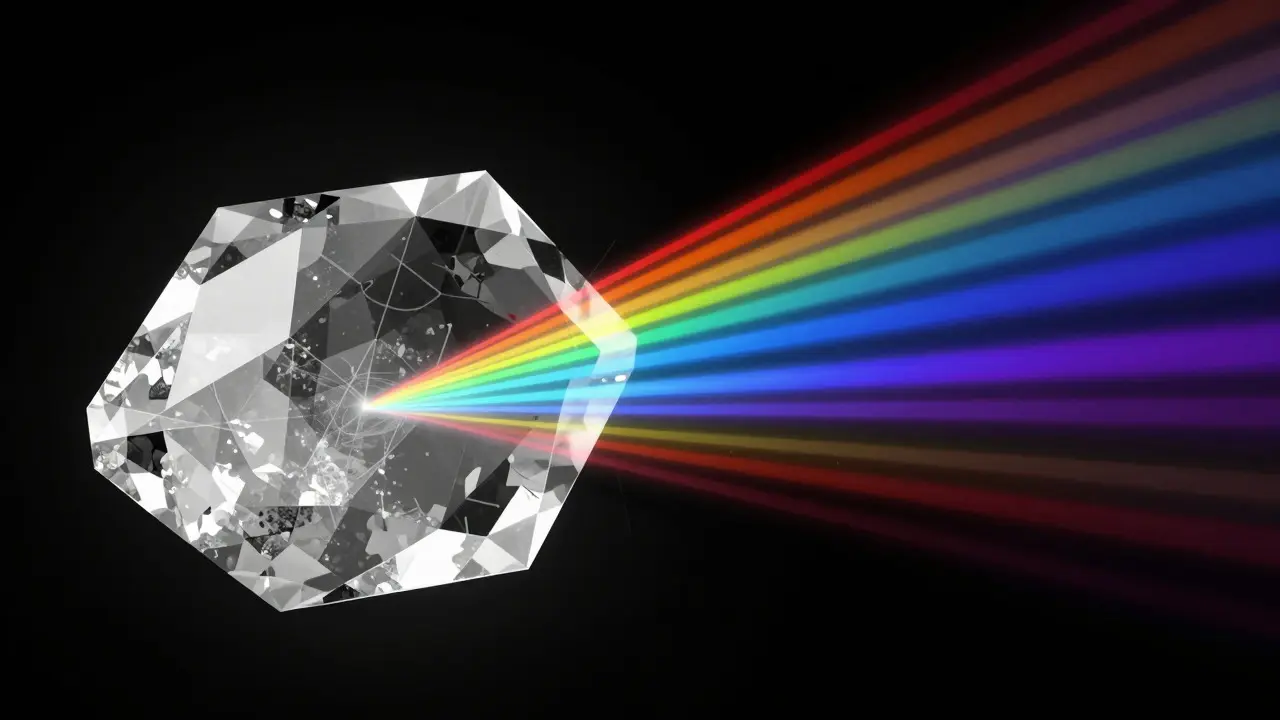
To master this, you need to understand what is actually happening inside the glass. Refraction is the bending of light as it passes from one medium to another, such as air into glass. When white light enters a prism, it slows down and changes direction. Because each color of light travels at a slightly different speed through the glass, they bend at different angles. This process is called dispersion.
Dispersion is the splitting of white light into its constituent spectral colors due to wavelength-dependent refractive indices. Blue light bends more than red light. This is why you see reds on one side of a flare and blues on the other. The material matters immensely here. Standard crown glass has low dispersion, while dense flint glass or quartz crystals have high dispersion, producing wider, more vibrant color splits.
- Air-to-Glass Interface: Light slows down, causing the initial bend.
- Internal Reflection: Some light bounces off internal surfaces, creating ghosting or secondary images.
- Glass-to-Air Exit: Light speeds up again, bending away from the normal line, separating the colors further.
Choosing Your Optical Tools
You don’t need a lab-grade spectrometer to get professional results. There are three main categories of tools for achieving in-camera refractions. Each offers a different aesthetic and level of control.
| Tool Type | Material | Effect Style | Best For | Cost Range |
|---|---|---|---|---|
| Triangular Prism | Optical Glass / Acrylic | Sharp, linear rainbow streaks | Landscapes, backlit portraits | $15 - $40 |
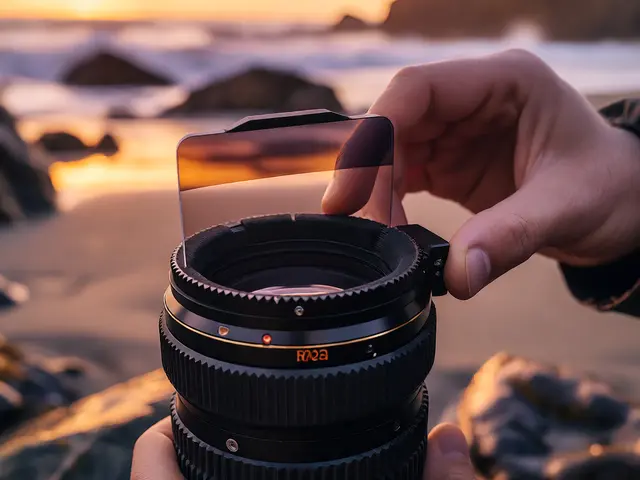
| Cut Crystal | Quartz / K9 Glass | Scattered, starburst-like sparkles | Portraits, jewelry, fashion | $30 - $80 | Lens Filter (Star/Diffusion) | Coated Glass | Soft glows, halos, cross-flares | Sunsets, city lights, bokeh | $20 - $60 |
Acrylic prisms are affordable and safe, but they scratch easily and can produce less pure colors due to higher internal absorption. Glass prisms are heavier and more fragile but offer superior clarity and color saturation. Cut crystals, often sold as decorative paperweights or optical components, create complex, multi-directional light paths that look organic and unpredictable. If you want consistent, clean lines, stick with a simple triangular prism. If you want chaotic, magical sparkle, go for a faceted crystal.
Mastering Placement and Angle
The position of the prism relative to your lens determines everything. Most beginners make the mistake of holding the prism too far away. This results in a washed-out effect that covers the entire frame uniformly. To get distinct, localized refractions, bring the prism close to the front element of your lens.
Think of the prism as a mask. Wherever the prism blocks direct light, you get darkness. Wherever it lets light pass through and bend, you get color. By moving the prism across the frame, you can paint specific areas with color while keeping others neutral.
- Start Close: Hold the prism about 1-2 inches from the lens hood.
- Angle Against Light: Rotate the prism so its base faces the primary light source. This maximizes the angle of incidence for dispersion.
- Scan the Frame: Slowly move the prism horizontally and vertically. Watch your viewfinder or LCD screen closely.
- Isolate the Effect: Try to keep the prism covering only 20-30% of the frame. Full-frame coverage often looks messy and distracting.
A pro tip: Use a lens with a wide aperture, like f/1.8 or f/2.8. A shallow depth of field helps isolate the subject from the background noise created by the refractions. However, if you are shooting landscapes, stop down to f/8 or f/11 to ensure the prism effect interacts with the sharp details of the scene.
Lighting Conditions Matter
Refraction requires a strong, directional light source. Overcast days are the enemy of prism photography because the light is diffused and lacks the intensity needed to split visibly. You want hard shadows and bright highlights.
Golden hour is perfect. The low sun angle creates long rays that penetrate the prism at ideal angles. At night, use artificial sources like car headlights, streetlamps, or studio strobes. Pointed light sources work best; broad, soft panels will wash out the effect.
If you are shooting indoors, consider using a snoot or grid on your flash to create a tight beam of light. Aim this beam directly at the prism. The contrast between the dark surroundings and the bright, dispersed beam will make the colors pop dramatically.
Common Pitfalls and How to Avoid Them
Even with the right gear, things can go wrong. Here are the most common issues photographers face and how to fix them.
- Fingerprints and Dust: One smudge on a prism can ruin an entire shot. Use a microfiber cloth before every session. Consider wearing gloves to prevent new oils from transferring.
- Overexposure: Prisms block some light, but they also concentrate it in certain areas. Check your histogram. You might need to underexpose slightly to preserve the highlight details in the brightest parts of the flare.
- Inconsistent Results: Hand-holding a prism is unstable. For critical shots, use a prism holder or clamp that attaches to your lens hood. This ensures repeatability.
- Color Casts: Cheap acrylic prisms can introduce a yellow or green tint to the entire image. Shoot in RAW format so you can correct white balance in post-production without losing data.
Post-Production Enhancements
While the goal is an in-camera effect, post-processing can refine the result. You rarely need heavy editing, but subtle tweaks can elevate the final image.
In software like Adobe Lightroom or Capture One, start by adjusting the exposure and contrast. Then, dive into the HSL panel. Increase the saturation of the specific hues appearing in the flare (usually reds, oranges, and cyans) to make them stand out against the rest of the image. Be careful not to oversaturate, or the colors will look unnatural.
Use local adjustment brushes to darken the corners of the image. This vignette effect draws the eye toward the center where the prism effect is strongest. Finally, check for chromatic aberration in the non-prism areas of the image and correct it if necessary, ensuring that the only colored fringes are the intentional ones from your prism.
Creative Applications Beyond Portraits
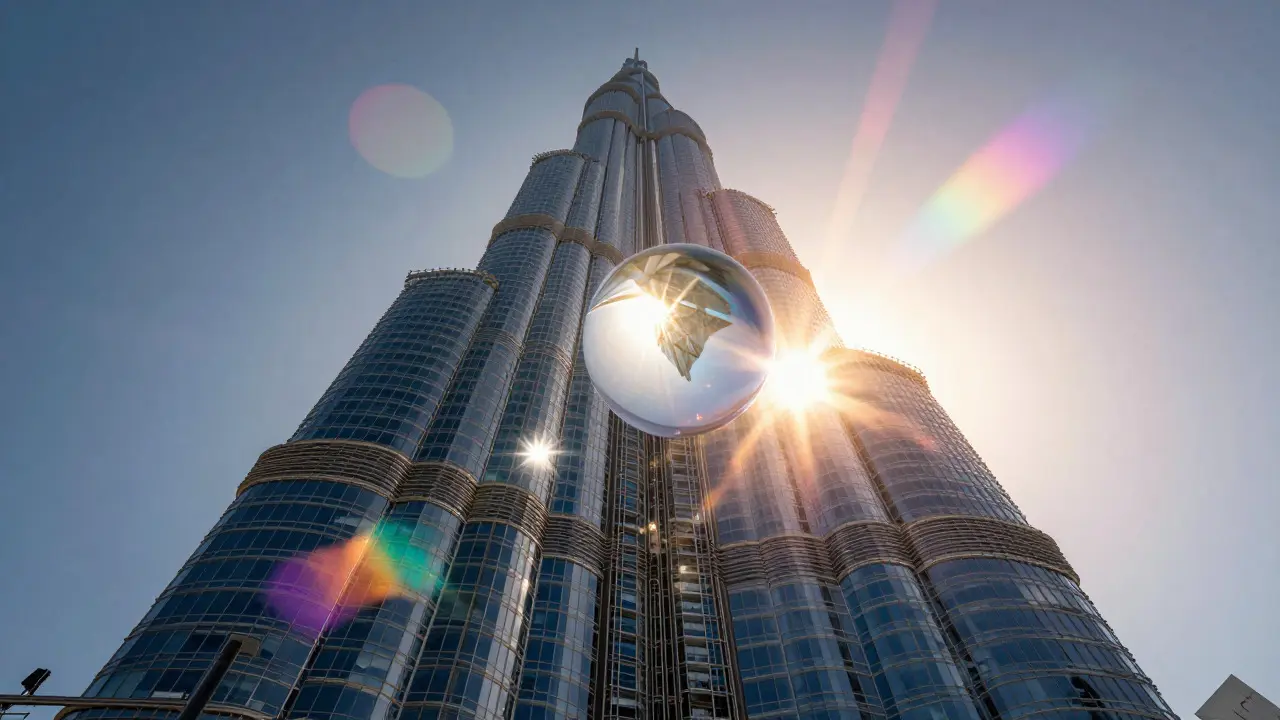
Don’t limit yourself to human subjects. Prism effects work beautifully in architectural photography. Imagine the sharp lines of a modern building intersecting with soft, rainbow streaks. It adds a sense of movement and timelessness to static structures.
In food photography, a small cut crystal placed near the plate can catch the light from a window, adding a touch of elegance and mystery. It suggests luxury without needing expensive props. For wildlife, use a prism to obscure part of the animal’s face or body, creating a silhouette that focuses attention on the eyes or posture rather than the whole form.
The possibilities are endless if you experiment. Try stacking two prisms at different angles for double dispersion. Or combine a prism with a diffusion filter for a softer, ethereal glow. The key is to let the light guide you. Observe how the colors shift as you move. Trust your instincts. And remember, the best effect is the one that serves the emotion of the photo, not the other way around.
Do I need an expensive prism to get good results?
No. A $15 acrylic triangular prism from a science kit can produce stunning results if used correctly. Expensive optical glass offers better clarity and durability, but the physics of refraction remains the same. Focus on mastering angle and placement first, then upgrade your hardware if you find limitations.
Can I use a prism with any camera lens?
Yes, but prime lenses with large apertures generally yield the most dramatic effects because they gather more light. Zoom lenses work fine, but be mindful of the front element diameter. If the prism is larger than the lens opening, you may lose edge sharpness or create uneven vignetting.
Why do my prism photos look washed out?
This usually happens when the prism is held too far from the lens or when the light source is too diffuse. Move the prism closer to the front element and seek harder, more directional lighting. Also, ensure your exposure is accurate; underexposing slightly can help retain color vibrancy.
What is the difference between a prism and a crystal in photography?
A prism typically refers to a single, uniform piece of glass shaped to bend light in a predictable, linear way. A crystal, especially a faceted one, has multiple internal surfaces that scatter light in various directions, creating complex, starburst-like patterns rather than simple rainbow streaks.
How do I stabilize the prism during a shoot?
For handheld shots, practice steady movements and use a fast shutter speed to freeze any accidental motion. For precise work, invest in a lens hood clip or a dedicated prism holder. These accessories allow you to lock the prism in place, making it easier to compose and re-shoot the exact same framing.