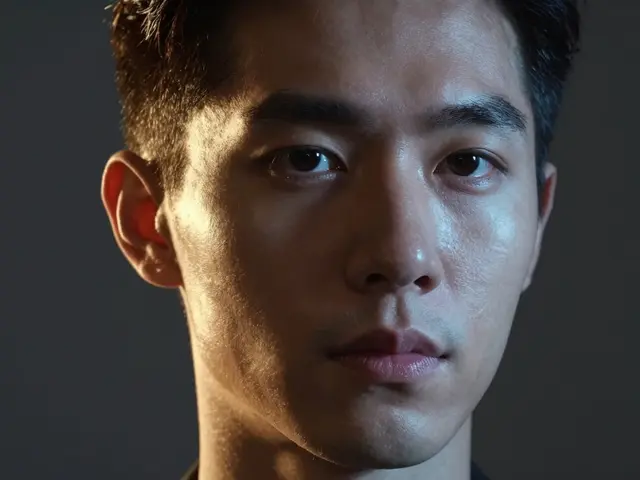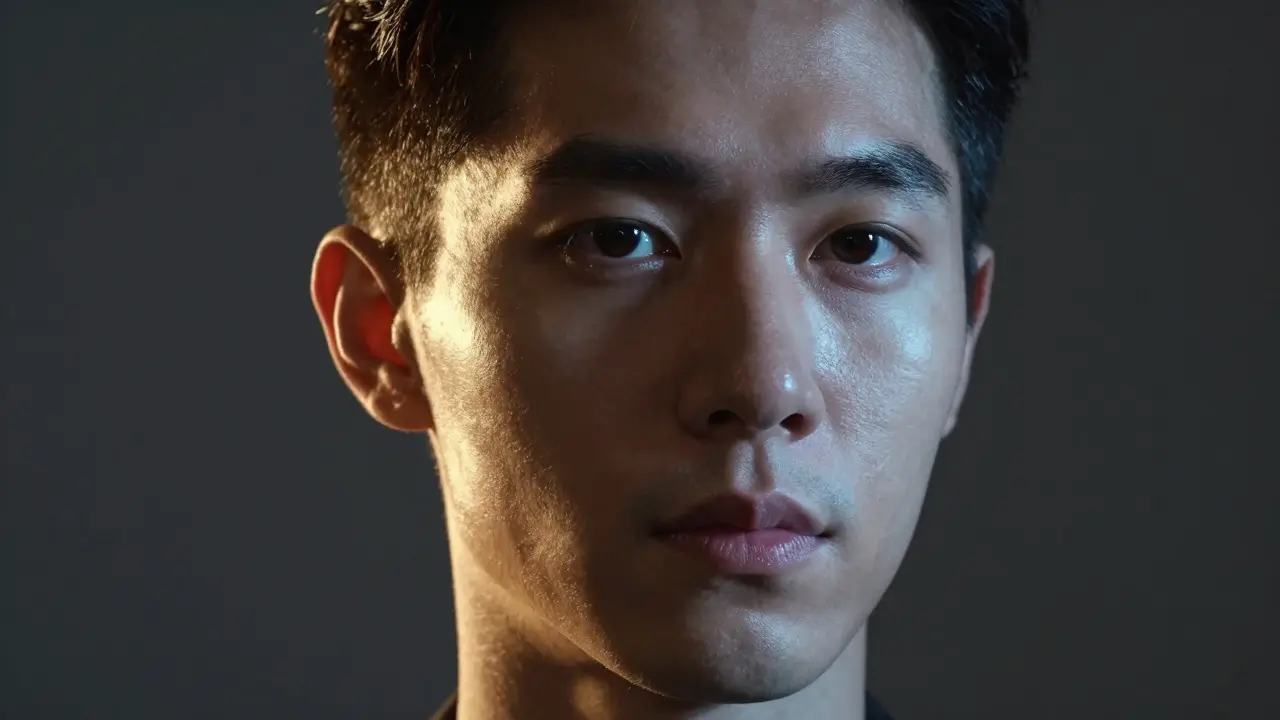
Most portraits look flat because the light comes from one direction. It’s like staring at a wall painted in a single shade of gray. You see the face, but you don’t feel the presence. Cross-light is a two-source lighting technique where lights are placed on opposite sides of the subject to create three-dimensional form and texture. By angling these sources, you sculpt shadows that define cheekbones, jawlines, and muscle structure. This isn't just about making things look "pretty"; it's about controlling how the human eye perceives volume.
The Physics of Dimension
To understand why cross-lighting works, you have to look at how light interacts with surfaces. A single key light creates a simple gradient: bright on one side, dark on the other. Your brain interprets this as a basic shape, but it lacks detail. When you introduce a second source from the opposite angle, you fill in those shadows partially. However, if you keep the intensity lower than the main source, you retain the contrast needed for definition.
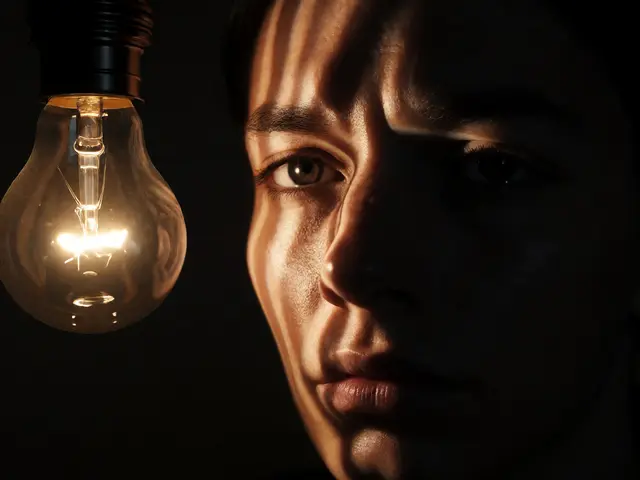
This setup relies on the principle of chiaroscuro, but softened. The interplay between the primary key light and the secondary fill light determines the mood. If both lights are equal, the image looks flat again. The magic happens in the ratio. Typically, you want the fill light to be one or two stops darker than the key light. This ensures that while details in the shadow areas become visible, the dominant direction of the light remains clear.
Setting Up Your Two-Source Rig
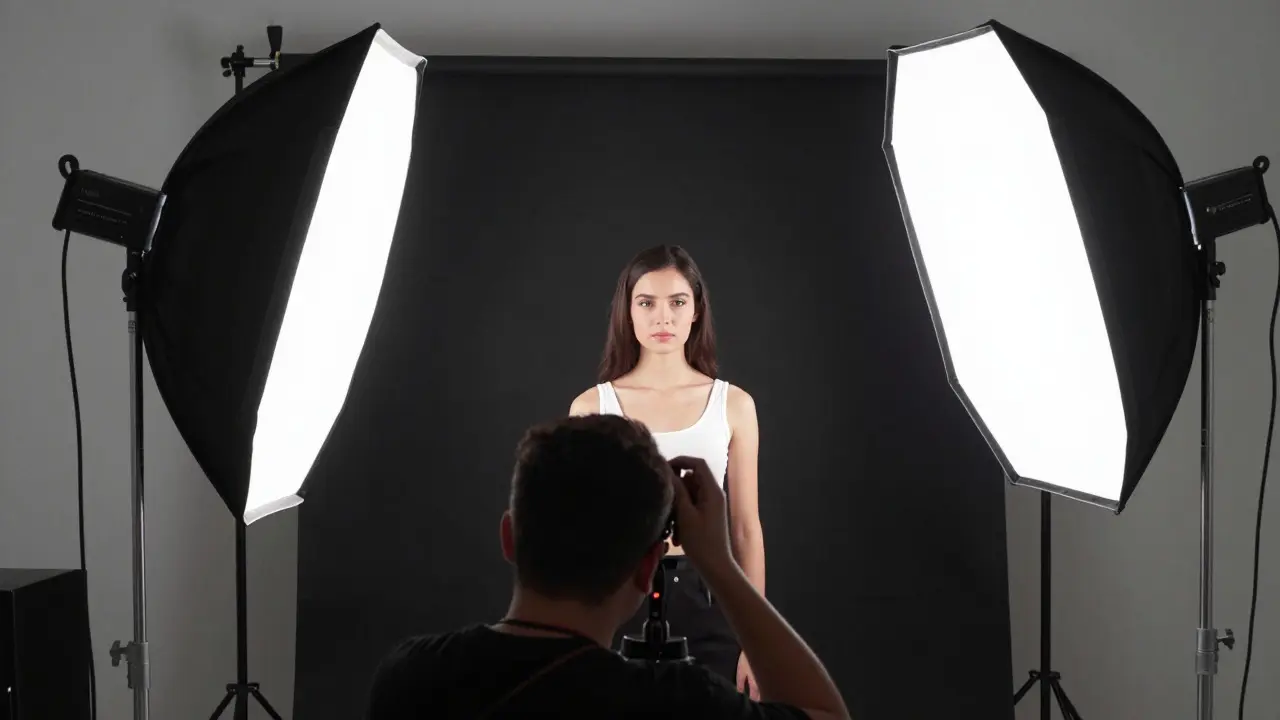
You don’t need expensive gear to achieve this. Two speedlights or continuous LED panels work perfectly fine. The critical factor is placement. Imagine your subject is standing in the center of a room. Place your main light at a 45-degree angle to their left (camera right). Now, place the second light at a 45-degree angle to their right (camera left). Both should be slightly above eye level, pointing down at roughly 30 degrees.
- Main Light: Set to full power. This defines the primary structure.
- Fill Light: Set to half or quarter power. This reveals texture without flattening the image.
- Distance: Keep both lights equidistant from the subject to maintain symmetry.
If you are shooting in a small space, use bounce cards or softboxes to diffuse the harshness. Direct hard light can create unflattering specular highlights on oily skin. Softening the source makes the transition from light to shadow smoother, which is essential for professional-looking portraits.
Controlling Contrast and Mood
The ratio between your two lights dictates the emotional tone of the photograph. High contrast ratios (like 1:4) create a dramatic, moody aesthetic often seen in film noir or fashion editorials. Low contrast ratios (like 1:1.5) produce a softer, more approachable look suitable for corporate headshots or family portraits.
| Ratio (Key:Fill) | Visual Effect | Best Use Case |
|---|---|---|
| 1:1 | Flat, even illumination | Product shots, ID photos |
| 1:2 | Gentle dimension, natural look | Standard portraits, interviews |
| 1:4 | Dramatic shadows, high texture | Fashion, artistic portraits |
| 1:8 | Very high contrast, near single-light effect | Noir style, extreme drama |
Start with a 1:2 ratio. It’s safe and flattering for most people. If the subject has strong facial features, you might push toward 1:4 to emphasize them. If they have smoother skin or less defined bone structure, stick to 1:2 or even 1:1.5 to avoid exaggerating minor imperfections.
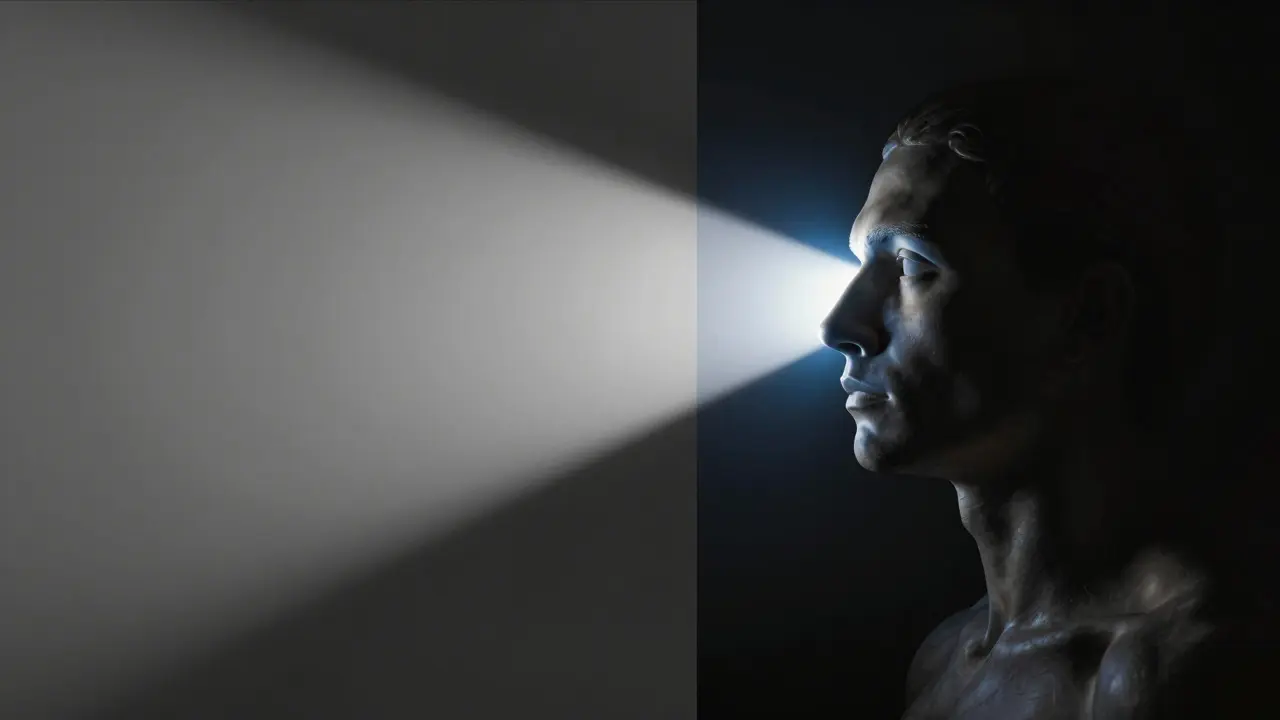
Common Mistakes to Avoid
Even with the right equipment, beginners often mess up the execution. The most frequent error is placing the lights too close to the camera axis. If both lights are almost directly in front of the lens, you lose the angular separation that creates depth. Always ensure there is at least a 90-degree separation between the two light sources relative to the subject.
Another pitfall is ignoring the background. Cross-lighting affects everything in the frame. If your background is white or light-colored, the fill light will spill onto it, potentially washing out the subject’s silhouette. Use flags or black cards to block stray light. Alternatively, embrace the spill if you want a glowing, ethereal background.
Finally, watch out for double shadows. If the lights are too high or too far apart, you might see two distinct nose shadows. This looks unnatural. Adjust the vertical height of the lights until the shadows merge into a single, cohesive shape.
Advanced Techniques: Adding a Third Source
Once you master the two-source setup, consider adding a rim light or hair light. This third source sits behind the subject, usually higher up, and separates them from the background. It adds a final layer of dimension by outlining the edges of the head and shoulders. This technique is particularly effective when the background is dark or cluttered. The rim light catches the hair and creates a halo effect, pulling the viewer’s eye back to the face.
You can also experiment with color gels. Placing a subtle blue gel on the fill light can add a cool tone to the shadows, contrasting with the warm key light. This mimics natural daylight scenarios where sunlight (warm) meets sky light (cool). It’s a subtle touch that elevates the image from standard to professional.
Practical Workflow for Studio Sessions
When working with clients, time is money. Here is a streamlined workflow to set up cross-lighting quickly:
- Position the subject and mark the floor spots for the lights.
- Set up the key light first. Focus on the face and adjust height until the eyes catch a reflection (catchlight).
- Place the fill light opposite. Start at half power.
- Take a test shot. Check the histogram to ensure no blown highlights.
- Adjust the fill light power based on the desired mood. Darker fill = more drama.
- Check the background for unwanted spill. Add flags if necessary.
Frequently Asked Questions
What is the difference between cross-lighting and butterfly lighting?
Butterfly lighting uses a single light placed directly above and in front of the subject, creating a small shadow under the nose that resembles a butterfly. Cross-lighting uses two lights on opposite sides to create dimensional shading across the entire face. Butterfly is more glamorous and symmetrical; cross-lighting is more structural and textural.
Do I need a light meter for cross-lighting?
Not necessarily. While a light meter helps achieve precise ratios, you can dial in the settings using your camera’s histogram and live view. Modern cameras provide enough feedback to balance exposure manually. However, a meter speeds up the process significantly in complex setups.
Can I use cross-lighting for product photography?
Yes, especially for products with texture or curvature, like jewelry or bottles. The angled sources highlight surface details and prevent flat reflections. For glass or transparent objects, you may need to adjust angles to control specular highlights.
How do I avoid double shadows on the nose?
Lower the angle of the lights slightly so they are closer to the horizontal plane of the face. Also, ensure the distance between the lights is not too wide. If the shadows remain separate, move the lights closer together or increase the diffusion size to soften the edges.
Is cross-lighting suitable for video?
Yes, but be mindful of flicker if using older LED panels. Ensure your lights are rated for video use with stable output. The static nature of cross-lighting works well for interviews and talking heads, providing consistent depth throughout the recording.