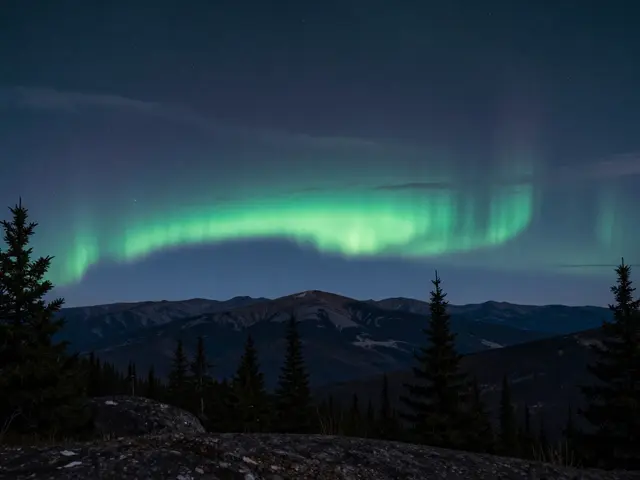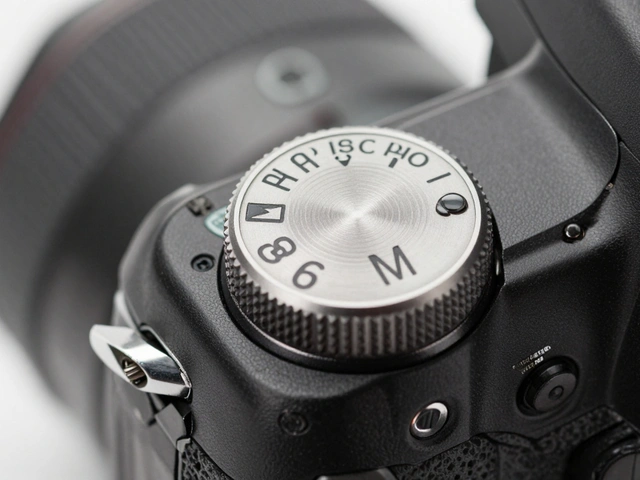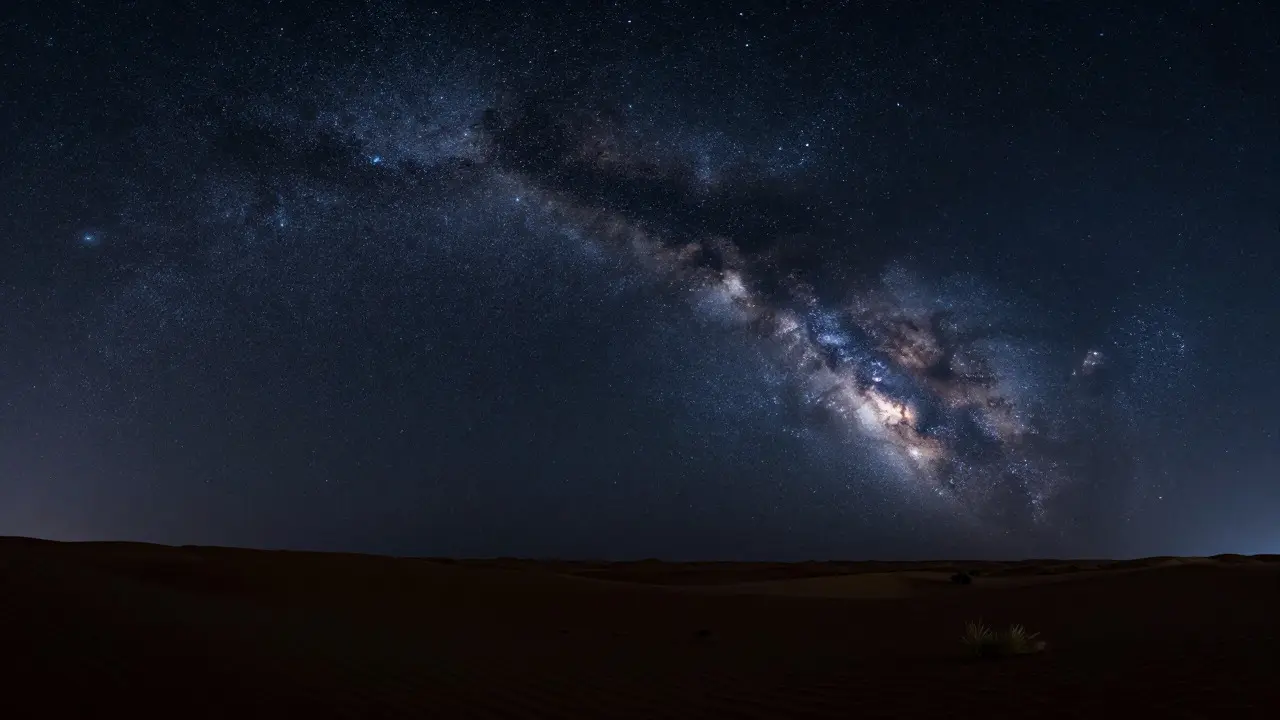
You point your camera at the night sky, hit record, and wait. Ten minutes later, you check the preview. Instead of a crisp Milky Way core, you see an orange haze swallowing the stars. This is light pollution, the artificial brightening of the night environment that obscures astronomical objects. It is the single biggest enemy of astrophotography, the art of capturing celestial objects with a camera. To fix it, you don't need better gear; you need a better location.
Finding a truly dark site is not about driving for hours into the wilderness blindly. It requires understanding how light travels, reading data maps, and knowing what your eyes (and sensors) can actually handle. Here is how to find spots that deliver deep black skies without sacrificing access or safety.
Understanding the Bortle Scale
The most common way astronomers classify darkness is the Bortle Scale, a nine-level classification system for the brightness of the night sky. Created by John Bortle in 2001, this scale ranges from Class 1 (Excellent dark-sky location) to Class 9 (Inner-city skies). For serious astrophotography, you generally want a Class 3 or lower.
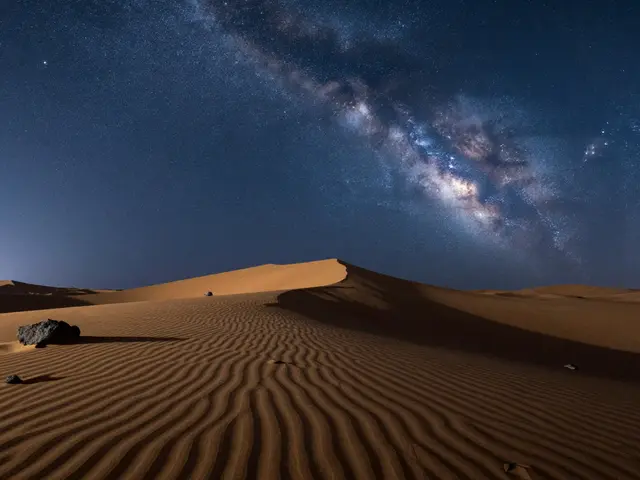
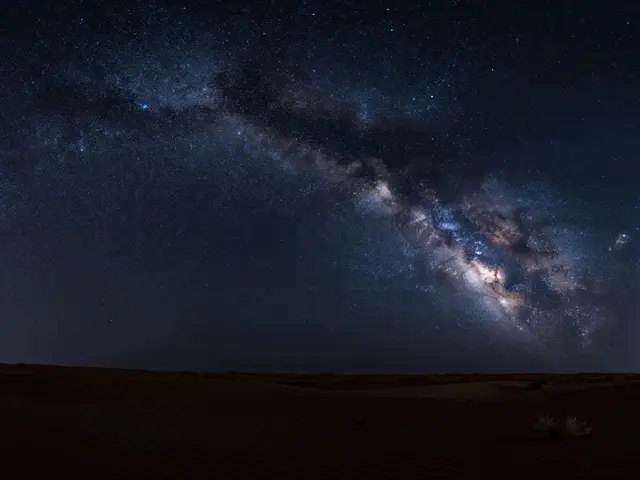
- Class 1-2: Pristine. The zodiacal light is visible. The Milky Way casts shadows. Ideal for wide-field galaxy shots.
- Class 3: Rural. The Milky Way is still impressive but less detailed. Good balance of accessibility and quality.
- Class 4: Rural/Suburban transition. You lose fainter details. The airglow is barely visible.
- Class 5+: Suburban to Urban. The sky glow dominates. Only the brightest constellations are visible clearly.
Your goal is to stay below Class 4. If you are shooting the Moon or planets, Class 5 is acceptable because these objects are bright enough to punch through the haze. But for nebulae, galaxies, and the Milky Way structure, every step up on the Bortle scale costs you exposure time and dynamic range.
Using Digital Tools to Scout Locations
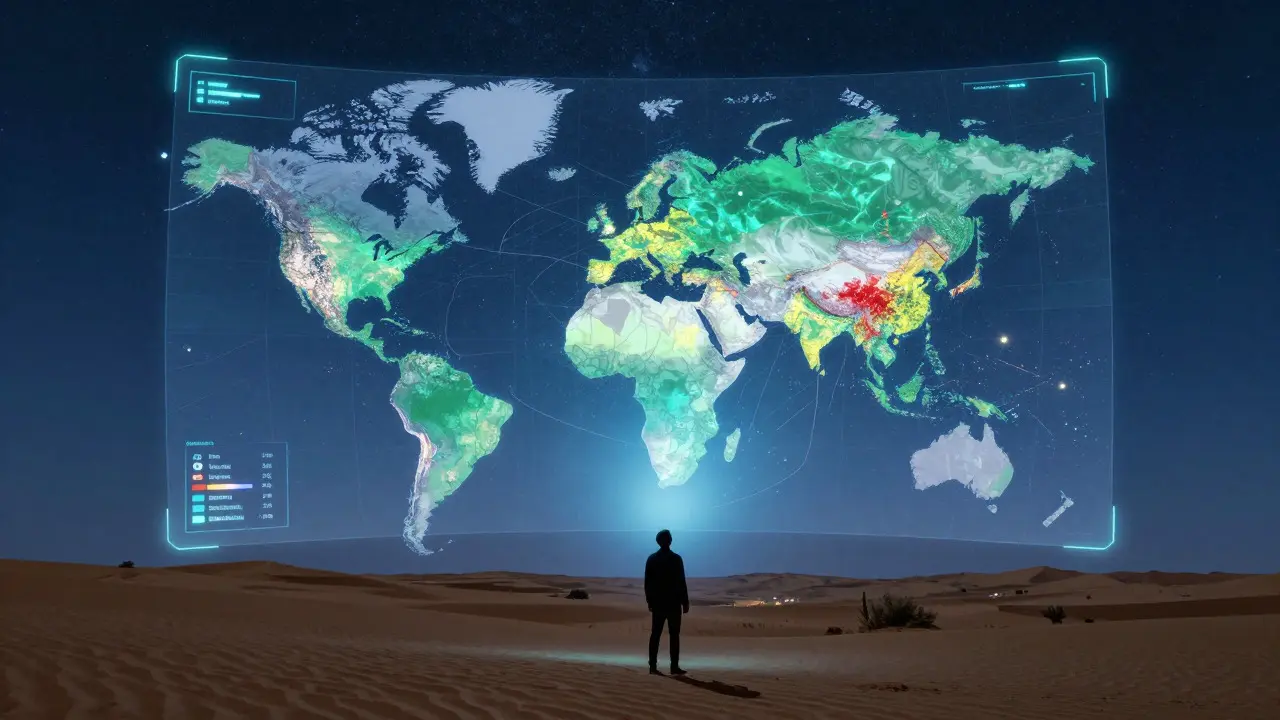
You do not need to drive around guessing. Several digital tools help you visualize light pollution before you pack your car. The gold standard is the Light Pollution Map, online interactive maps that display global artificial light intensity. Sites like LightPollutionMap.info use satellite data from NASA’s VIIRS sensor to show you exactly where the glow comes from.
When using these maps, look for the color gradient. Blue and green areas indicate low light pollution. Yellow and red zones are saturated with artificial light. However, satellite data has limitations. It shows total emitted light, not necessarily how much reaches your specific eye level due to terrain. A valley might look blue on the map, but if the city lights are above the ridge line, the local sky could be brighter than expected.
Combine map data with Stellarium, an open-source planetarium software that simulates the night sky. Stellarium lets you input your exact GPS coordinates and date to see which constellations will be high in the sky. This prevents the frustration of driving three hours only to find out the target object is below the horizon.
Local Factors That Beat Global Maps
Satellite maps give you the big picture, but local geography dictates your actual experience. Three factors often matter more than the distance to the nearest city:
- Horizon Obstructions: Trees, mountains, and buildings block light from certain directions. If a major city is to the west, shoot facing east. The eastern sky will be darker even if the western sky is glowing.
- Air Quality and Humidity: Dust, smoke, and high humidity scatter light, creating a "whiteout" effect. After a forest fire or during heavy pollen season, even a Class 3 site can feel hazy. Check weather forecasts for visibility and humidity levels.
- Reflection Surfaces: Water bodies reflect light upward. Lakes and rivers near cities can bounce urban glow back into the sky, increasing ambient brightness significantly.
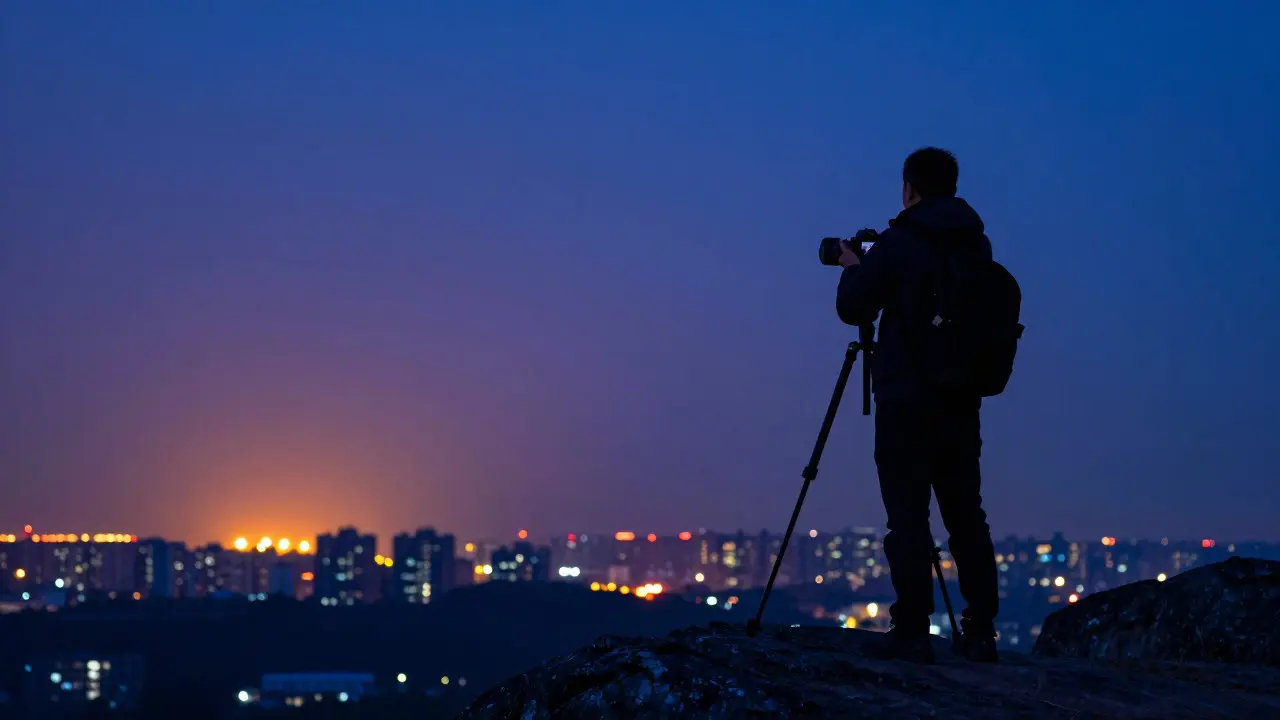
Always scout your chosen spot during twilight. Arrive 30 minutes after sunset. This gives your eyes time to adapt and lets you see how the sky transitions from blue to black. If the sky remains a dull gray instead of deep indigo, the light pollution is likely too strong for deep-sky imaging.
Practical Tips for On-Site Assessment
Once you arrive, perform a quick visual check before setting up your tripod. Look for the Zodiacal Light, faint sunlight scattered by interplanetary dust. If you can see this cone of light stretching from the horizon, you are in excellent conditions. It is one of the best indicators of true darkness.
Another test is the "shadow test." Stand with your back to the brightest part of the sky (usually the zenith or the direction away from cities). If the Milky Way is bright enough to cast a faint shadow, you are in a Class 1 or 2 environment. This level of darkness is rare and perfect for long-exposure wide-field shots.
Common Mistakes to Avoid
Many beginners make errors that ruin their trip. First, they ignore the moon phase. A full moon can raise the sky brightness by several magnitudes, effectively turning a Class 3 site into a Class 5. Use a lunar calendar to plan new moon weeks for the darkest skies.
Second, they drive too far. There is a point of diminishing returns. Going from a Class 4 suburban area to a Class 3 rural area is a huge improvement. Driving another two hours to reach a Class 2 site offers marginal gains for most cameras. Consider the trade-off between travel time and image quality.
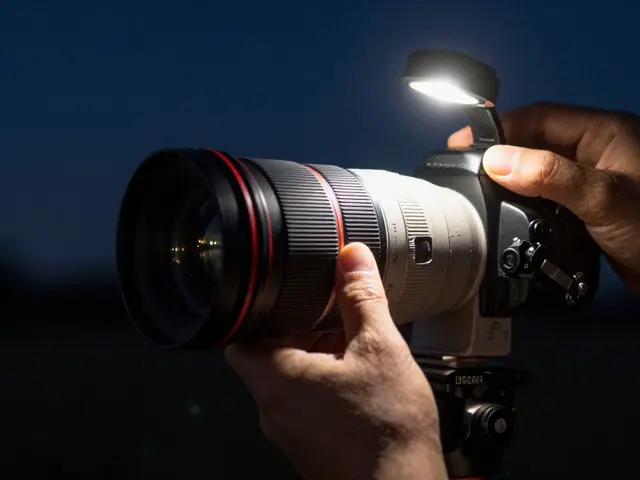
Third, they forget about red light discipline. White flashlights and phone screens destroy dark adaptation. Bring a red-light torch or cover your phone screen with red cellophane. Your eyes need 20-30 minutes to fully adapt to darkness. One glance at a white light resets this process.
Choosing Your First Dark Site
If you are new to astrophotography, start close to home. Look for state parks, national forests, or designated Dark Sky Parks, protected areas with strict lighting ordinances to preserve natural night views. These locations are certified for low light pollution and usually have established trails and parking. They offer a safe, legal, and accessible entry point into night sky imaging.
Check local regulations. Some public lands prohibit camping or require permits. Others have quiet hours that limit generator noise. Always leave no trace: pack out all trash, stay on marked paths, and respect wildlife. Dark sites are fragile ecosystems. By preserving them, you ensure future photographers can enjoy the same pristine skies.
Finally, keep a log of your visits. Note the date, moon phase, weather conditions, and your estimated Bortle class. Over time, you will build a personal database of reliable spots. This knowledge is more valuable than any expensive piece of equipment. The best camera in the world cannot capture what the sky does not show you.