Most travel photos fail for the same reason: they look like postcards. Flat, distant, and lacking a sense of place. The fix isn't always about changing your camera settings or buying better glass; it's about what you put in the front of the frame. Foreground interest is the use of objects in the immediate vicinity of the camera to add depth, scale, and context to a landscape or architectural scene. It turns a snapshot into a story.
When you shoot from a distance, you lose the tactile feel of a location. You see the Eiffel Tower, but you don't feel the cobblestones under your feet. By introducing elements close to the lens, you invite the viewer into the scene. This technique bridges the gap between the observer and the subject, creating an immersive experience that flat, wide-angle shots simply cannot achieve.
Why Foreground Elements Matter More Than Backgrounds
Human vision perceives depth through parallax and occlusion. When an object partially blocks another, our brains instantly calculate distance. In photography, this is the primary mechanism for creating three-dimensional space on a two-dimensional sensor. Without a foreground element, a photo often relies solely on atmospheric perspective (haze) or linear perspective (converging lines), which can be subtle or absent in clear weather.
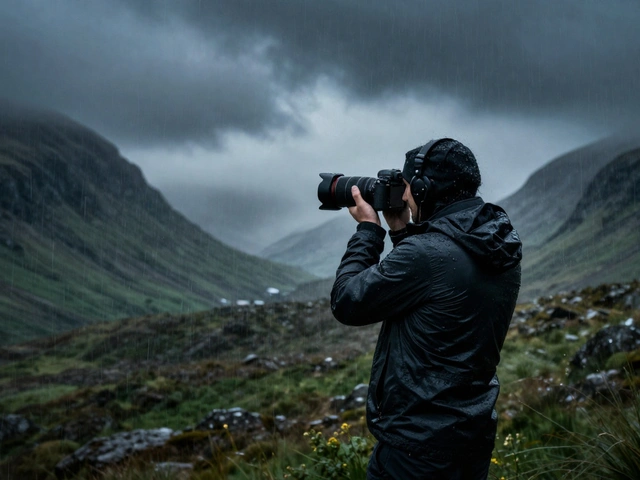
Consider shooting a mountain range. If you stand at the base and shoot up, the mountains might look imposing, but the image can feel sterile. Add a rugged rock formation or a patch of wildflowers in the bottom third of the frame, and suddenly the scale becomes apparent. The small flowers provide a reference point that makes the massive peaks feel even larger. This contrast between the near and far creates a dynamic tension that holds the viewer's eye longer.
- Scale Reference: Small objects in the foreground make large backgrounds appear bigger.
- Depth Creation: Layers of near, mid, and far planes simulate 3D space.
- Context Clues: Local flora, architecture, or cultural artifacts tell the "where" story before the landmark tells the "what" story.
Identifying Strong Foreground Candidates
Not every object works as a foreground anchor. A blurry tree branch can distract rather than enhance. The best foreground elements share specific characteristics: they are distinct, textured, and thematically relevant to the destination.
| Element Type | Effective Example | Ineffective Example | Reasoning |
|---|---|---|---|
| Nature | Sharp, detailed fern fronds with visible veins | Out-of-focus green blur | Texture adds detail; blur adds noise without information. |
| Architecture | A carved stone archway framing a view | A generic brick wall edge | Architectural details imply history and craftsmanship. |
| Water | Rippling water with long-exposure smoothness | Static, murky puddle | Movement and reflection create visual flow. |
| People | A local artisan working in the background-foreground plane | A random tourist's back of head | Activity implies culture; obstruction implies intrusion. |
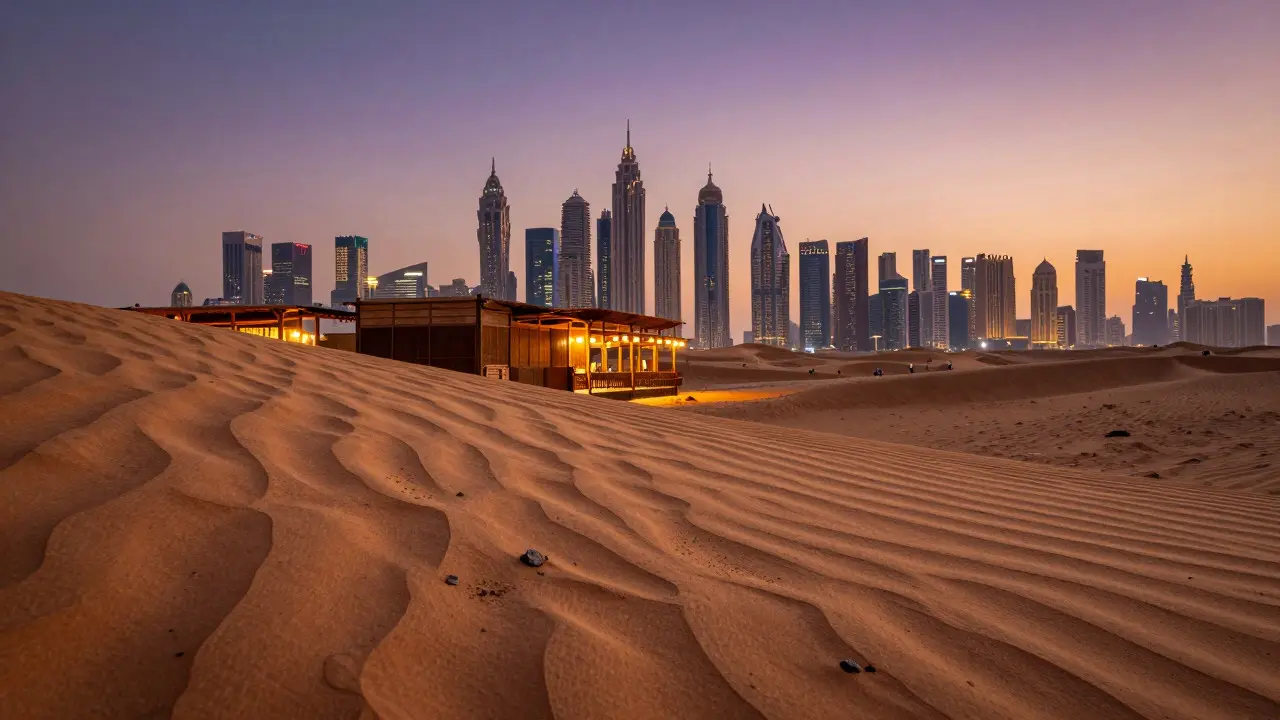
Look for texture. Smooth surfaces tend to disappear against the sky or distant landscapes. Rough textures-bark, stone, fabric, water ripples-catch light differently and create visual anchors. Also, consider color contrast. If your background is dominated by cool blues and grays, a warm-toned foreground element like orange autumn leaves or yellow sand can pop dramatically.

Technical Execution: Focus and Aperture
The biggest technical hurdle when using foreground interest is keeping both the near and far subjects sharp. This requires understanding depth of field. Many photographers default to f/16 or f/22 thinking smaller apertures equal more focus. However, diffraction can soften images at very small apertures. For most full-frame cameras, f/8 to f/11 offers the sweet spot between sharpness and sufficient depth of field.
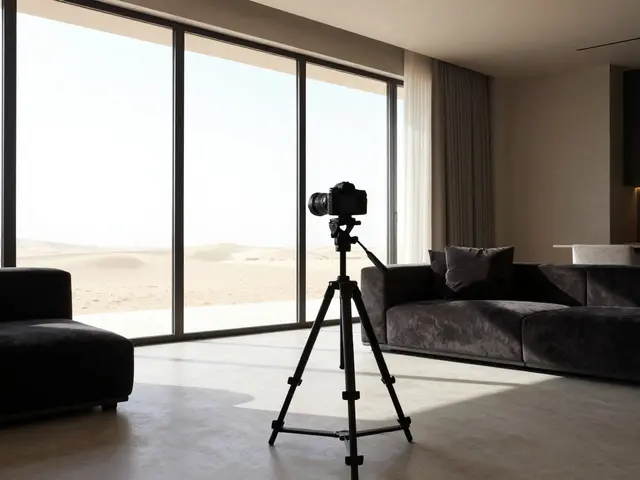
If you are shooting a macro-style foreground with a distant cityscape, you may need to focus manually. Autofocus systems often lock onto the brightest or closest high-contrast area, which might be the foreground, leaving the background soft. Switch to manual focus, zoom in to check critical points, and then pull back. Alternatively, if you have a tripod, consider focus stacking. Take one shot focused on the foreground and one on the background, then blend them in post-processing. This ensures absolute clarity across the entire depth range.
Compositional Frameworks for Integration
Once you've identified your foreground element, how do you place it? The rule of thirds is a solid starting point, but foreground elements often work best when they occupy the bottom third or act as a frame.
- The Frame Within a Frame: Use arches, windows, or branches to enclose the main subject. This directs the eye inward and adds layers of narrative. Ensure the frame itself is not too cluttered; it should guide, not compete.
- The Leading Line Anchor: Place the foreground element where a leading line begins. A path, a river, or a row of trees starting in the foreground pulls the viewer's gaze toward the horizon.
- The Scale Contrast: Position a small, detailed object in the corner opposite the main mass of the background. This asymmetry creates balance without being static.
Avoid placing the foreground element directly in the center unless you are aiming for symmetry. Central placement can block the main subject and feel obstructive. Off-center placement allows the eye to move naturally from the detail to the grandeur.

Common Pitfalls and How to Avoid Them
Even experienced photographers trip over these issues. Recognizing them early saves editing time and improves on-site decision-making.
- Overcrowding: Too many foreground elements create visual chaos. Choose one strong anchor. If you have rocks, water, and flowers, pick the one with the best texture or color and let the others fade or be cropped out.
- Wrong Exposure Balance: Bright skies often blow out highlights while dark foregrounds crush shadows. Use exposure compensation to lift the shadows slightly, or bracket exposures to merge later. An HDR approach can help, but be careful not to create an unnatural look.
- Lack of Connection: The foreground should feel connected to the scene. A plastic bottle in a pristine alpine meadow might be realistic, but it doesn't necessarily serve the aesthetic goal unless you are making a statement about pollution. Generally, choose elements that complement the mood.
Practical Workflow for On-Site Shooting
Here is a step-by-step process to implement foreground interest during a shoot:
- Scout the Area: Before setting up your main shot, walk around the perimeter. Look down. What is on the ground? Are there interesting textures nearby?
- Get Low: Physically lower your body. Kneeling or lying down brings you closer to the ground level, making foreground elements larger in the frame relative to the background.
- Check the Lens Hood: Ensure your lens hood is on to prevent stray light from flaring when shooting low angles against the sun.
- Test Focus: Zoom in on the live view to verify focus on the nearest detail. Then check the infinity point. Adjust until both are acceptable.
- Shoot in RAW: This gives you maximum flexibility to adjust exposure and white balance in post-production, which is crucial when balancing bright skies and dark foregrounds.
By integrating these techniques, your travel photography shifts from documentation to interpretation. You aren't just showing where you went; you're showing how it felt to be there. The foreground is the bridge between the viewer's reality and the destination's atmosphere.
What is the best aperture for foreground and background sharpness?
For most landscape and travel scenes, f/8 to f/11 provides the optimal balance. Smaller apertures like f/16 or f/22 increase depth of field but introduce diffraction, which can reduce overall sharpness. Larger apertures like f/4 limit depth of field, potentially blurring the foreground or background.
How do I keep the foreground in focus if it is very close to the lens?
If the foreground is within a few inches of the lens, standard depth of field rules may not apply. In this case, use manual focus and focus slightly beyond the nearest object, or use focus stacking. Take multiple shots at different focus distances and combine them in software to ensure everything is sharp.
Can people be used as foreground elements?
Yes, but carefully. People in the foreground should be engaged in an activity that relates to the location, such as fishing, walking, or working. Avoid having their backs turned to the camera unless they are part of a leading line. Their presence adds human scale and narrative context, making the scene feel lived-in rather than empty.
What if there is no obvious foreground element available?
Look for natural textures like grass, sand, or rocks. If nothing is nearby, consider using a reflective surface like water or wet pavement. Even a simple shadow cast by the sun can act as a foreground layer if positioned correctly. Sometimes, moving a few steps forward reveals hidden details that were previously out of frame.
Does foreground interest work in street photography?
Absolutely. Street photography often relies on foreground elements like shop signs, parked bicycles, or architectural details to frame the main subject. These elements provide context and depth, transforming a candid moment into a composed image that tells a broader story about the urban environment.