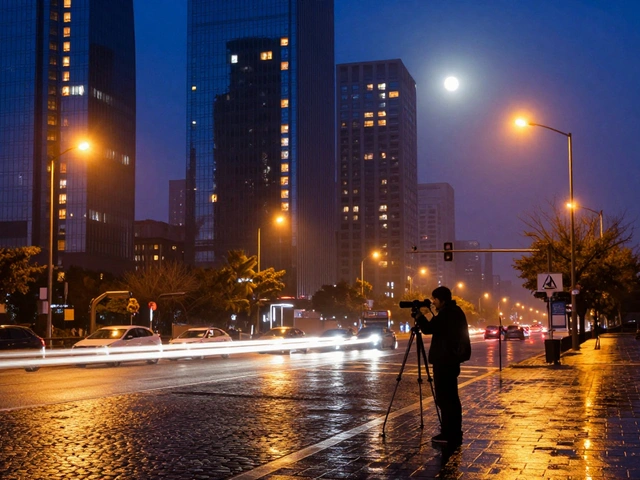
There is a magical window of time when the world feels suspended between day and night. The sky isn't pitch black yet, but the sun has already dipped below the horizon. Streetlights flicker on, windows glow warm yellow, and everything takes on a deep, velvety blue tone. This moment is known as the Blue Hour, which is a period of twilight shortly after sunset or before sunrise when natural light remains visible but artificial lights stand out clearly. Capturing this specific lighting requires understanding exactly when to shoot and how to balance those two competing sources.
Understanding the Nature of Blue Hour Light
The term often causes confusion because people mix it up with the Golden Hour. The Golden Hour happens while the sun is still above the horizon, casting warm, directional rays. In contrast, Blue Hour occurs when the sun is just beneath the horizon line. Because there is no direct sunlight hitting your lens, the shadows soften significantly. You get even illumination across the scene without harsh contrasts.
This lighting condition changes how you approach exposure. During the day, the sky is often much brighter than the ground. During Blue Hour, the sky and the foreground settle into a much closer range of brightness. This means you rarely need complex filters to darken the sky. If you arrive too early, the city lights look weak against a bright sky. If you wait too late, the sky turns black and loses that signature blue hue. Finding the sweet spot is the most important skill you can develop for this genre.
Determining the Perfect Timing Window
You cannot rely on instinct alone to catch this fleeting moment. Weather plays a role, but geography dictates the duration. On April 1st here in the Pacific Northwest, the transition happens faster than in summer months. A general rule of thumb is that Blue Hour begins roughly 20 minutes after sunset and lasts until about 40 minutes post-sunset. However, you must verify this with a specialized app rather than guessing.
- Morning Blue Hour: Often calmer with fewer pedestrians. Best for landscapes where nature dominates.
- Evening Blue Hour: Busier streets, more traffic lights, and buildings fully illuminated. Ideal for urban energy.
- Transition Phase: Watch for the moment streetlights switch on automatically. That is often the perfect start signal.
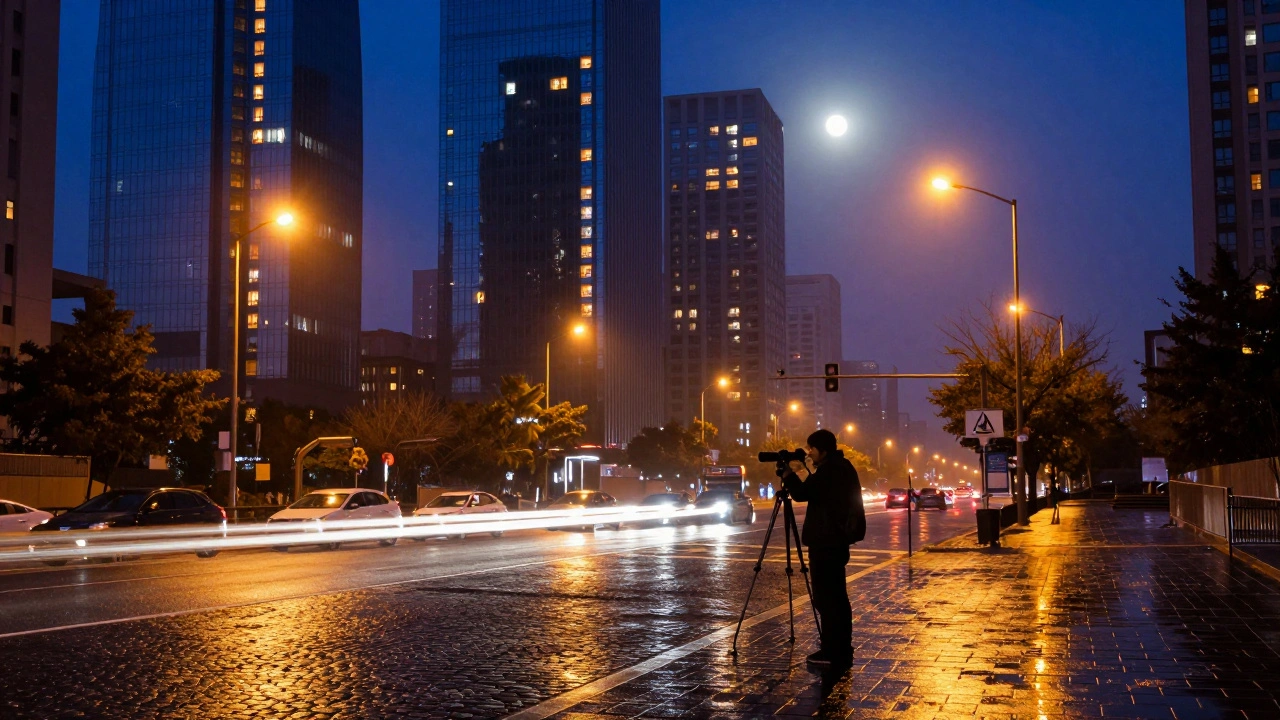
The evening session provides a different dynamic compared to the morning. Evenings usually feature active traffic patterns, allowing you to capture light trails from cars moving along highways or main roads. Mornings tend to be static. If your goal is a bustling city vibe, head out at dusk. If you want tranquility, try dawn.
| Feature | Golden Hour | Blue Hour |
|---|---|---|
| Light Source | Direct Sun | Ambient Sky + Artificial |
| Color Temperature | Warm (Orange) | Cool (Blue) |
| Contrast Level | High Contrast Shadows | Low to Moderate Contrast |
| Best Subject | Portraits / Textures | Cityscapes / Reflections |
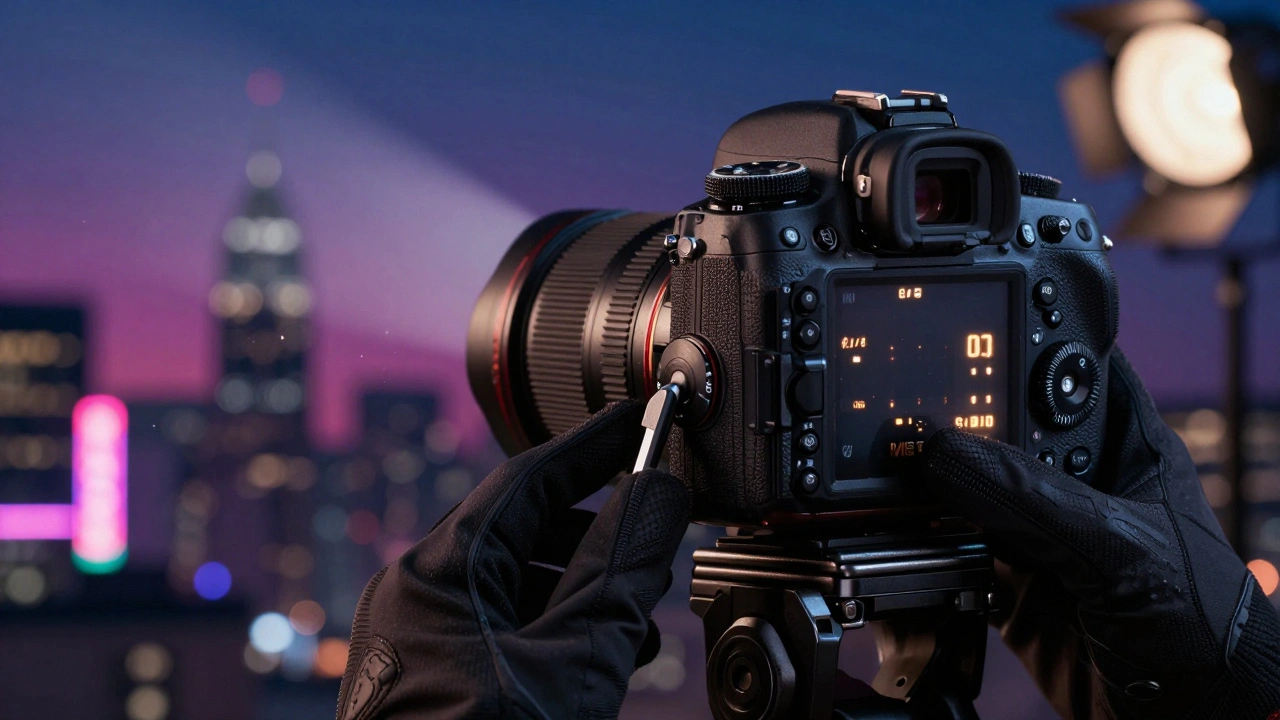
Essential Camera Settings for Success
When shooting handheld during daylight, shutter speed matters for freezing motion. When you set up your Tripod for Blue Hour, shutter speed becomes a tool for controlling light intensity rather than motion blur. You generally want sharp details everywhere, from the nearest building to the distant clouds. This forces you to prioritize depth of field over speed.
Start with an aperture setting around f/8. This focal point offers the sharpest optical performance for most lenses while keeping the background in focus. Opening wider to f/5.6 might let in too much light too fast, while stopping down beyond f/16 introduces diffraction, which softens the entire image. Keep ISO low, typically between 100 and 400. Noise looks ugly against dark blue skies. A clean file gives you room to adjust contrast later in post-processing.
Your shutter speed will vary wildly depending on how many city lights are on. In a dense downtown area, 2 seconds might be enough. In a quieter residential zone, you might need 10 to 20 seconds. If you are including moving water or clouds, longer exposures of 15 to 30 seconds will smooth out textures. Do not worry about camera shake since the tripod handles stability.
Managing White Balance for Mood
One of the biggest mistakes photographers make here is trusting their camera's automatic White Balance setting. Cameras try to fix "wrong" colors to make things look neutral white. You actually want the blues to look blue. Set your camera to Manual Kelvin mode instead. Aim for a setting between 4000 K and 5500 K. Anything lower warms the image too much; anything higher makes it look icy.
If you shoot in RAW format, you have full control to tweak this number later. However, setting it right in the camera helps your histogram display correctly so you know if you are exposing properly. Some professionals use a trick called color gel shifting. They set the camera to Tungsten mode to push the ambient sky deeper into blue tones, then use a flash with an orange gel to warm up subjects. This creates a dramatic cinematic contrast that is hard to fake in editing software.
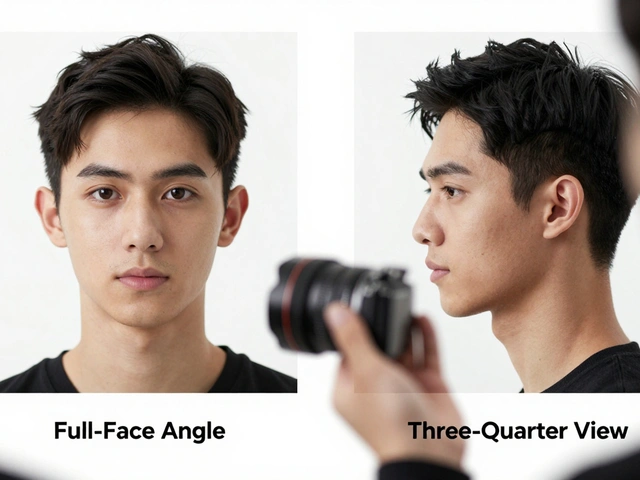
Composing With Light and Shadow
Good composition separates a snapshot from a masterpiece. In Blue Hour photography, light sources act as natural markers guiding the eye through the frame. Look for areas where warm artificial lights interact with cool natural shadows. Place these points according to the rule of thirds. A brightly lit bridge against a dark water reflection works incredibly well.
Pay attention to clean edges. Since the sky remains somewhat bright, tree branches or power lines against the blue backdrop will show up starkly. Ensure your framing cuts off messy clutter that distracts from the main subject. If the city skyline is your hero, position it so the tallest building anchors the shot. For landscapes, find a foreground element like a railing, stone wall, or pathway to provide depth.
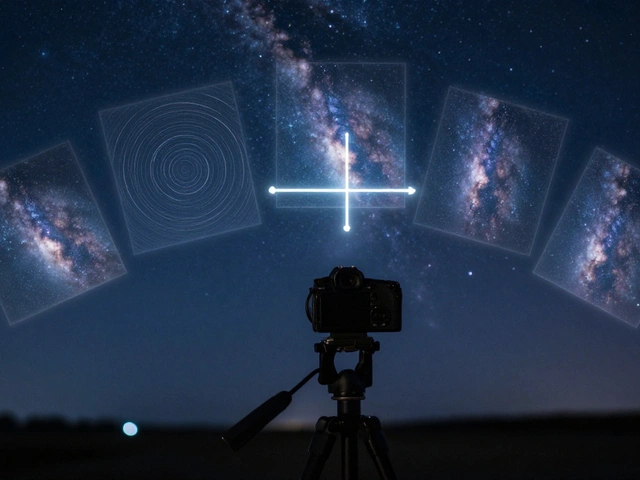
Advanced Techniques: Blending and Stacking
Sometimes the window for perfect light is too short. The sky might be perfect, but the buildings aren't quite bright enough yet. Advanced practitioners use exposure blending to fix this imbalance. You take one photo exposed for the sky, holding back the highlights. Immediately after, you take another photo exposed for the darker ground elements.
In editing software, you layer these images and mask the brighter parts of each onto the other. This ensures both the city lights and the sky retain rich detail without looking flat. Another option involves taking multiple photos of the same scene with the exact same settings. You stack them to reduce digital noise caused by high ISO usage. This is particularly helpful if you had to raise ISO to handle dim ambient conditions.
Troubleshooting Common Problems
Ideally balanced? If your lights blow out, stop down your aperture to f/11 or f/16 and increase shutter speed slightly to let less light in.
Noise issues? Lower your ISO. Extend the shutter speed to compensate. Always check your histogram; do not trust the LCD screen brightness alone.
Too dark? Open aperture to f/5.6 temporarily. Or add a subtle fill light using a reflector if shooting portraits within the city environment.
Silhouette only? If you want detail in the building rather than a shape, you must expose for the building, not the sky. Accept that the sky may lose some color data.
When exactly does Blue Hour start?
Blue Hour starts immediately after official sunset when the sun drops about 4 to 6 degrees below the horizon. Arrive at your location 15 minutes prior to this time to set up.
Do I need a tripod for Blue Hour shots?
Yes, almost always. You need stable multi-second exposures to keep the sensor gathering light without camera shake ruining sharpness.
Can I shoot Blue Handheld?
Only if using a modern camera with extreme stabilization and wide apertures. It restricts depth of field heavily and usually produces grainy results compared to tripod work.
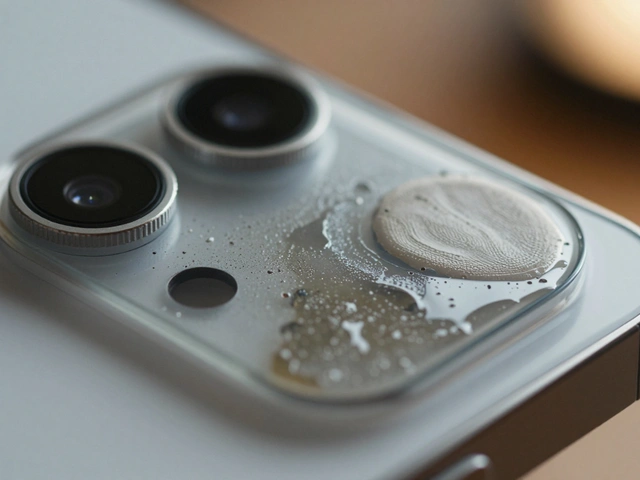
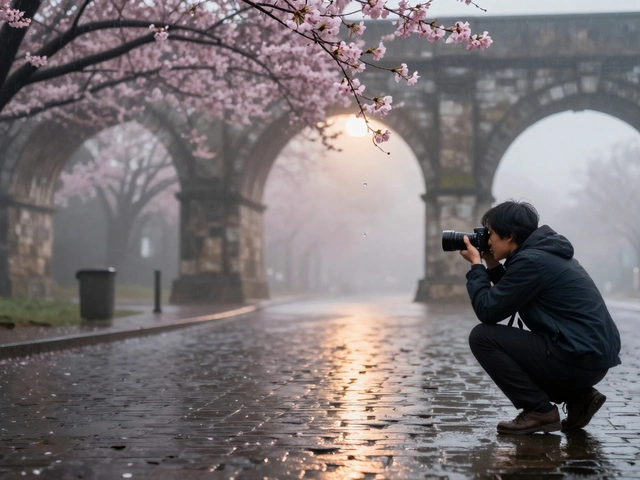
Is weather a problem for this style?
Rain actually enhances the effect due to wet pavement reflecting city lights. Clouds soften the glow. Clear skies offer the deepest blues. Any weather works.
What aperture should I choose first?
Set your lens to f/8. This setting balances sharpness and depth of field perfectly for most standard focal lengths used in cityscapes.
Should I shoot JPG or RAW?
Always shoot RAW. It captures full dynamic range data needed to fix exposure imbalances and adjust color temperature accurately.
How do I avoid underexposed buildings?
Use exposure compensation to brighten the meter reading by 0.7 stops, or switch to manual mode to target the mid-tones of the architecture.
Does location affect Blue Hour duration?
Yes. Equatorial regions have shorter durations while polar latitudes have longer ones. Urban environments usually extend the window due to ambient light pollution.