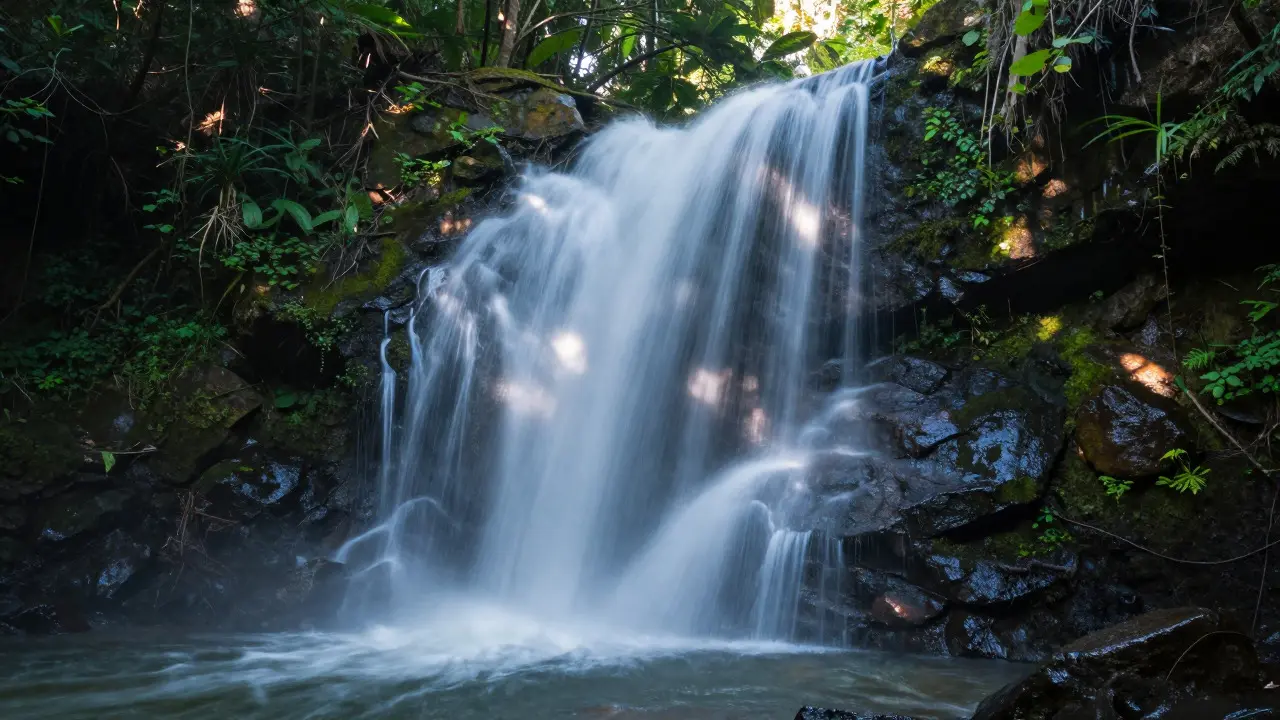
Waterfalls look like silky ribbons. Oceans vanish into mist. City traffic turns into light trails. You know the look. But achieving it without turning your photo into a white blob of overexposure is where most photographers get stuck. The secret isn't just a slower shutter speed; it's controlling how much light hits your sensor while keeping your aperture and ISO exactly where you want them.
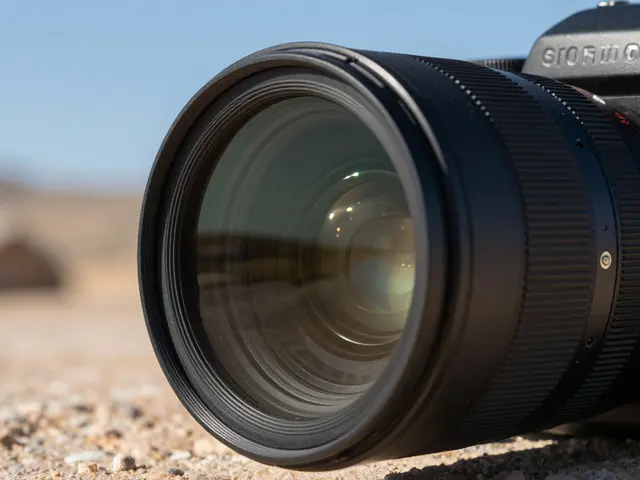
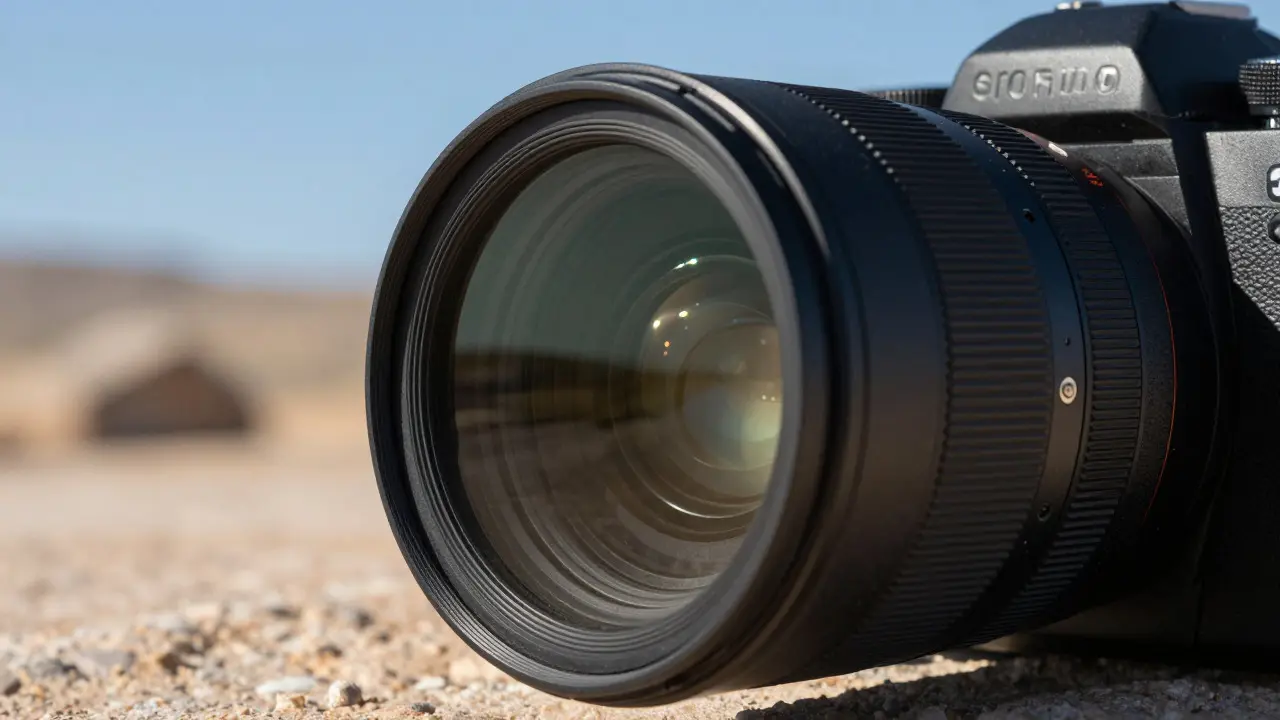
Neutral Density (ND) filters are optical filters that reduce the amount of light entering the camera lens without changing the color balance or contrast of the image. Think of them as sunglasses for your camera. They let you use slow shutter speeds in bright daylight to create those dreamy, fluid effects that define modern landscape and street photography.
How ND Filters Work Under the Hood
At their core, ND filters are made from glass or resin with specific chemical compounds that absorb light evenly across the visible spectrum. Unlike polarizing filters, which cut glare and enhance colors, ND filters are optically neutral. This means they don't shift the hue of your blue sky or make your greens pop artificially. They simply dim the scene.
The strength of an ND filter is measured in "stops" of light reduction. Each stop halves the amount of light reaching the sensor. Here is a quick breakdown of common strengths and what they allow you to do:
- ND8 (3 stops): Reduces light by 8x. Great for slight motion blur in moving water or balancing exposure in very bright midday sun.
- ND64 (6 stops): Reduces light by 64x. Ideal for smoothing out waves and creating soft clouds in moderate light.
- ND1000 (10 stops): Reduces light by 1000x. The go-to for long exposures in full daylight, turning busy scenes into minimalist abstractions.
- Variable ND: A single filter that adjusts from ND2 to ND400. Convenient for travel but often suffers from cross-pattern artifacts at high settings.
Choosing the Right Strength for Your Scene
Picking the right filter isn't about guessing; it's about math and observation. Before you even screw on the filter, check your base exposure. If your ideal creative shot requires a 30-second exposure but your camera suggests 1/125th of a second at f/11, you need to bridge that gap.
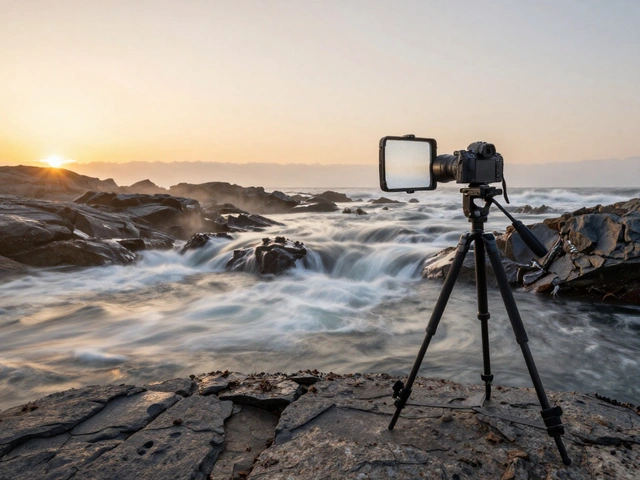
Let's say you're shooting a waterfall in bright afternoon light. Your meter says 1/250s at f/8. You want that silky water effect, which usually requires anything from 1/4s to several seconds. That's a difference of roughly 9 to 10 stops. An ND1000 filter gives you exactly 10 stops. Screw it on, set your manual exposure to 1/4s or longer, and you've got your result. If you used an ND64 (6 stops), you'd still be at 1/4s, which might be too fast for that heavy silk look. You'd end up with choppy water instead of smooth flow.
| Filter Type | Stops Reduced | Light Reduction Factor | Best Use Case |
|---|---|---|---|
| ND8 | 3 | 1/8 | Slight blur, bright midday portraits |
| ND64 | 6 | 1/64 | Moderate water smoothing, cloud movement |
| ND1000 | 10 | 1/1000 | Heavy water abstraction, day-for-night cityscapes |
| Variable ND | 2-9.5 | 1/4 to 1/700 | Travel versatility, quick adjustments |
Techniques for Perfecting Motion Blur
Once you have the correct exposure time, the real art begins. Motion blur isn't just about slowing down the shutter; it's about controlling what moves and what stays still. For landscapes, this means using a sturdy tripod and a remote shutter release or intervalometer. Any vibration will ruin a 30-second exposure, so stability is non-negotiable.
When shooting water, pay attention to the direction of flow. If the water is moving toward the camera, the blur will appear vertical and streaky. If it's moving sideways, you'll get horizontal streaks. Sometimes, you want to emphasize the texture of the rock beneath the water. In that case, use a shorter exposure (around 1-2 seconds with an ND1000) to keep some detail in the water while still smoothing the surface.
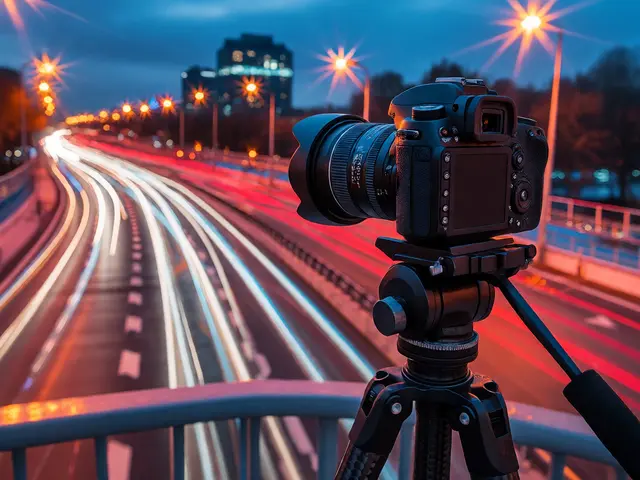
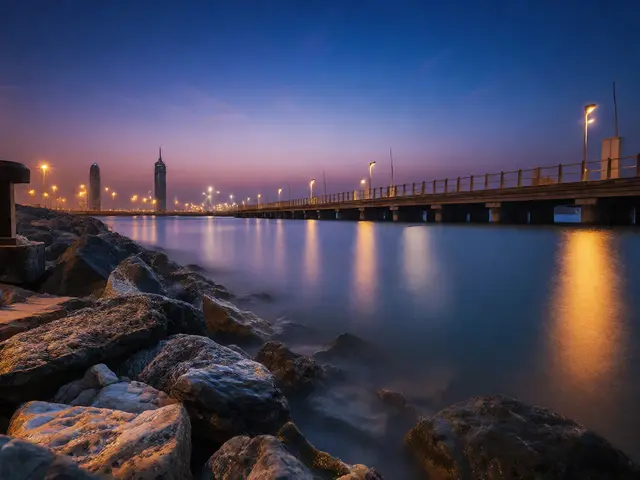
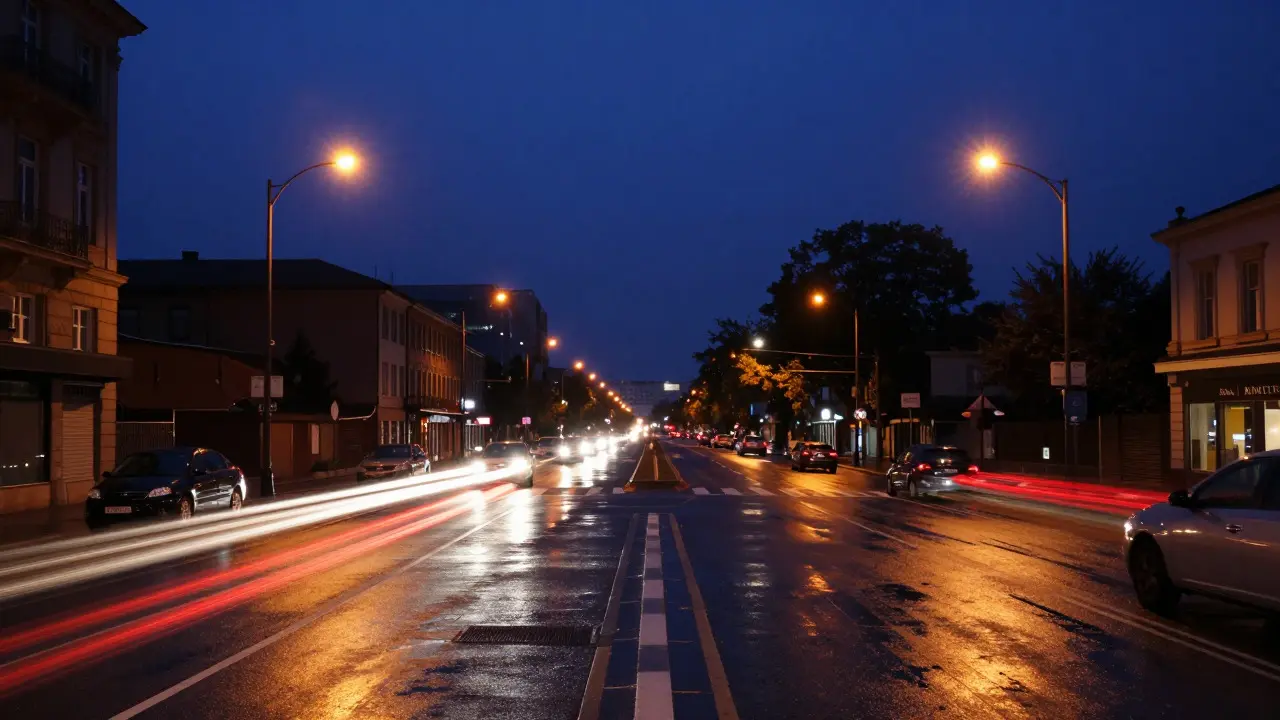
For cityscapes, the goal is often to erase people and cars entirely. This requires much longer exposures than water shots. A 2-5 minute exposure during twilight can clear a busy intersection completely, leaving only the static architecture and the light trails of vehicles. This technique, known as "erasing the crowd," relies heavily on consistent light sources. Streetlights and car headlights provide the necessary illumination for such long durations.
Common Pitfalls and How to Avoid Them
Even experienced photographers run into issues with ND filters. The most common problem is color cast. Cheap ND filters, especially variable ones, can introduce a magenta or green tint to your images. This happens because the two layers of glass inside a variable filter aren't perfectly parallel at high densities. To fix this, shoot in RAW format and correct the white balance in post-processing. Always include a gray card or a neutral object in your test shots to check for color shifts before committing to a full session.
Another issue is vignetting. When you stack multiple filters, or use a thick ND filter on a wide-angle lens, you can get dark corners in your image. This is less of a problem with high-quality, thin-profile filters. If you notice vignetting, try stopping down your aperture slightly or cropping the image in post-production. For critical work, invest in a higher-end filter system that minimizes thickness.
Don't forget about focus. Since ND filters block so much light, your viewfinder will be nearly black. Autofocus can struggle in these low-light conditions. Focus on your subject before attaching the filter, or switch to manual focus and zoom in on the live view if your camera has that feature. Once focused, lock it in place and don't touch the ring again.
Gear Setup for Long Exposure Success
Your gear matters as much as your filter. A basic setup for serious long exposure work includes:
- Sturdy Tripod: Carbon fiber models are lighter and more stable than aluminum. Look for one that supports at least 10kg of payload.
- Remote Shutter Release: A wired release is more reliable than Bluetooth options for long intervals. It prevents any micro-vibrations from pressing the button.
- Lens Hood: Essential for preventing stray light from hitting the front element of your ND filter, which can cause flare.
- Battery Backup: Long exposures drain batteries quickly, especially in cold weather. Keep spare batteries warm in your pocket.
If you're traveling light, consider a variable ND filter. While they have drawbacks, they save space and weight. Just be aware of the limitations mentioned earlier. For dedicated landscape shooters, separate fixed-strength filters (ND8, ND64, ND1000) offer superior optical quality and no risk of internal reflections.
Post-Processing Tips for ND Shots
Long exposure photos often come out flat and underexposed due to the reciprocity law failure, though this is minimal in digital sensors compared to film. However, dynamic range is your friend here. Shoot in RAW to retain maximum detail in the highlights and shadows. In Lightroom or Capture One, start by correcting the white balance to remove any residual color cast from the filter. Then, adjust the exposure slider carefully. Because you're working with long exposures, noise should be minimal, allowing you to push shadows without degrading image quality.
Use the clarity and dehaze sliders sparingly. Too much clarity can make the water look unnatural and plastic-like. Aim for a subtle enhancement that brings out texture without losing the ethereal quality of the blur. Finally, sharpen your image gently, focusing on the static elements like rocks or buildings, rather than the blurred water, which doesn't benefit from sharpness.
Do I need a tripod when using an ND filter?
Yes, almost always. Since ND filters require slower shutter speeds to compensate for reduced light, any hand-held shake will result in a blurry image. A tripod ensures that only the moving subjects (like water or clouds) are blurred, while the rest of the scene remains sharp.
What is the difference between a variable ND and a fixed ND filter?
A variable ND filter allows you to adjust the level of light reduction by rotating the outer ring, typically ranging from 2 to 9.5 stops. A fixed ND filter has a permanent strength, such as ND8 or ND1000. Fixed filters generally offer better optical quality and no risk of internal reflection patterns, while variable filters offer convenience for travel.
Can I use an ND filter in low light conditions?
It depends on how low the light is. In twilight or night scenes, you may not need an ND filter if you can achieve your desired exposure with a slow shutter speed alone. However, if you want to extend the exposure further to smooth out water or erase people, a strong ND filter like an ND1000 can still be useful, provided you have a stable platform and sufficient ambient light.
How do I calculate the required shutter speed with an ND filter?
First, determine your base exposure without the filter. Then, add the number of stops of the ND filter to your original shutter speed. For example, if your base exposure is 1/100s and you use an ND1000 (10 stops), your new exposure would be approximately 10 seconds. Many smartphone apps can help you calculate this quickly based on your camera model and filter strength.
Will an ND filter affect my autofocus performance?
Yes, significantly. Because the filter reduces the amount of light reaching the sensor, your camera's autofocus system may struggle to lock onto a subject, especially in darker scenes. It is best practice to focus manually or use back-button focus before attaching the filter, then lock the focus distance.