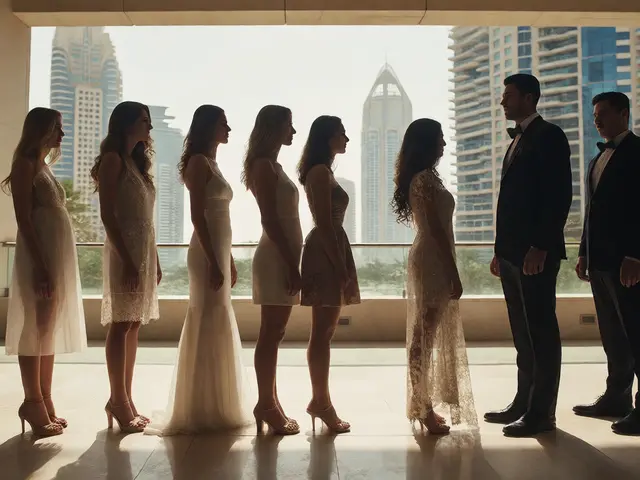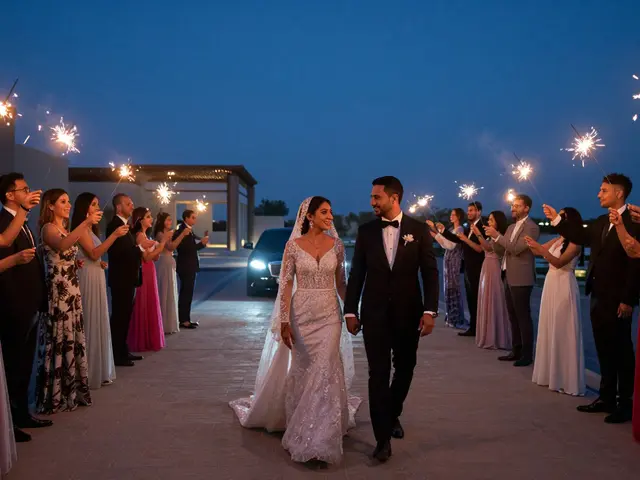
You’ve got the perfect dress, the right venue, and a squad that would follow you into battle. But when it’s time to take bridal party portraits, chaos often hits. Why? Because physics doesn’t care about your Pinterest board. If everyone stands in a straight line, the tall friend blocks the short one, and the person on the end looks like they’re trying to escape the frame. It’s not about who is taller; it’s about how you arrange them.
Group dynamics in photography are less about personality clashes and more about geometry. The goal is to create visual harmony where every face is visible, connected, and balanced. This isn’t just about pushing people around; it’s about using space, perspective, and posture to tell a story of unity. Whether you’re the photographer or the organized maid of honor, understanding the mechanics of height staggering will save you twenty minutes of awkward shuffling and prevent that one photo where someone’s chin is cut off.
The Core Problem: Flat Lines Kill Depth
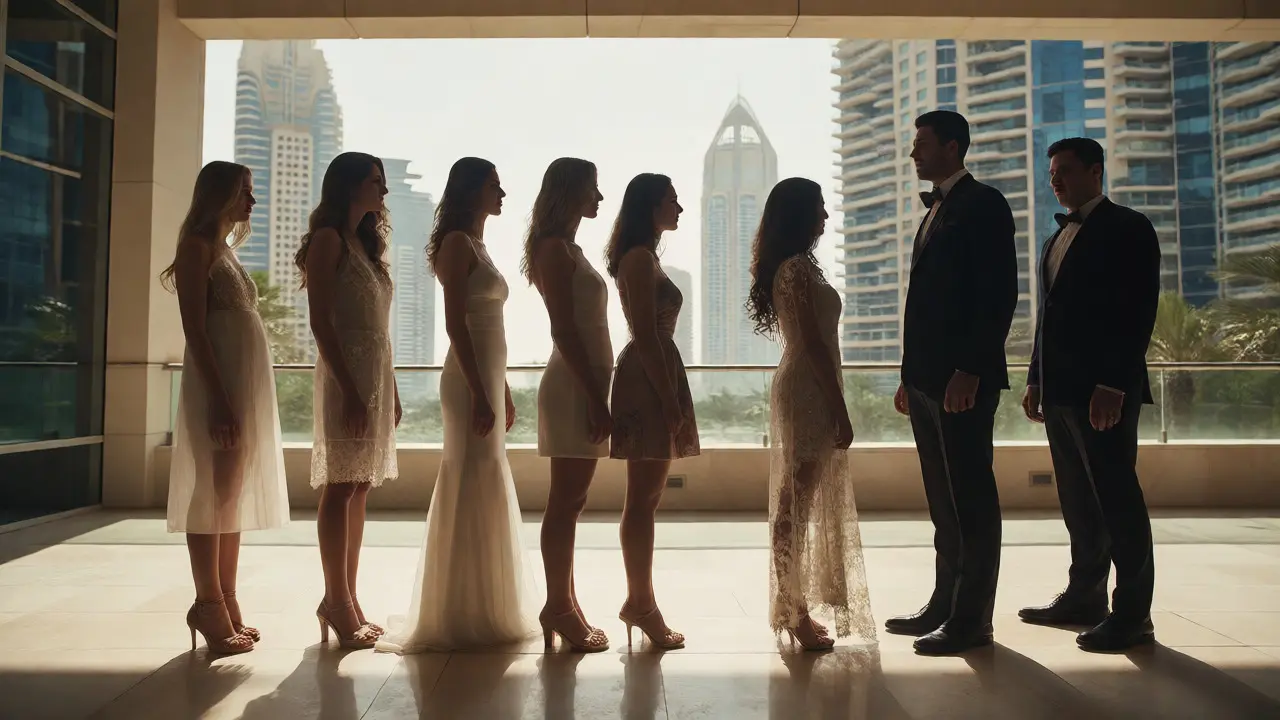
Human eyes are wired to notice patterns, but flat lines feel static. When a bridal party stands shoulder-to-shoulder in a single row, two things happen immediately. First, depth disappears. The image looks two-dimensional, like a lineup rather than a celebration. Second, occlusion becomes a nightmare. If Person A is six inches taller than Person B and stands directly behind them, Person B might as well be invisible.
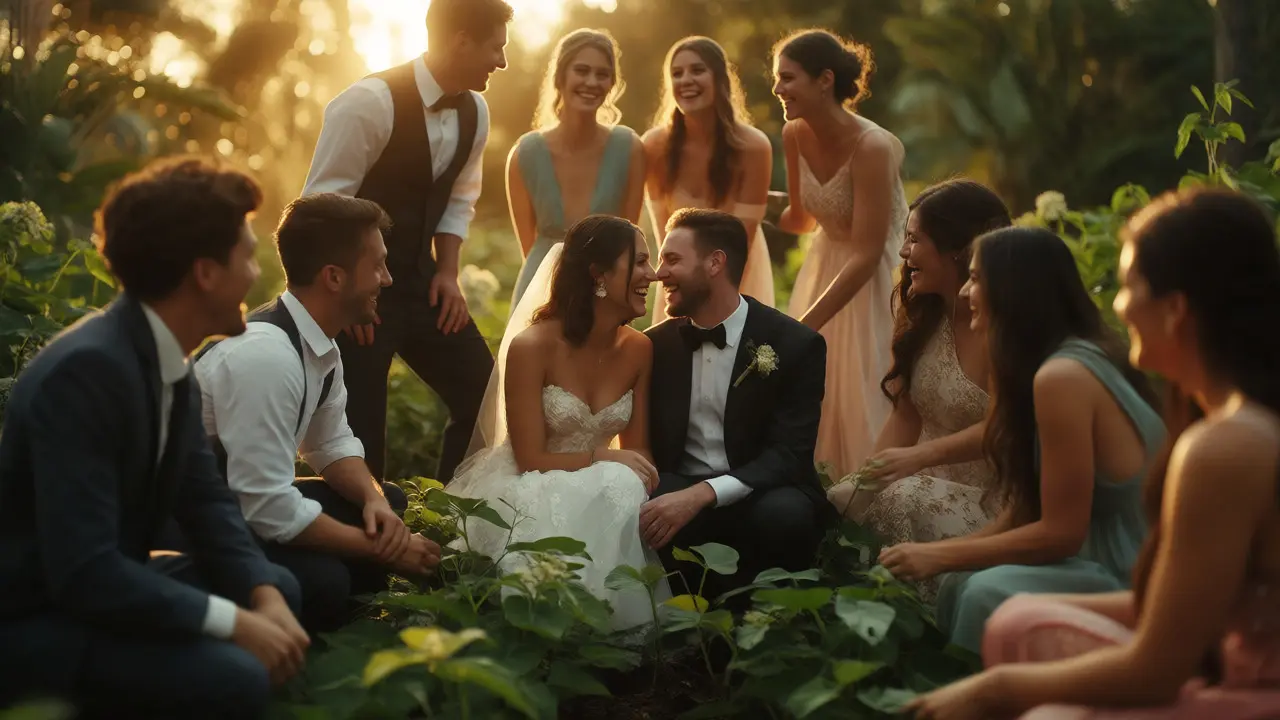
This is where height staggering comes in. It is a photographic technique involving the strategic placement of subjects at varying distances from the camera lens and different vertical levels within the frame. By breaking the horizontal line, you create diagonal lines that lead the eye through the image. These diagonals add energy and movement, making the photo feel alive rather than staged.
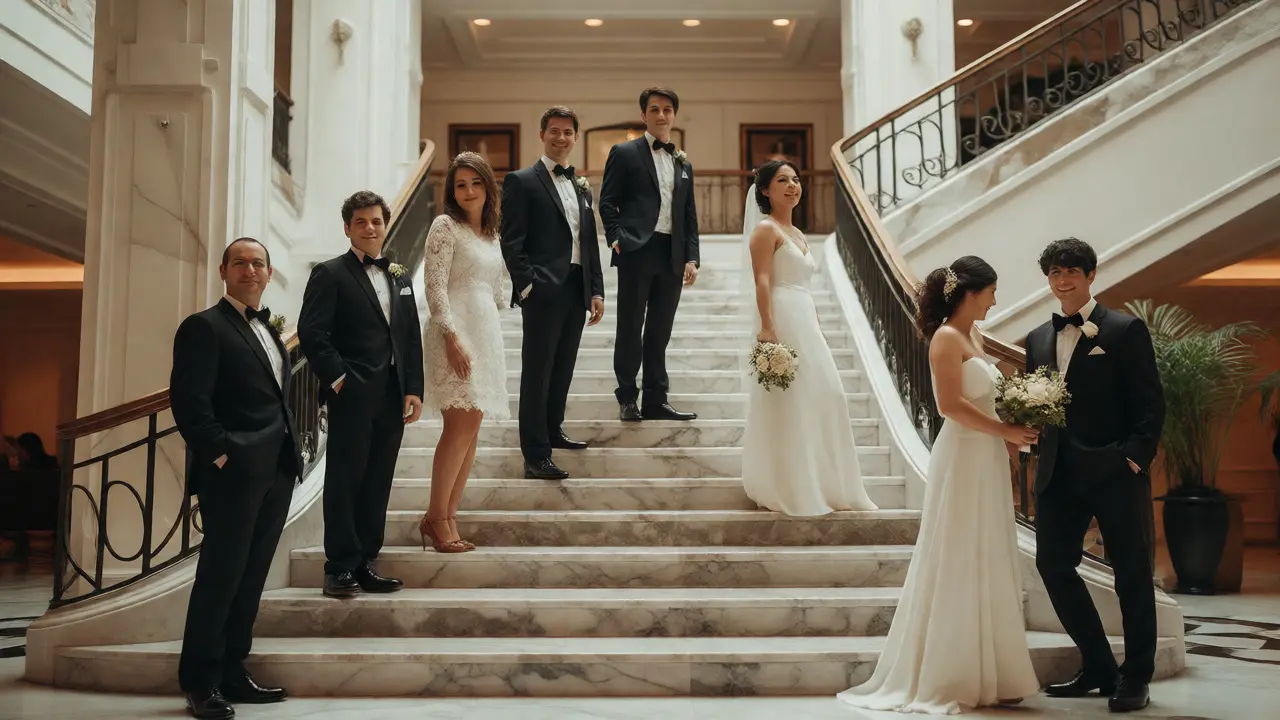
Think of it like a staircase. If everyone stands on the same step, only the top step is fully visible. Move people up and down steps, and suddenly everyone has their own spotlight. This principle applies whether you have four bridesmaids or twelve groomsmen. The rule remains constant: no two heads should sit at the exact same height unless intentional symmetry is the goal, which is rare in candid-style wedding shots.
Mastering Height Staggering Techniques
Staggering isn’t random. There are three primary methods to achieve it, each suited for different group sizes and venues.
1. The Zig-Zag Formation
This is the most common approach for medium-sized groups (4-8 people). Instead of a straight line, alternate positions so that some people stand slightly forward while others stand slightly back. Imagine a zig-zag pattern viewed from above.
- How to execute: Have the tallest members stand in the center or at the ends, depending on desired balance. Place shorter members in the gaps between them, stepping forward slightly.
- Why it works: It creates natural pockets of space. Even if someone is tall, placing them a foot behind a shorter person ensures both faces remain clear.
- Pro Tip: Ask everyone to angle their bodies toward the center of the group. This closes the gaps and makes the group look cohesive rather than scattered.
2. Vertical Layering with Props
Sometimes, standing isn’t enough. You need elevation changes. This is where the environment does the heavy lifting. Use stairs, benches, rocks, or even raised garden beds.
| Source | Best For | Risk Factor |
|---|---|---|
| Staircases | Large groups (8+) | Uneven risers can cause tripping; check stability. |
| Benches/Ledges | Intimate groups (4-6) | Height difference may be too subtle; ensure visibility. |
| Natural Terrain | Outdoor/Rustic weddings | Mud, uneven ground; requires careful footing checks. |
| Kneeling/Crouching | Small clusters (2-3) | Dress trains get dirty; knees may show through fabric. |
When using stairs, place the tallest individuals on the lower steps and the shortest on the higher ones. This counteracts natural height differences. If you don’t have stairs, ask two people to kneel in front of those standing. Just make sure the kneeling folks aren’t blocking the legs of those behind them-angle their shoulders outward.
3. The Pyramid Structure
For very large parties, think in triangles. The base is wide, with people standing further apart. As you move up the pyramid, fewer people occupy higher positions. This naturally staggers heights because the human body occupies less horizontal space when elevated relative to the viewer.
This structure draws the eye upward to the couple, who usually sit or stand at the apex. It’s classic, stable, and incredibly effective for formal portraits where clarity is paramount.
Reading Group Dynamics Beyond Height
Height is physical, but dynamics are emotional. You can have perfect staggering, but if the group feels disconnected, the photo falls flat. Look for natural pairings. Who laughs together? Who holds hands? Position these pairs adjacent to each other. Their genuine interaction adds warmth that poses alone cannot provide.
Consider the "V" shape versus the inverted V. A standard V (couple in middle, arms out) emphasizes the couple. An inverted V (couple in front, party behind) emphasizes the collective support system. Neither is wrong, but choose based on the vibe you want. If the bridal party is tight-knit and playful, an inverted V with overlapping shoulders feels more intimate. If the event is formal, the traditional V offers dignity and space.
Also, watch for "blocking." This happens when someone’s arm covers another person’s torso or face. Instruct the group to keep elbows tucked close to their ribs. Loose arms create visual noise. Tight arms create clean lines. It sounds minor, but it’s the difference between a cluttered snapshot and a polished portrait.
Lighting and Lens Choice Impact on Staggering
Your gear affects how much staggering you actually need. Wide-angle lenses exaggerate perspective. If you shoot a group from ten feet away with a 24mm lens, the person closest to the camera looks huge, and the person furthest away looks tiny. This distortion can break your carefully planned height hierarchy.
To fix this, use a longer focal length (50mm-85mm) and stand further back. Compression flattens the distance between subjects, making height differences appear less drastic. However, compression also reduces depth perception, so you must physically stagger people more aggressively to maintain separation.
Lighting plays a role too. Hard side light creates strong shadows. If one person casts a shadow across another’s face, adjust their position. Soft, diffused light is forgiving, allowing for tighter groupings without worrying about harsh shadows obscuring features. Overcast days are a photographer’s best friend for large groups because the light wraps around subjects evenly.
Common Pitfalls and Quick Fixes
Even with the best plans, things go wrong. Here’s how to troubleshoot on the fly.
- The "Chin Tuck": People instinctively raise their chins when nervous, elongating the neck and hiding jawlines. Ask them to push their foreheads forward slightly, then tuck their chins down. This defines the jaw and keeps eyes open.
- Dead Arms: Hands hanging by sides look awkward. Give everyone something to do. Hold a bouquet, touch a shoulder, cross arms loosely, or hold a drink. Purposeful hands reduce tension.
- Eye Line Mismatch: If everyone looks at the camera, it can feel sterile. Have half the group look at the bride, half at the groom, or all look at each other. This creates internal connections within the frame.
- Hemline Hazards: Long dresses pool on the ground. Before shooting, have bridesmaids lift their skirts slightly or arrange the fabric neatly. Tripping hazards ruin the mood faster than bad lighting.
Remember, communication is key. Don’t just shout "stand there." Explain why. "Sarah, step back a bit so Mark’s face shows," is better than "Move back!" People cooperate better when they understand the visual goal.
Practical Checklist for the Day Of
Before you gather the party, run through this mental checklist to ensure smooth execution.
- Scout the Spot: Find background elements that offer natural elevation (stairs, walls, trees).
- Check Light Direction: Ensure the sun isn’t blowing out faces. Backlighting with a flash fill is often safest for outdoor groups.
- Pre-Plan Positions: Sketch a quick diagram if you have a complex group. Know who goes where before they arrive.
- Test the Frame: Take a test shot with empty chairs or just the couple to check exposure and composition.
- Gather Efficiently: Send one person to collect the group. Keep the couple waiting elsewhere until the party is ready to avoid stress.
- Shoot Fast: Once assembled, take multiple frames quickly. People tire, smiles fade, and kids interrupt. Capture the magic while energy is high.
By focusing on structural integrity first, you free yourself to capture emotion second. A technically sound photo allows the joy to shine through without distraction. Height staggering isn’t just a trick; it’s respect for every individual in the frame. Everyone deserves to be seen clearly, beautifully, and happily.
Do I really need to stagger heights for small groups?
Yes, even for groups of three or four. Without staggering, you risk having one person's head completely block another's. For small groups, simple variations in stance-such as shifting weight to one leg or turning shoulders at slight angles-can create enough separation to keep all faces visible and engaging.
What if we don't have stairs or props for elevation?
You can create artificial elevation using body posture. Ask some members to bend their knees slightly or lean forward/backward. Additionally, changing the camera angle helps. Shooting from a low angle looking up can make shorter people in the front appear taller, while shooting from a high angle can help see over heads. Combining slight crouches with varied distances from the lens works surprisingly well.
How do I handle mixed-height groups without making anyone self-conscious?
Frame it as a technical necessity, not a judgment on height. Say, "We need to play with the angles so everyone gets a great shot," rather than "You're too tall." Focus on the connection between people. Often, when people are laughing or interacting, they forget about their height. Also, using hats, bouquets, or accessories can draw attention away from pure stature comparisons.
Does the order of the bridal party matter in the photo?
Traditionally, the Maid of Honor stands closest to the bride, and the Best Man closest to the groom. However, modern weddings prioritize visual balance and personal relationships. If your Maid of Honor is significantly shorter than the rest, placing her in the center might require more aggressive staggering. Consider placing taller friends near the edges to frame the group, keeping the focus on the couple in the middle regardless of strict hierarchy.
How many photos should we plan for the bridal party session?
Aim for 15-20 minutes total. This allows for 3-4 distinct setups: a full group shot, a split shot (brides vs. grooms), a candid interaction shot, and a few solo portraits if time permits. Trying to do too many setups leads to fatigue and forced smiles. Quality beats quantity here; two stunning, well-composed images are worth more than ten mediocre ones.