Staring at your own portfolio can feel like staring into a void. You know what you like, but figuring out why it works-or doesn't-is another story. The fastest way to break through creative plateaus isn't always taking more photos; it's learning to see like the masters and the modern innovators who came before you. Studying other photographers is not about copying their style. It’s about reverse-engineering their decisions to build a mental library of visual solutions.
This process, often called visual literacy or photographic analysis, transforms passive viewing into active learning. When you look at an image with intent, you stop seeing just "a pretty picture" and start seeing a complex arrangement of light, geometry, color, and emotion. Here is how to turn that observation into tangible skill improvement.
The Anatomy of Visual Analysis
Before you dive into specific portfolios, you need a framework. Without one, you’re just guessing. Most professional critiques rely on breaking an image down into its core components. Think of this as dissecting a meal to understand the recipe.
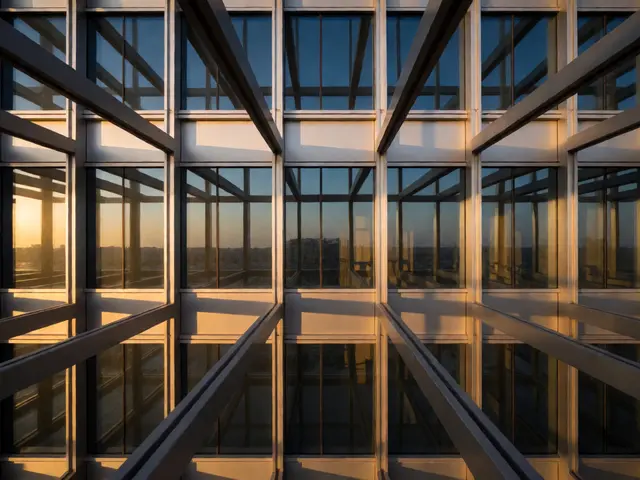
- Composition: Where are the subjects? How does the eye move through the frame? Is there symmetry, asymmetry, or rule-of-thirds adherence?
- Lighting: What is the source? Hard or soft? High contrast or low key? How does the light shape the subject?
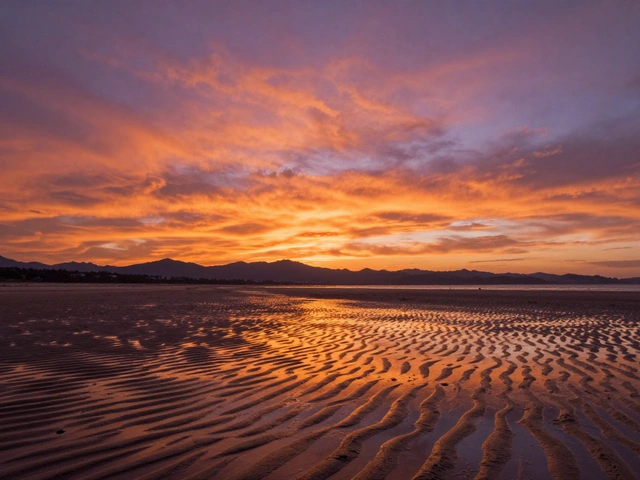
- Color Palette: What colors dominate? Are they complementary (opposites) or analogous (neighbors)? Does the mood match the palette?
- Motion and Timing: If applicable, how was movement captured? Freeze-frame or blur? What does it tell us about the moment?
- Emotional Impact: What feeling does the image evoke? Nostalgia, tension, joy, isolation? This is the result of all the technical choices above.
When you analyze an image, write these elements down. Don’t just look; record. This forces your brain to engage with the details rather than letting them wash over you.
Choosing Who to Study
Not every photographer is worth deep study for every goal. If you want to improve your street photography, studying a wedding photographer might yield limited results. However, cross-pollination is powerful. A landscape photographer’s use of scale can teach a portrait photographer how to create depth.
Start with three categories of photographers:
- The Technical Masters: Photographers known for precise execution. Look at Ansel Adams for black-and-white tonal range or Henri Cartier-Bresson for decisive moment timing. Their work provides a baseline for "correct" technique.
- The Contemporary Innovators: Look at current Instagram or Behance stars who push boundaries. See how they handle digital noise, post-processing trends, or new social media formats. This keeps your skills relevant.
- The Outliers: Find one photographer whose style seems completely opposite to yours. If you shoot bright and airy, study a moody, high-contrast documentary shooter. The contrast highlights your own biases and expands your vocabulary.
Practical Exercises for Active Learning
Passive scrolling is the enemy of growth. To truly learn, you must do something with what you see. Here are four effective exercises used by photography educators and working pros.
1. The Copy Shoot
Pick one iconic image. Try to recreate it exactly. Same angle, same lighting setup, same framing. This sounds like cheating, but it’s actually rigorous training. You’ll quickly discover why the original worked. Maybe the shadow fell exactly where it needed to. Maybe the background element added context. By replicating it, you internalize the mechanics behind the magic. Once you’ve nailed the copy, change one variable-move the camera two feet left, or shift the time of day-and see how the image changes.
2. The Deconstruction Grid
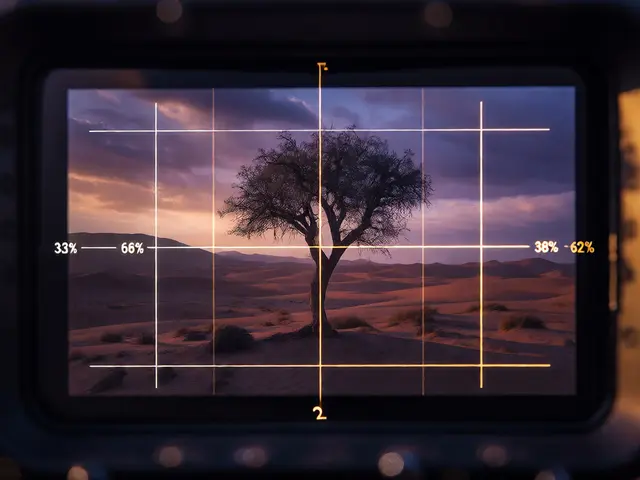
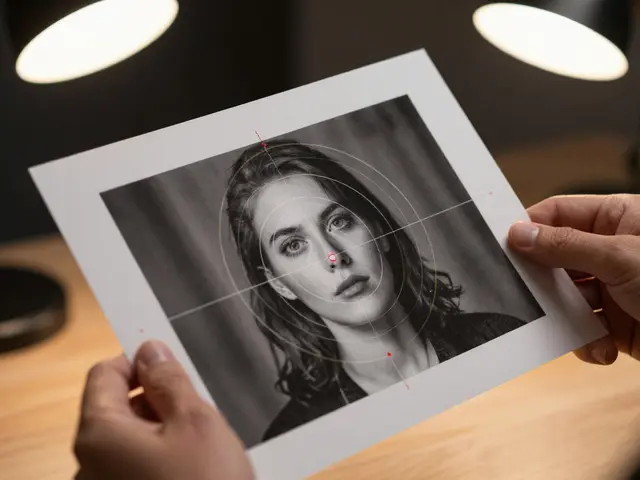
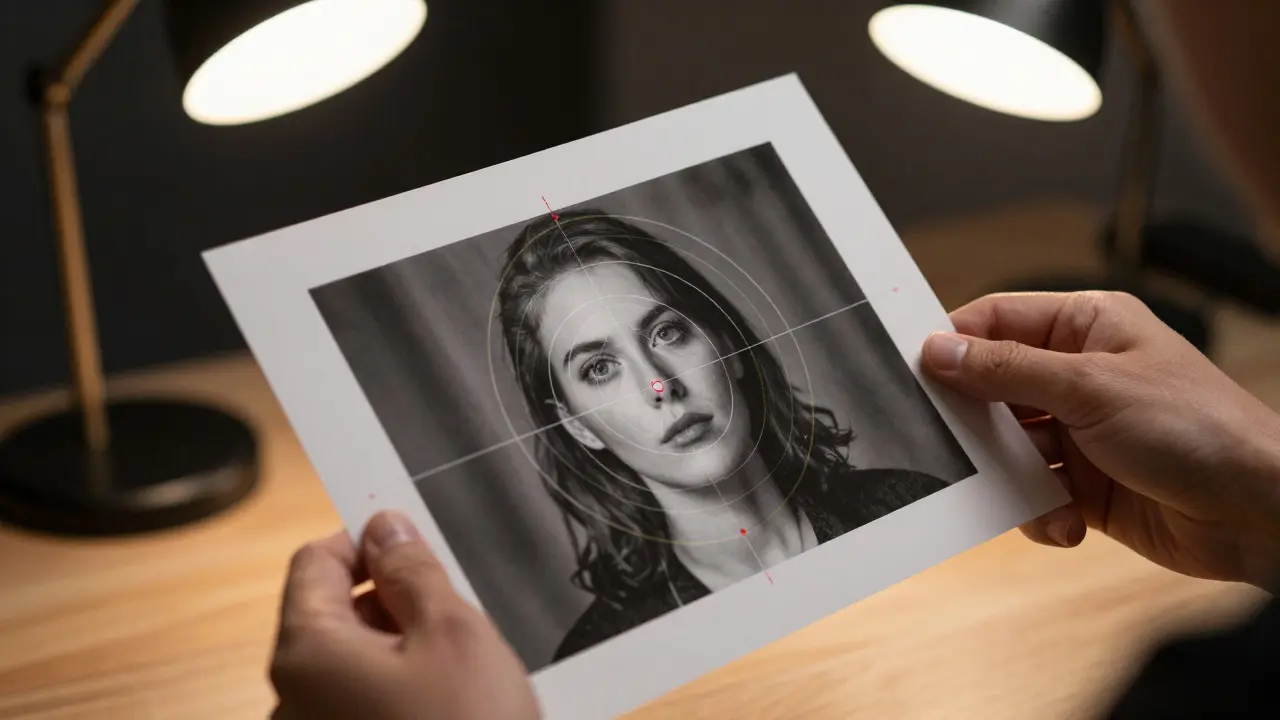
Print out a photo or display it on a large screen. Overlay a grid (rule of thirds, golden ratio, or diagonal lines). Mark where the focal points fall. Draw arrows showing the path your eye takes. Do this for ten different images. Patterns will emerge. You might realize that strong portraits often place the eyes in the upper third, while landscapes balance foreground interest with horizon placement.
3. The "Why" Interview
Read interviews, behind-the-scenes posts, or articles featuring the photographer. Compare their stated intentions with what you observed in the image. Did they plan the composition, or was it accidental? Knowing the backstory adds a layer of understanding that pure visual analysis misses. For example, knowing that a famous street shot was taken after waiting forty minutes changes how you perceive the "decisive moment."
4. The Mood Board Remix
Create a digital mood board with five images that share a similar vibe but differ in subject matter. Analyze what connects them. Is it the color grading? The grain structure? The lens choice? Then, take those common threads and apply them to a completely new subject. If you notice that three of your favorite images use shallow depth of field to isolate subjects, try shooting your next session with that constraint in mind.
Common Pitfalls in Photographic Study
Even with good intentions, you can fall into traps that hinder progress.
Analysis Paralysis: Spending hours analyzing one image instead of moving forward. Set a timer. Give yourself 15 minutes per image. If you’re stuck, move on. Momentum matters more than perfection in the learning phase.
Ignoring Your Own Work: Studying others is only half the equation. After analyzing a master’s work, immediately look at your recent shots. Where did you succeed? Where did you fail? The comparison should be between their solution and your problem, not their success and your failure.
Chasing Trends Blindly: Just because a filter or crop is popular doesn’t mean it fits your vision. Use trends as tools, not rules. Ask: "Does this enhance my message, or am I just following the crowd?"

Building a Personal Reference Library
Your brain has limits. To retain what you learn, you need an external system. Create a digital folder or physical notebook dedicated to "Reference Shots." Organize them by category: Lighting, Composition, Color, Emotion, Genre.
For each image, add a short note. Not a long essay, but a few bullet points:
- Key Technique: [e.g., Backlighting]
- What I Like: [e.g., Rim light separation]
- Action Item: [e.g., Try backlighting in next outdoor session]
From Observation to Execution
Studying other photographers is a bridge between theory and practice. It gives you the language to describe what you see and the confidence to make intentional choices. But remember: the goal is not to become a clone. It’s to expand your toolkit. Start small. Pick one photographer this week. Analyze three of their images using the framework above. Do one copy shoot. Write down what you learned. Repeat. Within a month, you’ll notice a shift. You won’t just see photos anymore; you’ll see possibilities. And that’s where real growth begins.
How much time should I spend analyzing one photograph?
Aim for 10 to 15 minutes per image when doing deep analysis. This is enough time to identify composition, lighting, and color without getting stuck in analysis paralysis. If you find yourself going deeper, set a hard stop to maintain momentum.
Should I only study photographers who have a similar style to mine?
No. While studying similar styles helps refine your current approach, studying contrasting styles breaks creative ruts. A mix of both is ideal. Use similar styles for technical refinement and different styles for conceptual expansion.
Is copying a photographer's work considered plagiarism?
In the context of learning, no. Copy shoots are a standard educational exercise. As long as you credit the original photographer when sharing your recreation online and don't sell the copy as your own unique artistic statement, it's a valid learning tool. The goal is understanding mechanics, not stealing identity.
What if I can't figure out why a photo works?
Sometimes intuition plays a role that logic can't fully explain. If you're stuck, focus on the emotional impact first. Then, look for technical elements that support that feeling. If it still eludes you, move on. Not every image needs to be fully decoded to be useful; sometimes the mystery itself inspires new experiments.
How do I apply what I learn to my own photography?
Use the "Action Item" method. After analyzing an image, write down one specific thing you will try in your next shoot. For example, if you studied a high-contrast portrait, your action item might be to increase your flash power or adjust your aperture for the next session. Small, deliberate applications lead to faster improvement than vague goals.