Most travelers pack for sunshine. They bring the light lenses, the white clothes, and the expectation of golden hour. Then the clouds roll in, the pavement turns black, and the trip feels like it’s over. But if you’ve ever stood under a streetlamp in Kyoto or watched steam rise from a vent in New York City on a drizzly Tuesday, you know the truth: rain is not the enemy of travel photography. It is the ultimate stylist.
Rain changes everything. It darkens the colors, creates reflections that don’t exist in dry weather, and adds a layer of texture to every surface. The challenge isn’t finding beauty; it’s protecting your gear while capturing it. This guide breaks down how to handle rainy travel photography without losing your mind or your memory card.
Protecting Your Gear: More Than Just a Bag
Your camera is an expensive piece of precision machinery. Water is its natural predator. However, "waterproof" is a marketing term, not a technical reality for most mirrorless or DSLR bodies. You need a strategy, not just hope.
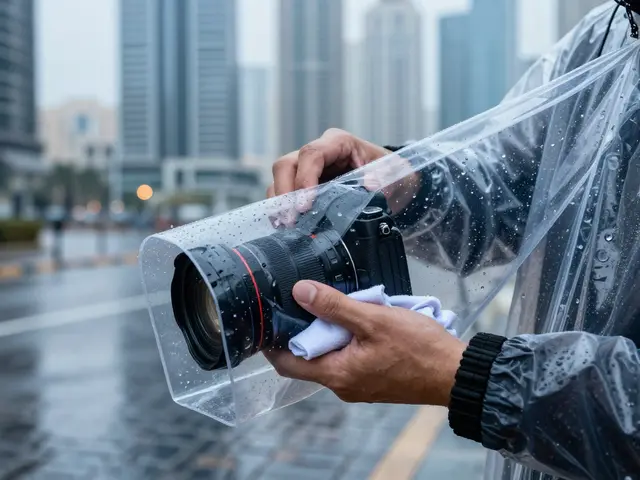
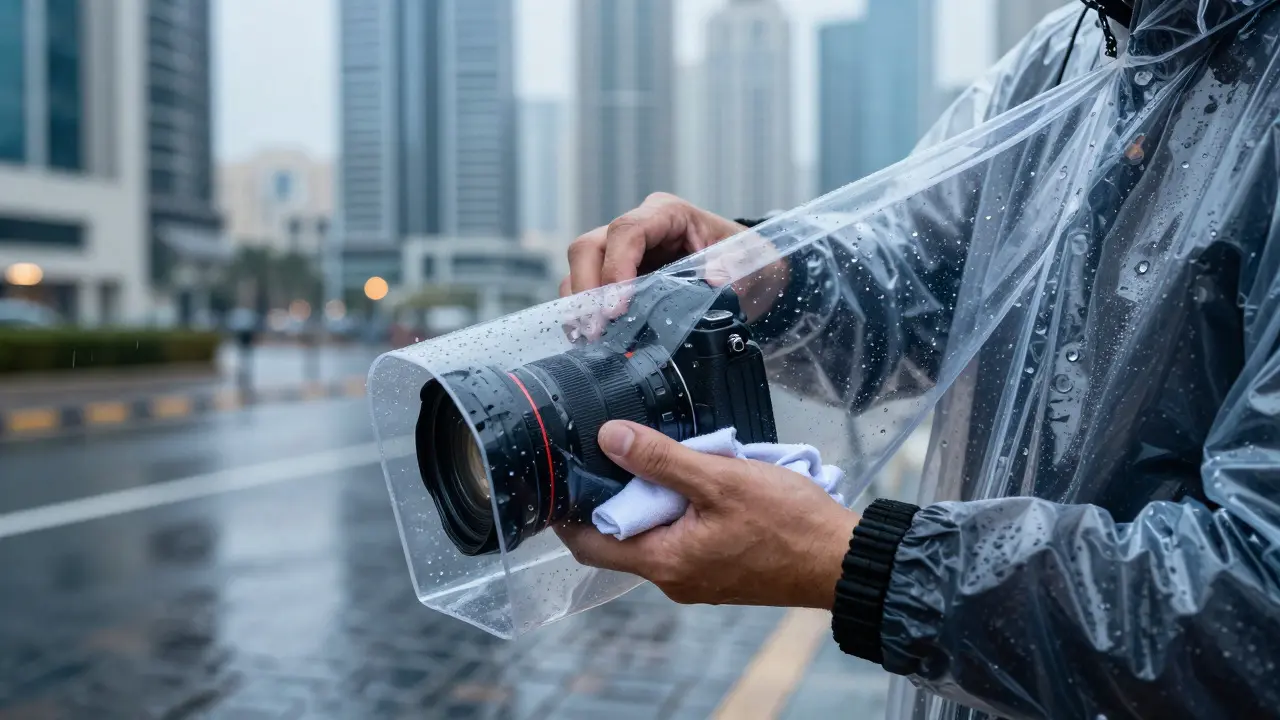
The first line of defense is the Camera Rain Cover is a lightweight, transparent plastic shield that wraps around the camera body and lens. Unlike a heavy backpack, a rain cover allows you to keep shooting while moving. Brands like Rainsafe or Peak Design offer covers that fit specific models, but generic sizes work well if you can secure them with a twist-tie or zip tie. The key is visibility. If you can’t see your screen through the cover, it’s useless. Look for clear PVC material that doesn’t fog up easily.
But what about the gaps? Rain doesn’t just fall straight down; it splashes. Here is where the humble Ziploc Bag becomes a pro tool. Cut off one corner of a large freezer bag, slide your camera inside, and tape the opening around the strap hole. It looks ugly, but it works. For lenses, use a smaller bag and cut a hole for the mount. This DIY method is cheaper than any commercial product and saves trips when you forget your proper cover at home.
- Microfiber Cloths: Keep two. One for the front element, one for the back. Wipe gently to avoid scratching the coating.
- Silica Gel Packets: Toss a few into your camera bag. They absorb ambient humidity before it reaches your sensor.
- Weather-Sealed Gear: If you have a Nikon Z series or Canon R5, you have built-in seals. Still, don’t trust them blindly. Seals degrade over time.
The Umbrella: A Prop, Not a Shield
Most people use umbrellas to stay dry. Photographers should use them to create depth. An umbrella in a photo tells a story. It suggests movement, protection, and atmosphere. But choosing the right one matters more than you think.
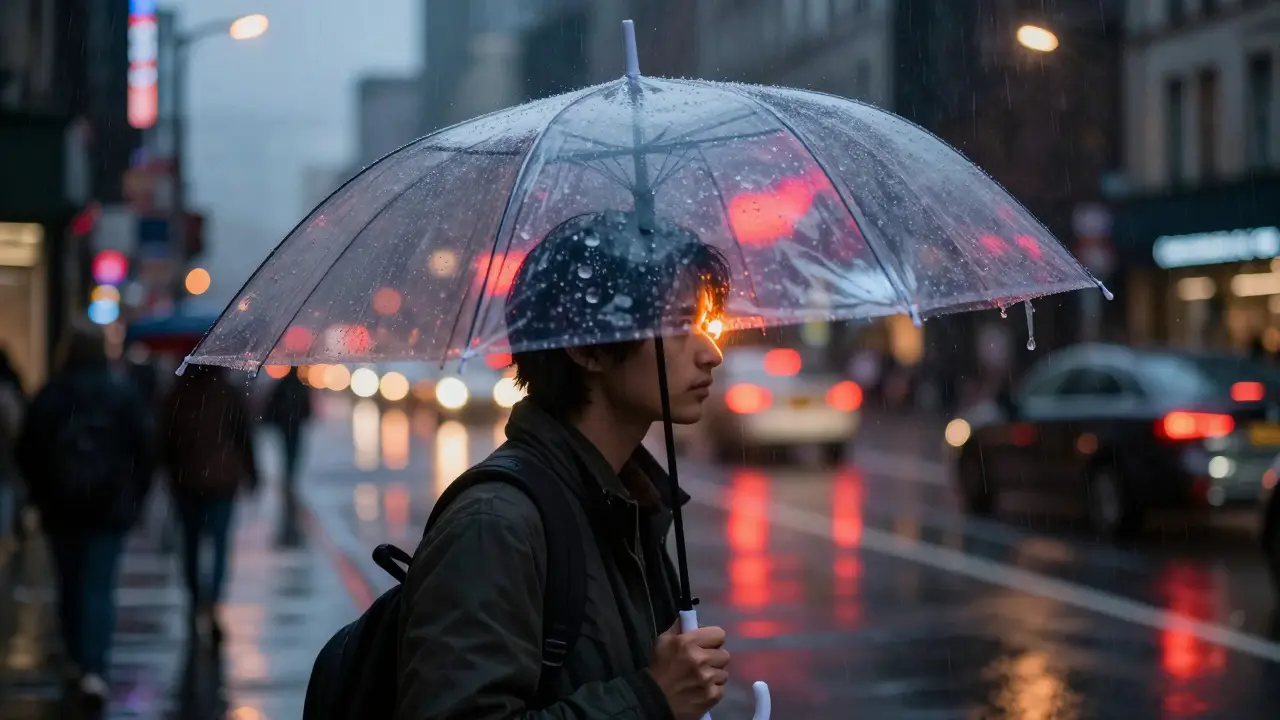
Avoid the standard black golf umbrella. It blocks light and looks sterile. Instead, look for Transparent Umbrellas are clear acrylic or polycarbonate canopies that allow light to pass through while blocking water. These let you see the subject behind the glass, creating a layered effect. When shooting through a transparent umbrella, aim slightly off-center to catch the refraction of city lights on the droplets clinging to the plastic.
If you’re photographing someone else, ask them to hold the umbrella low. This frames their face in shadow, highlighting their eyes and the rim light from the streetlamps. If you’re self-shooting, use a tripod and a remote shutter release. Stand under the umbrella, tilt the camera up 15 degrees, and wait for a pedestrian to walk past. The blur of the passerby against the sharp focus of your static shot creates dynamic tension.
Mastering the Lens: Dealing with Droplets
The biggest frustration in rainy photography is the lens itself. Raindrops on the front element turn your sharp image into a blurry mess. You can wipe them, but new ones form instantly. So, stop fighting the physics and start using them.
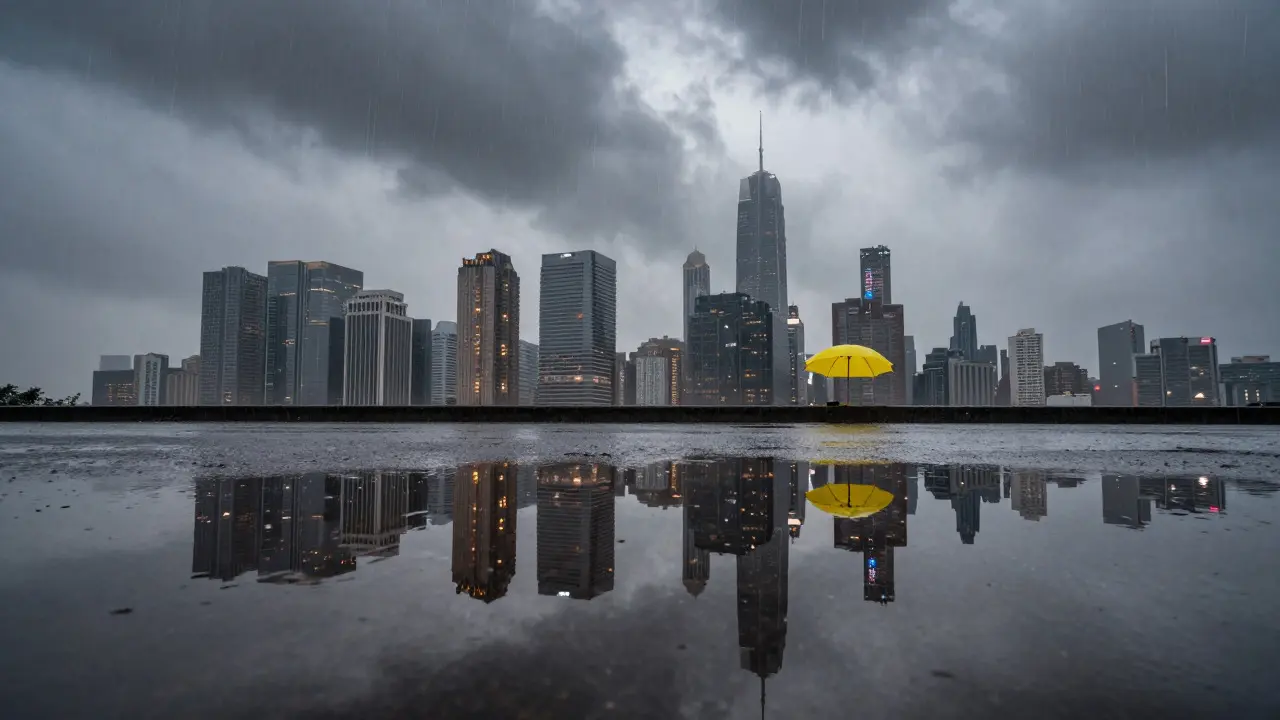
Use a Wide-Angle Lens (like a 16-35mm) to get close to the ground. Shoot reflections in puddles. The reflection is often sharper than the actual scene because the water surface acts as a mirror. Compose so that the real object and its reflection meet in the middle of the frame. This symmetry is visually satisfying and unique to wet conditions.
For close-ups, try macro photography of individual raindrops on leaves or pavement. Use a small aperture (f/8 or f/11) to keep multiple drops in focus. The background will blur out, isolating the droplet as the hero. This technique works best in diffused light, which rain provides naturally. No harsh shadows, no blown-out highlights. Just soft, even illumination.
Lighting in the Grey: Embracing the Flatness
Clouds act as giant softboxes. On a sunny day, you fight contrast. On a rainy day, you embrace it. The light is flat, yes, but it reveals details that direct sun hides. Skin tones look smoother. Textures in stone and brick become visible. Colors appear richer because there’s no glare washing them out.
However, grey skies can make photos feel dull if you aren’t careful. Add color pops. Look for red taxis, yellow umbrellas, or green neon signs. These saturated hues stand out dramatically against the muted background. In post-processing, boost the saturation of these specific colors while keeping the greys neutral. This technique, known as selective color, makes the image pop without looking artificial.
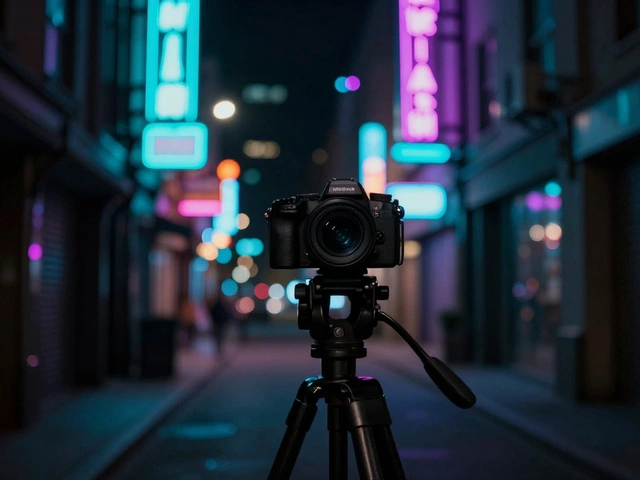
Nighttime rain is a different beast entirely. Streetlights reflect off wet asphalt, creating streaks of orange and blue. Long exposures here are magical. Set your ISO to 100, your aperture to f/11, and your shutter speed to 10-30 seconds. The rain falls as vertical lines, and the car headlights become glowing orbs. Use a tripod and a remote shutter to avoid camera shake. The result is a dreamlike, abstract interpretation of the city.
Composition Tricks for Wet Conditions
Rain changes how you should compose your shots. Here are three rules that work specifically in wet weather:
- Shoot Low: Get your camera close to the ground. Puddles are mirrors. The lower you go, the more dramatic the reflection. Watch out for mud, though. Tripods sink. Use a beanbag or rest the camera on a rock.
- Frame with Rain: If you’re shooting indoors, position yourself near a window. Let the raindrops on the glass be part of the frame. Focus on the drops, not the outside. The world outside blurs into bokeh circles, while the drops remain sharp. This adds a sense of intimacy and separation.
- Use Negative Space: Rain creates empty spaces in the air. Don’t fill the frame with subjects. Leave room for the falling water. The negative space emphasizes the isolation and mood of the scene.
Post-Processing: Enhancing the Mood
You don’t need to do much in editing, but a few tweaks can elevate the image. Start by adjusting the white balance. Rainy days tend to be cool and blue. Shift the temperature slider toward amber to add warmth. This contrasts nicely with the cold rain, creating emotional tension.
Next, adjust the clarity and dehaze sliders. A slight increase in clarity brings out the textures in the wet surfaces. Be careful not to overdo it, or the image will look gritty. Finally, add a vignette. Darkening the corners draws the eye to the center and enhances the moody atmosphere. Keep it subtle. If the viewer notices the vignette, it’s too strong.
| Gear Item | Pros | Cons | Best For |
|---|---|---|---|
| Commercial Rain Cover | Fits tightly, easy to deploy | Expensive, model-specific | Professional shoots, heavy rain |
| DIY Ziploc Method | Cheap, always available | Bulky, hard to see screen | Emergency situations, budget travelers |
| Transparent Umbrella | Adds visual interest, protects lens | Bulky to carry, can break | Portraits, street scenes |
| Water-Repellent Lens Cloth | Wipes quickly, reusable | Only helps after the fact | Mild drizzle, quick cleanup |
Common Mistakes to Avoid
Even experienced photographers make errors in the rain. The most common is changing lenses in the open. Never swap lenses unless you’re under a full shelter. Dust and water particles float in the air and settle on your sensor. If you must change, do it quickly and keep the camera facing down.
Another mistake is ignoring the battery. Cold and damp conditions drain batteries faster. Carry spares. And finally, don’t forget to check your settings. Rain reduces contrast, so your auto-exposure might underexpose the image. Bump up your exposure compensation by +0.3 or +0.7 stops to ensure the highlights in the wet surfaces aren’t crushed.
Is it safe to shoot in the rain without a cover?
It depends on the intensity. Light drizzle is usually fine if you wipe the lens frequently. Heavy rain requires a cover. Always check your camera’s IP rating, but assume it’s not fully waterproof unless stated otherwise.
How do I prevent my lens from fogging up?
Fogging happens when cold lens glass meets warm, moist air. To prevent it, keep your camera in its case until you’re ready to shoot. Once outside, let the lens acclimate slowly. Avoid taking the camera in and out of heated buildings repeatedly.
What is the best aperture for rainy street photography?
A mid-range aperture like f/5.6 or f/8 is ideal. It provides enough depth of field to keep the subject and some background in focus, while still allowing for a fast enough shutter speed to freeze motion in low light.
Do I need a special lens filter for rain?
Not necessarily. A UV filter can protect your lens from scratches, but it won’t stop rain. A hydrophobic coating on your lens helps water bead up and roll off, making wiping easier. Consider applying a nano-coating spray to your front element.
How do I edit rainy photos to look professional?
Focus on contrast and color. Increase clarity to bring out textures, shift white balance warmer to counteract the blue cast, and boost saturation on colored elements like umbrellas or signs. Keep the blacks deep and the whites soft.