You’ve been there. You frame a shot of your friend against a bright window or capture a sunset that looks perfect through the viewfinder. You snap the picture, check the back screen, and everything looks great-until you get home and open the file on your computer. The sky is a flat, white void. The details in the clouds are gone forever. This isn’t just bad luck; it’s a data loss problem. Once a pixel hits pure white (255, 255, 255) in a JPEG or even a raw file pushed too hard, there is no information left to recover. You can’t darken what doesn’t exist.
This is where Highlight Tone Priority (HTP), a specific camera feature found primarily in Canon DSLRs and mirrorless cameras, helps protect those bright areas from clipping. It’s not magic, and it’s not HDR. It’s a smart way to handle the upper end of your camera’s dynamic range. If you shoot with a Canon, you have this tool sitting in your menu right now, likely turned off by default. Turning it on might be the single easiest change you make to improve your outdoor photography.
What Actually Happens When Highlights Clip?
To understand why Highlight Tone Priority matters, you need to understand how digital sensors record light. Think of your sensor as a bucket collecting rainwater. Each pixel has a maximum capacity. If the light hitting that pixel exceeds its capacity, the water spills over. In photography terms, the pixel becomes saturated. It records the value "white," but it loses all the subtle variations in brightness that were present in the scene.
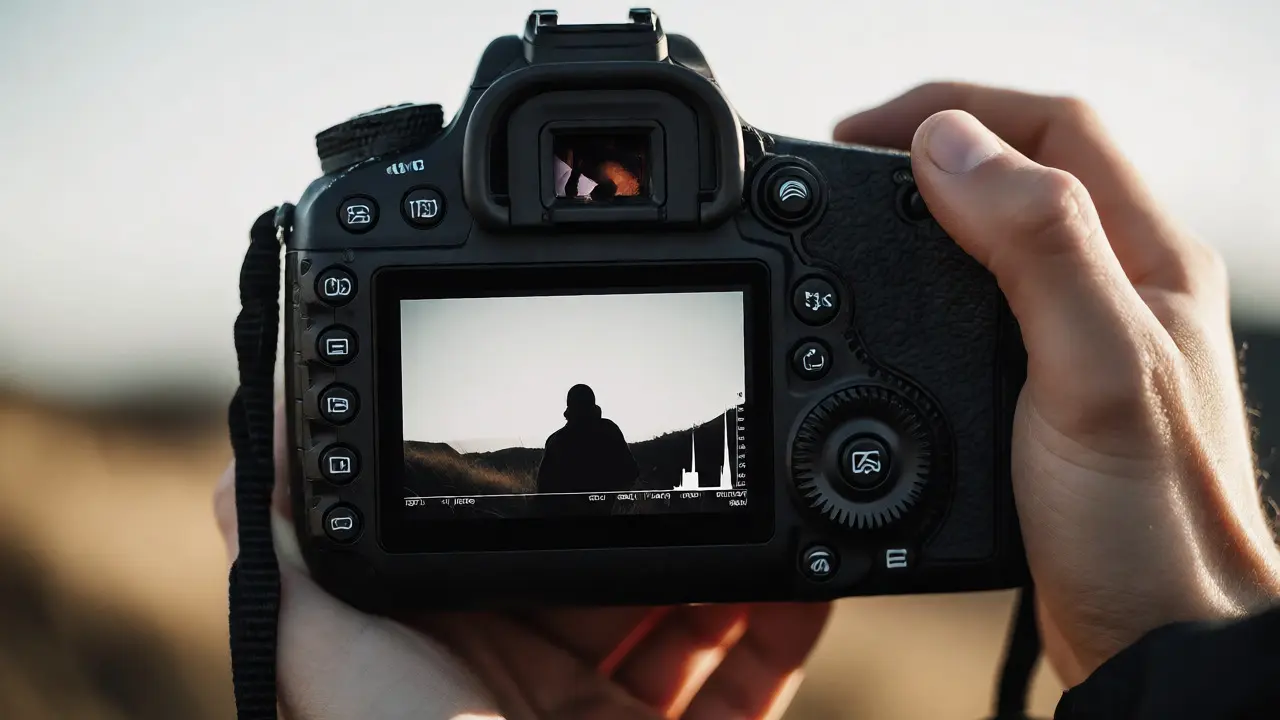
When you shoot without protection, your camera tries to expose for the mid-tones. If the sky is much brighter than the subject, the sky often exceeds the sensor's limit before the subject is properly exposed. This results in "clipping." On your histogram-the graph on your LCD screen-this looks like the line slamming into the right-hand wall. Once it hits that wall, the detail is destroyed. You cannot pull back detail from a clipped highlight in post-production software like Lightroom or Photoshop because the data simply isn't there.
Standard exposure compensation can help, but it’s blunt. If you dial down two stops to save the sky, your subject becomes underexposed and noisy when you try to lift them back up in editing. You’re trading one problem for another. Highlight Tone Priority offers a more nuanced solution by shifting how the camera processes the image data specifically for the top stop of dynamic range.
How Highlight Tone Priority Works Under the Hood
Canon’s Highlight Tone Priority works by changing the ISO base sensitivity. Normally, if you set your camera to ISO 100, the sensor operates at its native sensitivity. When you enable HTP, the camera effectively shoots at ISO 200 but processes the image to look like ISO 100. Why does this matter? Because shooting at a higher ISO gives the sensor more headroom before saturation occurs.
By starting at a higher effective sensitivity, the camera captures the bright tones with more granularity. It compresses the highlights slightly during the processing phase. This compression allows the camera to retain texture in clouds, snow, or wedding dresses that would otherwise blow out. It’s essentially a built-in, real-time tone mapping algorithm that prioritizes highlight preservation over shadow depth.
It’s crucial to note that this is different from Auto Lighting Optimizer, which is another Canon feature. Auto Lighting Optimizer brightens shadows, which can increase noise. HTP protects highlights, which preserves clean data. They serve opposite ends of the tonal spectrum. Using both simultaneously can sometimes lead to unpredictable contrast results, so knowing when to use one versus the other is key.

When to Turn It On (And When to Leave It Off)
Highlight Tone Priority isn’t a "set it and forget it" feature. It comes with trade-offs. Here is the practical breakdown of when you should engage this setting.
- High Contrast Scenes: Use HTP when you are shooting landscapes with bright skies, snowy scenes, or portraits near windows. These scenarios push the limits of your sensor’s dynamic range.
- JPEG Shooters: If you shoot only JPEGs, HTP is invaluable. Since JPEGs have less latitude than RAW files, preventing highlight clipping in-camera is critical. You can’t fix blown-out JPEGs later.
- Studio Work: If you are using strobes and controlling the light, you likely don’t need HTP. Your lights aren’t blowing out the background unless you want them to. Keeping HTP off maintains the lowest possible base ISO (ISO 100), ensuring maximum signal-to-noise ratio in the shadows.
- Fast Action: HTP can sometimes introduce a slight lag in buffer clearing or processing speed on older bodies. For sports or wildlife where burst mode speed is critical, test your specific camera body. On newer models like the EOS R6 Mark II, the impact is negligible, but on older DSLRs, it might slow you down.
A common mistake is leaving HTP on while shooting in manual mode with low ISO. If you shoot at ISO 100 with HTP enabled, your camera will actually force the ISO to 200. If you then adjust your shutter speed or aperture thinking you are at ISO 100, your exposure calculations might be slightly off until you realize the shift. Always check your ISO indicator. If you see an "H" next to the ISO number, HTP is active.
Comparison: HTP vs. Exposure Compensation vs. HDR
Photographers often confuse these three techniques. They all address high-contrast situations, but they do it differently. Understanding the differences prevents you from using the wrong tool for the job.
| Feature | Mechanism | Best For | Downside |
|---|---|---|---|
| Highlight Tone Priority | Shifts base ISO upward (e.g., 100 to 200) and compresses highlight tones in-camera. | JPEG shooters, bright skies, snow, weddings. | Cannot go below ISO 200; slight reduction in shadow dynamic range. |
| Exposure Compensation | Manually adjusts shutter/aperture/ISO to reduce overall light intake. | Situations where the subject is also bright or uniform lighting. | Underexposes the entire scene; requires lifting shadows in post, increasing noise. |
| HDR Bracketing | Captures multiple frames at different exposures and merges them. | Static subjects with extreme dynamic range beyond sensor capability. | Requires tripod; motion artifacts if subject moves; complex workflow. |
Notice that HTP is a single-shot solution. It doesn’t require merging files like HDR, nor does it sacrifice the entire image like heavy negative exposure compensation. It’s a middle ground that sacrifices a tiny bit of shadow performance to gain significant highlight retention. For most handheld outdoor work, this is a worthwhile trade.
Step-by-Step: Enabling and Testing HTP
If you are ready to try this, here is exactly how to set it up and verify it works. Don’t just trust the menu; trust your eyes and the histogram.
- Locate the Setting: Go to your camera’s Menu. Look for the C.Fn (Custom Function) tab or the Shooting Menu. On Canon bodies, it’s usually labeled "Highlight tone priority." Set it to "Enable." Note that your minimum ISO will immediately jump to 200.
- Set Up a Test Scene: Find a scene with high contrast. A person standing in shade with a bright blue sky behind them is perfect. Ensure the sky is bright enough to potentially clip.
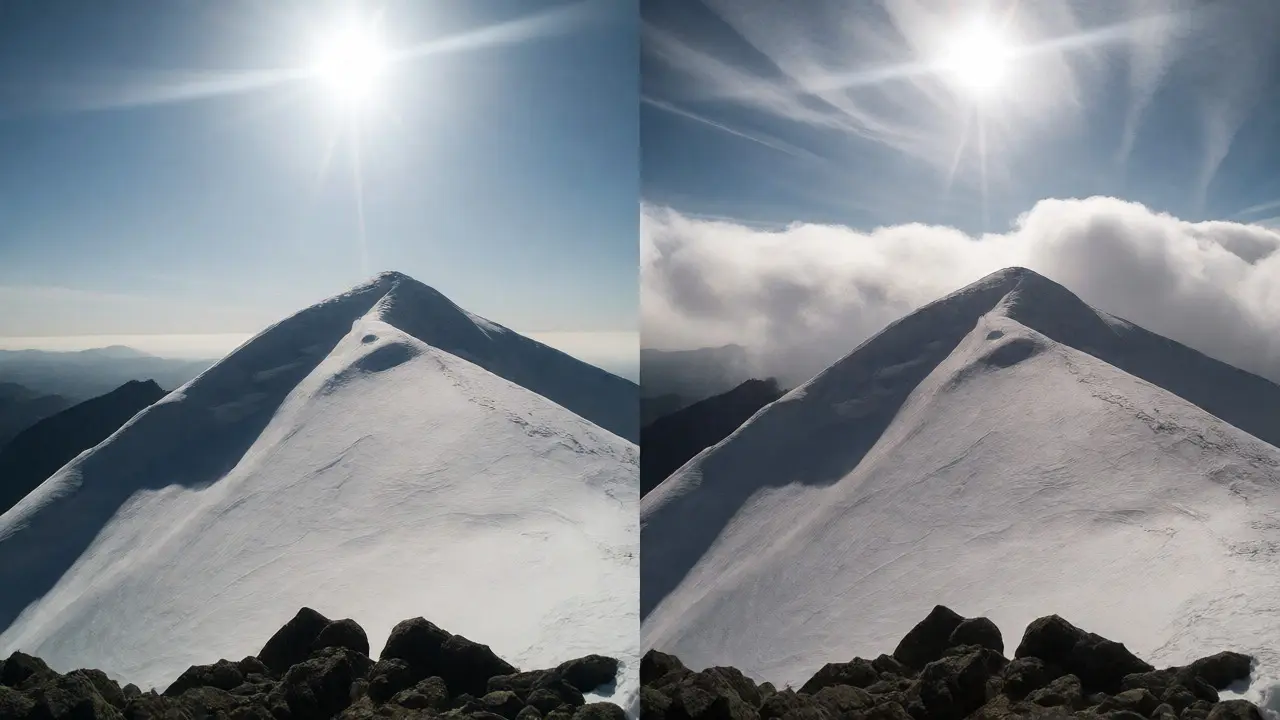
- Shoot Without HTP: Disable the feature. Take a photo. Check the histogram. Is the graph touching the right edge? If yes, zoom in on the sky on your LCD. Do you see texture, or is it pure white?
- Shoot With HTP: Enable the feature. Keep the same aperture and shutter speed. Your ISO will automatically rise to compensate for the lack of light if you are in Av/Tv modes, or you may need to adjust manually. Take the photo.
- Analyze: Compare the two images. The HTP image should show faint cloud details or color gradation in the sky that was missing in the first shot. The subject might look slightly darker or flatter, but that is easier to fix in post than lost sky detail.
Pro Tip: If you shoot RAW, some photographers argue HTP is unnecessary because you can recover highlights in Adobe Camera Raw. However, recovery algorithms work best when the data exists. HTP ensures the data is captured in the first place. Even for RAW shooters, enabling HTP often yields cleaner highlight rolloffs, meaning the transition from white to gray is smoother and less harsh.
Common Pitfalls and Misconceptions
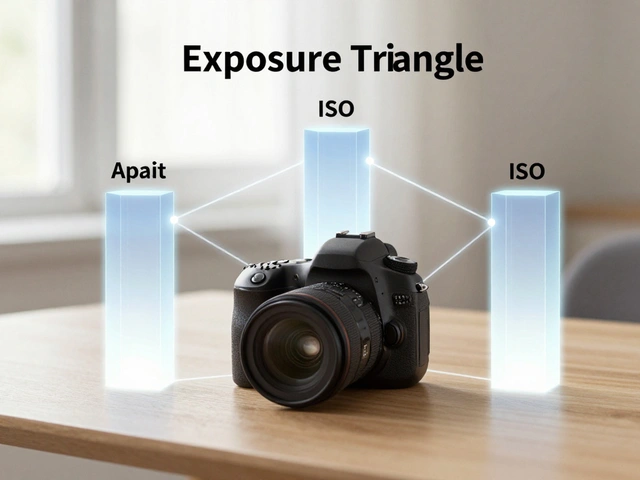
The biggest misconception is that HTP acts like a neutral density filter. It doesn’t. It changes how the sensor reads and processes the signal. Another pitfall is expecting it to fix severely overexposed images. If your sky is three stops overexposed, HTP won’t save it. It typically recovers about one stop of highlight detail. If you are wildly overexposed, you still need to adjust your exposure triangle.
Also, be aware of noise. Because HTP forces a higher ISO floor, you lose the ultra-clean shadows of ISO 100. In very dark scenes, this might matter. But in bright daylight, where you use HTP most, noise is rarely an issue. The benefit of saved highlights far outweighs the negligible increase in shadow noise at ISO 200.
Finally, remember that non-Canon users have equivalents. Nikon calls it "Active D-Lighting" or "High Dynamic Range." Sony uses "DRO" (Dynamic Range Optimizer). Fuji has "Film Simulation" profiles that handle highlights differently. While the implementation varies, the goal is the same: preserve the brightest parts of your image. If you don’t have a Canon, look for these similar features in your menu. They often allow for fine-tuning levels (Low, Standard, High), whereas Canon’s HTP is binary (On/Off).
Does Highlight Tone Priority affect RAW files?
Yes, it does. While RAW files contain unprocessed data, enabling HTP changes the base ISO used to capture that data (shifting it from 100 to 200). This means the RAW file itself contains highlight data that was captured with greater headroom. When you process the RAW file in software like Lightroom, you will notice better highlight recovery capabilities compared to a RAW file shot at ISO 100 without HTP.
Can I use Highlight Tone Priority with flash photography?
You can, but it is rarely necessary. Flash photography usually involves controlled lighting where you can manage the exposure of the subject and background separately. Since HTP raises the minimum ISO to 200, it might drain your battery faster or require smaller apertures if you are shooting outdoors with fill flash. Unless your background is extremely bright (like direct sunlight reflecting off water), standard ISO 100 is usually preferable for flash work.
Why does my ISO lock at 200 when I turn on HTP?
This is by design. To create the extra headroom needed to protect highlights, the camera must operate at a higher sensitivity level internally. Therefore, the camera disables ISO 100 and sets ISO 200 as the new baseline. You cannot select ISO 100 while HTP is active. If you need ISO 100, you must disable the feature.
Is Highlight Tone Priority the same as HDR mode?
No. HDR (High Dynamic Range) typically takes multiple photos at different exposures and blends them together to create a single image with extended range. This can cause ghosting if anything moves. Highlight Tone Priority is a single-exposure technique that modifies the tone curve and ISO base to prevent highlight clipping in real-time. It is faster, simpler, and better for handheld shots, though it offers less total dynamic range expansion than true multi-shot HDR.
Should I leave Highlight Tone Priority on all the time?
Many landscape and travel photographers do leave it on permanently because the downsides are minimal in daylight. However, if you frequently shoot in low light, indoors, or need the absolute lowest noise floor in shadows, you might prefer to toggle it off. A good rule of thumb: turn it on for outdoor daytime shooting, especially with skies; turn it off for studio, night, or indoor events where you control the light.