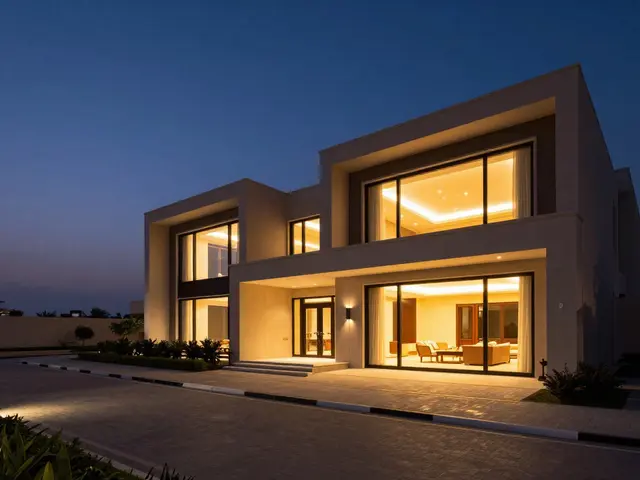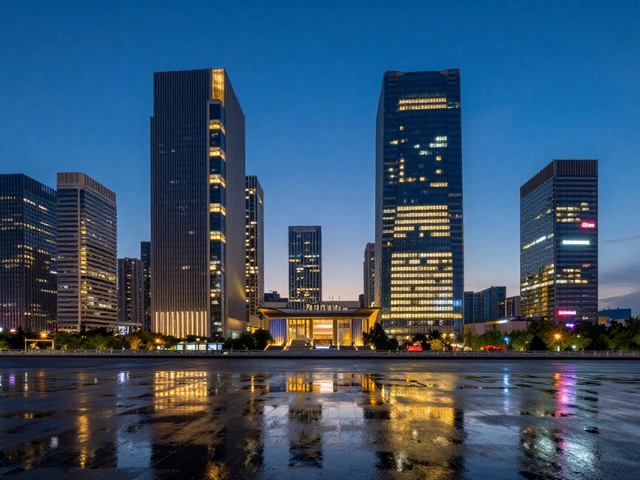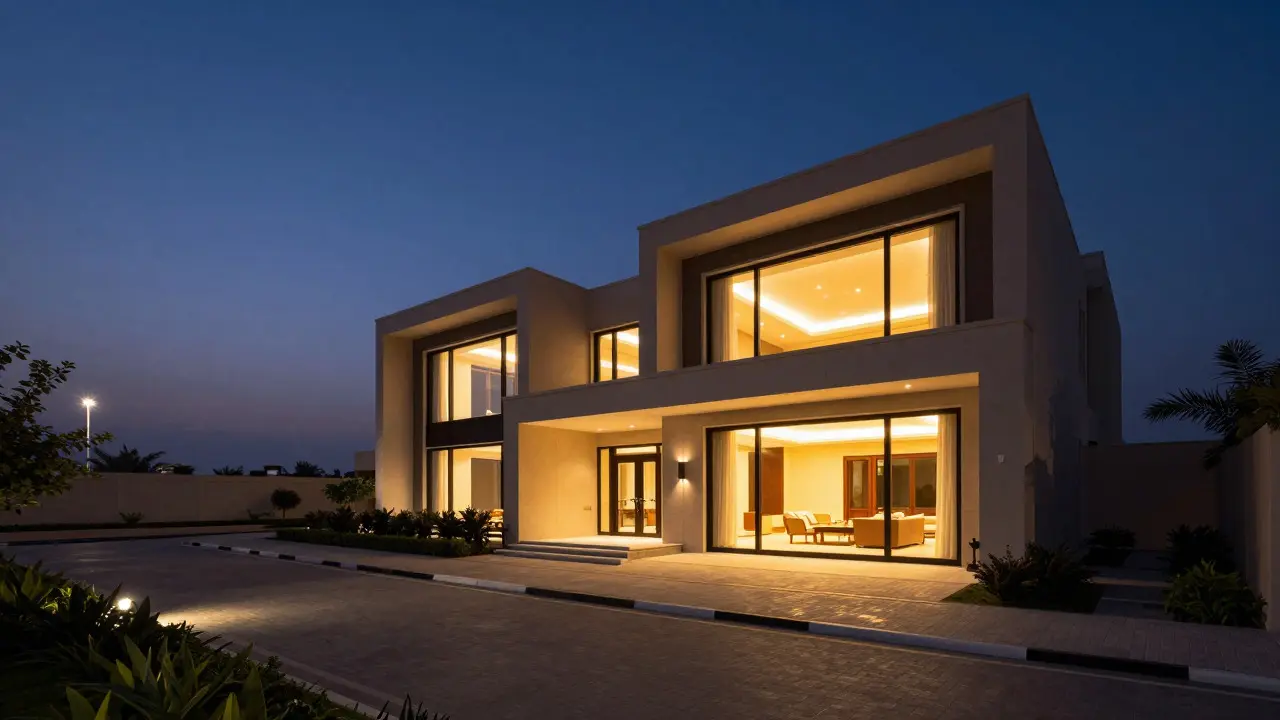
There is a specific moment in the evening when the sky turns deep indigo and the streetlights flicker on. This is not just pretty; it is the single most effective tool you have to make a house look expensive. We call it twilight photography, and it sits right at the intersection of technical precision and artistic timing. If you miss this window by even ten minutes, your photos will either look like a dark night shot or a flat afternoon picture. Neither sells homes. The goal here is simple: capture the natural ambient light of the fading sun while simultaneously illuminating the interior with warm, inviting tones.
The Science of the Blue Hour Window
To nail this technique, you first need to understand what is actually happening with the light. Twilight isn't just "dark." It is a transitional period divided into three distinct phases. For real estate work, you are targeting civil twilight, which occurs roughly 20 to 30 minutes after sunset. During this time, the sun is between 0 and 6 degrees below the horizon. The sky still holds enough residual light to show off architectural details, but it is dark enough that artificial lights become visible without blowing out the exposure.
You need to calculate this window before you ever arrive on site. Apps like PhotoPills or The Photographer's Ephemeris give you precise times for every location. Do not guess based on how the sky looks. Cloud cover can shift the perceived brightness, but the geometric position of the sun remains constant. If you arrive too early, the shadows will be long and harsh. If you arrive too late, you lose the color gradient in the sky and end up relying entirely on flash, which flattens the image.
Setting Up the Camera for Dual Exposure
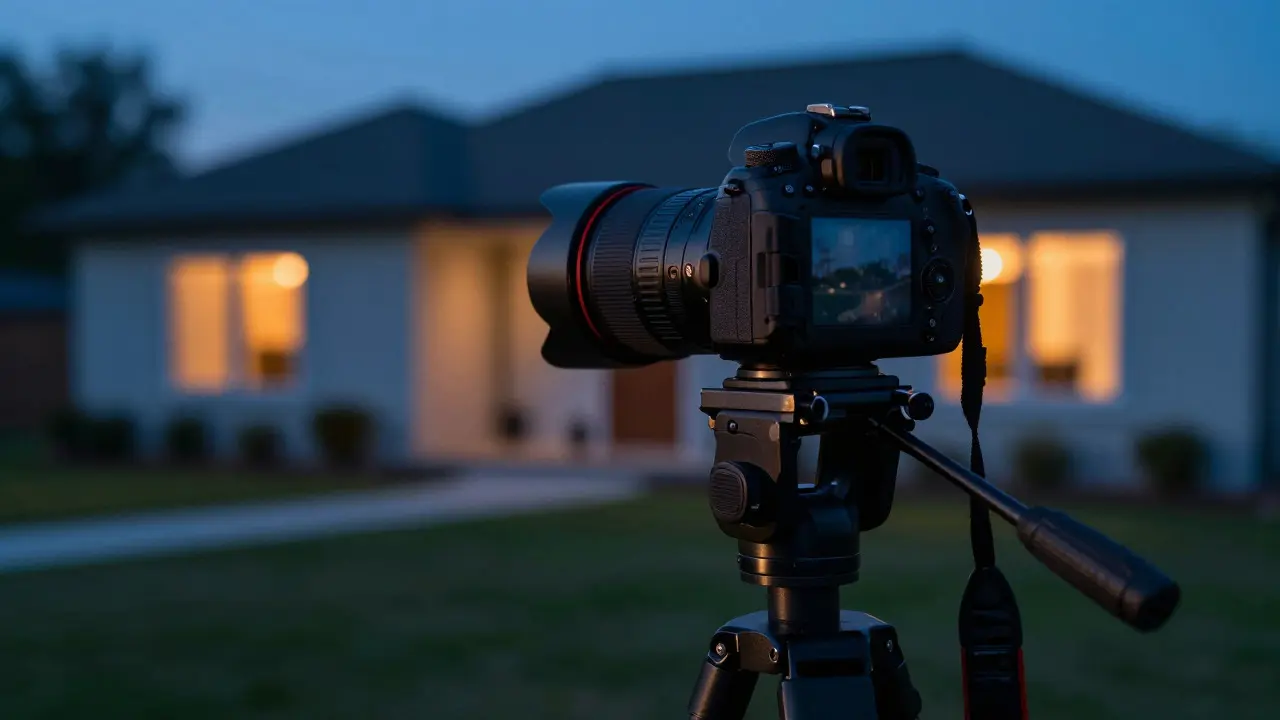
The biggest challenge in twilight shooting is balancing two very different light sources: the cool, dim natural light outside and the warm, bright artificial light inside. Your camera has to handle both without clipping highlights or crushing shadows. Start by mounting your camera on a sturdy tripod. Handheld shots are impossible because you need slow shutter speeds to gather enough ambient light.
- Set your aperture: Use f/8 or f/11. You want deep depth of field so that both the front facade and the back windows are sharp. Avoid f/16 if possible, as diffraction starts to soften the image quality.
- Set your ISO: Keep it low, between 100 and 400. High ISO introduces noise that looks terrible in the smooth gradients of the twilight sky.
- Determine shutter speed: This is the variable. Start with a test shot at 1/4 second. Check your histogram. If the sky is too bright, lengthen the shutter speed. If the interior is too dark, shorten it slightly or open the aperture wider.
A common mistake is exposing for the interior and letting the sky go black. Always expose for the sky first. The sky provides the context and the mood. The interior can be boosted later in post-production, but a blown-out sky is hard to fix.
Mastering Interior Lighting Techniques
Exterior glow is useless if the inside of the house looks like a cave. Buyers need to see that the space is bright, clean, and lived-in. However, you don't need to turn on every bulb in the house. In fact, too many lights create a cluttered, chaotic feel. Curate your lighting.
- Use warm bulbs: Ensure all exposed bulbs are 2700K or 3000K. Cool white or daylight bulbs (5000K+) clash with the blue sky and make the home feel sterile.
- Turn on accent lights: Floor lamps, table lamps, and under-cabinet lighting add layers of warmth. They draw the eye into the room rather than just lighting the ceiling.
- Dim overheads: If the main ceiling lights are too bright, they will overpower the subtle glow from the windows. Use dimmers if available, or turn off half of the recessed lights.
Walk through the property before the shoot. Turn on lights in the living room, kitchen, and primary bedroom. Leave hallways and bathrooms darker unless they are part of the flow. The contrast between the lit rooms and the dark corridors creates visual interest and guides the viewer's eye through the home.
Composition and Framing Strategies
Twilight allows you to be more creative with composition than standard daytime shoots. Because the background is darker, you can use leading lines more effectively. Driveways, garden paths, and rooflines pop against the darkening sky. Try to include one strong vertical element, like a tree or a chimney, to break up the horizontal lines of the architecture.
Wide-angle lenses are essential here. A 16-35mm lens lets you capture the full scope of the exterior while including enough of the interior through large windows. Be careful with distortion, though. Keep the lens parallel to the walls to avoid converging verticals. If you are shooting a narrow lot, get low to the ground to emphasize the height of the house against the expansive sky.
Post-Processing for Perfect Balance
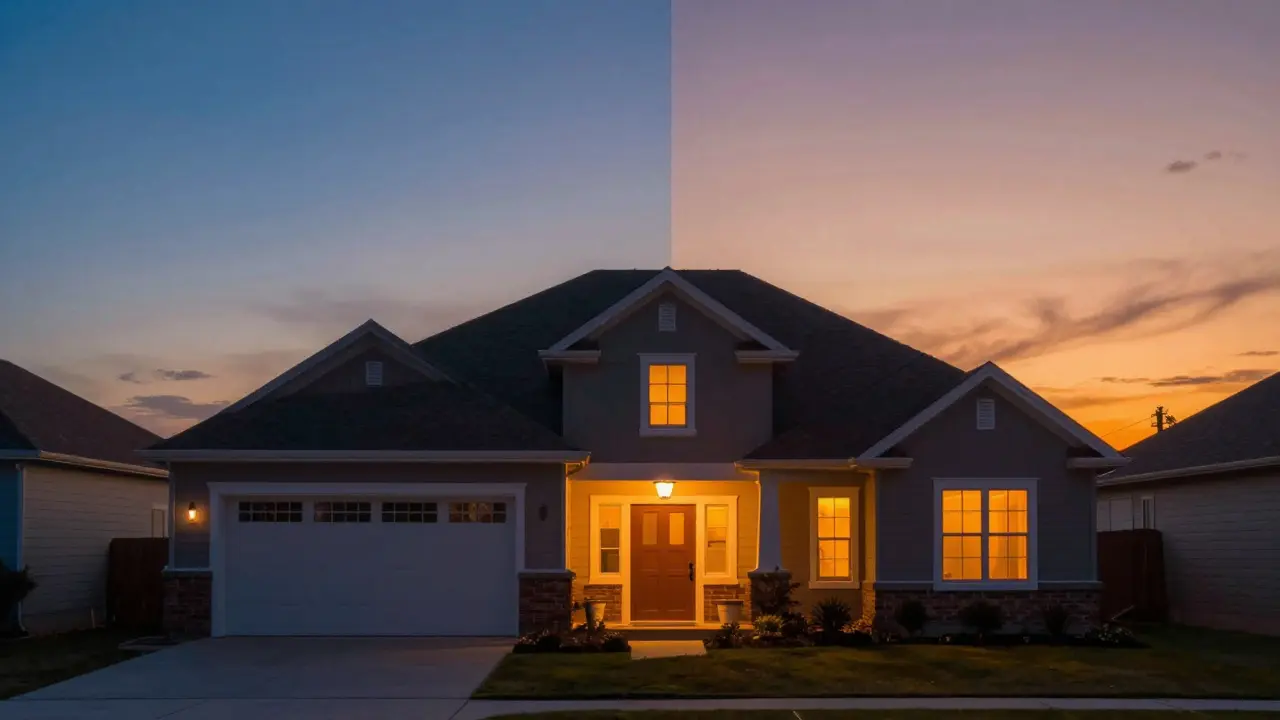
Raw files from twilight shots are rarely perfect straight out of the camera. The sky might be slightly too magenta, or the interior yellows might be overpowering. Post-processing is where you fine-tune the emotional impact. Start by adjusting the global exposure and contrast. Then, use local adjustments to lift the shadows in the interior without affecting the sky.
Pay close attention to color temperature. The sky should remain cool blue, while the interior stays warm orange. If the colors blend together, the photo loses its dynamic range. Use HSL sliders to desaturate any stray green tints in the foliage or correct over-saturated reds in brickwork. Finally, apply a subtle vignette to draw focus toward the center of the home. The result should feel effortless, as if the house was always glowing exactly like that.
Frequently Asked Questions
How long does the twilight window last?
The optimal window for real estate twilight photography typically lasts between 20 and 30 minutes after sunset. This duration varies by season and latitude, with shorter windows in summer and longer ones in winter. Always check local astronomical data for your specific date and location.
What lens is best for twilight exteriors?
A wide-angle lens between 16mm and 35mm is ideal. This focal range allows you to capture the entire facade while including sufficient detail from the interior windows. Lenses wider than 16mm may introduce excessive distortion, while lenses longer than 35mm struggle to fit the whole building in frame from a reasonable distance.
Should I use HDR for twilight shots?
Generally, no. Single exposures are preferred because they maintain natural motion blur in trees or water and avoid the ghosting artifacts common in HDR stacks. Modern cameras have excellent dynamic range, allowing you to capture both the bright interior and the dark sky in a single RAW file.
How do I deal with passing cars or people?
Use a remote shutter release and set your camera to burst mode or intervalometer. Take multiple frames during the exposure window. If a car passes through the scene, you can composite the clean frames in post-production. Alternatively, choose a less busy street or schedule the shoot during lower traffic hours.
Is twilight photography worth the extra effort?
Yes. Studies in real estate marketing indicate that listings with professional twilight photos sell faster and often for higher prices than those with only daytime shots. The emotional appeal of a glowing home creates a stronger connection with potential buyers, making the property feel more inviting and luxurious.