You’ve probably taken a photo of your lunch that looked nothing like the delicious meal in front of you. The colors are dull, the lighting is harsh, or the angle makes the burger look flat. This happens because most people treat smartphone food photography as a simple snapshot rather than a controlled creative process. But with the right setup, your phone’s camera can produce images that rival professional DSLR shots. You don’t need expensive gear; you need to understand how light interacts with texture and how perspective changes appetite.
The goal here is practical. We will break down the three pillars of mobile food imaging: controlling light, choosing the right angle, and using software to enhance without over-editing. By the end of this guide, you’ll have a repeatable workflow that turns everyday meals into scroll-stopping visuals.
Key Takeaways
- Natural side-lighting creates depth and texture, while direct overhead light flattens dishes and causes harsh shadows.
- The 45-degree angle is the most versatile for plated meals, but top-down (flat lay) works best for spreads and bowls.
- Use RAW mode if available on your phone to retain highlight details and allow for better color correction later.
- Apps like Lightroom Mobile offer non-destructive editing, preserving image quality compared to basic social media filters.
- Keep your lens clean and use a stable surface; micro-vibrations from holding the phone cause blur more often than poor focus settings.
Lighting: The Foundation of Appetite
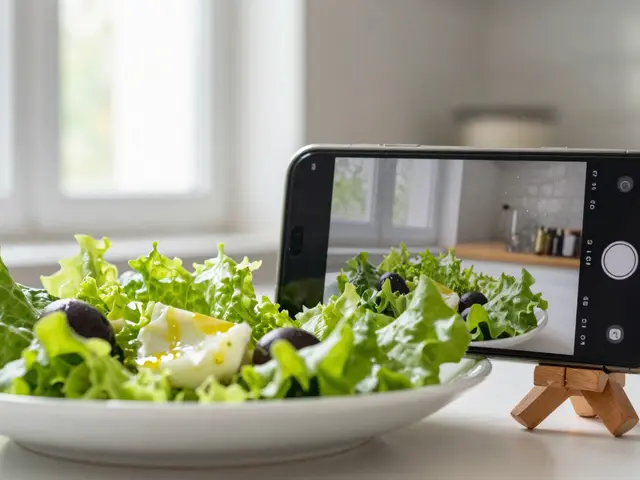
Light determines whether food looks fresh or dry. Most indoor kitchen lights are warm and directional, which casts long, unflattering shadows across a plate. To fix this, move your subject near a window. North-facing windows provide soft, diffused light that stays consistent throughout the day. South-facing windows offer bright, intense light that requires careful management to avoid blowing out highlights.
Avoid shooting directly under ceiling lights. Instead, position your phone so the light hits the food from the side or slightly behind it. This technique, known as side-lighting, emphasizes the texture of crusty bread, the glisten of sauce, or the steam rising from soup. If the light is too strong, use a white sheet or a translucent diffusion panel between the window and the food to soften the contrast.
| Light Source | Quality | Best Use Case | Common Mistake |
|---|---|---|---|
| Window Side-Light | Soft, directional | Plated main courses, textures | Shadows too dark on opposite side |
| Overhead Kitchen Light | Hard, warm | Avoid for primary lighting | Flattens depth, yellow cast |
| Ring Light | Even, artificial | Videography, flat lays | Creates unnatural reflections on glossy sauces |
| Cloudy Daylight | Diffuse, neutral | Detailed close-ups, pastries | Can feel flat without added contrast |
If you must shoot indoors without windows, try turning off all other lights and using a single LED panel at a 45-degree angle. Keep the color temperature around 5000K to mimic daylight. Avoid mixing different light sources, as this creates mixed color casts that are difficult to correct in post-production.
Angles: Directing the Viewer’s Eye
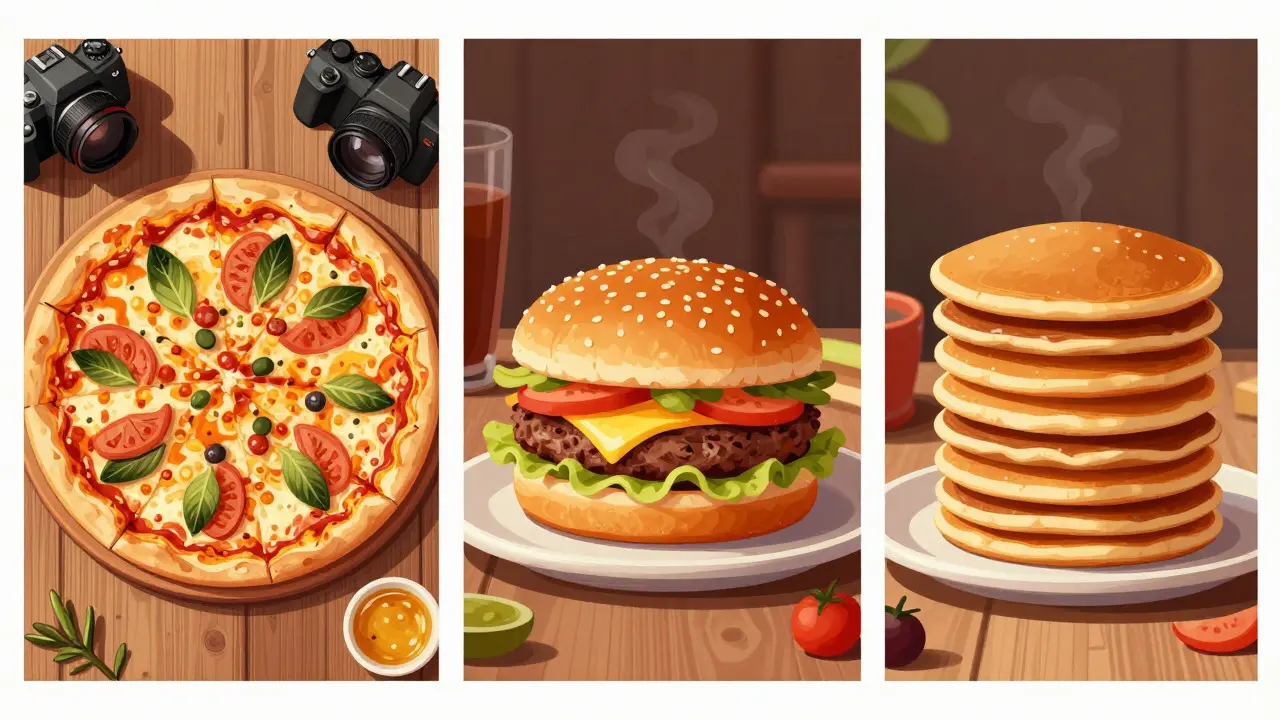
The angle you choose tells the viewer how to perceive the dish. There are three primary perspectives used in professional food styling, and each serves a specific purpose.
- Top-Down (Flat Lay): Shoot directly above the table. This angle removes background distractions and focuses entirely on the composition of the plate. It works exceptionally well for breakfast spreads, pizzas, salads, and bowls where the arrangement of ingredients is part of the appeal. Ensure your phone is perfectly parallel to the surface to avoid distortion at the edges.
- 45-Degree Angle: This is the standard "diner view." It simulates how you see food when sitting at a table. It provides context by showing the plate, the table setting, and some background elements. This angle is ideal for main courses, burgers, and drinks because it captures height and volume. Hold the phone at eye level relative to the top of the food, not the table.
- Stra-On (Eye Level): Place the phone on the table, pointing horizontally at the food. This dramatic angle highlights tall structures like stacked pancakes, layered cakes, or towering ice cream cones. It creates a sense of scale and intimacy. Be careful with wide-angle lenses here, as they can stretch objects closest to the camera.
When switching angles, change your focal length accordingly. For top-down shots, get as close as possible to capture detail. For 45-degree shots, step back slightly to include context. For straight-on shots, ensure the background is clean and uncluttered, as the eye travels from the food to the space behind it.
Camera Settings and Technical Basics
Most smartphone cameras operate in auto mode, which is convenient but limiting. To gain control, access the pro or manual mode if your phone offers it. If not, stick to these essential adjustments available in the standard interface.
Focus Lock: Tap the screen to focus on the most important part of the dish. Once focused, slide the sun icon up or down to adjust exposure. A common mistake is letting the phone meter for the whole scene, resulting in an underexposed dark dish. Underexpose slightly if you want moody, high-contrast images, or overexpose slightly for bright, airy, and clean looks.
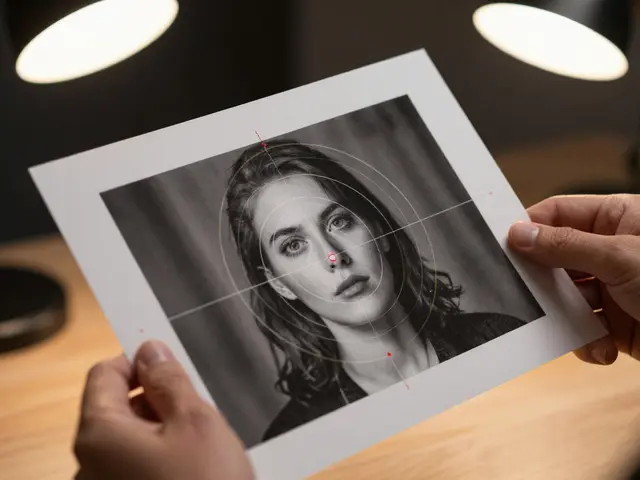
Grid Lines: Enable the grid overlay in your camera settings. This helps you align the horizon and place key elements according to the Rule of Thirds. Placing the main subject on one of the intersecting lines creates a more dynamic composition than centering everything rigidly.
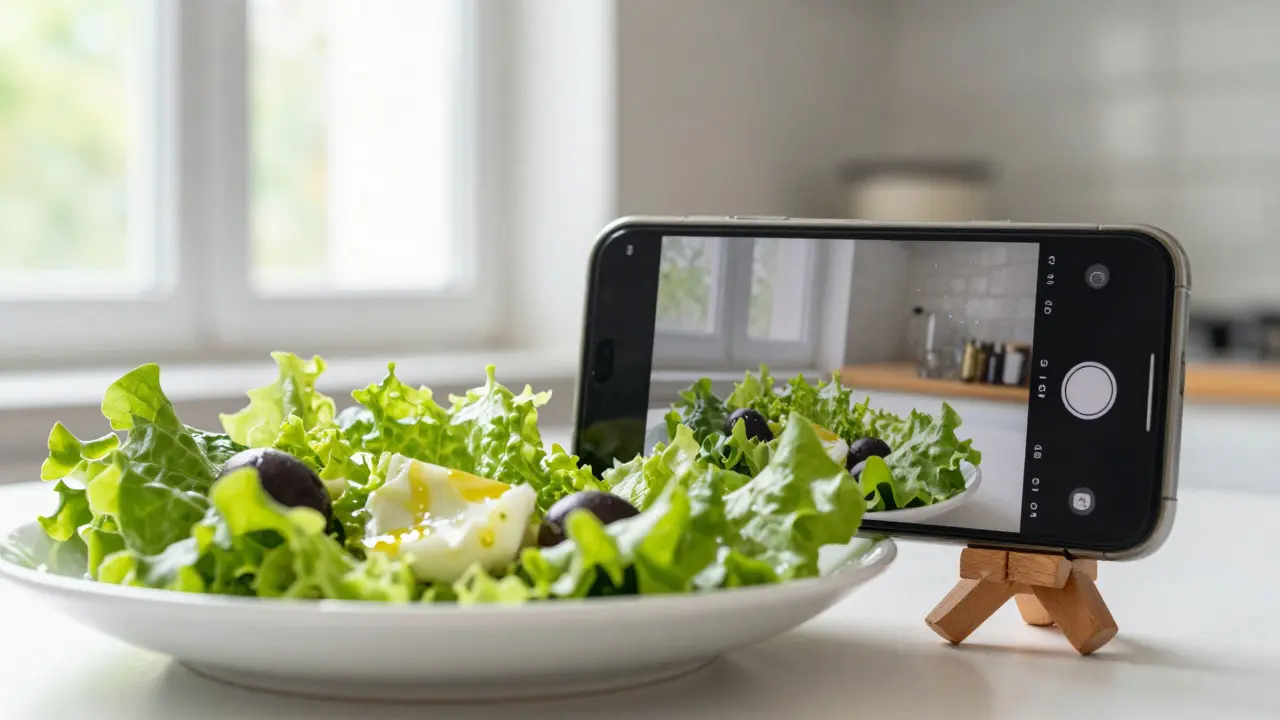
Stability: Phone sensors are small, making them sensitive to motion. Even slight hand tremors can cause blur. Use a tripod, lean against a counter, or press the shutter button gently. If you don’t have a tripod, use your phone’s timer function (2-second delay) to eliminate the shake caused by pressing the physical button.
Essential Apps for Editing and Enhancement
Editing is where raw photos become polished content. You don’t need complex desktop software. Mobile apps offer powerful tools that fit in your pocket. Here are the most effective options for food photography.
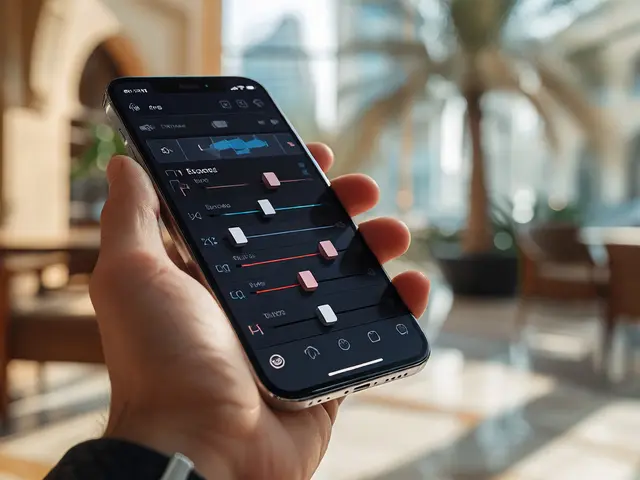
- Lightroom Mobile: The industry standard for non-destructive editing. It allows precise control over white balance, contrast, and individual color channels. Use the "HSL" panel to boost the saturation of specific colors, like the red in tomatoes or the green in herbs, without affecting the rest of the image.
- Snapseed: Excellent for quick fixes. Its "Healing Tool" lets you remove dust spots, crumbs, or unwanted background objects with a swipe. The "Perspective" tool can correct slight distortions if your phone wasn’t perfectly aligned during a flat lay.
- VSCO: Known for its film-inspired presets. These are great for adding a cohesive aesthetic to a series of photos. However, use them sparingly, as heavy filters can make food look artificial. Adjust the intensity of the preset to keep the image natural.
- Foodie Pro / Halide: These apps unlock RAW capabilities on many smartphones. Shooting in RAW preserves maximum data, allowing you to recover details in shadows and highlights that would be lost in JPEG format. This is crucial for high-contrast lighting scenarios.
When editing, follow the principle of "less is more." Start with global adjustments: exposure, contrast, and white balance. Then move to local adjustments: sharpening, vignetting, and color grading. Avoid pushing saturation to the max; natural colors always look more appetizing than neon ones.
Styling Tips for Better Composition
Photography is only half the battle; the food itself needs to look good. Simple styling tricks can elevate a shot significantly.
Clean Your Lens: It sounds obvious, but phone lenses get oily from fingerprints. Wipe it with a microfiber cloth before every session. A smudged lens creates haze and reduces sharpness instantly.
Manage Steam: For hot dishes, wait a few seconds after plating for the initial burst of steam to settle. Alternatively, use a hairdryer on a cool setting to create controlled wisps of steam that add life to the image.
Props and Backgrounds: Keep backgrounds simple. A wooden board, a linen napkin, or a solid-colored tablecloth works well. Avoid busy patterns that compete with the food. Props should complement, not distract. A fork placed casually next to the plate suggests readiness to eat, while a cluttered table suggests disorganization.
Freshness Matters: Shoot food immediately after plating. Salad leaves wilt quickly, and sauces dry out. If you’re taking multiple angles, prepare extra portions or re-plating components as needed. Crumbs and spills happen; use tweezers to tidy up the plate before the final shot.
Common Mistakes to Avoid
Even experienced photographers make errors. Watch out for these frequent pitfalls that ruin otherwise good shots.
- Using Flash: Unless you have a diffuser, flash flattens the food and creates harsh shadows. It also reflects off glossy surfaces like glassware or shiny sauces, creating blinding white spots.
- Zooming In Too Much: Digital zoom reduces image quality. Instead, physically move closer to the subject. If you need to get closer, switch to macro mode if available, or simply crop in post-production.
- Ignoring White Balance: Mixed lighting sources can make food look yellow or blue. Set your white balance manually to match the dominant light source, or use a gray card to calibrate accurately.
- Over-Cropping: Don’t cut off parts of the plate or props unnecessarily. Leave some negative space around the subject to give the image room to breathe.
Building a Consistent Workflow
To streamline your process, establish a routine. Before you start, clear the table of unrelated items. Set up your lighting and test a few shots to check exposure. Arrange the food, style the props, and take 10-15 variations from different angles. Review the shots on your phone’s screen immediately to catch focus issues or stray crumbs. Select the best two or three, then edit them using your preferred app. Finally, export the final images at the highest resolution for sharing.
This structured approach saves time and ensures consistency across your portfolio or social media feed. Whether you’re documenting home cooking or managing a restaurant’s Instagram, this method delivers reliable results without requiring professional studio equipment.
Do I need a special lens for smartphone food photography?
No, the built-in wide-angle lens is sufficient for most shots. Clip-on lenses can help with macro details or ultra-wide angles, but they are optional. Focus on lighting and composition first before investing in additional hardware.
What is the best time of day to shoot food with natural light?
Morning light is generally softer and more flattering than afternoon light. Midday sun can be too harsh and create strong shadows. Cloudy days provide excellent diffused light all day long, making them ideal for consistent results.
Should I shoot in JPEG or RAW format?
Shoot in RAW if your phone supports it and you plan to edit extensively. RAW files contain more data, allowing greater flexibility in correcting exposure and white balance. Use JPEG for quick snapshots where file size matters more than editing potential.
How do I remove distracting background elements?
The best way is to rearrange the scene before shooting. Move clutter out of frame or use a shallow depth of field (if supported) to blur the background. For minor imperfections, use the healing tool in apps like Snapseed to erase them digitally.
Is a tripod necessary for food photography?
A tripod is highly recommended for stability, especially in low light or for long exposures. However, you can achieve sharp images by leaning against a sturdy surface or using the self-timer feature to minimize hand shake.