Most people think great food photography is all about lighting or expensive cameras. But if you look closely at the shots that stop your scroll, the real magic is in how the elements are arranged. It’s not just about making the food look delicious; it’s about guiding the viewer’s eye exactly where you want it to go. Without proper structure, even the most gourmet dish can look chaotic or boring.
This guide breaks down three core pillars of composition: leading lines, layers, and balance. These aren’t abstract artistic concepts-they are practical tools you can use right now with your phone or DSLR. Whether you’re shooting for a restaurant menu, a personal blog, or a social media feed, mastering these techniques will transform your images from snapshots into storytelling visuals.
Quick Summary / Key Takeaways
- Leading lines act as visual highways, using forks, knife edges, or sauce drizzles to direct attention to the main subject.
- Layers create depth and dimension, preventing flat, two-dimensional images by stacking textures and heights.
- Balance ensures the image feels stable and intentional, whether you choose symmetry for elegance or asymmetry for energy.
- Composition works alongside lighting and styling; it determines how the viewer perceives the entire scene.
- Practice these rules first, then learn when to break them for creative impact.
Understanding Leading Lines in Food Shots
Think of leading lines as invisible arrows. They tell your brain where to look next. In Food Styling is the art of arranging ingredients and props to create an appealing visual narrative. When you place a long baguette diagonally across a frame, you’ve created a line that pulls the eye from the corner toward the center. This is one of the simplest yet most effective ways to improve any shot.
You don’t need complex geometry to do this. Look at the natural shapes in your ingredients. The handle of a fork, the edge of a plate, or a stream of honey poured over a cake all serve as leading lines. The key is direction. If the line points off-camera, the viewer gets confused. If it points directly at the focal point-the steak, the salad, the dessert-your image becomes intuitive and engaging.
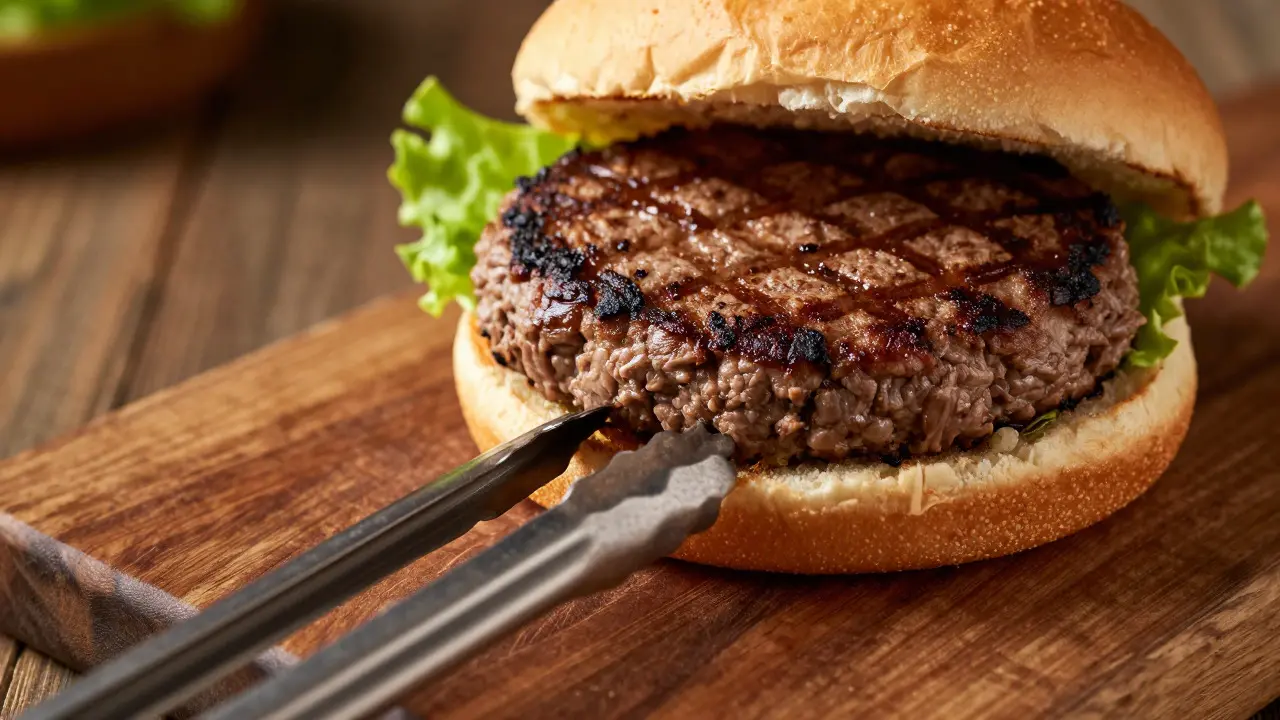
Consider a classic burger shot. If the burger sits in the middle and nothing else is there, the image might feel static. Now, add a wooden board under it and align the grain of the wood horizontally. That texture creates subtle horizontal lines that anchor the burger. Alternatively, place a pair of tongs on the side, angled so the tips point toward the patty. Suddenly, the viewer’s gaze travels from the tongs to the meat. It’s a small adjustment, but it changes the dynamic of the photo completely.
The Power of Layers: Creating Depth
A common mistake in amateur food photos is the "flat lay" trap where everything sits on the same plane. While overhead shots are popular, they can lack depth if not handled correctly. Layers solve this problem by introducing vertical variation. This technique relies on the principle that human vision perceives depth through overlapping objects.
To build layers, think in terms of foreground, midground, and background.
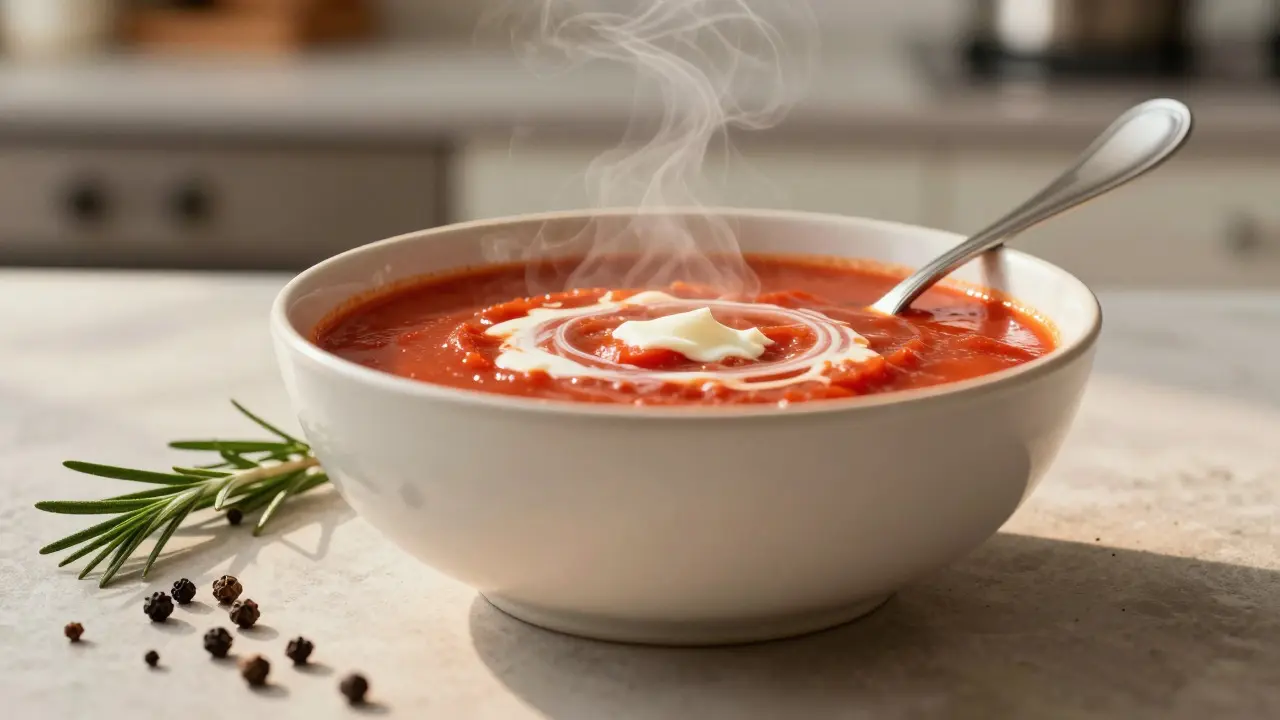
- Foreground: Place a blurred element close to the lens. A few scattered peppercorns, a sprig of rosemary, or a blurred napkin corner works well here. This adds context and makes the viewer feel like they are standing at the table.
- Midground: This is your hero. The main dish should sit here, sharp and in focus. Ensure it stands out against the other elements.
- Background: Keep this simple. A blurred window, a textured wall, or a distant prop helps separate the subject from the environment without distracting from it.
For example, when photographing a bowl of soup, don’t just shoot it straight on. Tilt the camera slightly downward (a 45-degree angle is often ideal) and place a spoon resting on the rim. The spoon creates a front layer, the soup is the mid layer, and the table surface behind it forms the back layer. This three-dimensional arrangement makes the food look tangible and warm, rather than just a picture of liquid in a circle.
Mastering Visual Balance
Balance isn’t about putting things in the center. It’s about distributing visual weight so the image doesn’t feel like it’s tipping over. Visual weight depends on size, color, contrast, and detail. A large, dark object feels heavier than a small, light one.
There are two main types of balance to consider:
- Symmetrical Balance: This mirrors the left and right sides of the frame. It feels formal, calm, and elegant. It works best for plated fine dining dishes or minimalist compositions. Think of a single perfect tart centered on a white plate with identical negative space on both sides.
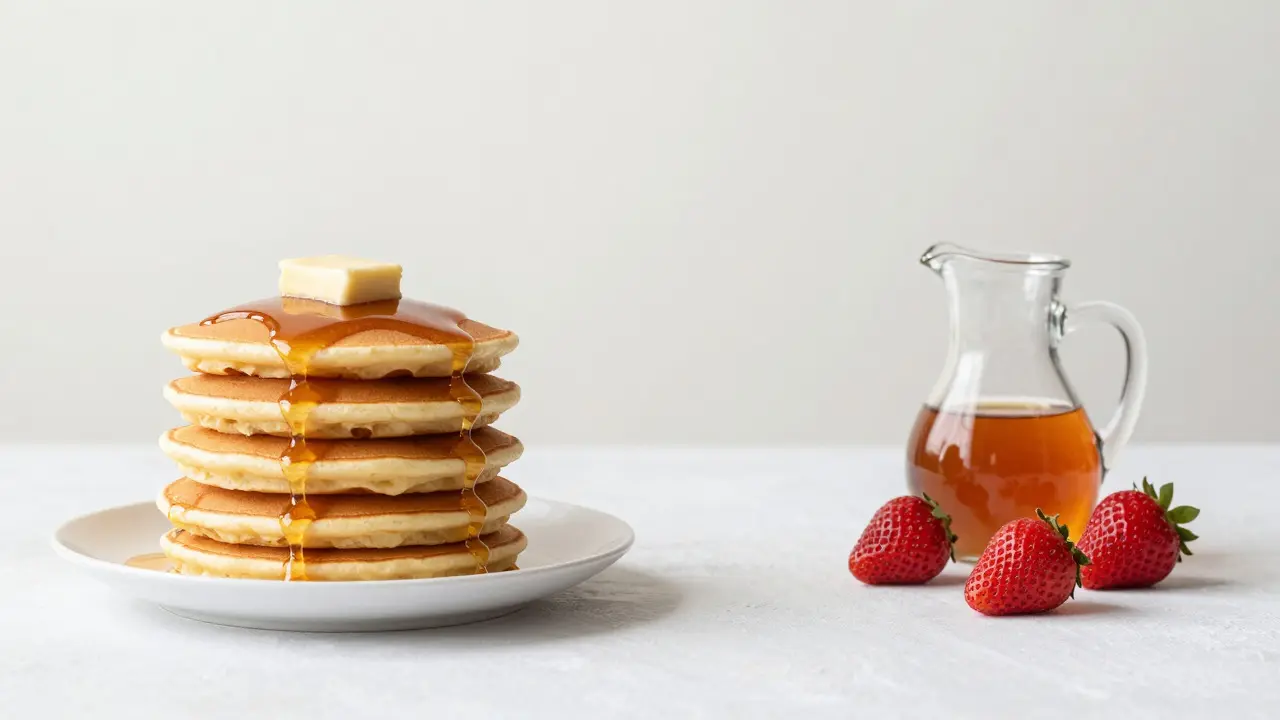
- Asymmetrical Balance: This is more dynamic and modern. You have a heavy element on one side and lighter elements on the other to counterbalance it. For instance, a large stack of pancakes on the left can be balanced by a small pitcher of syrup and a few strawberries on the right. This type of balance keeps the viewer engaged because their eye moves around the frame to find equilibrium.
A pro tip for achieving balance: Use the Rule of Thirds. Imagine your frame is divided into a 3x3 grid. Placing your main subject at one of the four intersections, rather than dead center, often creates a more natural and pleasing balance. It leaves room for supporting elements to breathe.
Comparing Composition Techniques
| Technique | Primary Function | Best Used For | Common Mistake |
|---|---|---|---|
| Leading Lines | Directs viewer's eye to focal point | Long dishes, rustic boards, detailed plating | Lines pointing off-camera or away from subject |
| Layering | Adds depth and dimension | Bowls, stacked foods, overhead shots | Cluttered foreground obscuring the subject |
| Symmetrical Balance | Creates stability and elegance | Fine dining, minimalist styles | Feeling too rigid or static |
| Asymmetrical Balance | Adds energy and movement | Casual meals, street food, lifestyle shots | Visual weight imbalance causing discomfort |
Practical Application: Combining All Three
The real power comes when you combine these elements. Let’s walk through a specific scenario: photographing a plate of pasta. First, establish your leading lines. Use a fork placed on the side of the plate, with the tines pointing toward the twirl of pasta. Second, introduce layers. Shoot from a 45-degree angle. Place a blurred piece of parmesan cheese in the immediate foreground (bottom left) and keep the background soft with a hint of the kitchen counter. Finally, check your balance. If the pasta is on the right, ensure the fork and cheese on the left provide enough visual weight to counter it. If the image feels empty on the left, add a small glass of wine or a linen napkin to fill the space naturally.
Remember, these are guidelines, not laws. Once you understand how they work, you can start breaking them intentionally. A perfectly symmetrical shot with no leading lines can be striking if the colors are bold. An unbalanced shot can be powerful if it conveys chaos or abundance. But you can only break the rules effectively if you know what they are.
Frequently Asked Questions
What is the best angle for food photography?
The 45-degree angle is generally considered the most versatile. It shows both the top of the dish and its height, creating a sense of depth. Overhead (90 degrees) is great for flat lays and showing patterns, while eye-level (0 degrees) is excellent for tall drinks or layered desserts.
How do I fix a cluttered background?
Use a shallow depth of field by opening up your aperture (lower f-stop number). This blurs the background, making the subject pop. Alternatively, physically remove distracting objects or move closer to your subject to push the background further away from the focal plane.
Do I need a tripod for good composition?
A tripod is helpful for consistency, especially when shooting from low angles or using slow shutter speeds in dim light. However, handheld shooting allows for more spontaneous adjustments. Many professional food photographers prefer handheld setups for flexibility, using a beanbag or leaning against a table for stability.
How important is negative space in food photos?
Negative space is crucial for breathing room. It prevents the image from feeling crowded and allows the subject to stand out. Leave at least 20-30% of the frame as empty or simple background space to give the viewer’s eye a place to rest.
Can I use these techniques with a smartphone?
Absolutely. Composition is independent of equipment. Most smartphones have a grid overlay feature in the camera app, which helps you apply the Rule of Thirds easily. Focus on arranging your physical elements (props, food, lighting) before you even press the shutter button.