You’ve spent thousands renovating the kitchen. You’ve painted every wall a neutral beige. Yet, when you look at your listing photos, something feels... off. The rooms look small. The light is flat. It doesn’t feel like a home; it feels like a warehouse. This isn’t a camera problem. It’s a staging problem.
Here’s the hard truth: buyers don’t buy houses; they buy feelings. And in today’s digital-first market, that feeling starts with a thumbnail on Zillow or Realtor.com. If your photo looks cluttered, dark, or impersonal, the buyer scrolls past. They never see the granite countertops or the walk-in closet you’re so proud of. Staging isn’t about decorating. It’s about visual marketing. It’s about preparing your space so the camera can do its job without fighting against your personal belongings.
Why Your Personal Stuff Is Killing Your Sale Price
Let’s be honest. We all have stuff. Kids’ toys, mail piles, that weird lamp from college. In real life, these items make a house feel lived-in and cozy. On camera, they create visual noise. A wide-angle lens exaggerates this mess. What looks like a minor pile of magazines on the coffee table becomes a distracting blob in the corner of the frame.
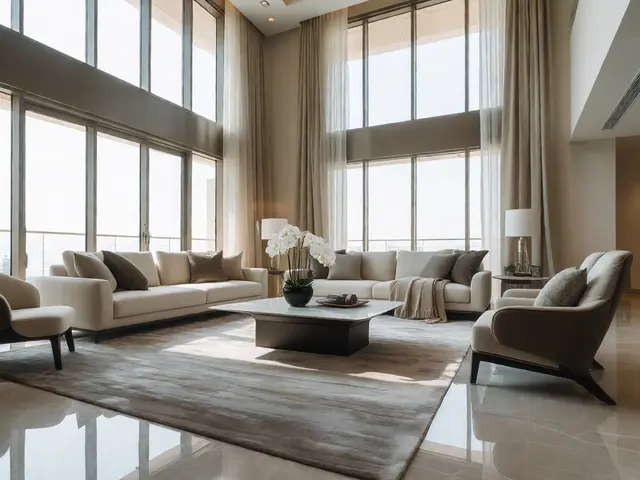
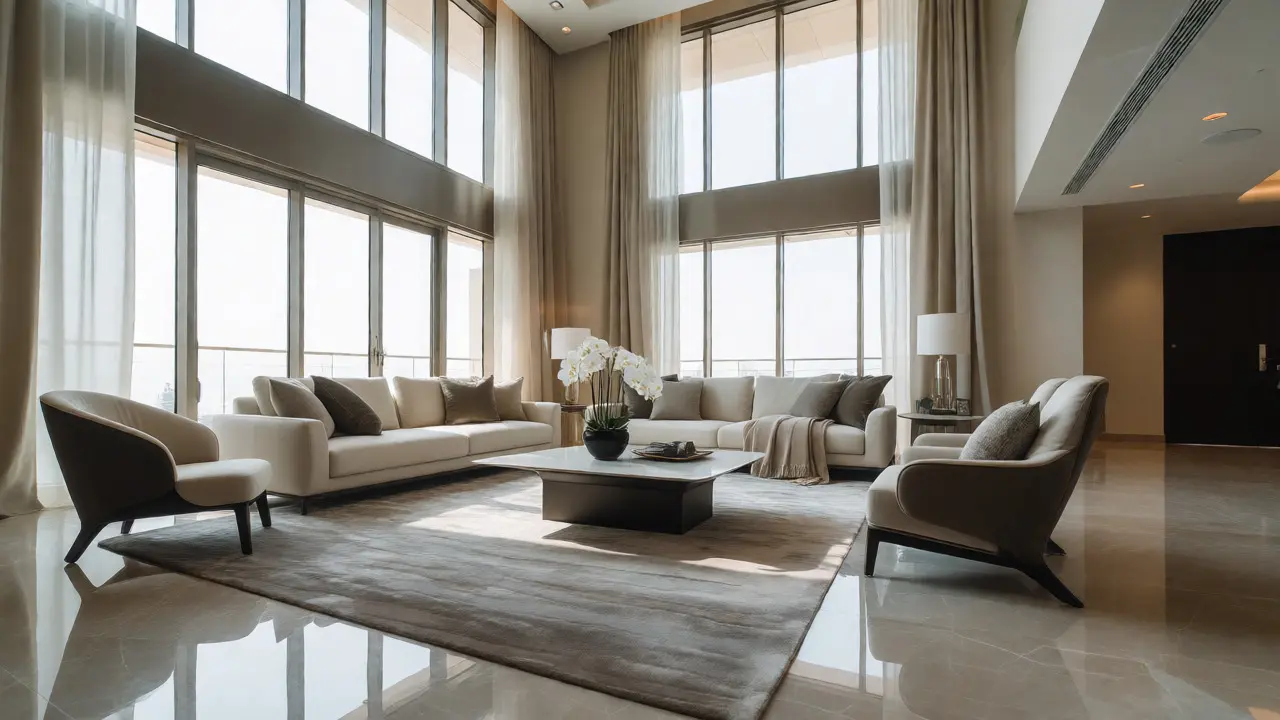
The goal of staging for photography is to remove anything that distracts the eye from the architecture and flow of the room. Think of it as clearing the stage before the actors come out. If the set is messy, no one notices the performance. When you clear the visual clutter, the square footage suddenly appears larger. Buyers can mentally place their own furniture because there’s empty space to imagine it in. If your living room is packed with your sectional sofa and three end tables, they can’t visualize their own couch fitting there.
| Element | Without Staging | With Proper Staging |
|---|---|---|
| Perceived Size | Smaller due to visual obstacles | Larger due to open sightlines |
| Light Quality | Dull, shadows cast by objects | Bright, natural light maximized |
| Buyer Focus | Personal items (photos, collections) | Architectural features (windows, floors) |
| Emotional Response | Neutral or Negative (chaos) | Positive (aspirational lifestyle) |
The Great Purge: Decluttering Beyond the Obvious
Most people think decluttering means putting things away in boxes. But if those boxes are still visible in the background, you haven’t done enough. For photography, you need to aim for about 50% less furniture and decor than you currently have. Yes, half. It feels drastic. It should.
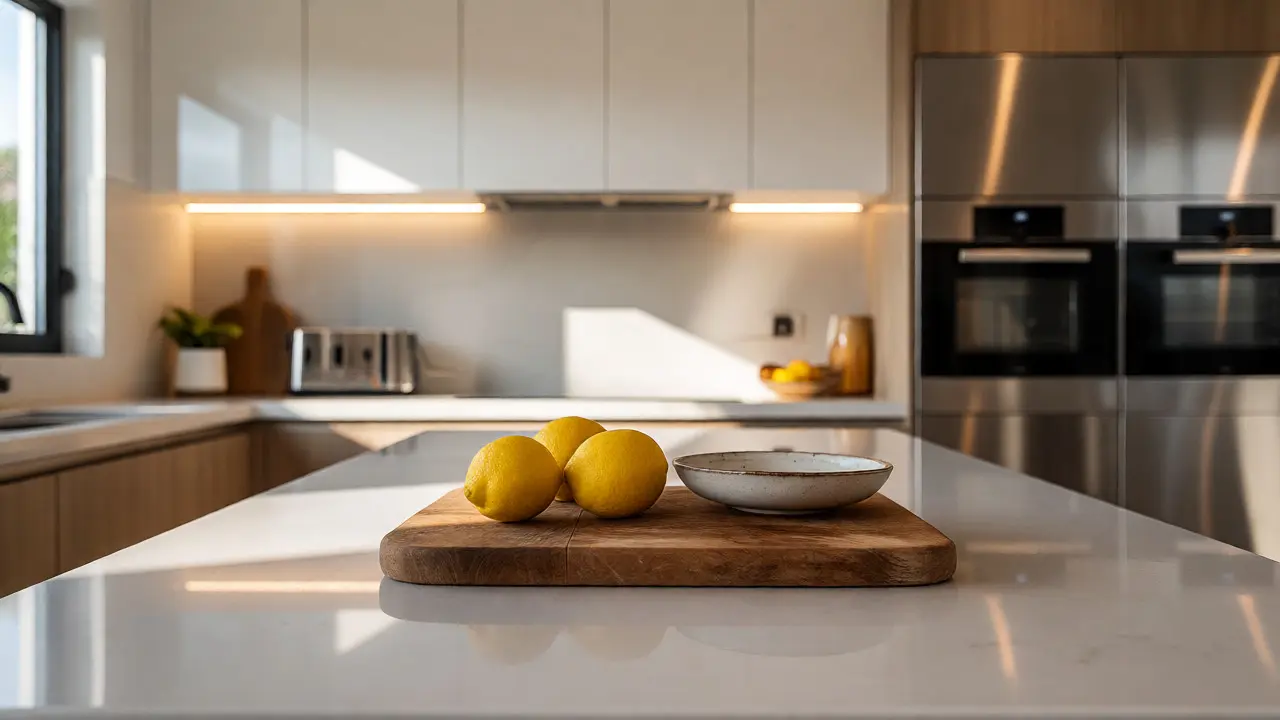
Start with the "countertop rule." Kitchen counters should be nearly bare. Remove the toaster, the blender, the fruit bowl, and the mail organizer. Leave only one or two intentional props-maybe a cutting board with fresh lemons or a single vase of flowers. Why? Because clean lines read as spaciousness. A cluttered counter makes even a large kitchen feel cramped.
Do the same for bathroom vanities. Toothbrushes, toothpaste tubes, and hand soap dispensers are killers of luxury vibes. Put them in a cabinet. Wipe down mirrors until they are spotless. Smudges on glass reflect in photos and look like dirt, even if the mirror was just cleaned. Remember, the camera sees everything, including the dust bunnies under the bed you missed during cleaning.
Lighting: The Make-or-Break Factor
Natural light is your best friend. Artificial lighting often creates yellow casts or harsh shadows that post-production struggles to fix. Schedule your shoot for mid-morning or late afternoon when the sun is lower and softer. Avoid noon, when shadows are short and harsh, blowing out window highlights.
Turn on every single light bulb in the house, even during the day. This includes lamps, ceiling fixtures, and oven lights. It sounds counterintuitive to turn on lights when the sun is shining, but it balances the exposure. Without interior lights, windows become bright white rectangles, and the rest of the room falls into shadow. With lights on, the room glows warmly, inviting the viewer in.
Open all blinds and curtains. Unless you have heavy drapes that block light, pull them back completely. If you have sheer curtains, leave them closed to diffuse direct sunlight, which prevents glare on hardwood floors. Check for reflections too. Close toilet lids. Move shiny metal appliances out of direct line-of-sight if they create distracting glare. A photographer will hate you if you leave a mirror reflecting a tripod in the shot.
Furniture Arrangement: Creating Flow and Depth
- Pull furniture away from walls: Pushing sofas against the wall makes a room look like a waiting area. Pulling them slightly inward creates conversation zones and adds depth to the photo.
- Angle chairs: Don’t face every chair directly toward the camera. Angle them slightly to show dimension and invite the viewer to sit down.
- Remove excess seating: If you have six dining chairs around a table, take two away. It makes the table look bigger and the room more breathable.
- Clear pathways: Ensure there is a clear path from the doorway into the room. Blocked paths make spaces feel tight and awkward.
Consider the angle of the shot. Photographers usually shoot from corners to capture two walls. Arrange your furniture to complement this view. If the focal point is the fireplace, ensure nothing blocks the sightline to it. If the view out the window is great, position seating to highlight it. You’re directing the viewer’s eye through the space.
Adding Life: Props That Sell the Dream
Once you’ve removed the clutter, you need to add warmth. An empty room can feel sterile. This is where strategic styling comes in. Use props that suggest activity without creating mess. A folded blanket on a sofa suggests comfort. A bowl of fresh apples on the kitchen island suggests health and freshness. A stack of books on a coffee table implies intellectual curiosity.
Be careful not to overdo it. One prop per surface is usually enough. Too many items bring back the visual noise we worked hard to eliminate. Choose items that fit the target demographic. If you’re selling to young families, a colorful play mat in the corner might work. If you’re targeting professionals, a sleek laptop bag on a desk might resonate better. Know your buyer.
Plants are powerful tools. A healthy potted plant in the corner adds color and life. Just make sure the leaves are dust-free. Brown edges on plants signal neglect, which subconsciously tells buyers the house hasn’t been cared for. If you don’t have green thumbs, use high-quality faux plants. Modern artificial foliage is convincing, but avoid anything that looks plastic-shiny.

Curb Appeal: The First Impression Counts
Before anyone steps inside, they see the exterior. Your front door and entryway set the tone. Clean the door thoroughly. Paint chips or peeling paint scream maintenance issues. Add a simple wreath or a pair of matching potted plants flanking the entrance. Keep the walkway clear of hoses, bicycles, and trash cans.
Check the lawn. Mow it a day before the shoot so the grass stands up straight and shows crisp stripes. Edge the sidewalks. Rake away leaves. If you have a patio, stage it minimally. Two chairs and a small table suggest outdoor living potential. Remove any worn-out cushions or broken umbrellas. The exterior photo is often the first image a buyer sees in search results. If it looks tired, they won’t click.
Final Walkthrough Checklist
Before the photographer arrives, do a final scan. Look at each room from the photographer’s likely vantage points. Are there cords dangling from TVs? Hide them. Are there pet bowls on the floor? Put them away. Are there personal photos on shelves? Take them down. Buyers want to see themselves in the house, not judge your family vacation pictures.
Ensure toilets are closed. Ensure beds are made neatly with pillows fluffed. Ensure towels are hung straight. These small details signal cleanliness and order. A disheveled towel rack can undermine an otherwise perfect bedroom shot. Take your time. Rushing leads to mistakes that cost money later when you try to retouch them out.
Staging for photography isn’t about perfectionism. It’s about presentation. It’s about giving the buyer the best possible chance to fall in love with your home. By clearing the clutter, maximizing light, and arranging furniture thoughtfully, you transform a house into a product that sells itself. Do this right, and your listing won’t just get views-it’ll get offers.
Do I need professional staging services?
Not always. For most homes, DIY decluttering and rearranging existing furniture is sufficient. However, if your home is vacant, has awkward layouts, or needs to sell fast in a competitive market, hiring a professional stager can provide a significant return on investment by making empty spaces feel larger and more inviting.
Should I hide my pets during the photo shoot?
Yes, absolutely. Pets can be unpredictable and may distract from the space. More importantly, some buyers have allergies or fears. Remove pet beds, toys, food bowls, and litter boxes from the scene. If you have fish tanks or aquariums, ensure the glass is spotless and the water is clear.
How much furniture should I remove?
A good rule of thumb is to remove 30-50% of your furniture and decor. Focus on bulky items that block pathways or crowd the room. Small side tables, extra chairs, and decorative knick-knacks are the easiest to remove and yield the biggest visual impact.
What if I live in the house while it's listed?
It’s challenging but doable. Designate a specific room or closet for your daily essentials. Before each photo session, pack away daily items like phones, remotes, and mail. Maintain a "show-ready" standard throughout the day, keeping surfaces clear and floors swept. It requires discipline but pays off in better marketing materials.
Does color scheme matter for photos?
Yes. Neutral colors photograph better and appeal to a wider audience. Bright reds or dark blues can distort white balance in cameras and may clash with buyers' tastes. If repainting isn't feasible, use neutral textiles like throws and pillows to soften bold wall colors.