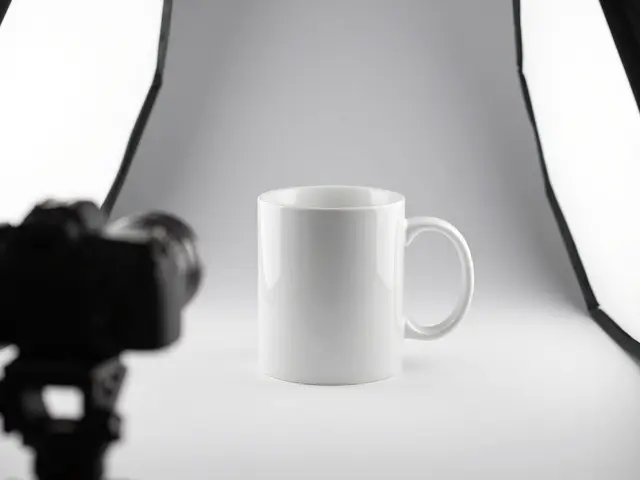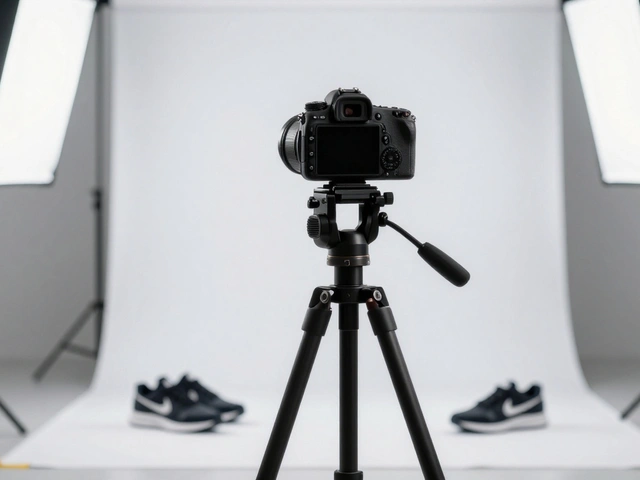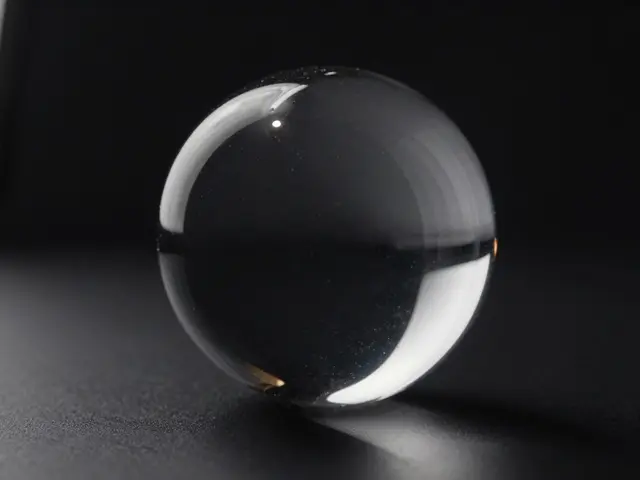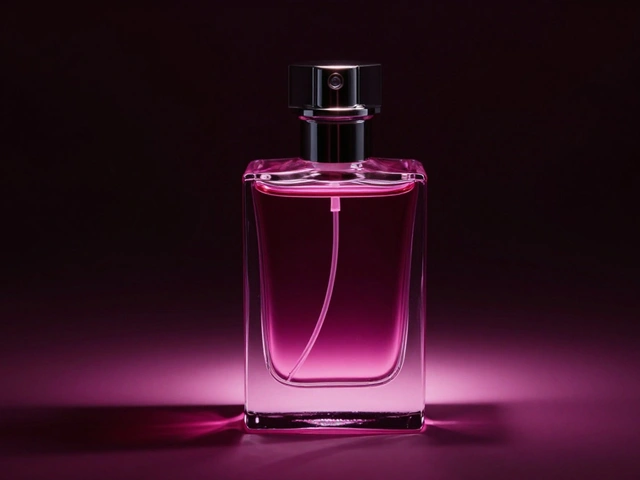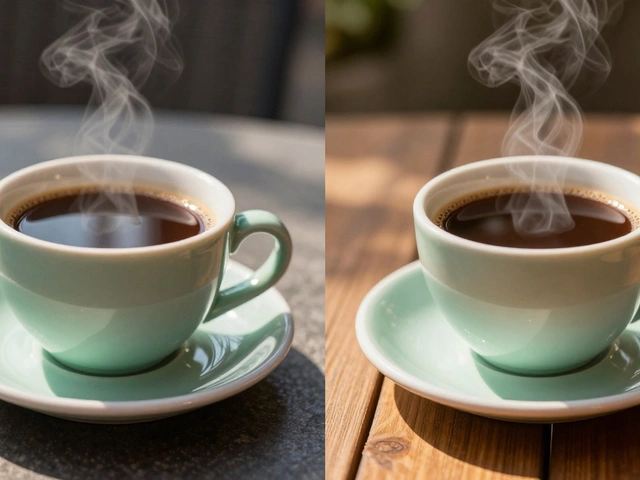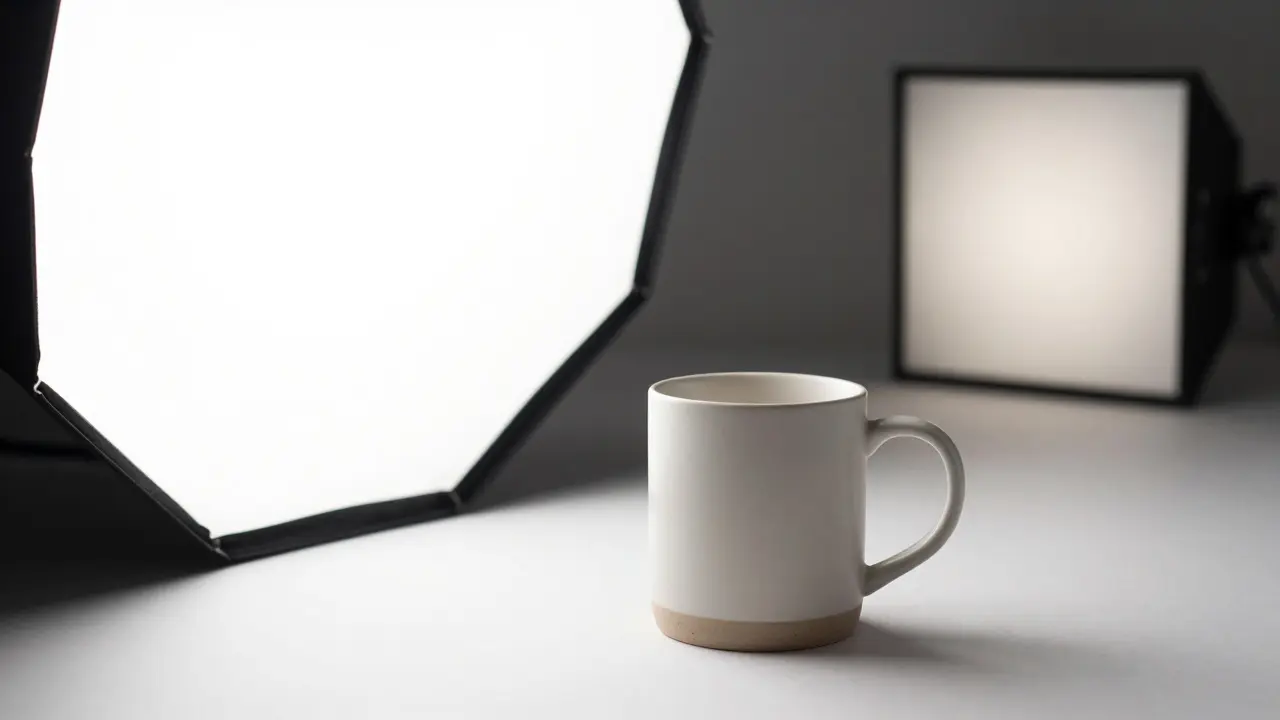
Ever tried to photograph a shiny bottle or a matte ceramic mug and ended up with harsh shadows that ruin the detail? That’s usually a lighting problem, not a camera issue. Softbox lighting is a photographic tool that uses a fabric panel to diffuse artificial light sources, creating broad, gentle illumination ideal for product shots. Unlike bare bulbs or direct flash, softboxes wrap your subject in even light, eliminating hot spots and revealing textures clearly. If you want your products to look professional without renting a $500 studio, mastering this setup is the single most impactful change you can make.
Why Softboxes Beat Direct Light for Products
Direct light from a small source acts like a spotlight. It creates high contrast, deep shadows, and specular highlights that can wash out details. In product photography, consistency is king. You need the viewer to see exactly what they are buying. A diffuser expands the apparent size of the light source. The bigger the source relative to the subject, the softer the shadow edges become. This is known as the inverse square law in action, but practically, it just means less drama and more clarity. When you switch from a bare LED to a softbox, you aren’t just changing the brightness; you are changing the quality of the data your sensor captures. The result is smoother gradients on curved surfaces and clearer visibility of fine details, such as stitching on a bag or the grain on wood.
Choosing the Right Size and Shape
Not all softboxes are created equal. For most product work, you have three main shapes: octagonal, rectangular, and strip. Each serves a different purpose based on the geometry of your subject.
- Octagonal Softboxes: These mimic natural window light. They are excellent for round objects like bottles, jars, or cosmetics because they create circular catchlights in eyes (if applicable) and smooth, rounded reflections. A 12-inch or 18-inch octagon is a standard starting point for tabletop products.
- Rectangular Softboxes: Best for flat-lays or subjects with straight edges. If you are shooting a book, a box, or a piece of jewelry, a rectangular softbox helps control reflections along vertical or horizontal lines. It prevents the light from wrapping too much around corners where you might want a distinct edge definition.
- Strip Softboxes: Long and narrow, these are used for very specific tasks, like highlighting a long object such as a knife or a watch strap. They create elongated highlights rather than broad ones.
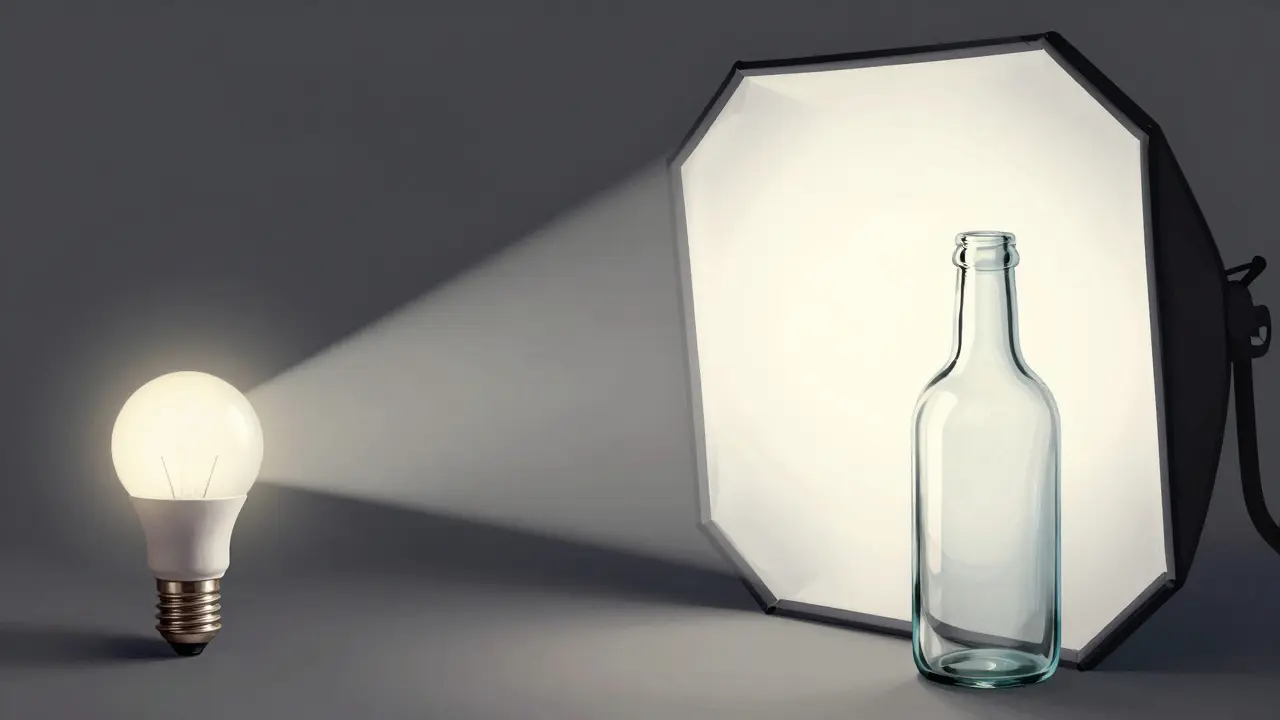
Setting Up Your First Two-Light Configuration
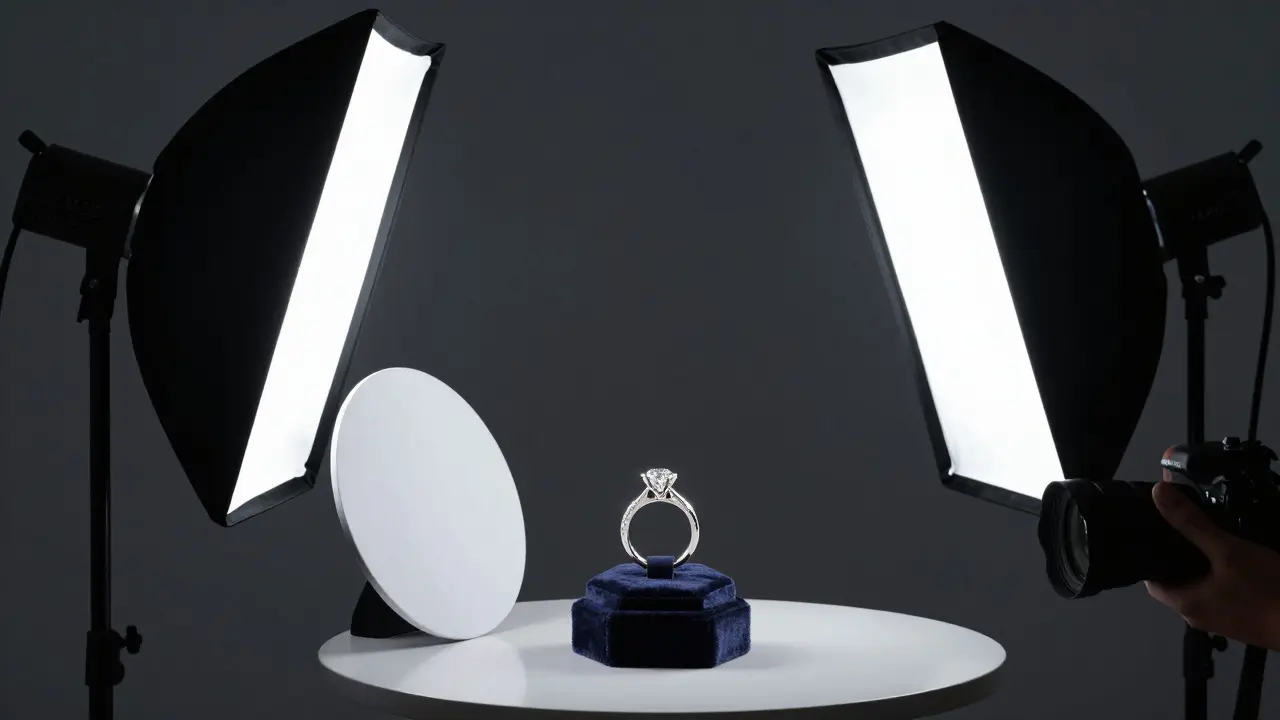
You don’t need ten lights to get professional results. A two-light setup is the industry standard for controlled product photography. Here is how to arrange them for maximum efficiency:
- The Key Light: Place your primary softbox at a 45-degree angle to the subject, slightly above eye level (or center height for objects). This provides the main illumination and defines the form.
- The Fill Light: Place a second, dimmer softbox on the opposite side, also at 45 degrees. Its job is not to illuminate, but to lift the shadows so they aren’t pitch black. Set it to about 50-70% of the power of the key light.
Controlling Reflections on Glossy Surfaces
Glass, metal, and plastic are the bane of product photographers. Because they reflect their environment, they show every flaw in your lighting setup. If your softbox has a wrinkled diffuser panel, the reflection will show that wrinkle. To fix this, you need to control the *shape* of the reflection. Use a reflector card or a white foam board near the shadow side to bounce light back into the dark areas. For glass bottles, place a thin strip of white paper or tape behind the object to create a clean, linear highlight that makes the liquid inside look vibrant. Avoid using black cards unless you specifically want to kill a reflection, as they can make the background look muddy if not placed carefully. The goal is to paint light onto the surface, not just shine it at it.
Common Mistakes and How to Fix Them
Even experienced shooters trip over a few basic errors. Watch out for these:
- Hot Spots: If you see a bright white patch on your product, your light is too close or too strong. Move the softbox further away or lower the intensity. Distance is your best friend for even coverage.
- Uneven Backgrounds: If your background looks brighter in the middle than the edges, your light is spilling directly onto it. Use a snoot or barn doors on your softbox to focus the beam only on the product, leaving the background evenly lit by ambient room light or a separate dedicated background light.
- Color Casts: Ensure your white balance matches your light source. If you are using daylight-balanced LEDs (5600K), set your camera to Daylight. If you are using tungsten-based continuous lights, set it to Tungsten. Mismatched white balances result in yellow or blue tints that require heavy editing later.
Practical Workflow for Consistent Results
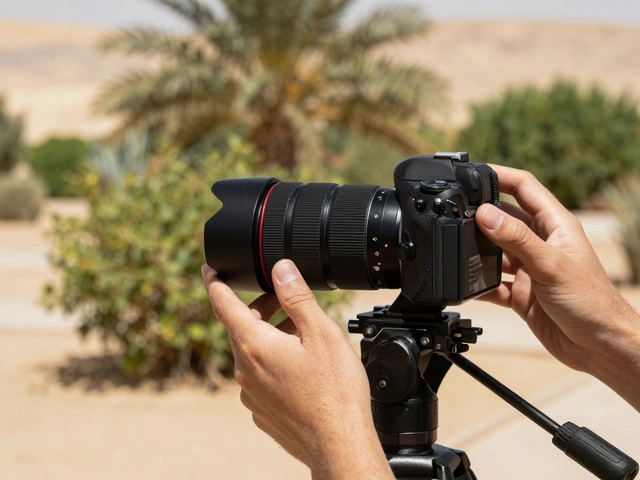
To streamline your process, create a preset. Once you find a setup that works for a specific type of product (e.g., skincare bottles), save the camera settings (ISO, aperture, shutter speed) and the light positions. Measure the distance from the light to the product with a tape measure. If you move the product, you must move the light proportionally to maintain the same shadow softness. Using a tripod is non-negotiable here. Manual mode gives you full control, allowing you to adjust exposure precisely without the camera guessing. This consistency ensures that every photo in your catalog looks like it was taken in the same session, which builds trust with customers.
Do I need expensive strobes for softbox lighting?
No. Continuous LED panels are sufficient for most product photography, especially if you are working with a live view on your camera screen. Strobes offer higher peak output and faster sync speeds, which are useful for freezing motion or shooting in bright environments, but for static products, quality LEDs provide excellent color rendering and are easier to manage.
What is the best size softbox for small jewelry?
For small items like rings or earrings, a 10-inch or 12-inch octagonal softbox is often ideal. Larger boxes can overwhelm the subject and make it difficult to control fine reflections. Pairing this with a small snoot or grid can help direct the light precisely where needed.
How do I light a transparent glass bottle?
Use backlighting or side lighting to reveal the contents. Place a softbox behind the bottle to illuminate the liquid, and use a strip light or narrow reflector on the sides to create defined highlights. Avoid front-facing light, which can cause glare that obscures the label or the liquid color.
Can I use natural light with a softbox?
Yes, but it requires careful balancing. If you are mixing window light with artificial softboxes, ensure both sources have similar color temperatures. Otherwise, you will have mixed color casts. Often, it is better to block the window light entirely when using artificial setups to maintain full control over the scene.
What is the difference between a softbox and an umbrella?
A softbox contains the light within a frame, providing more control over spill and direction. An umbrella reflects or transmits light outward, making it harder to contain. Softboxes generally produce cleaner, more predictable results for product work, while umbrellas are faster to set up and better for broader, less controlled lighting scenarios.