You’ve got the camera. You’ve got the light. But that burger in your viewfinder looks like a sad, deflated pancake rather than the juicy masterpiece you tasted ten minutes ago. This is where food styling saves the day. It’s not just about making things look pretty; it’s about translating taste into visual language. If your photos don’t make people hungry, they aren’t doing their job.
Most beginners think food styling is magic tricks-glue on buns or mashed potatoes for ice cream. And sure, those hacks exist. But if you want photos that feel real and appetizing, you need to master three core pillars: freshness, placement, and presentation. Get these right, and you won’t need fake syrup or hairspray on your salad. Here is how to actually make food look good enough to eat through the screen.
Freshness Is Non-Negotiable
Let’s be honest: wilted spinach looks like trash in a photo, even if it tastes fine. Your primary goal is capturing the peak state of the ingredient. This means understanding how different foods degrade under hot studio lights or natural sunlight.
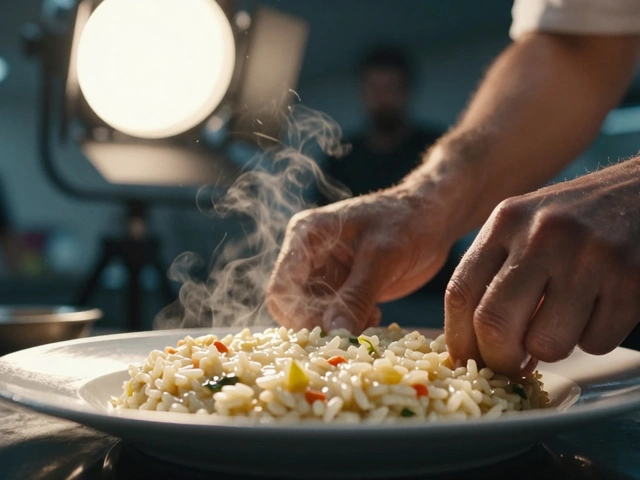
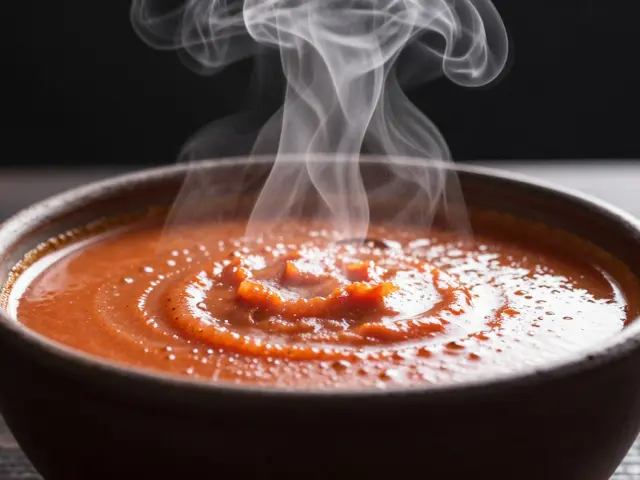
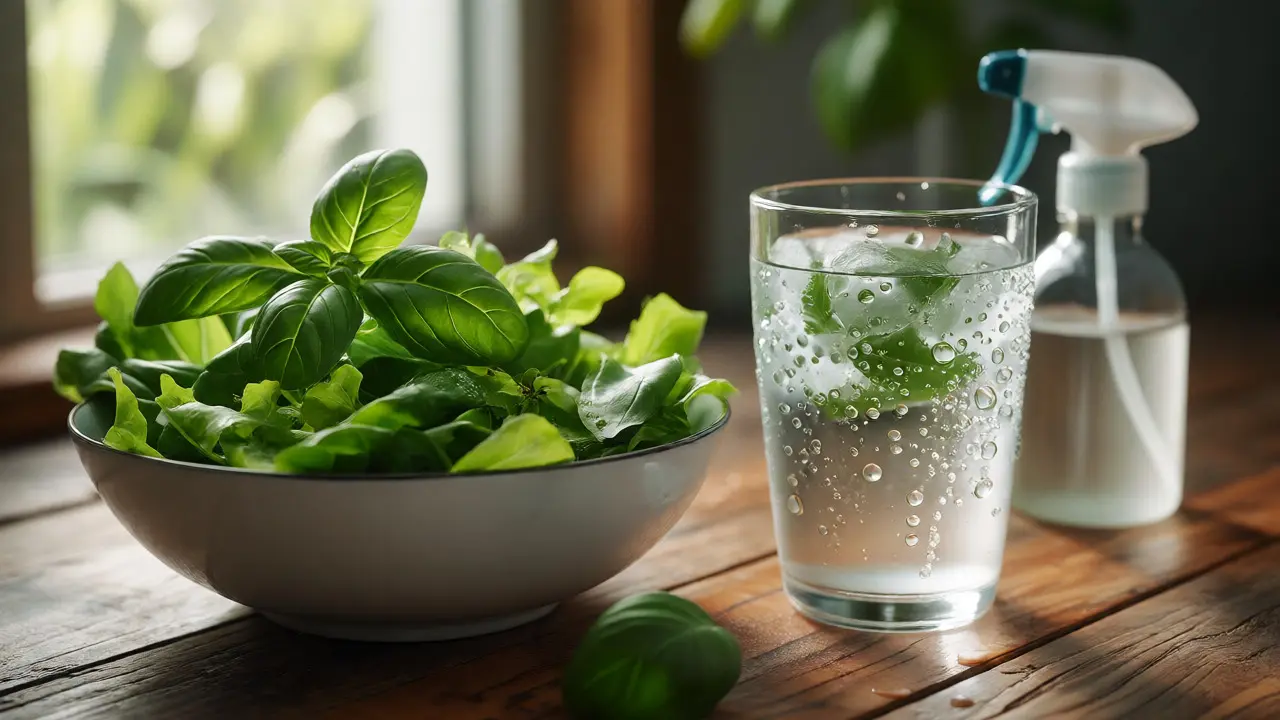
Leafy greens are the biggest divas. They wilt within minutes. Keep a spray bottle filled with water and glycerin (50/50 mix) handy. The glycerin keeps droplets round and shiny longer than plain water, which soaks in or evaporates too fast. For herbs like basil or cilantro, keep them chilled until the very last second before shooting. If you’re photographing a soup or stew, steam is your friend, but only if it looks intentional. Use a cotton ball soaked in hot water hidden behind the bowl to create consistent, gentle steam without ruining the surface texture.
| Food Type | Problem | Styling Solution |
|---|---|---|
| Sliced Fruit (Apples/Bananas) | Oxidation (browning) | Brush with lemon juice or clear soda |
| Burgers/Sandwiches | Soggy bread from condiments | Use dry lettuce as barrier; apply sauce lightly |
| Pasta | Drying out/clumping | Toss with oil right before shooting; use warm water bath for bowl |
| Ice Cream | Melting under lights | Use mashed potatoes mixed with white frosting for structure |
Don’t forget the temperature contrast. A cold drink needs condensation. Wipe the glass down with a damp cloth and then spritz it with a mixture of water and glycerin. Plain water runs off too quickly. Glycerin clings, creating those perfect, photogenic droplets that scream "refreshing."
Placement: The Art of Strategic Messiness
Perfect symmetry is boring. Real life isn’t perfectly aligned. When you place elements in your frame, aim for "controlled chaos." This doesn’t mean throwing things around randomly. It means placing items where the eye naturally wants to go.
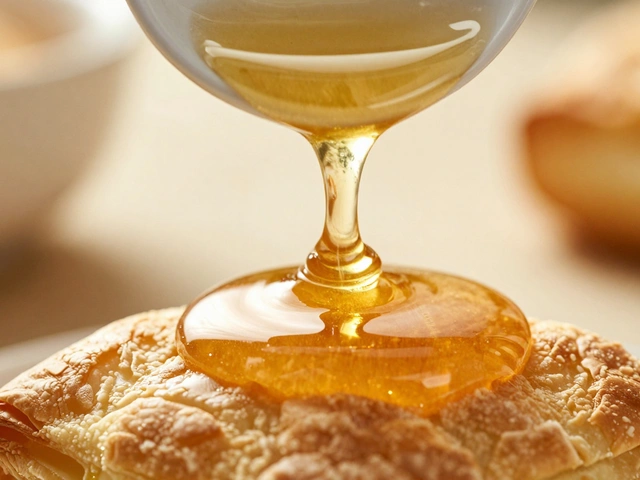
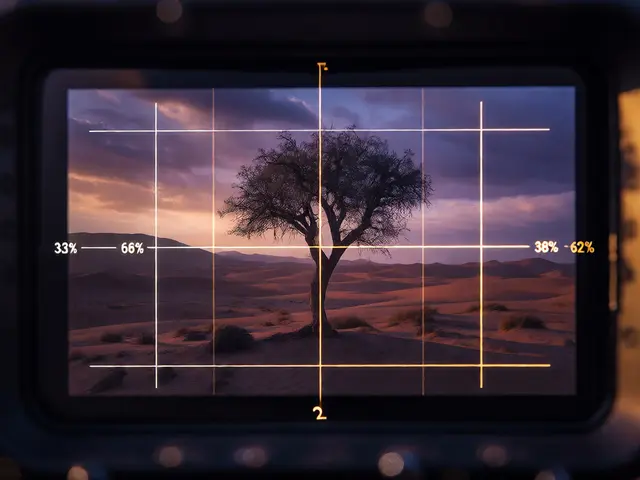
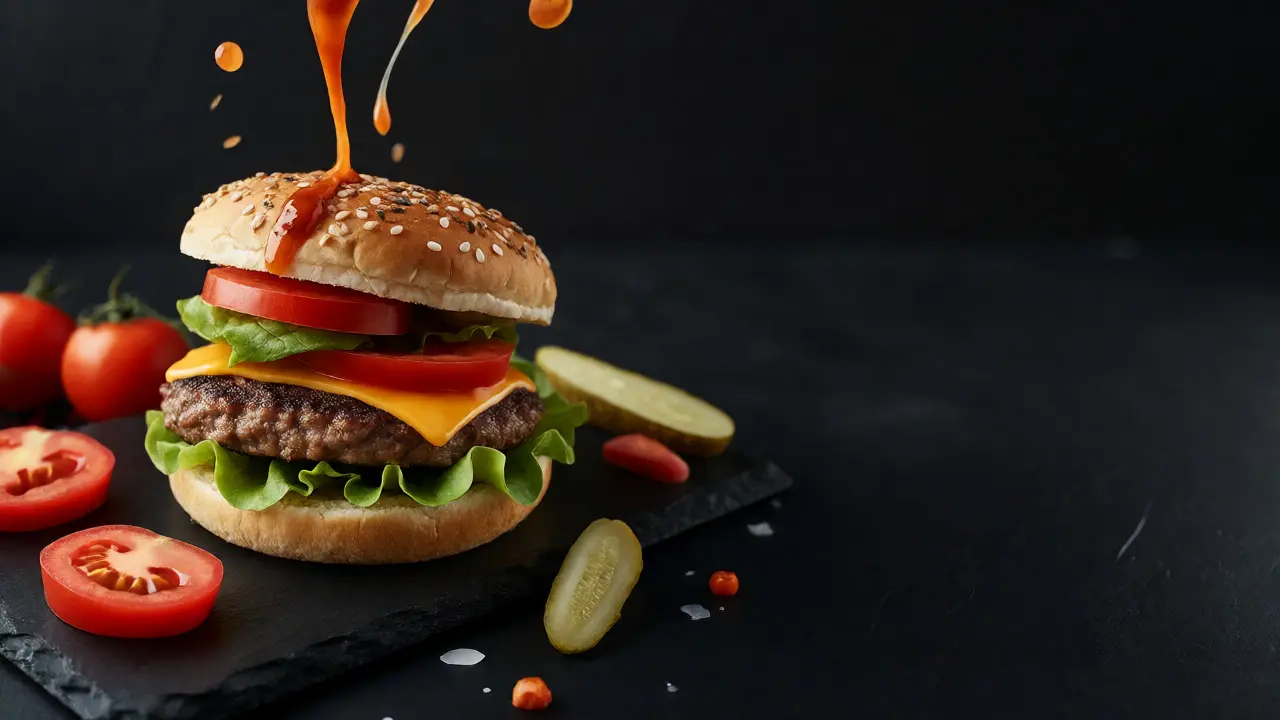
Start with the hero element-the main dish. Place it slightly off-center using the rule of thirds. Then, build around it. Think about height. Flat food looks flat in photos. Stack your pancakes. Lean a sandwich against a prop. Pour sauce from a height to capture motion. Height adds dimension and makes the plate pop off the background.
Consider the angle. Top-down shots work great for bowls, salads, and spreads where everything is visible at once. Eye-level shots work best for burgers, stacked desserts, or drinks where layers matter. Once you pick an angle, stick to it for the whole shoot. Switching angles mid-session ruins continuity and wastes time resetting props.
Here’s a pro tip: leave space. Don’t fill every inch of the frame. Negative space gives the viewer’s eye a place to rest. It also makes room for text overlays if you’re designing for social media or blogs. If you’re shooting a single cookie, don’t crowd it with five other cookies unless they’re part of a pattern. One cookie on a clean naplet can be more powerful than a pile.
Presentation: Color, Texture, and Light
Color theory matters more than you think. Complementary colors (opposites on the color wheel) make each other stand out. An orange carrot cake looks vibrant on a blue plate. A green pesto pasta pops against a red ceramic bowl. Check your color wheel before you choose props. Avoid matching everything exactly-it creates a muddy, low-contrast image.
Texture is what triggers appetite. Crispy bacon, creamy avocado, crunchy nuts-you need to show these textures clearly. Use side lighting (light coming from the left or right) to emphasize shadows and highlights. Front lighting flattens everything and kills texture. If you’re shooting outdoors, wait for overcast days or shoot during golden hour when the light is soft and directional. Harsh noon sun creates ugly, dark shadows under the nose and chin of your subject (or in this case, your burger).
Props should support the story, not steal the show. If you’re photographing rustic sourdough, use wood boards and linen napkins. If you’re shooting modern sushi, use sleek black slate or minimalist ceramics. The prop material should contrast with the food. Shiny metal spoons reflect light and can distract. Matte finishes often work better because they absorb light and let the food shine.
The Workflow: Prep Like a Chef, Shoot Like a Director
Food styling fails when you try to do everything at once. You cannot chop, cook, style, and shoot simultaneously without losing quality. Break it down.
- Prep Phase: Wash, cut, and pre-cook everything. Have all ingredients ready in separate containers. Label them if necessary.
- Set Phase: Arrange your background, props, and camera setup. Test your lighting. Make sure your focus plane is correct.
- Style Phase: Assemble the dish. This is where you tweak placement. Add garnishes last.
- Shoot Phase: Capture multiple variations. Change one thing per shot-move a fork, add a splash of sauce, change the angle slightly.
Keep a "styling kit" nearby. This includes tweezers for precise placement of small items like seeds or berries, paintbrushes for applying glazes or oils, and paper towels for wiping rims. Yes, you will spend more time wiping plates than eating them. That’s normal.

Common Pitfalls to Avoid
One major mistake is over-styling. If your salad has seventeen different types of leaves, three sauces drizzled in zig-zags, and edible flowers placed with surgical precision, it might look artificial. Aim for realism. If you wouldn’t serve it that way to a friend, don’t photograph it that way.
Another trap is ignoring reflections. Glassware and glossy plates act like mirrors. Clean them thoroughly. Fingerprints are invisible to the naked eye but scream "amateur" in high-resolution photos. Use microfiber cloths, not paper towels, which leave lint.
Finally, don’t forget the human element. Hands in the frame add context and scale. Holding a cup of coffee or tearing bread shows interaction. Just make sure hands are clean, nails are trimmed, and sleeves are neat. A messy sleeve can ruin an otherwise perfect composition.
Putting It All Together
Food styling isn’t about deception; it’s about enhancement. You’re highlighting the best qualities of the food. Freshness ensures it looks alive. Placement guides the viewer’s journey through the image. Presentation ties it all together with color and light.
Practice with simple subjects first. A bowl of fruit, a slice of toast, a cup of tea. Master the basics of light and angle before tackling complex multi-layer dishes. Take notes on what works. Did the glycerin droplets look better than water? Did the blue plate make the orange smoothie pop? Keep a log. Over time, you’ll develop an intuition for what makes food look delicious.
Do I really need professional lights for food photography?
No. Natural window light is often better and free. Position your table next to a large window, away from direct sunlight. Use a white foam board opposite the window to bounce light back onto the shadow side of the food. This creates soft, even illumination that flatters most dishes.
How do I keep food looking fresh during long shoots?
Work quickly and use substitutes for difficult items. For melting ice cream, use mashed potatoes. For wilting greens, swap them out frequently. Keep backup portions ready. If you’re shooting a hot dish, consider reheating it between shots to maintain steam and moisture, but be careful not to overcook it.
What is the best angle for photographing food?
It depends on the food. Use 45-degree angles for plated meals with depth (like pasta or stir-fry). Use top-down (90 degrees) for flat lays, salads, or soups where ingredients are spread out. Use eye-level (0 degrees) for tall structures like burgers, stacked pancakes, or drinks to show layers.
Why does my food look dull in photos?
Dullness usually comes from flat lighting or poor color contrast. Try moving your light source to the side to create shadows that define texture. Also, check your white balance settings on your camera. Auto-white-balance can sometimes misinterpret colored backgrounds, making food look yellowish or bluish instead of its true color.
Can I edit out imperfections in post-production?
Yes, but don’t rely on it entirely. Editing can fix minor color casts, remove crumbs, or brighten shadows. However, fixing bad composition or wilted food requires reshooting. Spend more time on styling and less time on heavy editing. It’s faster to wipe a plate than to clone out a stain in Photoshop.