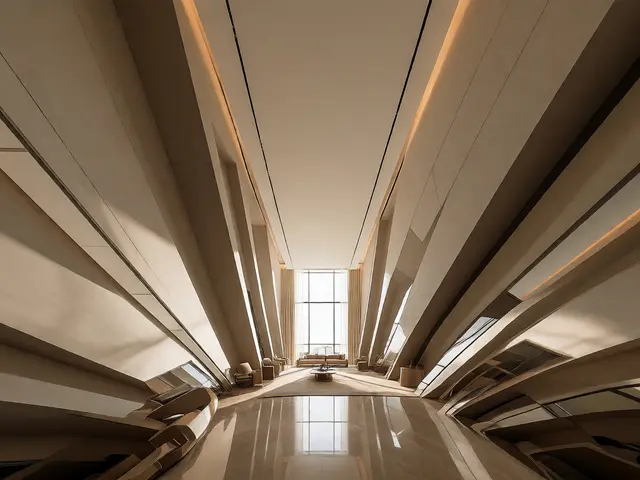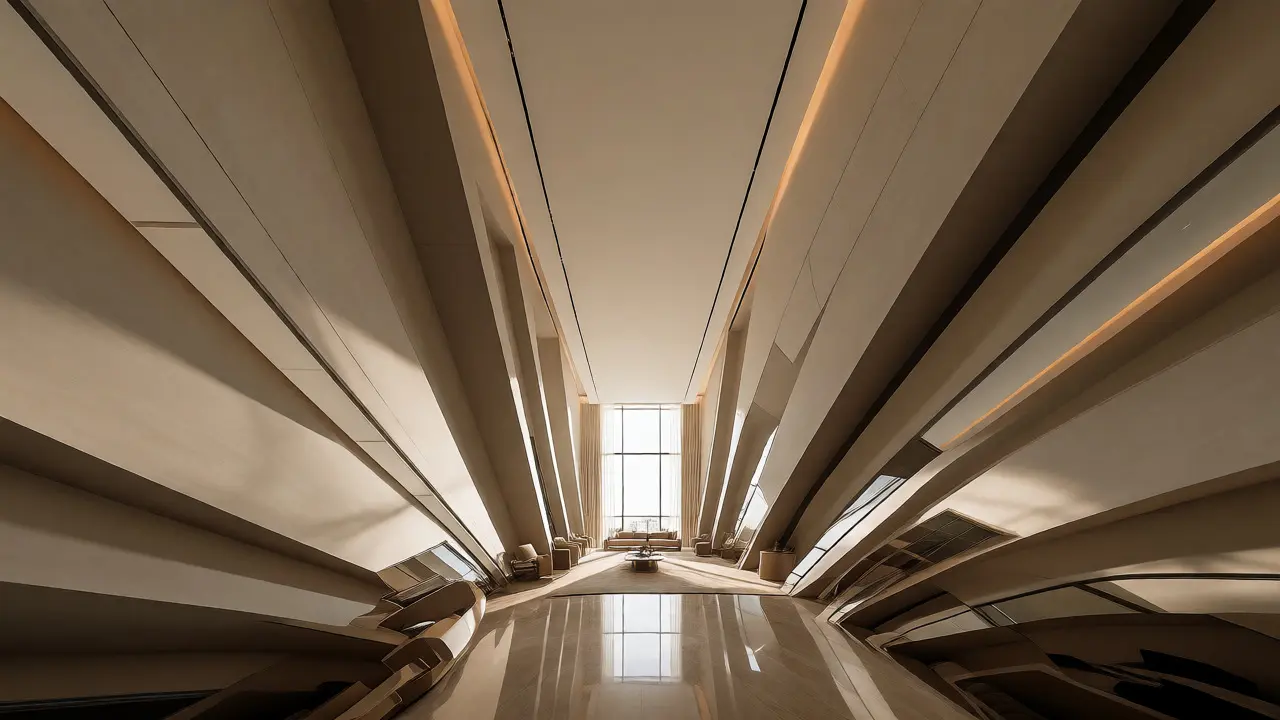
You walk into a beautiful living room. The ceilings are high, the windows are huge, and the light is perfect. You snap a photo, check it on your camera screen, and feel a pang of disappointment. The walls look like they're leaning backward. The ceiling seems to be collapsing inward. This isn't a structural flaw in the house; it's an optical illusion called converging verticals. It happens when you point your camera up to fit the whole room in the frame.
For real estate agents and homeowners, this distortion makes spaces feel smaller and less inviting than they actually are. Buyers scrolling through listings online notice it immediately, even if they can't name it. A crooked image signals amateurism. Straight lines signal professionalism and space. Fixing this issue-known as vertical correction-is one of the highest-impact skills you can learn for property shots. It separates good photos from great ones.
Why Verticals Converge (And Why It Matters)
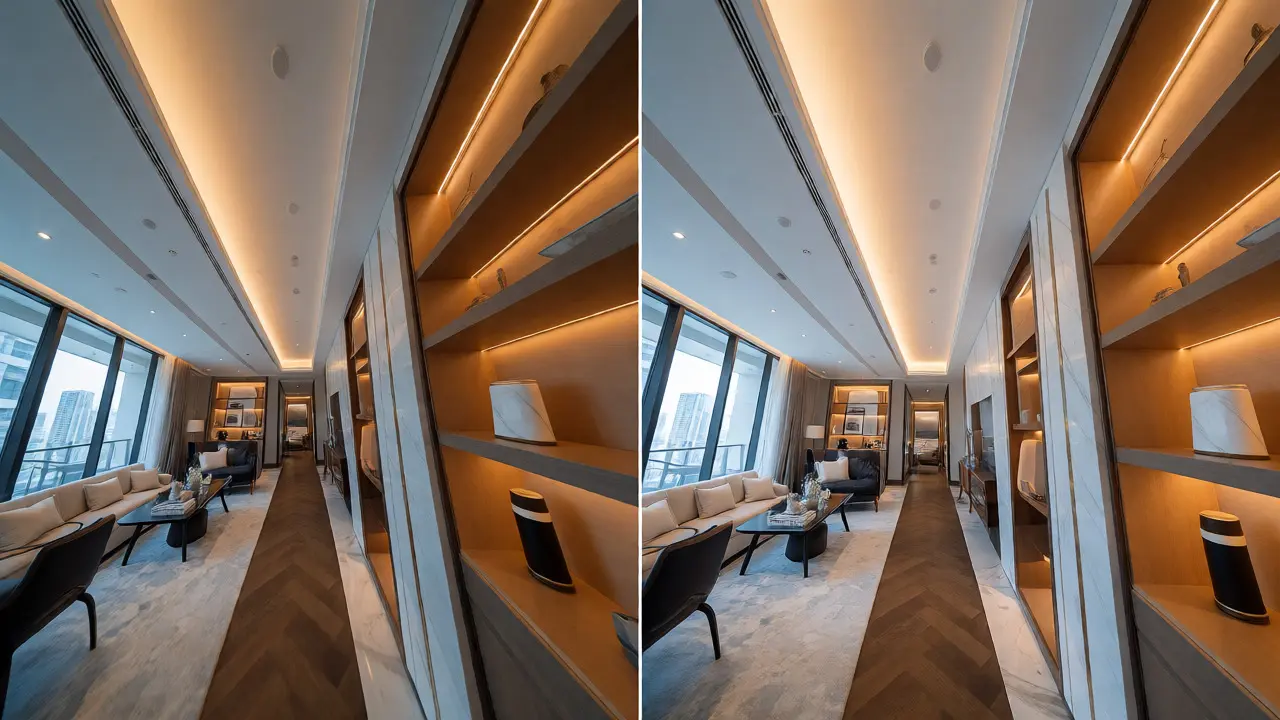
Before you fix it, you need to understand it. When you hold your camera level with the horizon, vertical lines stay parallel. But most rooms don't fit in a horizontal frame. To capture the floor and the ceiling, you have to tilt the camera upward. This changes the angle at which light hits the sensor. Suddenly, parallel lines appear to meet at a vanishing point above the frame.
| Camera Angle | Visual Effect | Buyer Perception |
|---|---|---|
| Level (0°) | True parallel lines | Accurate, stable, professional |
| Tilted Up (+15°) | Walls lean back, ceiling shrinks | Room feels cramped, low-ceilinged |
| Tilted Down (-15°) | Floor expands, furniture looks small | Focus on clutter, not architecture |
This distortion isn't just aesthetic; it's psychological. Humans crave stability. We interpret straight vertical lines as signs of solidity and order. When those lines slant, our brains register unease. In a sales context, that unease translates to hesitation. You want buyers to feel comfortable enough to imagine themselves living there, not subconsciously questioning the building's integrity.
The Golden Rule: Keep Your Camera Level
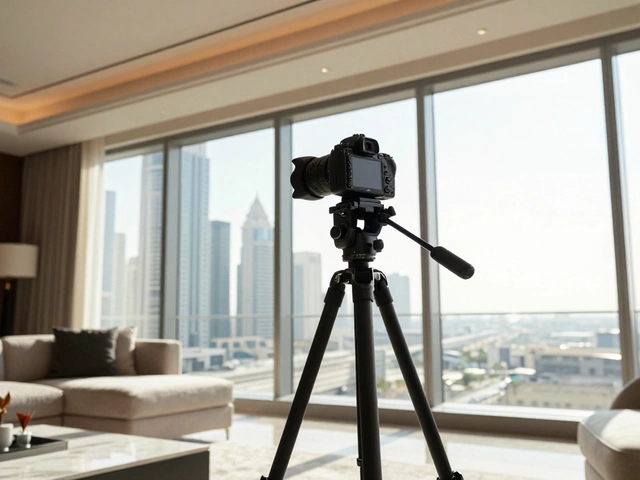
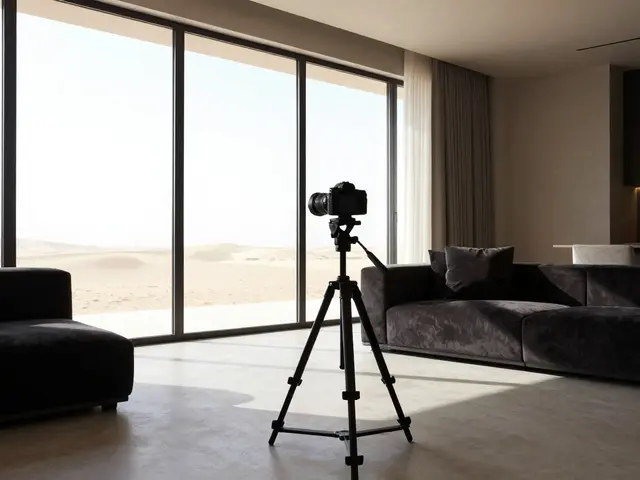
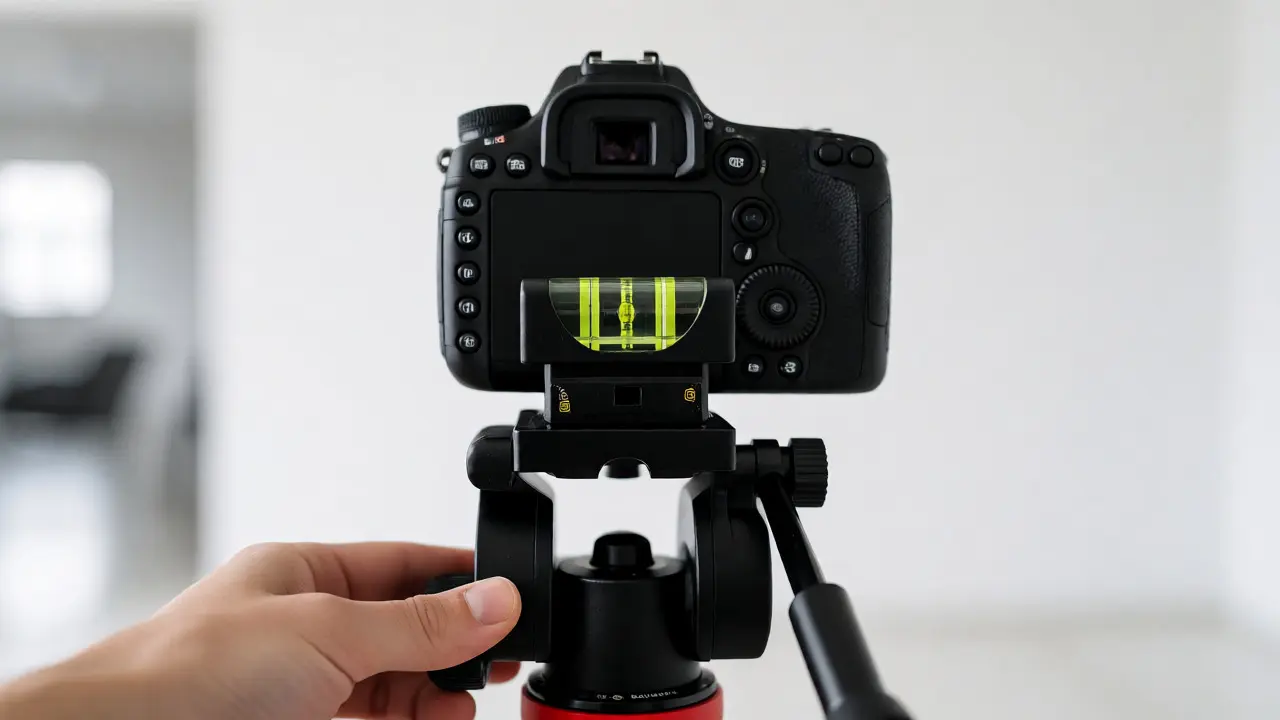
The most effective way to avoid convergence is to prevent it before you press the shutter. The rule is simple: keep your camera sensor perfectly parallel to the wall you are photographing. If you are shooting a kitchen, stand back far enough so that you can shoot straight ahead without tilting up or down.
Here is the practical workflow:
- Find the sweet spot: Stand where the center of the room aligns with the middle of the wall. This minimizes the need for extreme angles.
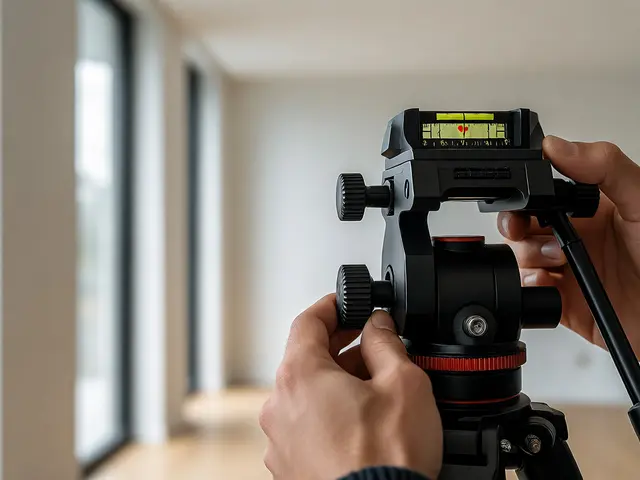
- Use a bubble level: Most cameras have a digital level, but a hot-shoe bubble level is more reliable. Ensure the bubble is dead center before composing.
- Shoot wider, crop later: If you can't get far enough back, use a wider lens rather than tilting up. It’s better to have too much foreground/background and crop it in post-production than to have distorted geometry.
This approach requires discipline. You might feel like you’re missing the top of the chandelier or the bottom of the rug. Resist the urge to tilt. Capture what fits in a level frame. You can always stitch two images together vertically (bracketing) if you absolutely need more height, but never compromise the geometry of a single shot unless you have no other choice.
Gear That Helps: Tilt-Shift Lenses vs. Wide-Angles
If you shoot real estate professionally, you will eventually encounter situations where standing back isn’t an option. Maybe there’s a wall behind you, or the room is tiny. This is where specialized gear shines.
Tilt-shift lenses are the gold standard for architectural photography. They allow you to move the lens element relative to the sensor. By shifting the lens upward while keeping the camera body level, you can capture the ceiling without tilting the camera. The result? Perfectly straight verticals right out of the camera.
However, tilt-shift lenses are expensive ($1,500+) and slow to use. For many photographers, a high-quality wide-angle zoom (like a 16-35mm f/4) combined with software correction is a more efficient workflow. Modern mirrorless cameras and editing software have become incredibly good at fixing minor distortions. The key is knowing when to rely on optics and when to rely on pixels.
Fixing Convergence in Post-Production
Even with the best technique, some shots require rescue. Whether you forgot to level the camera or simply couldn’t step back, correcting verticals in Lightroom or Photoshop is straightforward. Here is how to do it efficiently.
Using Adobe Lightroom Classic
Lightroom has a dedicated tool for this exact problem. Open the Develop module and navigate to the Transform panel.
- Select the Upright mode. You will see four options: Auto, Guided, Level, and Full.
- Start with Auto. Often, Lightroom’s AI detects the dominant vertical lines and corrects them instantly.
- If Auto fails, switch to Guided. Click on four points along the edges of the image that should be vertical. Draw a line along the left wall edge, then the right wall edge. Lightroom will warp the image to make these lines parallel.
- Adjust the Amount slider if the correction looks unnatural. Sometimes 80% correction looks better than 100%.
Using Photoshop
Photoshop offers more granular control via the Perspective Crop tool or the Lens Correction filter.
- Perspective Crop: Select the tool, draw a box around the subject, and drag the corners until they align with the actual vertical lines in the photo. Press Enter to apply. This crops and transforms simultaneously.
- Free Transform: Convert your layer to a Smart Object. Go to Edit > Transform > Distort. Drag the top corners inward until the walls look straight. This method gives you visual feedback in real-time.
A critical tip: Always convert layers to Smart Objects before transforming. This allows you to adjust the correction later without losing image quality. Non-destructive editing is non-negotiable in professional workflows.
Common Pitfalls and How to Avoid Them
Correcting verticals isn't just about making lines straight. It’s about maintaining natural proportions. Over-correcting can make a room look like it’s bulging outward or pinching inward.
Beware of barrel distortion: Wide-angle lenses naturally curve straight lines outward. If you correct verticals without addressing lens profile distortion, you might end up with walls that look slightly convex. Always enable the Remove Chromatic Aberration and Enable Profile Corrections checkboxes in Lightroom first. Let the lens profile handle the curvature, then use Upright for the tilt.
Watch the floor: When you stretch an image vertically to fix converging lines, you also stretch the floor tiles or wood planks. If the pattern becomes obviously warped, you’ve gone too far. Zoom in to 100% and check repetitive patterns. If the grout lines in a bathroom tile look irregular, dial back the correction.
Don't ignore the background: If you’re shooting an exterior, trees, power lines, and neighboring buildings all have verticals. Use them as reference points. If you only focus on the house facade and ignore the tree next to it, the final image might look disjointed.
When to Break the Rules
Rules exist to guide us, not enslave us. There are times when converging lines add drama or context.
In luxury interiors with soaring cathedrals ceilings, a slight upward tilt can emphasize grandeur. In these cases, ensure the convergence is symmetrical and controlled. Don’t let it look accidental. Also, consider the buyer’s perspective. If you’re selling a loft apartment with industrial beams, showing the height is crucial. A perfectly level shot might cut off the beams entirely. In such scenarios, a slight tilt is acceptable if it serves the marketing goal.
Another exception is creative storytelling. If you’re creating a brochure cover rather than a MLS listing photo, artistic expression takes precedence over geometric accuracy. Just know the difference between a "listing photo" and a "marketing asset." Listing photos sell the space; marketing assets sell the lifestyle.
Workflow Checklist for Perfect Verticals
To streamline your process, integrate these steps into every shoot:
- Pre-Shoot: Calibrate your monitor. You can’t fix what you can’t see accurately.
- Capture: Shoot tethered if possible. Check levels on a large screen immediately.
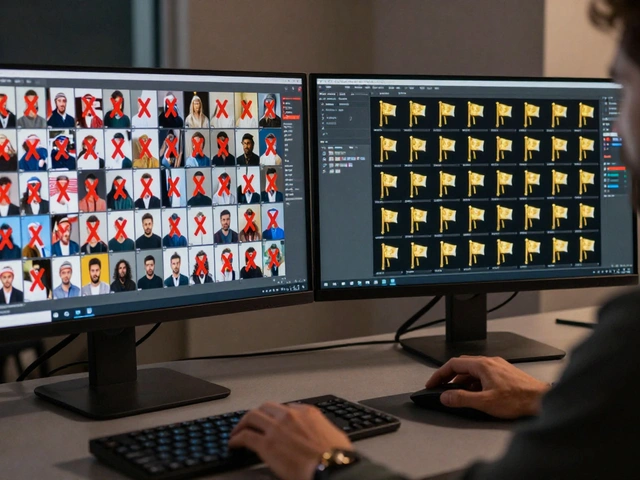
- Selection: Flag images that require heavy correction. Ask yourself: "Can I fix this in 30 seconds?" If yes, keep it. If no, reshoot.
- Edit: Apply lens profiles first. Then apply Upright corrections. Finally, fine-tune with manual transform tools.
- Review: Step back from the screen. Does the room feel balanced? Or does it feel manipulated?
Mastering vertical correction transforms your portfolio. It shows clients that you respect the architecture and understand the buyer’s eye. It’s a technical skill, yes, but it’s also a communication tool. Straight lines say, "This home is solid, spacious, and ready for you."
What causes converging verticals in photos?
Converging verticals occur when the camera sensor is not parallel to the subject's vertical plane. This usually happens when you tilt the camera up or down to fit a tall object into the frame, causing parallel lines to appear to meet at a vanishing point.
Is a tilt-shift lens worth it for real estate photography?
For high-volume professionals, yes. Tilt-shift lenses allow you to shift the lens axis while keeping the camera level, eliminating distortion optically. This saves significant time in post-production and maintains maximum image resolution. For hobbyists or occasional shooters, software correction is often sufficient.
How do I fix verticals in Lightroom?
Use the Upright tool in the Transform panel. Start with 'Auto' for quick fixes. If that doesn't work, use 'Guided' mode and click on four points along the edges of the image that should be vertical. Adjust the amount slider to blend the correction naturally.
Does cropping affect vertical correction?
Yes. Cropping after correction can remove parts of the corrected area, potentially revealing empty white spaces created by the warp. Conversely, cropping before correction can change the aspect ratio, affecting how the Upright tool interprets the scene. Generally, correct first, then crop to composition.
Can I fix severe distortion in JPEG files?
You can, but RAW files are superior. Severe warping stretches pixel data, leading to artifacts and loss of sharpness. JPEGs have less latitude for recovery. If you must shoot JPEG, try to minimize the initial tilt during capture to reduce the need for aggressive post-processing.