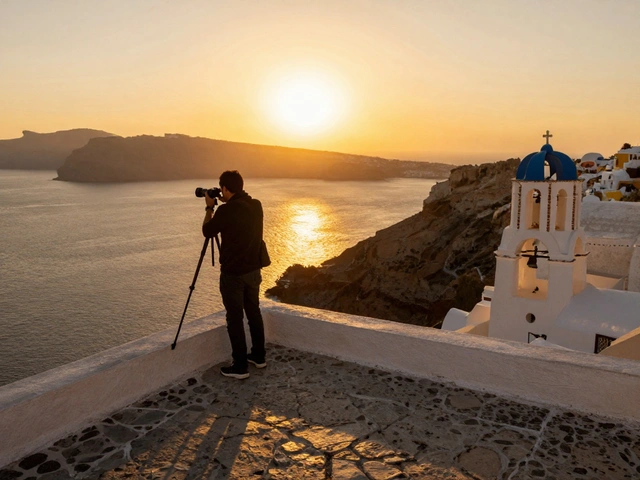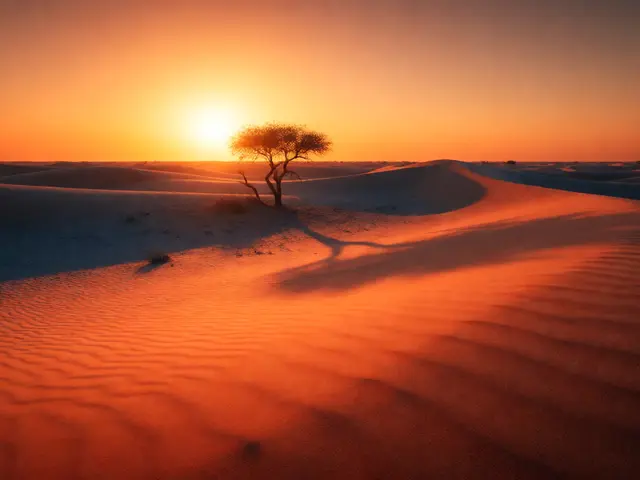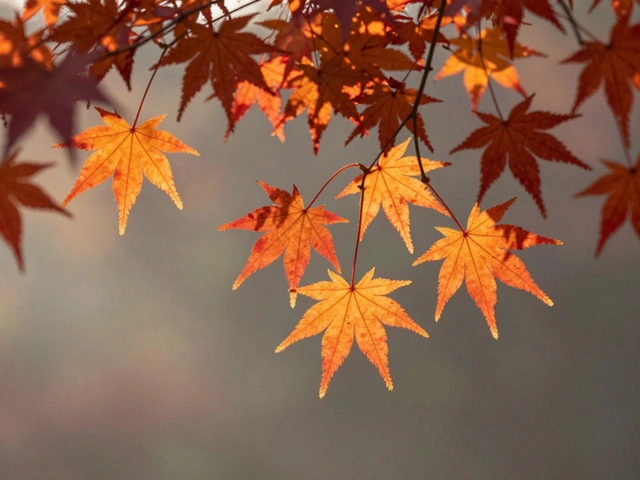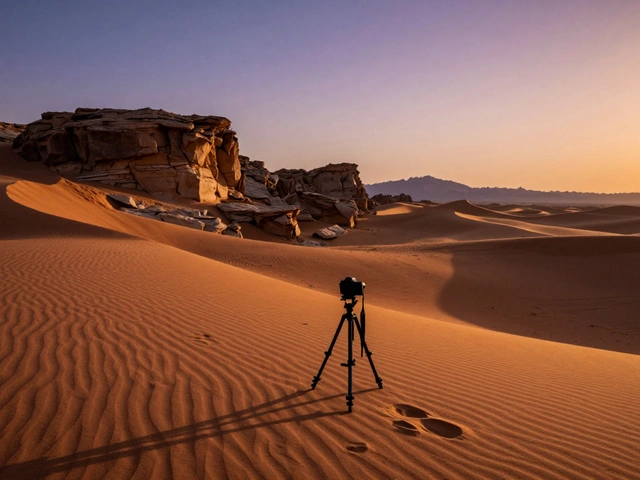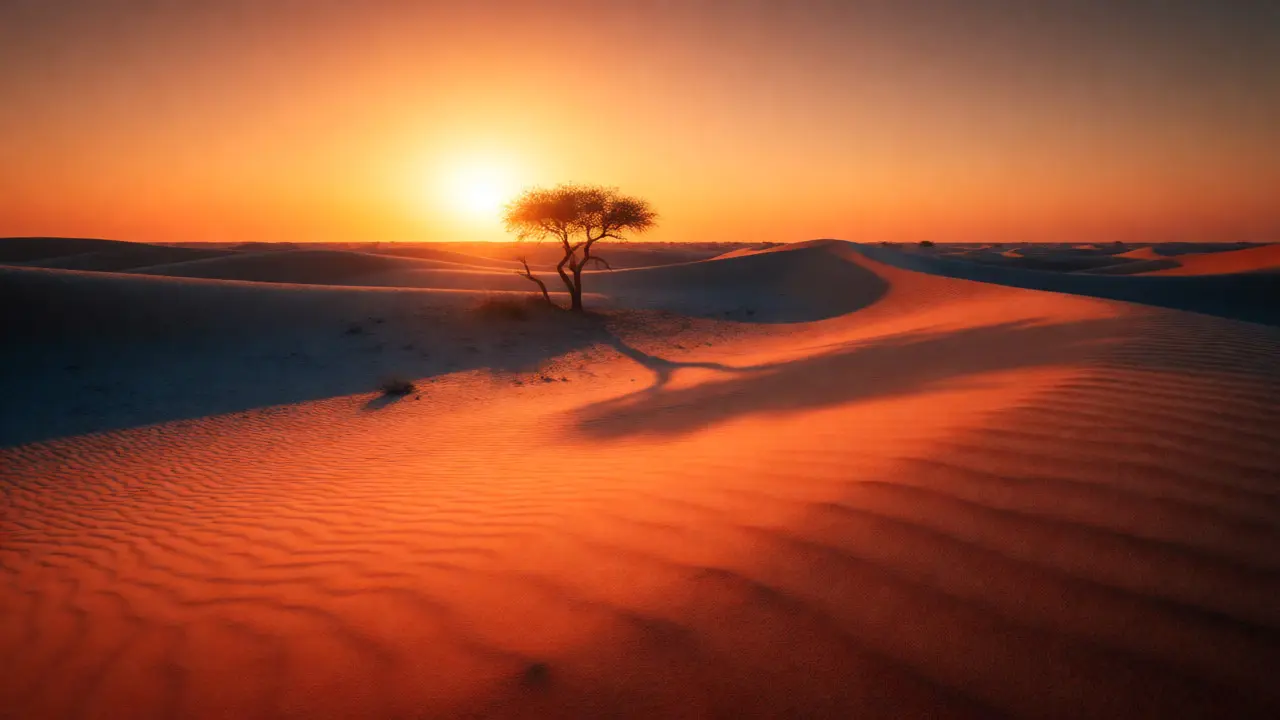
You know that feeling when you step outside just before the sun dips below the horizon? The world suddenly looks like it’s been dipped in honey. Everything glows. Shadows stretch out long and soft. Colors pop without looking oversaturated. That is Golden Hour, a specific window of time shortly after sunrise or before sunset where sunlight travels through more of the Earth's atmosphere, scattering blue light and leaving behind rich reds, oranges, and yellows. For landscape photographers, this isn't just a pretty moment; it's the prime time to capture depth, texture, and emotion in your shots.
But here is the catch: golden hour is fleeting. Depending on where you are on the planet, you might have 20 minutes, maybe an hour if you’re near the equator. Miss it, and you’re stuck with harsh midday glare or flat, boring twilight. This guide breaks down exactly when to shoot, how to set up your gear, and what techniques actually work to nail those warm, glowing landscapes every single time.
Why Golden Hour Works (And Why You Should Care)
Light quality changes everything. At noon, the sun is high overhead. It creates short, harsh shadows and blows out highlights. It’s technically difficult to expose correctly because the dynamic range-the difference between the brightest sky and the darkest ground-is often too wide for cameras to handle cleanly.
Golden Hour solves this problem naturally. Because the sun is low, its light hits the landscape at a shallow angle. This raking light emphasizes texture in rocks, trees, and water. It also reduces contrast, allowing your camera sensor to capture detail in both the bright sky and the shadowed foreground simultaneously. Plus, the color temperature drops significantly. While midday light sits around 5500K (neutral white), golden hour light can drop to 3000K-4000K, injecting that warm, nostalgic feel directly into the raw data of your image.
| Time of Day | Color Temp (Kelvin) | Shadow Length | Contrast Level | Best For |
|---|---|---|---|---|
| Midday | ~5500K | Short/Harsh | High | Documentary, High Contrast B&W |
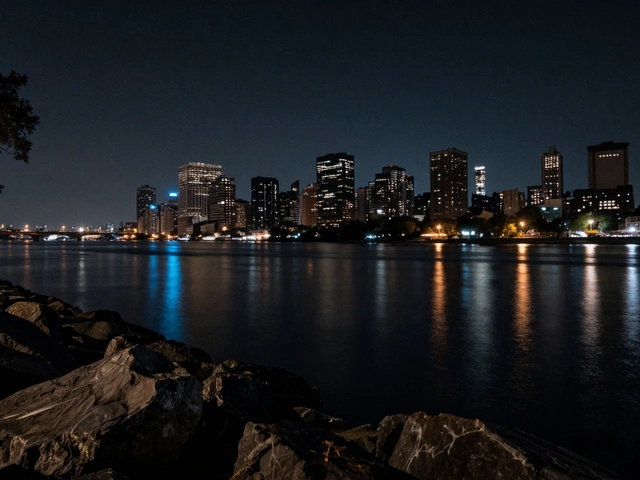
| Blue Hour | ~10000K+ | Negligible | Low | Cityscapes, Moodiness |
| Golden Hour | 3000K-4000K | Long/Soft | Moderate | Landscapes, Portraits, Textures |
Timing Your Shot: When Exactly Is Golden Hour?
Most people think golden hour lasts 60 minutes. In reality, it varies wildly based on latitude and season. Near the equator, the sun rises and sets vertically, meaning the transition from day to night is rapid. You might get only 20-30 minutes of true golden light. Up in Portland, Oregon, during summer, the sun arcs low across the sky, stretching that golden window out to nearly two hours.
Don’t guess. Use tools. Apps like PhotoPills or The Photographer’s Ephemeris allow you to simulate exactly where the sun will be relative to your location. They show you the azimuth (direction) and elevation (height) of the sun minute-by-minute.
- Pre-Golden Hour: Arrive 30-45 minutes before the official "golden hour" start time listed in apps. Set up your tripod, compose, and check focus. The light right before is still decent but getting warmer.
- Peak Golden Hour: This is usually the first 15-20 minutes after sunrise or the last 15-20 minutes before sunset. The light is most directional and colorful here.
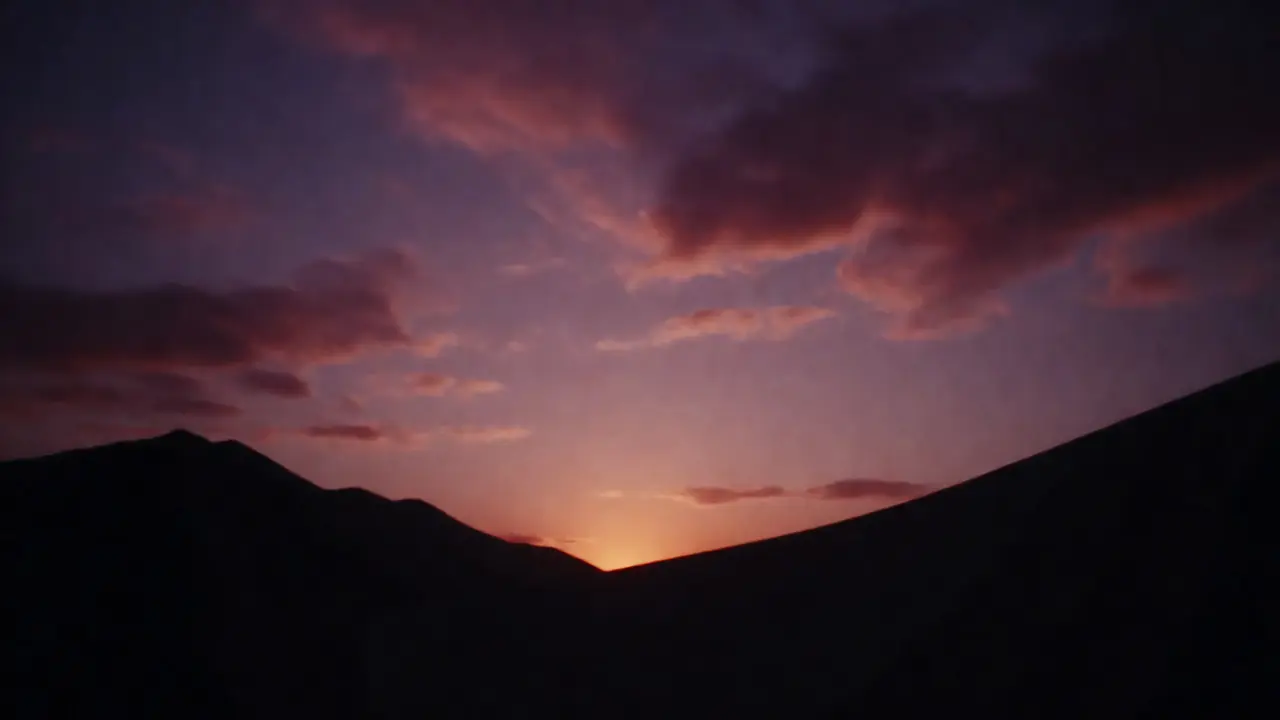
- Post-Golden Hour: Once the sun disappears below the horizon, don’t pack up immediately. The sky often retains deep oranges and purples for another 10-15 minutes. This is great for silhouettes.
Camera Settings That Nail the Look
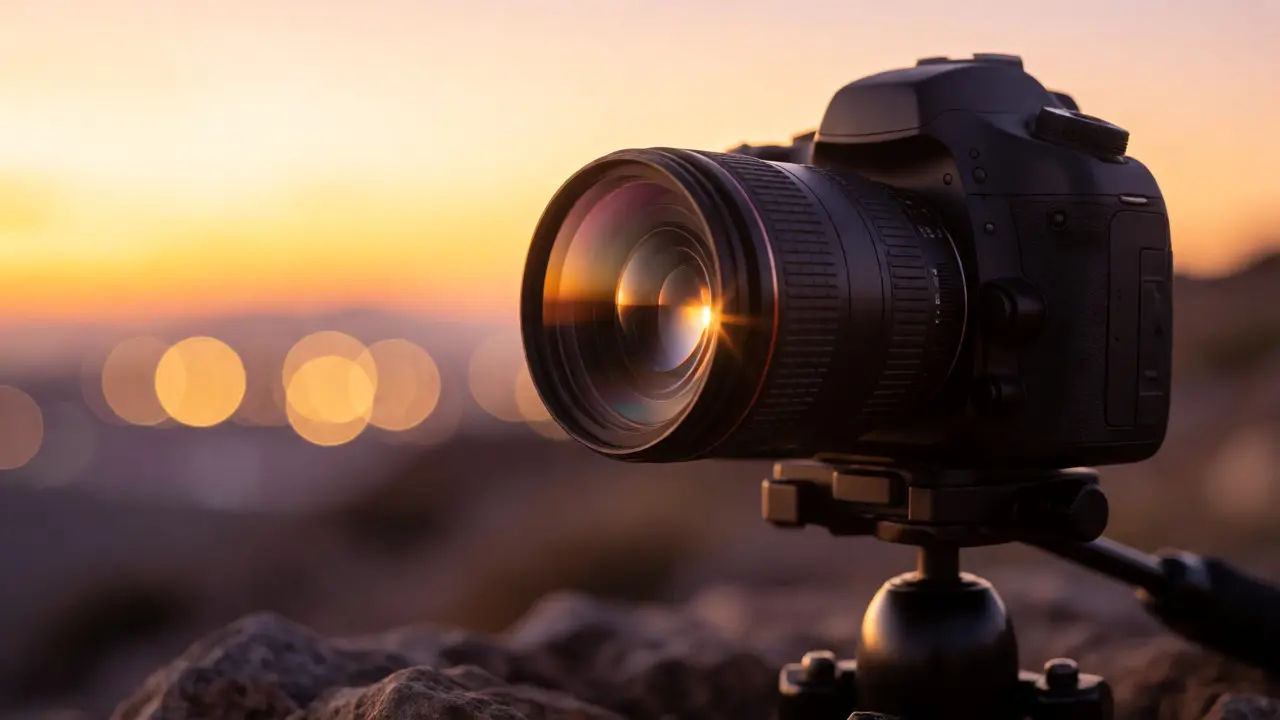
Auto mode often fails in golden hour because the camera tries to balance the bright sky against the dark foreground, resulting in muddy colors or blown-out highlights. Switch to Manual or Aperture Priority mode. Here is the baseline strategy I use for static landscapes.
Aperture: Stick to f/8 to f/11. This gives you maximum sharpness across the frame (the sweet spot for most lenses) and enough depth of field so both foreground rocks and distant mountains are in focus. Going wider than f/5.6 risks soft edges; going narrower than f/16 introduces diffraction, which softens the whole image.
ISO: Keep it as low as possible, ideally ISO 100 or 200. Golden hour light is dimmer than midday, so you need longer exposures. Low ISO ensures clean files with minimal noise, giving you more flexibility in post-processing.
Shutter Speed: Let the aperture and ISO dictate this. If your shutter speed drops below 1/60th of a second, use a tripod. If you want motion blur in clouds or water, aim for 1-5 seconds. Use a remote shutter release or your camera’s 2-second timer to prevent shake.
White Balance: This is controversial. Some shooters leave it on Auto and fix it later. I prefer setting it manually to "Cloudy" or "Shade" (around 6000K-7000K). Why? Because the camera’s auto-white balance will try to neutralize the orange cast, making the scene look gray and lifeless. By forcing a cooler white balance, you trick the camera into preserving the natural warmth of the sunlight.
Composition Tricks for Maximum Impact
Warm light alone doesn’t make a good photo. You need strong composition. Since the light is directional, use it to your advantage.
Lead with Long Shadows: Position yourself so shadows extend toward the viewer or lead into the scene. A lone tree casting a long shadow across a field creates depth and guides the eye. Avoid having shadows fall directly onto your subject unless you want a silhouette.
Include Foreground Interest: Golden hour flattens distance slightly compared to harsh midday light. Anchor your image with a strong foreground element-a rock, a flower, a piece of driftwood. Place it in the lower third of the frame. Get close. Wide-angle lenses exaggerate the size of foreground objects, creating a dramatic sense of scale.
Shoot Into the Sun (Carefully): Facing the sun creates lens flare and starbursts. To control flare, stop down your aperture (f/16-f/22) and partially block the sun with a tree branch or mountain peak. This adds artistic flair without washing out the entire image. Just watch out for ghosting artifacts-those weird colored circles that aren’t part of the scene.
Dealing With Common Pitfalls
Even experienced shooters mess up golden hour photos. Here are the most frequent issues and how to fix them.
The Sky is Blown Out: If the sky is pure white while the land is black, your exposure is off. Try bracketing your shots (take three images: one normal, one darker, one lighter) and blend them later in software. Or, use a graduated neutral density filter to darken the top half of the frame.
Colors Look Fake: Did you crank the saturation slider until the grass looked radioactive? Less is more. Golden hour should feel subtle. Adjust vibrance rather than saturation. Vibrance protects skin tones and prevents already-saturated colors from clipping.
Lens Flare Ruining Sharpness: Strong backlight can cause internal reflections inside your lens, reducing contrast. Use a lens hood. If flare persists, reposition your camera slightly left or right until the sun moves behind an object.
Editing Tips for Post-Processing
You’ve captured the shot. Now, enhance it without destroying it. Open your RAW file in Lightroom or Capture One.
- Adjust Exposure: Lift the shadows slightly to reveal detail, but don’t overdo it. You want contrast, not a flat HDR look.
- Tune White Balance: Nudge the temperature slider toward yellow/orange if the image feels too cool. Add a touch of magenta to counteract any greenish casts from vegetation.
- Local Adjustments: Use a radial filter or brush to brighten the main subject. Darken the corners slightly with a vignette to draw attention inward.
- Split Toning: Add a hint of orange to the highlights and teal to the shadows. This complementary color scheme enhances the perception of warmth and depth.
Remember, editing should support the mood, not create it. If the original light was weak, no amount of sliders will save it. Sometimes, accepting a moody, underexposed image is better than forcing a fake sunset glow.
How long does golden hour actually last?
It depends on your latitude. Near the equator, it may last only 20-30 minutes. In higher latitudes during summer, it can stretch to 90 minutes or more. Always check local sunrise/sunset times using a specialized app like PhotoPills for precision.
Do I need a special filter for golden hour photography?
Not necessarily, but a Graduated Neutral Density (GND) filter helps balance exposure between the bright sky and darker foreground. A polarizing filter can also deepen blues and reduce glare, though it may cut some light, requiring slower shutter speeds.
What is the best white balance setting for warm light?
Set your white balance to "Cloudy" or "Shade" (approx. 6000K-7000K). This prevents the camera from neutralizing the natural orange hues. Alternatively, shoot in RAW and adjust the temperature in post-production for full control.
Can I shoot golden hour on cloudy days?
Yes, but it looks different. Clouds diffuse the light, creating soft, even illumination without harsh shadows. While you lose the direct sun rays, you gain moody skies and vibrant colors breaking through cloud gaps. It’s less predictable but often stunning.
Why do my golden hour photos look noisy?
Noise appears when you raise ISO to compensate for low light. Keep ISO at 100-200 and use a tripod to allow longer shutter speeds. If handheld, ensure your shutter speed is faster than 1/focal length (e.g., 1/50s for a 50mm lens) to avoid blur, then increase ISO moderately.