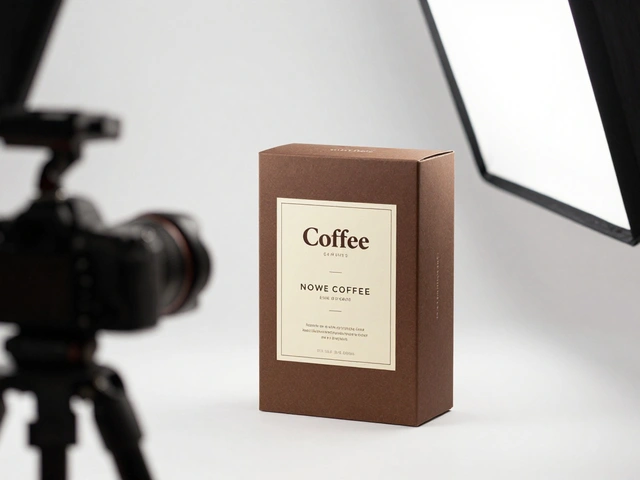
Most amateur product shots fail not because of the camera, but because the light is flat. If your products look like they were taken in a garage with a single overhead bulb, you're missing the depth that makes buyers trust what they see. Professional product photography lighting relies on controlled direction and contrast to highlight texture, shape, and material quality.
This guide breaks down exactly how to build professional-grade setups using just two or three lights. You don't need a massive budget or a team of assistants. You need specific gear, precise positioning, and an understanding of how light interacts with different surfaces. Whether you are shooting matte ceramics, glossy electronics, or transparent glass, these configurations will transform your work from hobbyist to commercial standard.
The Core Principles of Studio Light Control
Before placing a single lamp, understand that light is a physical tool. In Studio Lighting is a system of artificial light sources used to control illumination in a controlled environment. Unlike natural window light, which shifts color temperature and intensity throughout the day, studio lights offer consistency. This consistency is critical for e-commerce catalogs where every image must match the last.
Two key attributes define your lighting quality: hardness and direction. Hard light creates sharp shadows and high contrast, emphasizing texture. Soft light creates gentle gradients and minimal shadows, flattering smooth surfaces. The distance between the light source and the subject determines this hardness. A small, bare bulb close to the object creates hard light. A large softbox far away creates soft light. For most product work, you want a balance-enough definition to show form, but enough softness to avoid harsh glare.
Direction matters just as much. Light coming from directly above flattens the object. Light from the side reveals depth. Light from behind separates the product from the background. By manipulating these vectors, you sculpt the object visually without touching it.
The Two-Light Setup: Key and Fill
The two-light configuration is the foundation of efficient product photography. It consists of a key light and a fill light. This setup is ideal for beginners or when shooting high volumes of similar items, such as clothing lines or standardized packaging.
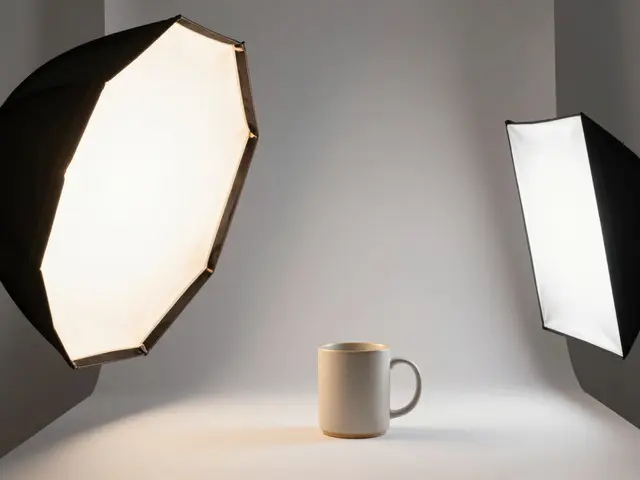
- Position the Key Light: Place your primary light at a 45-degree angle to the subject, slightly elevated. This is the main source of illumination. It defines the shape and casts the primary shadow. Use a medium-sized softbox (around 30 inches) for general goods. For reflective objects like metal or glass, use a strip box to create long, thin reflections rather than broad blobs.
- Position the Fill Light: Place the second light on the opposite side of the subject, also at a 45-degree angle. However, keep it closer to the camera axis than the key light. Its job is not to illuminate the whole object, but to lift the shadows created by the key light. Reduce its power to about 50-70% of the key light's intensity. If the fill is too strong, the image looks flat. If it's too weak, the shadows become muddy black holes.
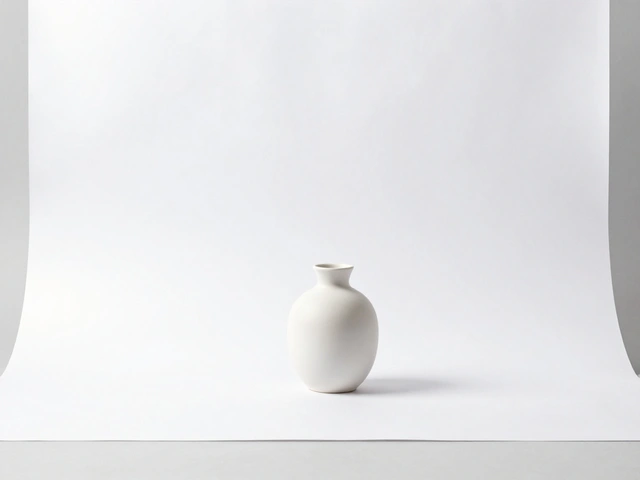
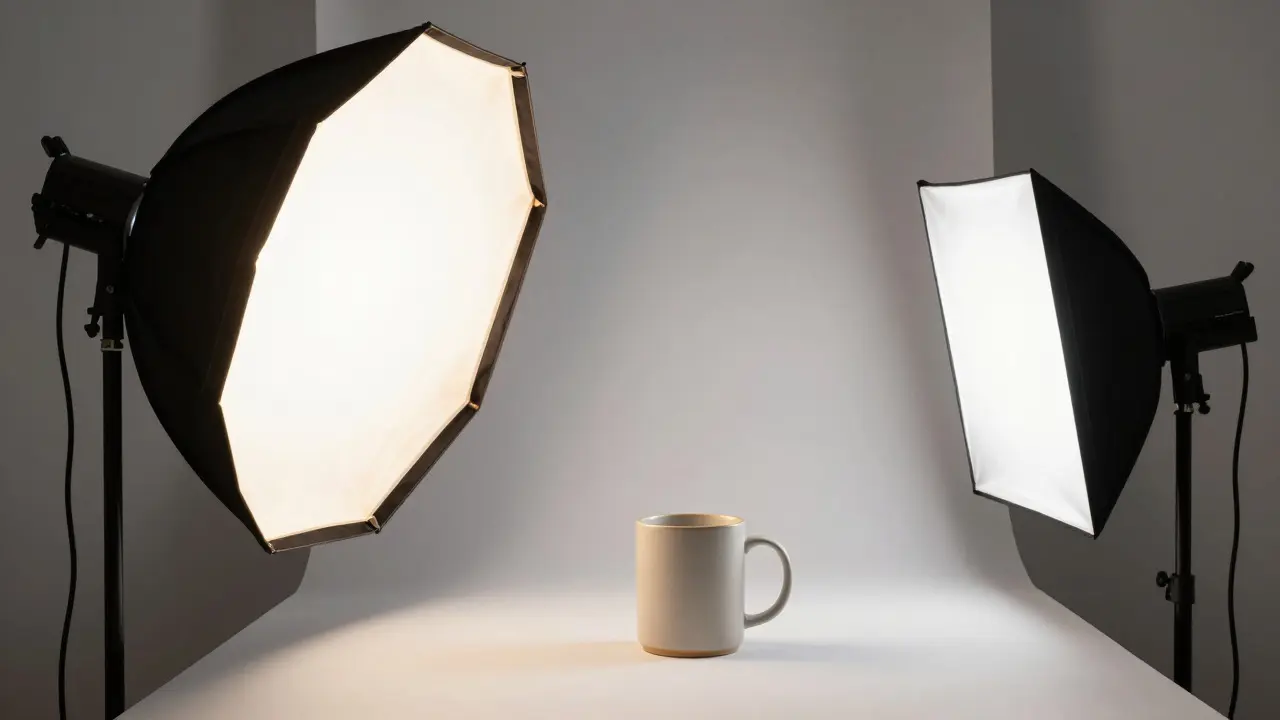
This arrangement creates a classic "Rembrandt" style pattern on many objects, providing a sense of volume while keeping the background clean. It works exceptionally well for opaque materials like plastic, wood, and painted metal. For example, when photographing a matte ceramic mug, the key light highlights the curve of the handle, while the fill light ensures the interior isn't completely dark.
The Three-Light Setup: Adding Depth with Rim Light
When you move to more complex subjects-glossy electronics, jewelry, or bottles with intricate shapes-the two-light setup often leaves important details hidden in shadow. This is where the third light comes in. The three-light setup adds a rim light (or hair light) to separate the subject from the background and add sparkle to edges.
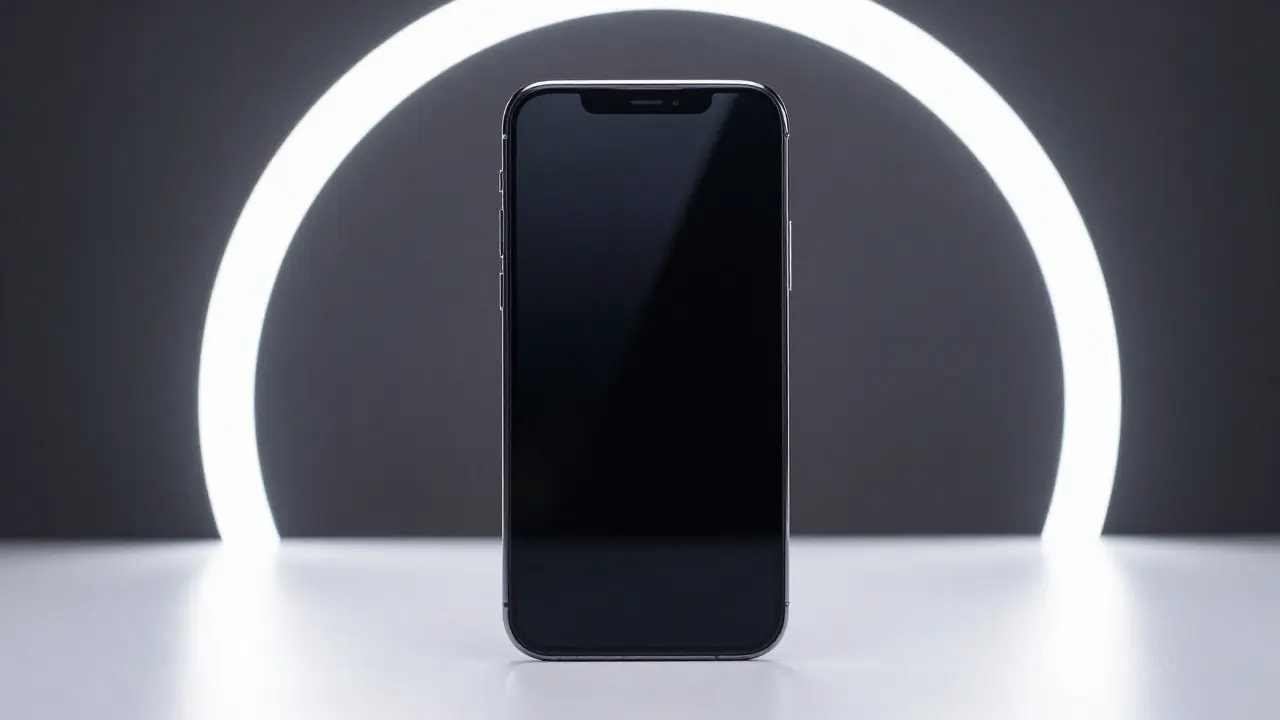
- Rim Light Placement: Position this light behind the subject, aimed at the back edge. It should be higher than the subject, shining down onto the top rear surface. This creates a bright outline along the silhouette, making the product pop off the white or gray backdrop.
- Controlled Reflections: On glossy items, the rim light creates a distinct streak of light along the top edge. This visual cue tells the viewer that the object has thickness and presence. Without it, a black phone case might blend into a dark shadow; with it, the edges glow, defining the form clearly.
- Power Balance: The rim light is usually the weakest of the three, set to 30-50% of the key light. Too much rim light distracts from the front face of the product. Too little, and it fails to do its job of separation.
This configuration is the industry standard for high-end commercial catalogs. It provides full dimensional coverage: the key defines the front, the fill softens the sides, and the rim defines the back. It requires more time to set up, but the payoff is images that feel expensive and polished.
Choosing the Right Modifiers for Different Materials
Lighting position is only half the battle. The modifier attached to your light head dictates how the light hits the surface. Using the wrong modifier can ruin a shot regardless of your angles.
| Modifier Type | Best For | Light Quality | Key Attribute |
|---|---|---|---|
| Softbox (Octagon/Square) | Matte plastics, fabric, food | Soft, diffused | Minimizes harsh shadows, creates even illumination |
| Strip Box | Glass bottles, metal cans, cosmetics | Narrow, directional | Creates long, thin reflections for elegance |
| Umbrella (Shoot-through) | Budget setups, quick portraits | Very soft, broad | Larger effective source size, lower cost |
| Snoot/Grid | Accent lighting, specific highlights | Hard, focused | Controls spill, targets specific areas only |
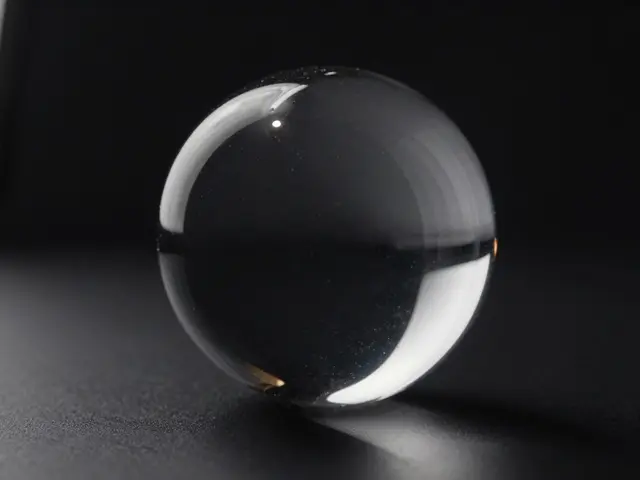
For instance, if you are shooting a clear perfume bottle, a large softbox will create a huge, blurry reflection that obscures the liquid inside. Instead, use a strip box. The narrow shape of the light creates a crisp vertical line of light on the glass, highlighting the contour of the bottle without washing out the label. Conversely, for a rough-hewn wooden toy, a large octagonal softbox wraps around the grain, showing the texture without creating distracting dark spots.
Practical Workflow: From Setup to Capture
Knowing the theory is one thing; executing it consistently is another. Here is a practical workflow to streamline your session.
- Calibrate Your White Balance: Before shooting, take a test photo of a neutral gray card under your lighting setup. Adjust your camera's white balance manually to match the Kelvin rating of your lights (usually 5500K for daylight-balanced LEDs). This prevents color shifts between shots.
- Use a Tripod and Remote Shutter: Product photography often requires slower shutter speeds or smaller apertures for deep depth of field. A tripod eliminates camera shake. A remote release allows you to adjust focus precisely without moving the body.
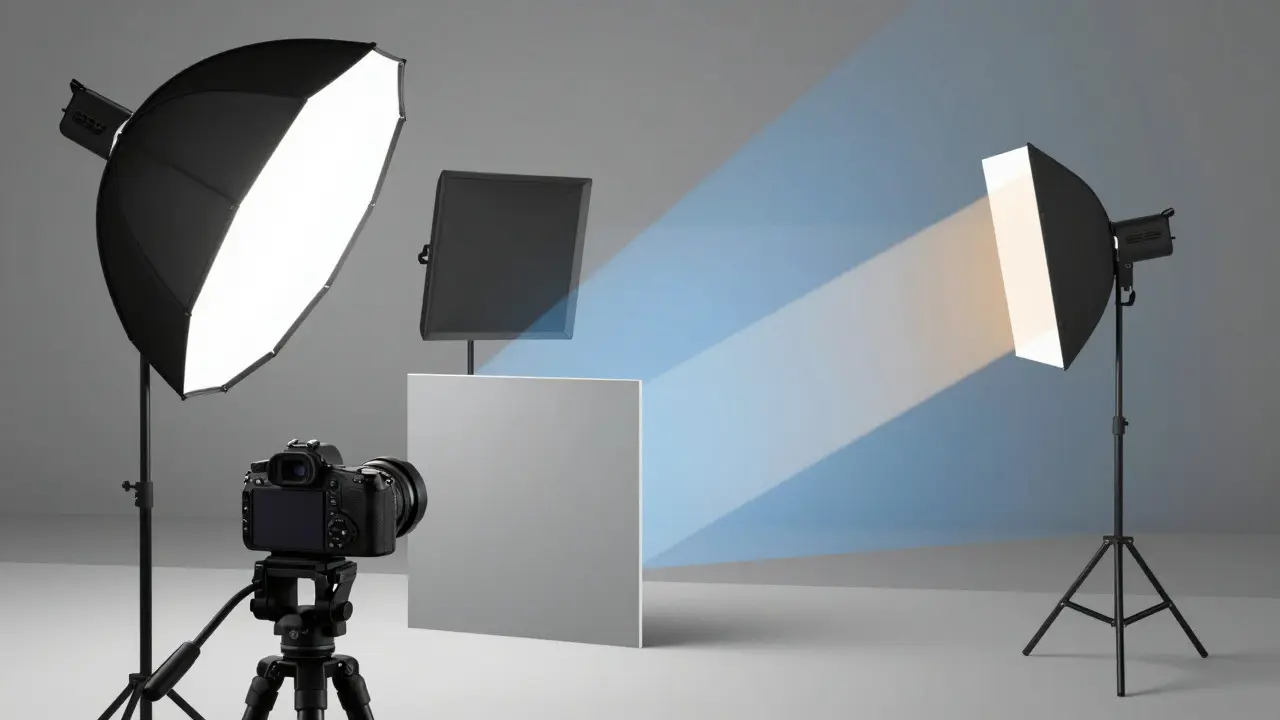
- Start with One Light: Don't turn on all three lights immediately. Start with the key light. Frame your shot and check the composition. Then add the fill. Finally, add the rim. This step-by-step approach helps you see exactly what each light is doing.
- Check for Hotspots: Zoom in on your preview. Look for overexposed areas on shiny surfaces. If a highlight blows out, reduce the power of that specific light or move it further away. Highlights are harder to recover in post-production than shadows.
Consistency is key. Once you dial in a setup for a specific type of product, save your camera settings and light positions. Create presets on your light heads so you can replicate the exact same look for the next item in the series. This efficiency is what separates professional workflows from casual snapshots.
Common Mistakes to Avoid
Even experienced photographers make these errors. Watch out for them to maintain image quality.
- Mixed Color Temperatures: Ensure all lights have the same color temperature. Mixing 3200K tungsten with 5500K LED creates unnatural skin tones (if people are present) or inconsistent product colors. Use gels if you must mix types, but better to buy consistent LED panels.
- Ignoring Background Spill: If your key light is too powerful, it will wash out the background, making it uneven. Use barn doors or flags to block light from hitting the backdrop directly. You want the product lit, not the wall behind it.
- Over-Filling Shadows: Beginners often crank up the fill light until there are no shadows left. This kills the dimensionality of the product. Keep some shadow detail. It proves the object exists in 3D space.
- Reflections from Equipment: Be aware of your own gear reflecting in the product. Tripods, light stands, and your own shadow can appear in glossy items. Use black cloth covers on stands and shoot from angles that hide your presence.
Frequently Asked Questions
Do I need continuous lights or strobes for product photography?
Both work, but continuous LED lights are generally easier for beginners and faster for setup. They allow you to see the result instantly through the viewfinder. Strobes provide more power and flash duration, which is useful for freezing motion or achieving very fast shutter speeds, but they require modeling lights or test shots to see the final effect. For most static product shots, high-quality continuous LEDs are sufficient and more user-friendly.
What is the best aperture for product photography?
There is no single best aperture, but f/8 to f/16 is the typical range. This provides a deep depth of field, ensuring that both the front and back of the product are in sharp focus. Avoid going wider than f/5.6 unless you intentionally want a shallow depth of field for artistic effect, as this can blur important details like labels or textures.
How do I photograph reflective objects like mirrors or chrome?
Reflective objects reflect their environment. To control what they show, you must control what surrounds them. Use large, diffuse light sources to create smooth gradients. Block unwanted reflections with black cards or foam board. Often, you need to position lights specifically to create the desired 'window' or 'line' reflection on the surface, rather than trying to illuminate the object directly.
Is natural window light good enough for professional product photos?
Natural light can produce beautiful results, especially for lifestyle shots. However, it is inconsistent. Clouds change intensity, and the sun moves, changing angles and color temperature. For e-commerce catalogs requiring uniformity across hundreds of images, artificial studio lighting is necessary. Natural light is best reserved for hero shots or marketing images where slight variations are acceptable or desirable.
What lens focal length should I use for product photography?
A macro lens (90mm to 105mm on full-frame cameras) is ideal for small products like jewelry, watches, and gadgets. It provides true magnification and minimal distortion. For larger items like furniture or appliances, a standard 50mm or 85mm lens may suffice. Avoid wide-angle lenses (under 35mm) as they introduce perspective distortion, making straight lines curve and objects look unnaturally shaped.