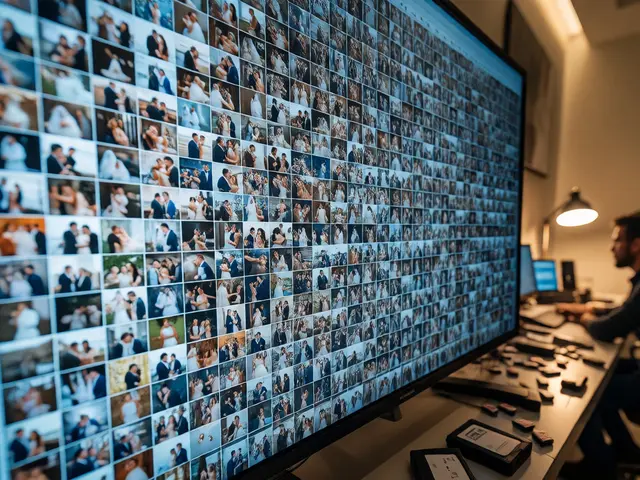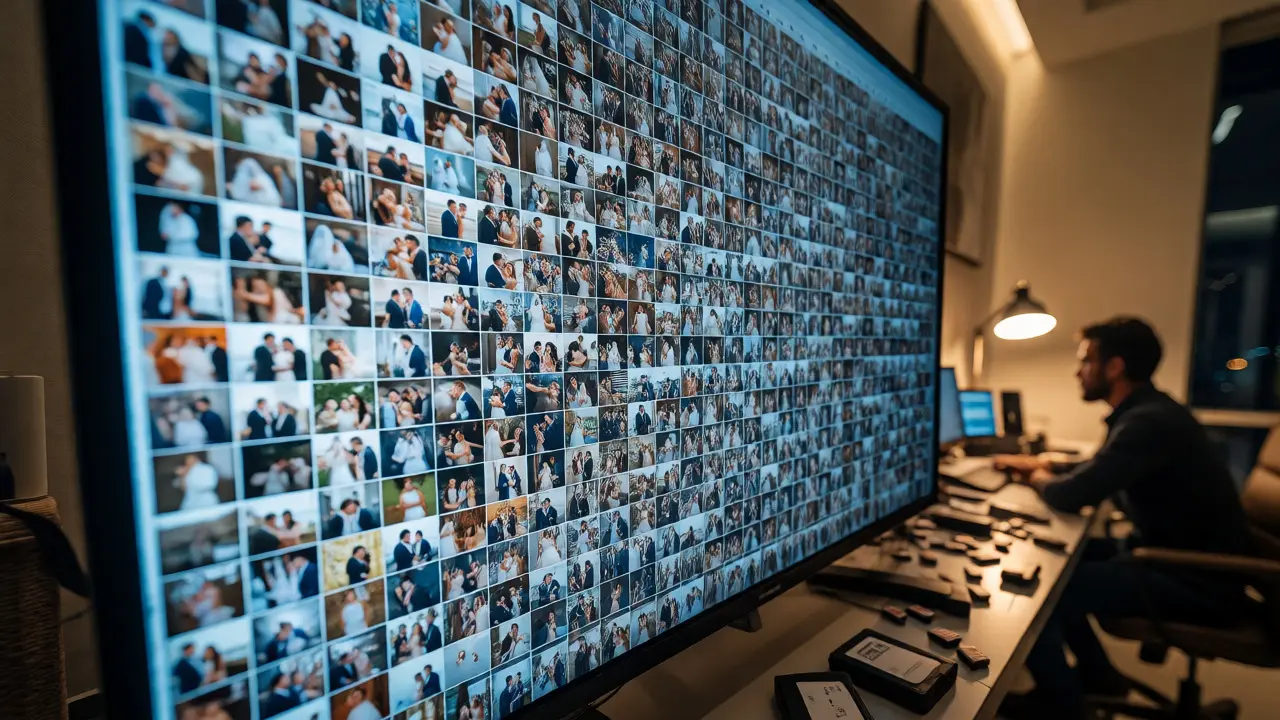
You just got back from a wedding or a major corporate event. Your memory cards are full. You open your editing software and see 2,500 raw files staring back at you. If you edit each one manually, taking even two minutes per image, you’re looking at over 80 hours of work. That’s two weeks of nothing but clicking sliders. The secret to surviving this isn’t working harder; it’s working smarter through batch processing. This is the systematic application of edits to multiple images simultaneously, allowing photographers to maintain consistency and speed without sacrificing quality.
Most beginners think batch processing means applying one preset to everything and calling it done. That’s a recipe for flat, lifeless photos. Real efficiency comes from a tiered approach: grouping similar shots, applying global adjustments, and then making targeted local tweaks only where necessary. Whether you use Adobe Lightroom Classic, Capture One, or Darktable, the logic remains the same. You stop treating every file as unique and start treating them as part of a cohesive set.
Why Batch Processing Saves Your Sanity
Time is money, especially for freelancers. But beyond billing rates, there’s creative fatigue. After editing 50 portraits, your eyes adjust to the screen, and you lose objectivity. You might miss color casts or exposure errors that would be obvious if you were fresh. Batch processing reduces the cognitive load by handling the repetitive tasks automatically. It allows you to reserve your mental energy for the hero shots-the ones that actually need artistic intervention.
Consistency is another massive benefit. Clients don’t want a gallery where five photos look warm and golden while the next five look cool and blue. When you apply settings across a group of images taken under similar lighting conditions, you ensure a uniform look. This is critical for albums, websites, and print products. A consistent visual language makes your portfolio look professional and curated, rather than like a random dump of files.
The Pre-Processing Phase: Culling Is King
You cannot effectively batch process a pile of junk. If you try to apply edits to blurry shots, missed focus, or duplicate frames, you’re wasting time on images that will never make the final cut. The first step in any efficient workflow is culling. This is the process of selecting the best images and discarding the rest before you touch a single slider.
Use tools designed for speed. In Lightroom, use the Library module with grid view. Press 'G' for Grid and 'L' for Loupe. Use keyboard shortcuts to flag keepers (P) and reject duds (X). Be ruthless. If a shot is technically fine but doesn’t add value to the story, bin it. Aim to reduce your initial import by 30-50%. Editing 1,000 great photos is faster and more satisfying than editing 2,000 mediocre ones.
- First Pass: Remove obvious technical failures (blur, bad exposure).
- Second Pass: Select the strongest composition and expression.
- Third Pass: Check for duplicates and choose the single best version.
Building Your Global Baseline
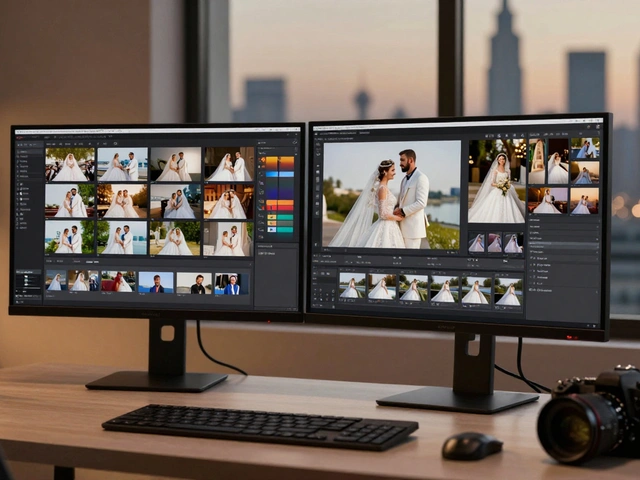
Once you’ve culled your selection, move to the Develop or Edit module. Here, you establish a "global baseline." These are adjustments that apply to almost every image in the set because they correct camera-specific issues or establish a general mood. Start with lens corrections and noise reduction. Most modern cameras have known distortion profiles. Enabling these fixes saves you from manually correcting lines later.
Next, address white balance. If you shot in auto-white balance, your colors might vary slightly frame-to-frame. Pick one representative image-preferably one with a neutral gray card or skin tone-and get the white balance right. Then, copy those WB settings and paste them onto the rest of the group. This single action harmonizes the entire collection instantly. Don’t worry about perfecting the exposure yet; just get the color temperature consistent.
Leveraging Presets and Auto-Adjustments
Presets are pre-saved sets of instructions. They aren’t magic buttons, but they are powerful starting points. Instead of building your look from scratch for every shoot, create custom presets for common scenarios: "Wedding Indoor," "Outdoor Portrait," "Corporate Headshot." These presets should handle contrast, clarity, and basic color grading.
When you apply a preset to a batch, it’s rarely perfect for every image. That’s expected. Think of presets as 70% complete edits. You still need to review each image. However, reviewing an image that already has good contrast and color is much faster than starting from zero. For many photographers, using AI-driven auto-adjustments within software like Lightroom or DxO PhotoLab can serve as a smart preset. These tools analyze histogram data and suggest optimal exposure and contrast levels. Always trust your eyes, but let the software do the heavy lifting on math-heavy adjustments.
Synchronized Adjustments vs. Local Tweaks
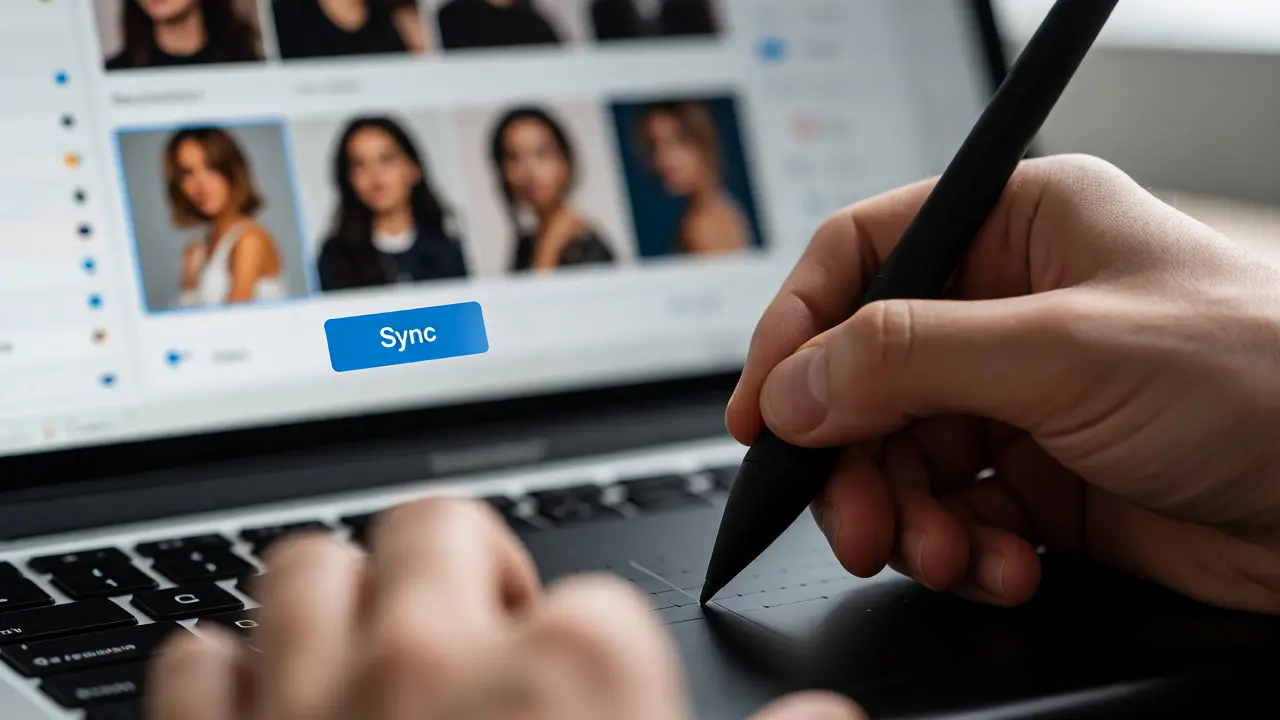
This is where the real skill lies. Synchronization allows you to apply specific settings from one active image to multiple selected images. You can choose exactly what gets synced: exposure, highlights, shadows, color mix, etc. Do not sync crop or rotation unless the images are identical in framing. Usually, you want to sync tonal adjustments and color grading.
After syncing, you’ll notice outliers. Maybe one photo was backlit, or another had a bright window blowing out the highlights. This is where you break away from the batch. Zoom in on these problem children. Use local adjustment brushes or radial filters to fix specific areas. For example, if a subject’s face is too dark in three photos out of fifty, select those three and apply a brush adjustment to lift the shadows on their faces specifically. This hybrid approach-global batch, local rescue-is the gold standard for high-volume editing.
Export Settings and Final Quality Control
Don’t let all that hard work die in the export dialog. Create separate export presets for different uses. Web exports need smaller file sizes and sRGB color space. Print exports need higher resolution and Adobe RGB or ProPhoto RGB depending on the lab’s requirements. Tagging metadata is crucial here. Ensure copyright information, client names, and keywords are embedded during export so your files remain searchable and protected.
Before handing off the final deliverables, do a quick spot check. Open a random sample of 10-20 images at 100% zoom. Look for banding in gradients, oversharpening artifacts, or missed dust spots. If you find an error, go back and re-sync the correction to the whole batch if applicable. It’s better to catch a systemic error now than to have a client point it out after delivery.
| Workflow Stage | Manual Editing Time (per 100 imgs) | Batch Processed Time (per 100 imgs) | Primary Tool |
|---|---|---|---|
| Culling | 45 mins | 20 mins | Lightroom Grid / Photo Mechanic |
| Global Adjustments | 120 mins | 15 mins | Preset + Sync |
| Local Corrections | 60 mins | 45 mins | Brushes / Masks |
| Total Estimated | 225 mins | 80 mins | N/A |
Troubleshooting Common Batch Pitfalls
The biggest mistake photographers make is over-batching. Applying a heavy vignette or strong grain to a batch of diverse images often looks unnatural. Keep your global adjustments subtle. Let the local edits provide the drama. Another trap is ignoring variable lighting. If you’re shooting a sunset, the light changes rapidly. Group your images by time stamps or lighting conditions. Create a sub-batch for the "golden hour" shots and another for the "blue hour" shots. Treat them as separate projects within the same session.
Also, beware of hardware bottlenecks. Batch processing, especially with high-resolution RAW files, demands RAM and fast storage. If your computer freezes when syncing 50 images, try syncing in groups of 10. Upgrade to an SSD for your catalog and cache drives. This small investment pays for itself in reduced wait times.
Does batch processing ruin image quality?
No, batch processing does not inherently degrade quality. It applies mathematical adjustments to pixel values. Quality loss usually comes from aggressive compression during export or excessive sharpening/noise reduction applied blindly via presets. Always review results visually.
How many photos should I batch process at once?
It depends on your computer's power and the complexity of edits. Generally, syncing 10-20 images at a time is safe for most systems. For very heavy operations like noise reduction or lens corrections, limit batches to 5-10 images to prevent crashes.
Can I use batch processing for black and white conversions?
Absolutely. B&W conversion is highly effective for batching because it relies on channel mixing and contrast curves that often translate well across similar scenes. Apply a base B&W preset, then tweak individual contrast levels for dramatic effect.
What is the difference between syncing and presets?
A preset is a saved set of instructions applied to a single image or multiple images independently. Syncing copies specific current settings from one active image to other selected images. Syncing is dynamic and based on the current state of the active photo, while presets are static templates.
Do I need expensive software for batch processing?
Not necessarily. Free software like Darktable and RawTherapee offer robust batch processing capabilities including sync and presets. Paid options like Lightroom and Capture One offer more user-friendly interfaces and advanced masking features, which can speed up the learning curve.