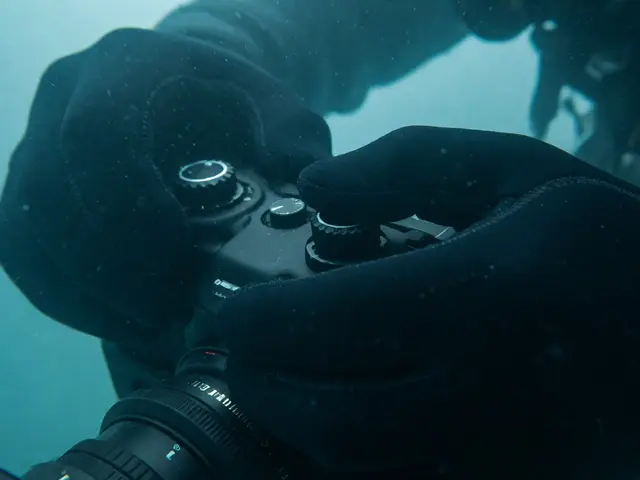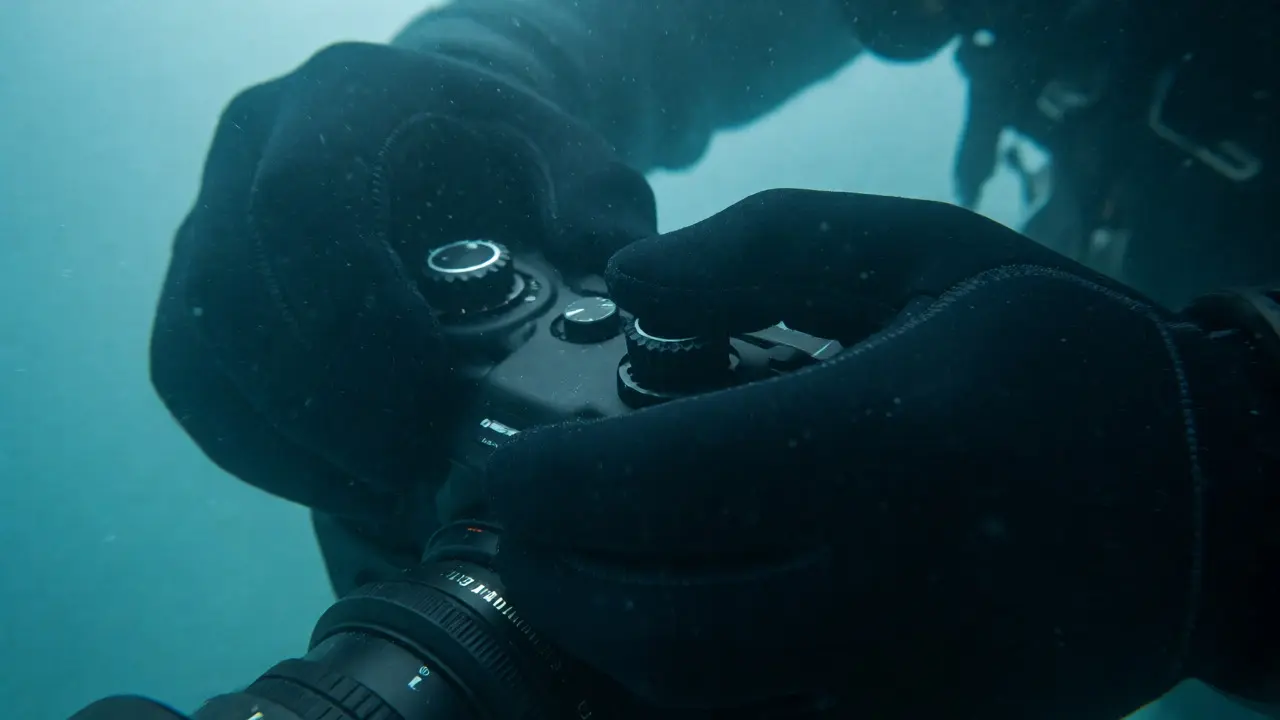
You’re shivering. Your fingers are numb inside thick neoprene gloves, and you can barely feel the shutter button on your camera housing. You’ve traveled to a place like Iceland or British Columbia because the marine life is dramatic-giant kelp forests, playful sea lions, or eerie shipwrecks-but the water temperature hovers around 50°F (10°C). Most photographers think cold water ruins their shots with murky visibility and lost colors. But here’s the truth: cold water underwater photography offers some of the clearest visibility you’ll ever find, provided you know how to handle the gear and correct the blue-green cast.
The biggest enemy isn’t the cold itself; it’s condensation and your own body heat fighting against the lens. If you’ve ever pulled your mask off only to find it fogged up instantly, or if your RAW files look like everything was shot through a cyan filter, this guide is for you. We’re going to break down exactly how to keep your gear functional, your hands warm enough to operate controls, and your images vibrant rather than muddy.
Why Cold Water Changes Everything
Before we talk about gloves, you need to understand what happens optically in cold environments. Cold water holds less dissolved organic matter than tropical waters. This means higher clarity. You might see further than you do in the Caribbean, but that clarity comes at a cost: light absorption. Water acts as a filter. Red light disappears first, followed by orange and yellow. In deep, cold, clear water, this effect is exaggerated because there’s no particulate matter to scatter the remaining light back toward the red spectrum. The result? A heavy blue or green cast that standard auto-white-balance often fails to fix correctly.
Furthermore, thermal shock affects your equipment. If you move from a warm boat cabin to freezing water, moisture in the air inside your housing can condense on the cold glass ports. This creates internal fogging, which looks like smudges on your lens in every single frame. Managing this temperature differential is half the battle.
Solving the Glove Dilemma: Dexterity vs. Warmth
This is the most common complaint among cold-water shooters. Thick gloves keep you alive but make operating small dials impossible. Thin gloves offer control but leave your fingers numb within ten minutes, leading to shaky images and missed focus points. There is no single "best" glove; it depends on your housing size and shooting style.
Most modern underwater housings are designed for bare-handed operation or very thin gloves. If you try to shove a hand into a tight port opening wearing 7mm neoprene, you risk damaging the O-ring or simply not being able to reach the controls. Here is a practical hierarchy of solutions:
- Bare Hands + Hand Warmers: For temperatures above 60°F (15°C), many pros shoot bare-handed. Use disposable chemical hand warmers taped to the outside of your housing or kept in a pocket for breaks. This gives maximum tactile feedback.
- Thin Latex or Nitrile Liners: Wear these under thicker gloves or alone in mild cold. They provide a barrier against direct contact with metal housings, which conduct cold rapidly.
- Split-Toe Gloves: These separate the thumb and index finger, allowing for better pinch grip on knobs while keeping the rest of the hand covered. Brands like Scubapro and Aqua Lung offer models specifically designed for photographer ergonomics.
- Custom Molded Inserts: Some high-end housings allow you to attach custom rubber grips that extend outward, letting you use thicker gloves without losing leverage.
| Glove Type | Temperature Range | Dexterity Level | Best For |
|---|---|---|---|
| Bare Hands | > 60°F (15°C) | High | Macro, precise dial adjustments |
| 2mm Neoprene | 50-60°F (10-15°C) | Medium | General wide-angle, video |
| Split-Toe 3mm | 45-55°F (7-13°C) | Medium-High | Shutter release, focus ring |
| 5mm+ Dry Suit Gloves | < 45°F (7°C) | Low | Extreme cold, minimal interaction |
A pro tip: Practice changing settings blindfolded in your living room before you get in the water. Muscle memory beats sight when your face is pressed against a viewfinder and your hands are bulky.
Fighting Fog: Internal and External
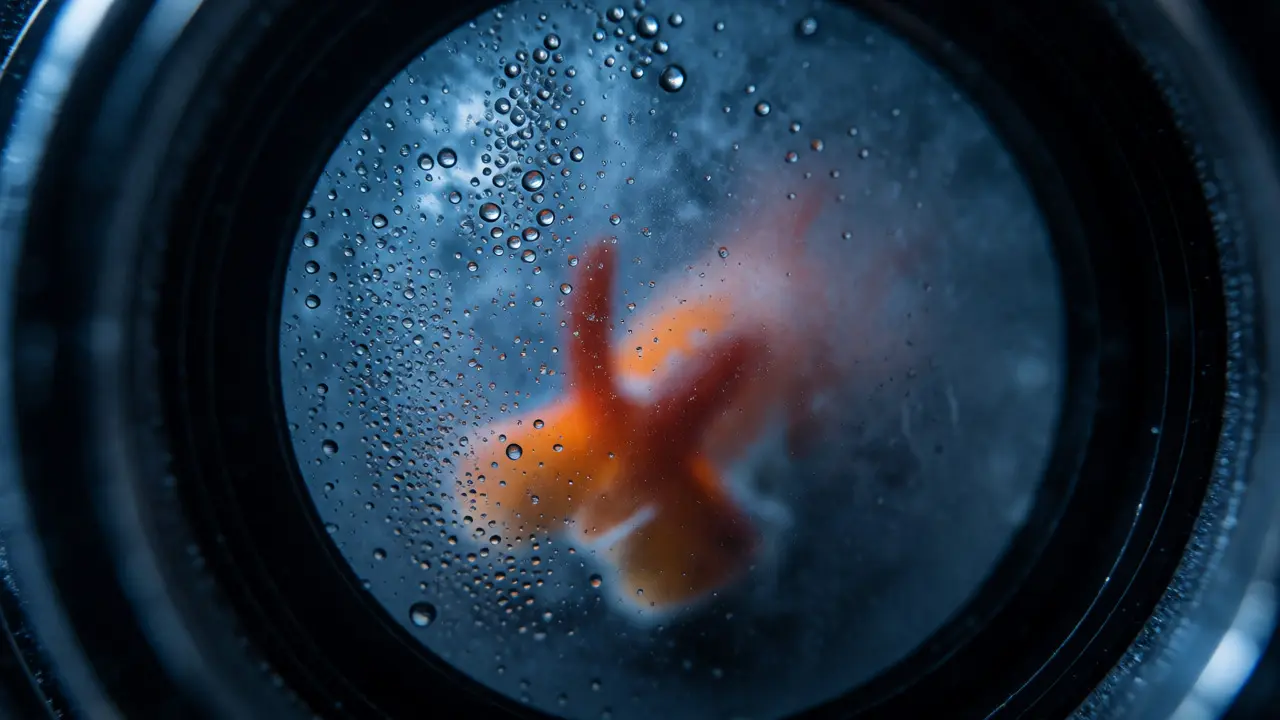
Fog is the silent killer of cold-water shoots. It happens in two places: on the outside of the dome port (from exhaled breath) and on the inside of the port (from condensation).
External Fogging: When you surface and breathe out near your mask or camera, hot vapor hits the cold glass. Instantly, it turns to mist. To prevent this, never exhale directly onto your optics. Keep your regulator away from the camera. If you must clean the port, use fresh water spray, not your breath. Saliva contains enzymes that can actually help repel water slightly, but it leaves a residue that attracts dirt later. Stick to dedicated anti-fog sprays or simple diluted baby shampoo applied to dry glass.
Internal Condensation: This is trickier. It occurs when warm, moist air is trapped inside the housing during assembly. As the housing cools in the water, that moisture condenses on the coldest surface-the glass port. To mitigate this:
- Desiccant Packs: Place a small silica gel pack inside the housing behind the camera body. Replace them regularly. They absorb ambient moisture before it can settle on your lens.
- Acclimatization: Don’t assemble your housing in a steamy bathroom right after a shower. Assemble it in a cool, dry environment. If possible, let the housing sit in the shade for an hour before submerging it.
- Anti-Fog Inserts: Some manufacturers sell thin plastic inserts that fit between the port and the housing body, creating a dead air space that reduces thermal transfer.
If you see fog forming mid-dive, don’t panic. Surface calmly, open the housing in a shaded area (not direct sun, which heats one side unevenly), wipe the interior with a microfiber cloth, and re-seal quickly. Do not touch the glass with your fingers; skin oils ruin optical coatings.
Color Correction: Beating the Blue Cast
Your eyes adapt to color casts automatically. Your camera does not. In cold, clear water, the dominant wavelengths are blue and green. Without intervention, your subject-a bright orange nudibranch or a yellow fish-will look dull, grayish, or entirely blue.
There are three ways to fix this, ranked by effectiveness:
1. Strobe Lighting (The Gold Standard)
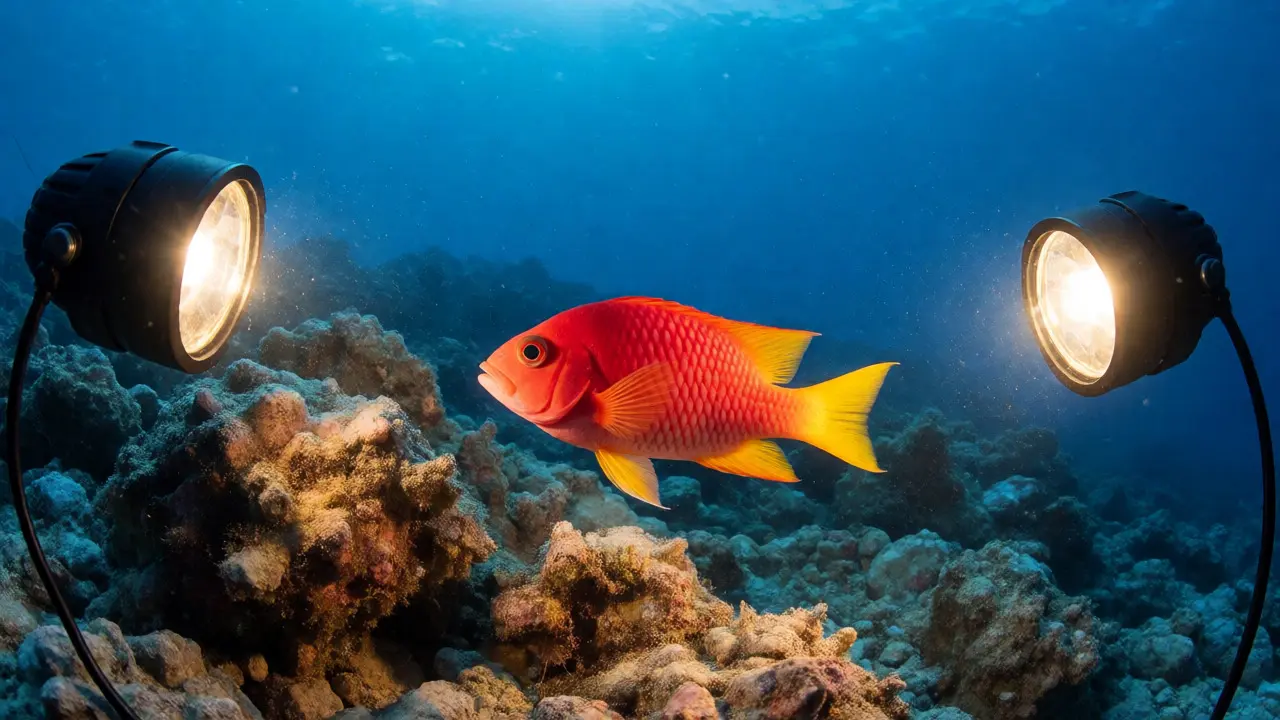
Nothing restores color like artificial light. Strobes bring back the full spectrum of visible light within the first few feet of the beam. In cold water, where visibility is high, strobe power travels further. However, because the water is so clear, you may notice harsh shadows if you don’t diffuse your lights properly. Use fiber-optic cables or sync cords to trigger external flashes. Position them close to the subject and angled outward to avoid backscatter from any remaining particles.
2. Manual White Balance
Auto white balance (AWB) often gets confused by the uniform blue background. Switch to manual WB. Find a neutral reference object-a white slate, a piece of sand, or even your dive computer’s white casing-at the depth you plan to shoot. Hold it in front of the lens, fill the frame with it, and set the custom WB. This tells the camera, "This white thing should be white," forcing it to add reds and yellows back into the image. Re-do this every time you change depth significantly, as the color shift accelerates with depth.
3. Filters and Post-Processing
If you’re shooting video or macro without strobes, consider a color-correction filter. For depths between 10-20 meters (30-60 feet), a magenta filter counteracts the green cast common in temperate waters. For deeper dives, a red filter helps restore red tones. Note: Filters reduce light intake, so you may need to open your aperture or increase ISO.
In post-production, shoot in RAW format. Adjust the Temperature slider toward warmer values (higher Kelvin numbers) and tweak the Tint slider toward magenta to counteract the green bias. Be careful not to oversaturate; cold-water scenes often have delicate pastel tones that look fake if pushed too hard.
Caring for Gear in Extreme Temperatures
Cold makes materials brittle. Plastic buttons become stiff. Rubber O-rings lose elasticity. Metal contracts. If you rush your maintenance routine, you risk leaks.
Always lubricate O-rings with silicone grease before diving. In cold water, friction increases, and a dry O-ring can tear or fail to seal. Check the vacuum test if your housing supports it; it’s a reliable way to ensure seals are intact before entering the water.
After the dive, rinse your gear thoroughly with fresh water. Salt crystals expand when they dry and can scratch lenses or jam mechanisms. Let everything air dry completely before storing. Never store a housing sealed tight for long periods; leave the latch open to allow airflow and prevent mold growth on foam pads.
Practical Workflow for a Cold-Water Dive
To wrap this up, here is a checklist to run through before you splash:
- Check Battery Life: Cold drains lithium-ion batteries faster. Bring spares and keep them in an inside pocket against your body until needed.
- Verify Focus Mode: Backlight issues are common in clear water. Consider using manual focus or spot AF to avoid hunting.
- Set Up Anti-Fog: Apply solution to masks and check desiccants in housing.
- Plan Light Placement: Decide now whether you’ll use top-down lighting (for flat subjects) or side-lighting (for texture). Changing strobe arms underwater with thick gloves is frustrating.
- Mental Prep: Accept that you will be cold. Embrace the discomfort; it sharpens your focus. The best shots often come when you’re pushing through the initial chill.
Cold water photography rewards patience and preparation. The clarity allows for stunning detail, and the unique marine ecosystems offer subjects you won’t find in the tropics. By managing your gloves, controlling fog, and correcting color manually, you turn a challenging environment into a creative advantage.
Can I use regular latex gloves for underwater photography?
Yes, but they offer almost no insulation. They are useful primarily as liners under neoprene gloves to prevent direct skin contact with cold metal housings, which sap heat quickly. Alone, they are suitable only for water temperatures above 70°F (21°C).
Why does my camera fog up inside the housing?
This is usually due to condensation caused by temperature differences. Warm, moist air trapped inside the housing during assembly cools rapidly upon submersion, causing water vapor to condense on the cold glass port. Using silica gel packs and assembling the housing in a cool, dry environment helps prevent this.
Do I need different strobe settings for cold water?
Not necessarily different settings, but different positioning. Cold water is clearer, so backscatter is less of an issue, allowing you to position strobes closer to the subject for stronger color restoration. However, because contrast is higher, you may need to adjust diffusion to soften harsh shadows.
How do I choose the right white balance for cold water?
Use manual white balance with a neutral gray or white card at your shooting depth. Auto white balance often fails in monochromatic blue/green environments. Re-calibrate whenever you change depth significantly, as the color cast shifts rapidly with depth.
Is it safe to use hand warmers inside the camera housing?
No. Chemical hand warmers produce heat and sometimes moisture. Placing them inside a sealed housing can raise the internal temperature, potentially affecting battery performance or causing condensation if the exterior is much colder. Keep them outside the housing, attached to the exterior or held in your wetsuit pockets.