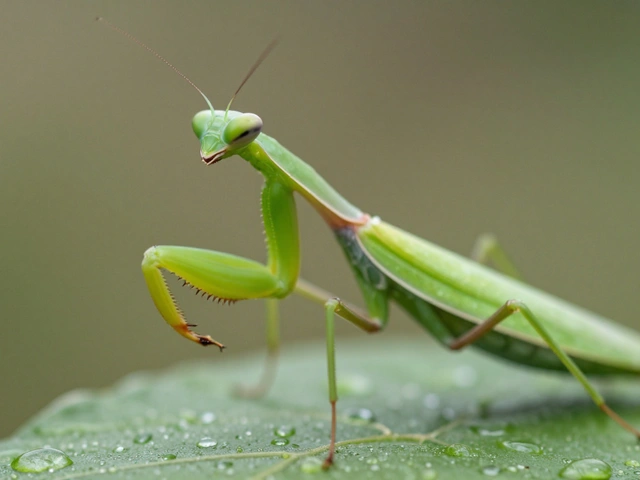
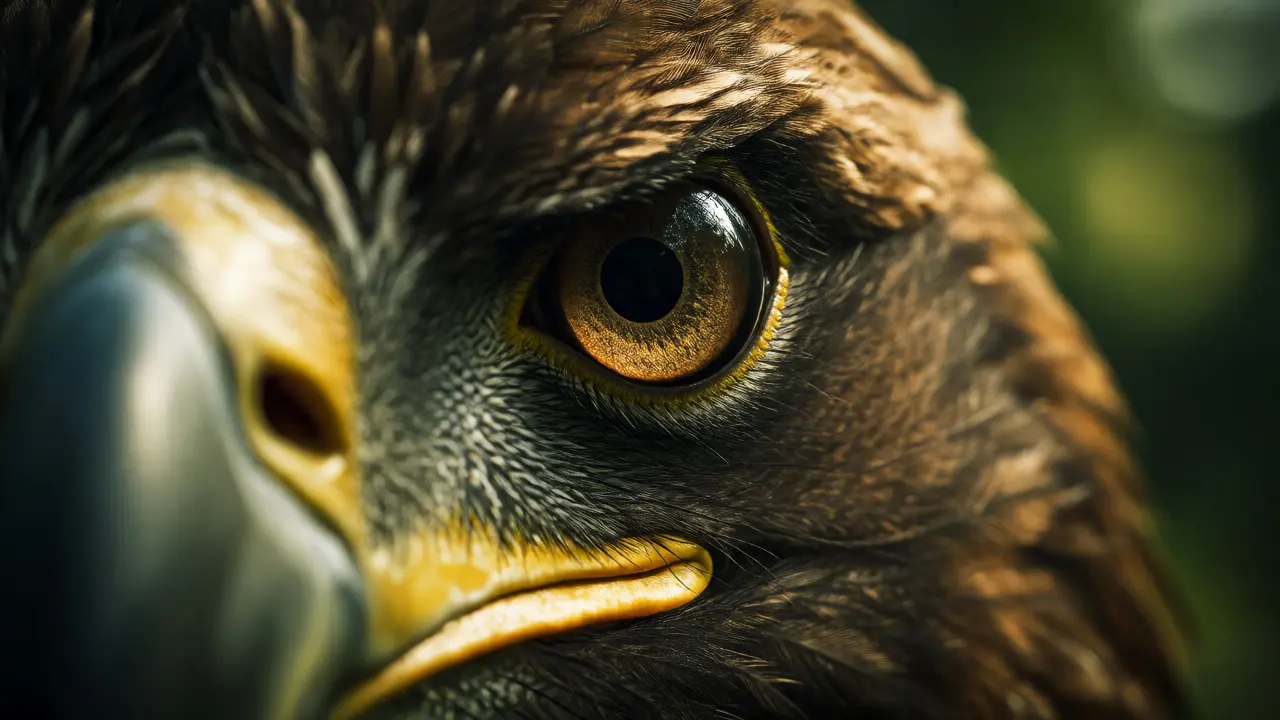
You’ve got the shot. The focus is sharp on the eagle’s eye, the lighting is golden, and the shutter speed froze the motion perfectly. But when you look at the image on your laptop, something feels off. It looks like a specimen in a jar rather than a living creature in its element. The problem usually isn’t the camera settings or the lens; it’s the composition. Specifically, where you placed the subject and how much of the world you included around them.
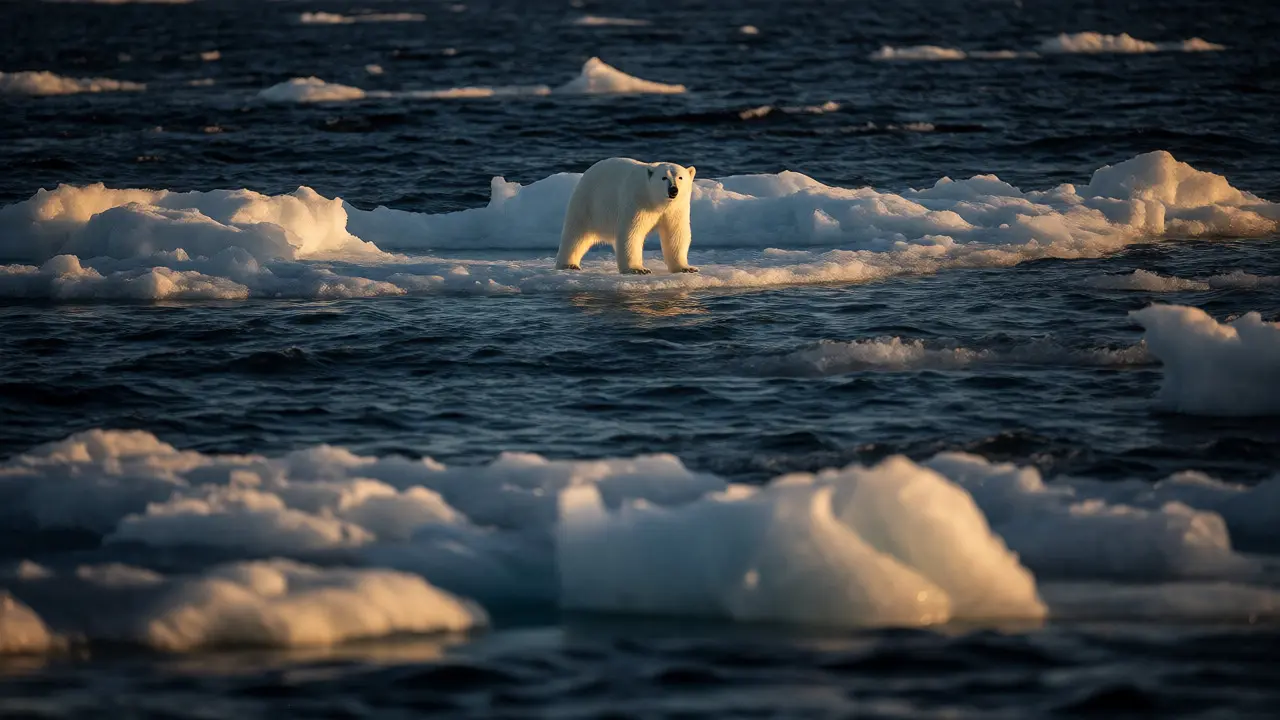
Most beginners treat wildlife photography as a hunt for the perfect portrait. They zoom in until the animal fills the frame, cutting off all context. While tight crops have their place, they often strip away the story. A polar bear isolated against white snow tells you it’s cold. A polar bear standing on a shrinking ice floe, with open water visible in the distance, tells you about climate change, survival, and vulnerability. That difference is wildlife composition.
The Myth of the Centered Subject
We are wired to center things. When you see a bird, your instinct is to put it dead center in the viewfinder. This works for symmetrical objects like buildings or faces looking directly into the lens. But animals move, breathe, and interact with their surroundings. Placing a moving subject in the center creates static tension. The viewer’s eye has nowhere to go.
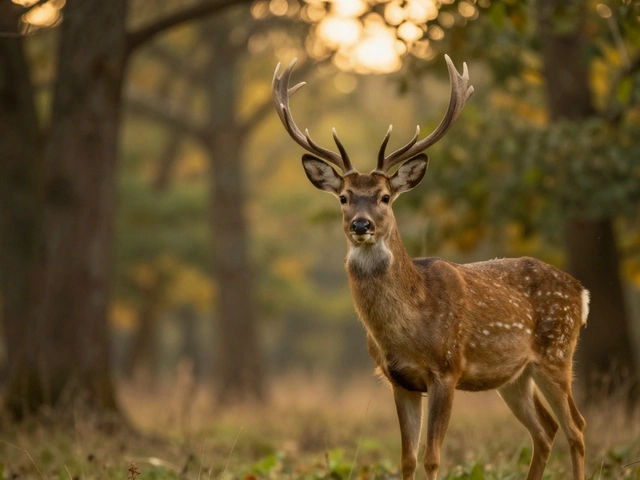
Try shifting the subject off-center. If a deer is walking from left to right, give it more space on the right side of the frame. This is called "lead room" or "nose room." It gives the animal somewhere to go within the picture. Without this space, the viewer subconsciously feels trapped, as if the animal is running into a wall. This simple shift transforms a snapshot into a narrative moment.
Consider the direction of gaze. If an owl is looking out of the frame, you need enough negative space in that direction to support the weight of its attention. If you crop too tightly on the side the owl is looking toward, the image feels cramped. Conversely, leaving too much empty space behind the subject can make them look like they’re fleeing the scene. Balance is key, but err on the side of giving the subject room to look.
Using Negative Space to Define Mood
Negative space is the area around the subject. In wildlife photography, it’s not just "empty background"; it’s active compositional real estate. How you use it dictates the emotional tone of the photo.
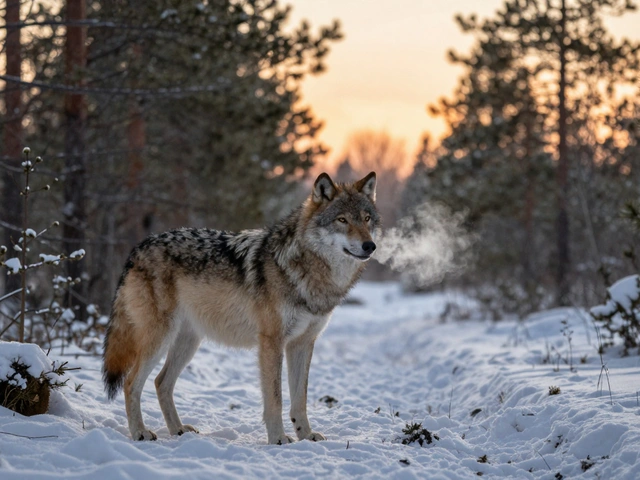
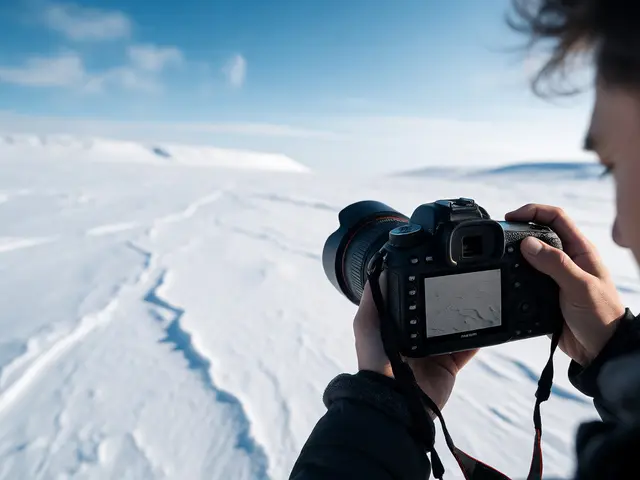
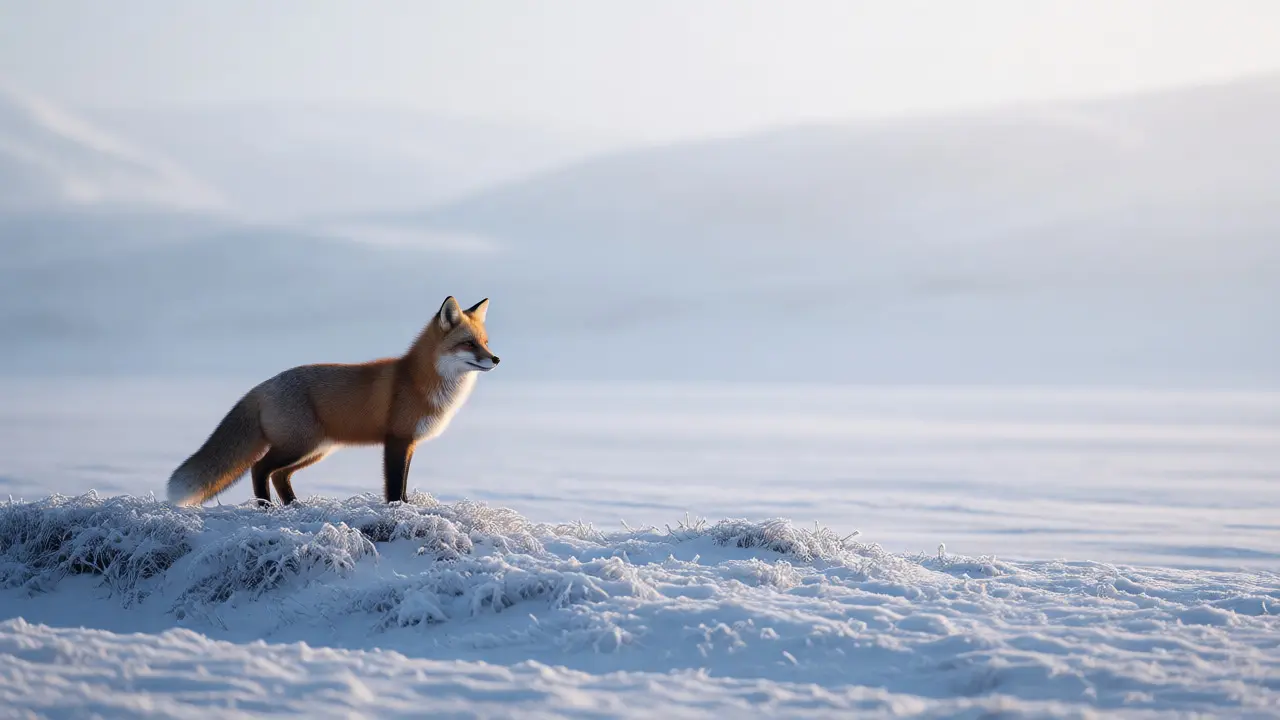
Tight cropping eliminates negative space, creating intensity. You force the viewer to confront the texture of fur, the detail of scales, or the emotion in the eyes. This works well for portraits of charismatic megafauna like lions or gorillas. However, wide shots utilize large amounts of negative space to convey isolation, scale, or tranquility. A tiny fox in a vast, snowy landscape emphasizes fragility. A massive whale dwarfed by the ocean surface highlights the power of nature.
Don’t fear emptiness. Many photographers panic when there’s no grass, tree, or rock immediately next to the animal. They think the photo needs "stuff." But clutter distracts. Clean negative space guides the eye directly to the subject. If you’re shooting in a busy environment like a dense forest, try changing your angle to find a cleaner background, even if it means lying in the mud for twenty minutes to get the shot.
Environmental Context: Telling the Whole Story
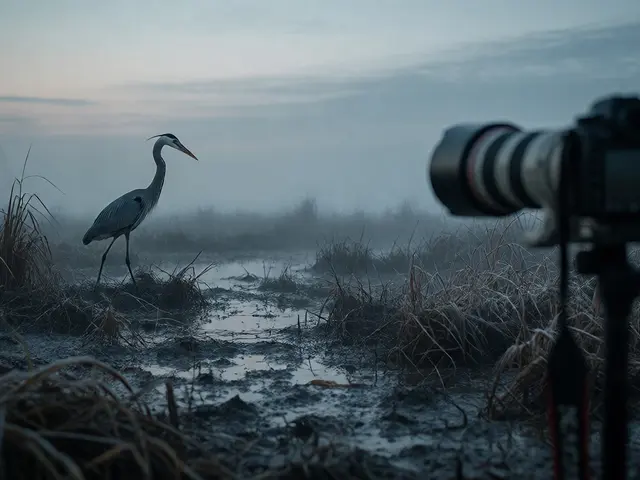
Subject placement solves half the problem. Environmental context solves the other half. What do you include in the frame to explain who this animal is and where it lives? This is the difference between a zoo portrait and a documentary photograph.
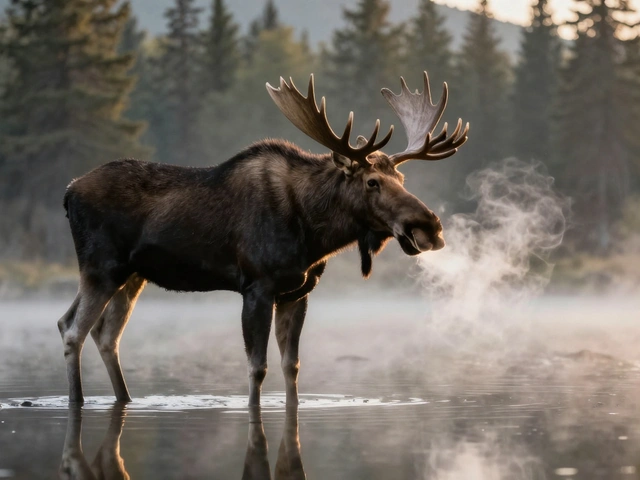
Think about what defines the habitat. For a mountain goat, jagged rocks and steep cliffs are essential. For a frog, wet moss and ferns matter. Including these elements grounds the subject. It answers the question: "Where am I?" without needing a caption.
But context doesn’t always mean showing the whole ecosystem. Sometimes, subtle hints work better. A single leaf in the foreground can suggest a forest floor. A ripple in the water can imply a stream. These details add depth and layering to the image. They create a sense of three-dimensionality that flat backgrounds lack.
| Approach | Primary Goal | Best For | Risk |
|---|---|---|---|
| Tight Crop | Emotional impact, detail | Portraits, birds of prey, macro insects | Losing sense of scale and habitat |
| Medium Shot | Action, interaction | Hunting, playing, feeding behaviors | Cluttered background if not careful |
| Wide/Environmental | Scale, isolation, habitat | Migratory patterns, landscapes, conservation stories | Subject becomes too small to identify |
Layering and Depth of Field
Flat images feel lifeless. To combat this, use layers. Foreground, midground, and background. A common mistake is placing the animal against a uniform blur. Instead, try to include a foreground element-a blade of grass, a branch, or a rock-slightly out of focus. This frames the subject and adds depth.
Your aperture choice plays a huge role here. A wide aperture (like f/4) isolates the subject, blurring everything else. This is great for separating the animal from a messy background. But sometimes, you want the environment to be recognizable. Using a smaller aperture (like f/8 or f/11) keeps more of the scene in focus. This requires good light or a tripod, but it rewards you with a richer, more detailed image.
Experiment with both. Shoot the same subject with different apertures. See which one tells the story better. Does the blurred background enhance the mood? Or does a sharp background provide necessary context? There’s no right answer, only the best choice for the specific moment.
Lighting as a Compositional Tool
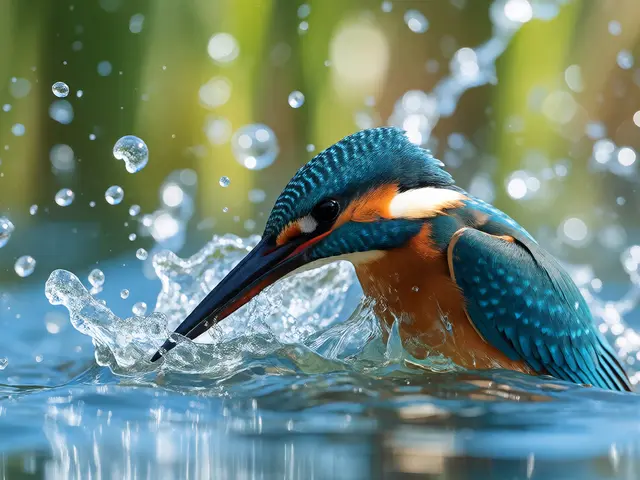
Composition isn’t just about geometry; it’s about light. Light shapes the form of the animal and reveals the texture of the environment. Side lighting accentuates textures, making fur look fluffy and feathers look crisp. Backlighting creates silhouettes, emphasizing shape over detail. Front lighting is flat but shows color accurately.
Use light to guide the viewer’s eye. Bright areas attract attention first. If your subject is in shadow but the background is bright, the eye might wander away. Position yourself so the light falls on the subject’s face or body, while the background remains darker or less saturated. This natural vignette keeps the focus where you want it.
Golden hour and blue hour offer soft, directional light that enhances depth. Midday sun creates harsh shadows that can break up the subject’s form. If you must shoot at noon, look for shade. Animals often rest in shaded areas during peak heat, so you’re likely to find them there anyway. Use the contrast between bright patches and deep shadows to create dramatic compositions.
Practical Tips for Better Framing
Knowing the theory is one thing. Executing it in the field is another. Animals don’t pose, and conditions change fast. Here are some quick heuristics to improve your framing on the fly:
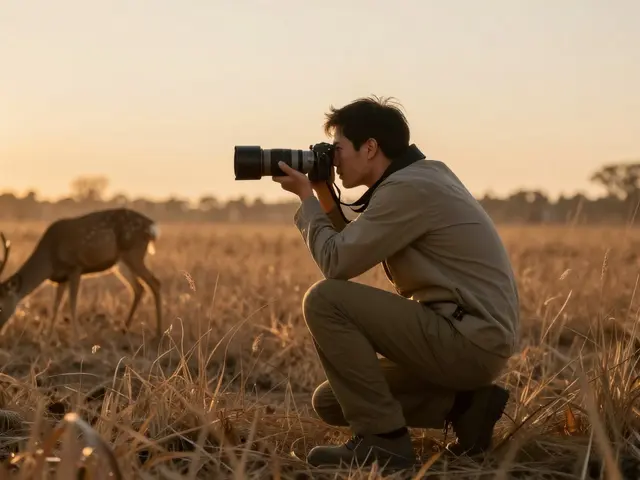
- Get low: Shooting from the animal’s eye level creates an intimate connection. Looking down on a subject makes them look small and submissive. Looking up can make them seem majestic or intimidating.
- Watch the edges: Check the corners of your viewfinder. Are you cutting off a tail or a wing tip unintentionally? Trim the frame slightly in-camera if possible, but leave room for cropping later.
- Wait for behavior: Composition improves when the animal is doing something. A yawning lion is more interesting than a sleeping one. Wait for movement, interaction, or expression before pressing the shutter.
- Simplify: If the background is distracting, change your position. Move two feet to the left or right. Often, a slight shift eliminates a branch or changes the background color entirely.
Remember, rules are guidelines, not laws. Break them when it serves the image. Sometimes centering a subject creates symmetry that feels powerful. Sometimes filling the frame completely creates claustrophobia that fits the mood. The goal is intentionality. Every element in the frame should serve the story you’re trying to tell.
What is lead room in wildlife photography?
Lead room, also known as nose room, is the empty space in front of a subject in the direction they are facing or moving. It gives the viewer's eye a path to follow and prevents the subject from appearing trapped against the edge of the frame. For example, if a deer is looking to the right, you should leave more space on the right side of the image than the left.
When should I use a wide-angle lens for wildlife?
Use a wide-angle lens when you want to emphasize environmental context, scale, or habitat. It allows you to include more of the landscape around the animal, which is useful for telling a broader story about conservation or location. However, getting close enough to fill the frame can be challenging, so it often requires patience or a wider setting like a safari vehicle.
How does negative space affect a wildlife photo?
Negative space helps isolate the subject and reduces visual clutter. Large amounts of negative space can convey feelings of isolation, freedom, or scale, while minimal negative space creates intimacy and intensity. It directs the viewer's attention solely to the animal by removing distractions from the surrounding area.
Is the rule of thirds always applicable in wildlife photography?
No, the rule of thirds is a guideline, not a strict rule. While it often creates balanced and dynamic compositions, centering a subject can be effective for symmetrical scenes, direct gazes, or when you want to emphasize confrontation and presence. Always prioritize what looks best for the specific image and behavior.
Why is shooting at eye level important?
Shooting at the animal's eye level creates a psychological connection between the viewer and the subject. It avoids the "looking down" perspective that can make subjects appear small or insignificant. Eye-level shots tend to feel more respectful and immersive, allowing the viewer to experience the scene from the animal's perspective.