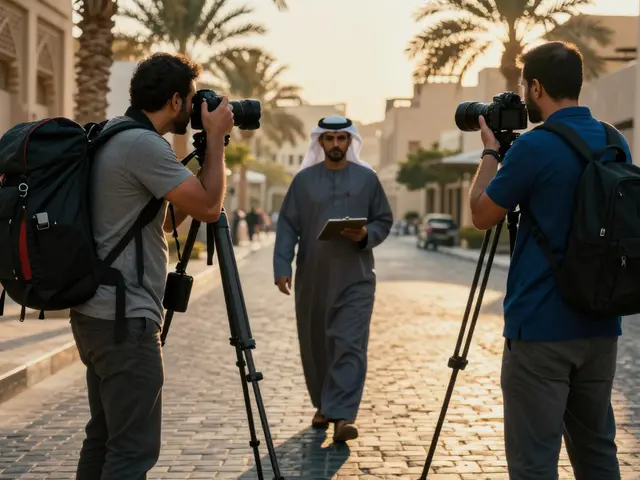
Imagine this: you’ve flown across the world, hauled a 40-pound bag of lenses, and waited three hours for the perfect light. You’re ready to shoot, but a local official stops you. No permit? No shot. It happens more often than photographers want to admit. Travel logistics isn’t just about packing; it’s about understanding the invisible rules that govern where you can point your camera.
Whether you are shooting for a stock agency, a personal portfolio, or a client brand, knowing how to navigate permits and access is the difference between a smooth workflow and a costly delay. This guide breaks down exactly how to secure those permissions without breaking the bank or wasting precious daylight.
The Two Types of Access: Personal vs. Commercial
Most confusion starts here. Is your photo for Instagram or for an ad campaign? The answer changes everything.
- Personal/Editorial Use: If you are shooting for yourself, a blog, or news coverage, you usually don’t need a special "commercial" permit in public spaces. However, you still need to respect private property laws. If you are on public land (like a national park), you generally have the right to shoot with a tripod unless posted otherwise.
- Commercial Use: If a company pays you to take the photo, or if you plan to sell the image as stock, you likely need a location release and a filming permit. This applies even if you are using a simple smartphone.
A common mistake is assuming that because a place is public, it’s free for business. That’s rarely true. Municipalities charge fees to cover cleanup, security, and infrastructure wear. Knowing which category your project falls into is step one.
Navigating National Parks and Protected Lands
In the United States, the National Park Service has specific rules. For most visitors, hiking and photographing are free. But if you bring a tripod, monopod, or professional lighting equipment, you may need a permit depending on the specific park. Some parks, like Yosemite, require a permit for any tripod use in certain areas to prevent trail congestion.
International rules vary wildly. In Japan, some temples charge a small fee for photography but ban tripods entirely. In New Zealand, while landscapes are open, accessing remote tracks might require a Department of Conservation pass. Always check the official website of the specific park before you pack your gear. Relying on word-of-mouth from other travelers is risky because regulations change frequently.
Urban Locations and City Halls
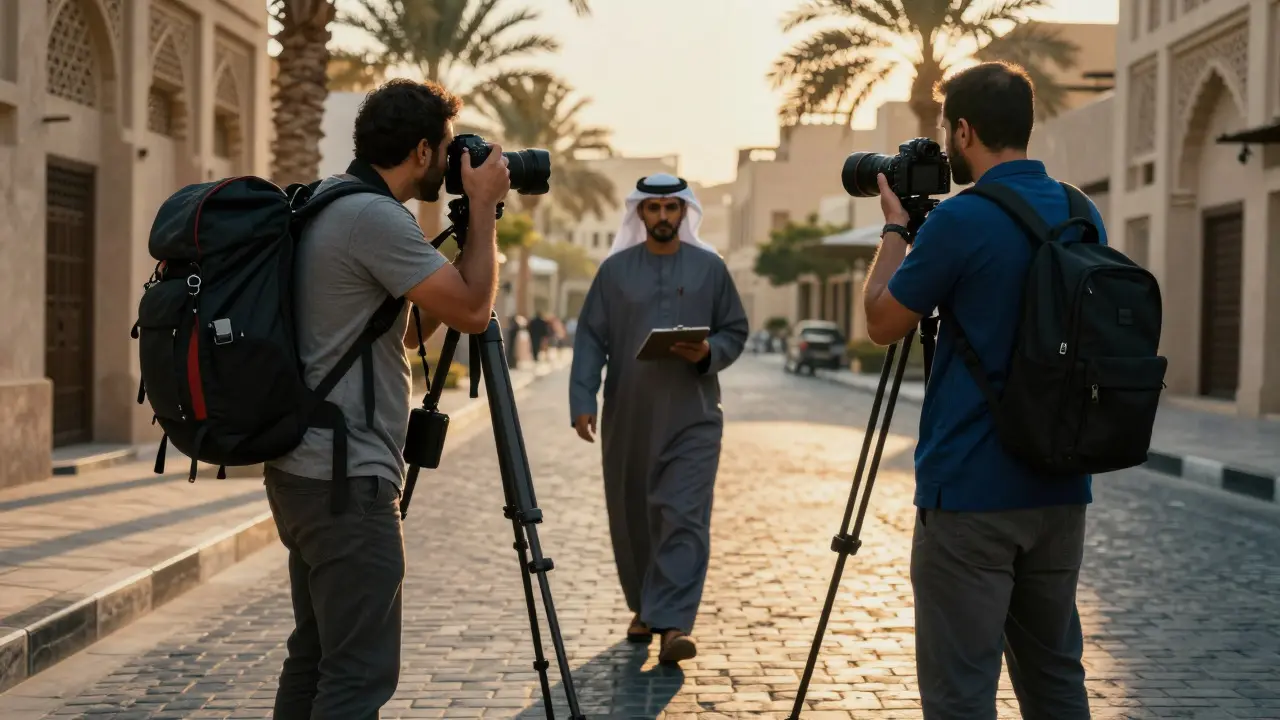
Shooting in cities like New York, London, or Tokyo involves dealing with city councils or tourism boards. These entities manage "location fees." A quick street shot of a landmark might be fine, but setting up a reflector or a light stand often triggers a requirement for a permit.
Here is a practical tip: contact the local film office or tourism board at least four weeks in advance. They can tell you exactly what is required. Often, they offer a simplified process for small-scale shoots that saves you from hiring a full production lawyer. Keep a digital copy of your approval email on your phone. Local police officers are more likely to let you keep shooting if you can show proof of permission immediately.
Gear Logistics: What Gets Checked?
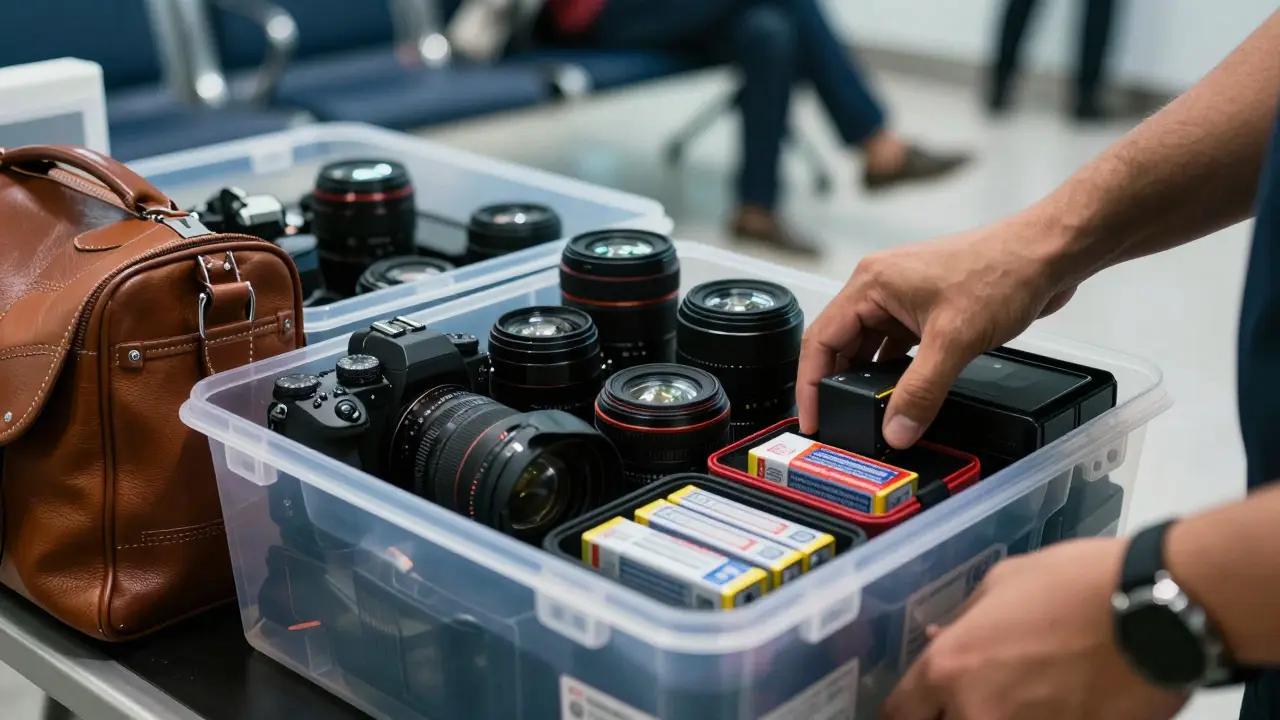
Your camera body is rarely the issue. Customs officials care about value and quantity. If you carry multiple bodies and high-end lenses, you might be asked to declare them. To avoid delays, keep your gear organized. Using a checklist helps you prove that these items are for personal or professional use, not for resale.
Batteries are another logistical headache. Lithium-ion batteries must be in your carry-on luggage, not checked bags. This is a safety rule enforced by aviation authorities worldwide. Pack them in protective cases to prevent short circuits. If you are traveling to countries with strict import duties, consider buying local batteries or adapters instead of bringing spares from home. It’s cheaper than paying customs fees.
Building a Pre-Travel Checklist
Don’t wait until you are at the airport to figure out your permits. Use this simple framework to stay organized:
- Identify the Location Type: Public park, private estate, or urban street?
- Determine Usage: Is it editorial, personal, or commercial?
- Contact Authorities: Email the relevant park service or city office. Ask specifically about tripod rules and crew size limits.
- Secure Releases: If people appear in the shot and it’s commercial, get model releases. If you’re on private land, get a location release signed by the owner.
- Pack Smart: Carry permits digitally and physically. Keep batteries in carry-ons.
This process takes time, but it prevents the stress of being turned away at the scene. I once spent two days waiting for a permit in Lisbon because we assumed the plaza was public domain. We were wrong. The lesson? Always verify.
Common Pitfalls to Avoid
Many photographers skip the paperwork because they think it’s bureaucratic red tape. But skipping it leads to bigger problems. Fines can range from $100 to several thousand dollars, depending on the jurisdiction. Worse, if you disrupt traffic or block a sidewalk without a permit, you risk having your gear confiscated temporarily.
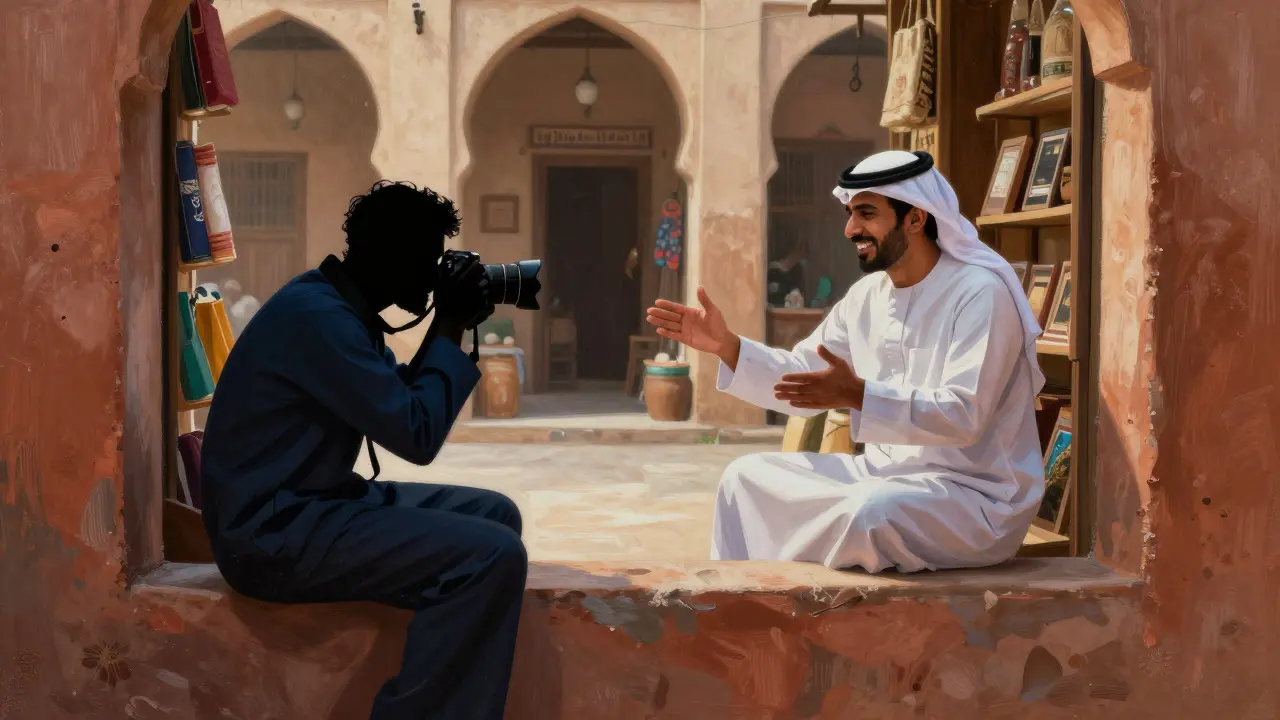
Another pitfall is ignoring local culture. In some parts of Asia and the Middle East, pointing a camera at people without asking can cause tension, even if legally allowed. Build relationships with locals. A smile and a conversation often grant you better access than any official permit ever could. Respect goes a long way in opening doors that bureaucracy keeps closed.
Costs and Budgeting for Permits
How much should you budget? It varies. A basic tripod permit in a US national park might cost $50 to $150 per day. Commercial city permits can run $500 to $2,000+ depending on the scale. Add in insurance, which is often required for commercial shoots. Liability insurance protects you if your gear damages property or injures someone. Don’t skip this. It’s a small price compared to a lawsuit.
| Location Type | Typical Cost Range | Processing Time |
|---|---|---|
| US National Park (Tripod) | $50 - $150/day | 1-3 Days |
| Urban Street (Small Crew) | $200 - $800/Day | 1-2 Weeks |
| Private Estate/Hotel | Negotiable ($100 - $5,000) | Varies |
| International Landmark | $50 - $500 | Immediate - 1 Week |
These numbers are estimates. Always confirm with the specific authority. Prices change, and inflation affects municipal fees every year.
Do I need a permit to use a drone in a national park?
Yes, in most US national parks, drones are restricted or banned. Even where allowed, you need both FAA registration and a specific park permit. Check the National Park Service website for current drone policies, as they update frequently based on wildlife concerns.
What if I’m shooting for a client but staying in a hotel?
If you are shooting inside the hotel lobby or rooms, you need permission from the hotel management. If you are shooting outside on public sidewalks, you generally do not need a hotel permit, but you may need a city permit if using lights or blocking traffic. Always ask the front desk for their policy.
Are there penalties for shooting without a permit?
Yes. Penalties vary by location. In major cities, fines can reach $1,000 or more per day. In national parks, rangers may confiscate your tripod or gear until you pay a fee. Repeated offenses can lead to bans from the area.
How early should I apply for permits?
For small personal shoots, 1-2 weeks is usually enough. For commercial projects involving crews or large gear, apply 4-6 weeks in advance. Popular locations fill up quickly, especially during peak tourist seasons.
Do I need insurance for personal photography trips?
Strictly speaking, no, unless a permit requires it. However, travel insurance that covers gear loss or theft is highly recommended. It provides peace of mind and protects your investment in expensive cameras and lenses.