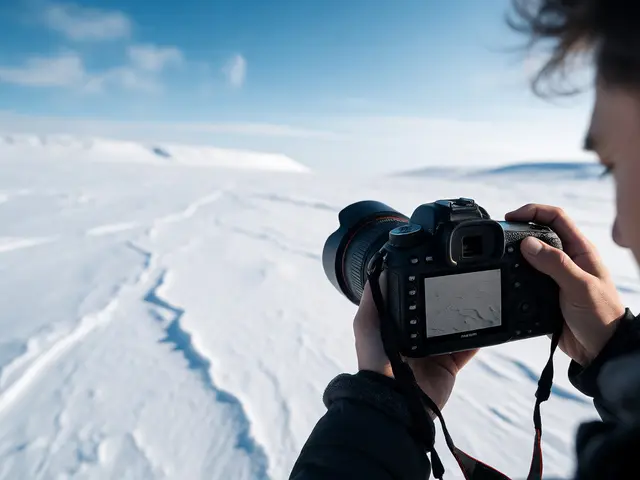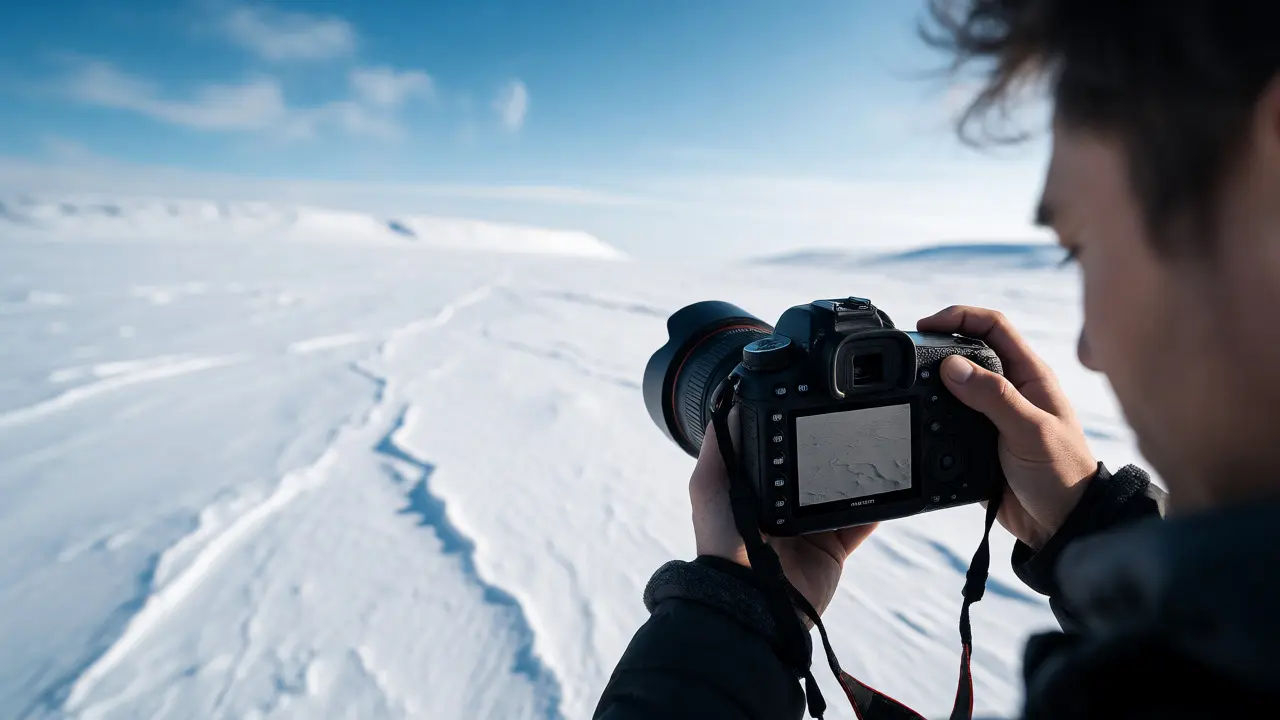
You know the feeling. You’re standing in a pristine winter landscape or on a sun-drenched beach, snapping away with confidence. But when you get home and open your photos, everything looks wrong. The snow is gray. The sand looks like wet concrete. Your vibrant whites have turned into dull, muddy tones. It’s frustrating, especially when your eyes clearly saw brilliant brightness.
Here’s the truth: your camera isn’t broken. It’s actually doing exactly what it was designed to do-it’s just lying to you about brightness. This guide breaks down why this happens and gives you the exact steps to fix it so your next snowy or sandy shot pops with true white detail.
Why Your Camera Hates Bright Scenes
To understand how to fix snow photography exposure, you first need to understand how your camera measures light. Most modern cameras use a system called Evaluative or Matrix Metering. This system scans the entire frame, calculates the average brightness of every pixel, and tries to adjust the exposure so that the final image averages out to a mid-tone gray (technically known as 18% gray).
This works great for most scenes-green grass, brown wood, blue sky-because they naturally hover around mid-tones. But snow and sand are different. They are extremely bright surfaces, reflecting 80-90% of the light hitting them. When your camera sees a frame filled with 90% white pixels, it thinks, “Wow, this is way too bright! I need to darken this down to make it look normal.” So, it reduces the exposure. The result? Your brilliant white snow becomes a flat, lifeless gray.
Think of it like an automatic thermostat set to 70°F. If you walk into a room that’s already 90°F, the AC kicks in hard to bring it down to 70. Your camera does the same thing with light. It fights against the brightness instead of embracing it.
The Histogram Is Your Best Friend
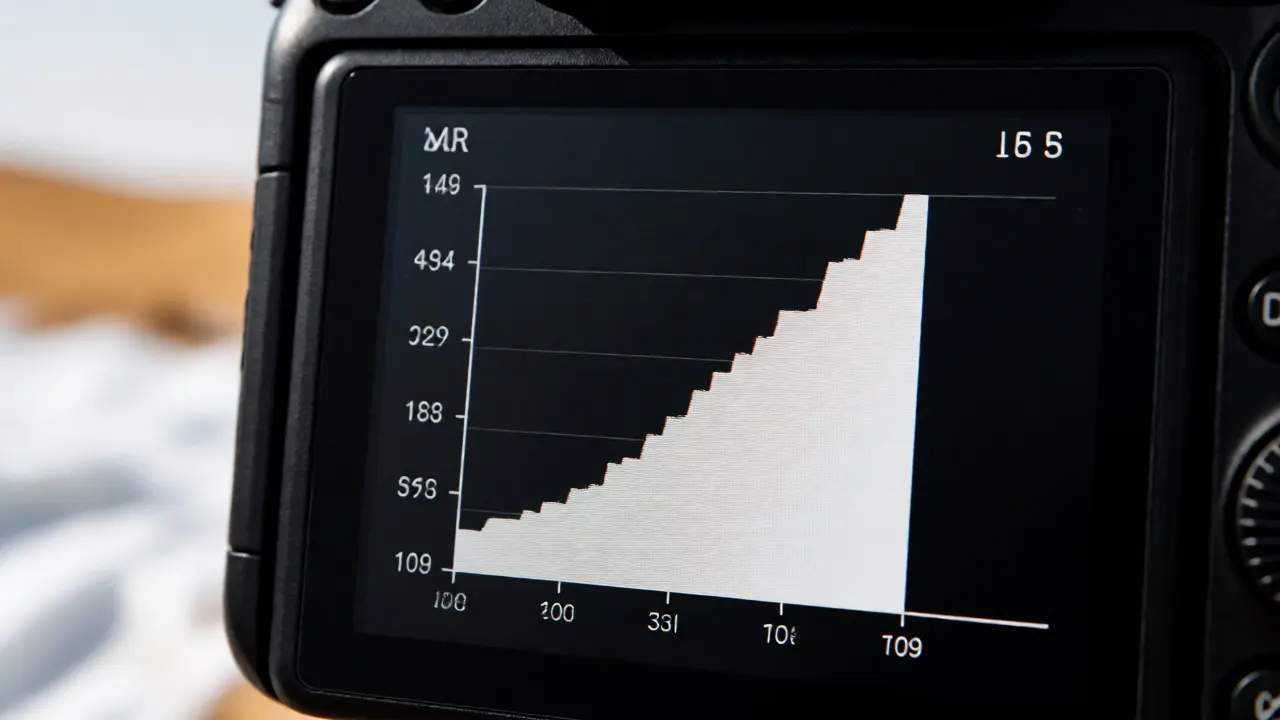
If you only learn one tool from this article, make it the histogram. Forget trusting the LCD screen on the back of your camera; those screens lie, especially in bright sunlight. The histogram is a graph that shows you exactly where your tonal values sit.
The horizontal axis represents brightness: black on the left, mid-grays in the middle, and pure whites on the right. The vertical axis shows how many pixels exist at each brightness level. In a correctly exposed snow photo, you want the bulk of the data pushed toward the right side of the graph. If your snow photo has its main peak in the center or left, your image is underexposed. That’s why it looks gray.
Histogram is a graphical representation of the tonal distribution in a digital image, plotting the number of pixels for each tonal value. For snow and sand, you are aiming for a "right-shifted" histogram.
However, there’s a catch. You don’t want the data touching the far-right wall of the graph. If it hits that edge, you’ve blown out the highlights. That means the snow is pure white with no texture, no shadows, and no detail. It looks like a piece of printer paper. The sweet spot is pushing the data as far right as possible without clipping the top.
Step-by-Step: Fixing Exposure in Manual Mode
Auto mode is convenient, but it’s often the enemy of good snow photography. Switch to Manual (M) or Aperture Priority (Av/A) mode to take control. Here is the workflow I use whenever I’m shooting high-key subjects.
- Set ISO Low: Start with your base ISO (usually 100 or 200). Snow reflects plenty of light, so you rarely need high ISOs unless you’re trying to freeze fast motion in a blizzard.
- Choose Aperture: Decide your depth of field. For landscapes, f/8 to f/11 is standard. For close-ups of snowflakes or footprints, go wider (f/2.8-f/4) to isolate the subject.
- Adjust Shutter Speed: Look at your camera’s light meter. It will likely suggest a shutter speed that makes the snow look gray. Ignore it. Slow your shutter speed down by 1 to 2 stops. For example, if the meter says 1/500s, try 1/125s or even 1/60s.
- Check the Histogram: Take a test shot. Review the histogram. Is the peak shifted to the right? Yes? Good. Is it touching the right edge? No? Perfect. If it’s still centered, slow the shutter further.
- Use Spot Metering (Optional): If your scene has mixed elements (e.g., dark trees against white snow), switch to Spot Metering. Point the center point at the brightest part of the snow, not the darkest shadow. Then, apply positive exposure compensation (+1.3 to +2.0 EV) to ensure that specific area remains white.
White Balance: The Hidden Variable
Even if your exposure is perfect, your snow might look blue or yellow. This is a White Balance (WB) issue. Snow acts like a giant reflector. If the sun is low in the sky, the snow picks up the orange/red hues of sunrise or sunset. If you’re in shade during the day, it picks up the blue ambient light from the sky.
Your camera’s Auto WB tries to neutralize these colors, often resulting in a muddy, neutral tone that kills the mood. To get crisp, clean whites, shoot in RAW format. This allows you to adjust the color temperature non-destructively later. If you must shoot JPEG, set your WB manually.
- Sunny Day: Use the "Daylight" preset (approx. 5500K). This keeps the warmth of the sun visible in the shadows while keeping the direct-lit snow white.
- Overcast/Shade: Use the "Cloudy" or "Shade" preset (approx. 6500K-7500K). This adds warmth to counteract the blue cast from the sky, making the snow appear brighter and more inviting.
- Blue Hour: Don’t correct the blue entirely! A slight cool tone conveys coldness. Just ensure it doesn’t turn the snow purple.
| Scene Type | Meter Reading | Recommended Adjustment | Result |
|---|---|---|---|
| Bright Sunny Snow | Normal (0 EV) | +1.3 to +2.0 EV | Crisp White |
| Overcast Snow | Normal (0 EV) | +0.7 to +1.0 EV | Soft White |
| Beach Sand (Midday) | Normal (0 EV) | +0.7 to +1.3 EV | Golden White |
| Wet Dark Sand | Normal (0 EV) | 0 to -0.3 EV | Natural Tone |
Sand Photography: Similar Rules, Different Nuances
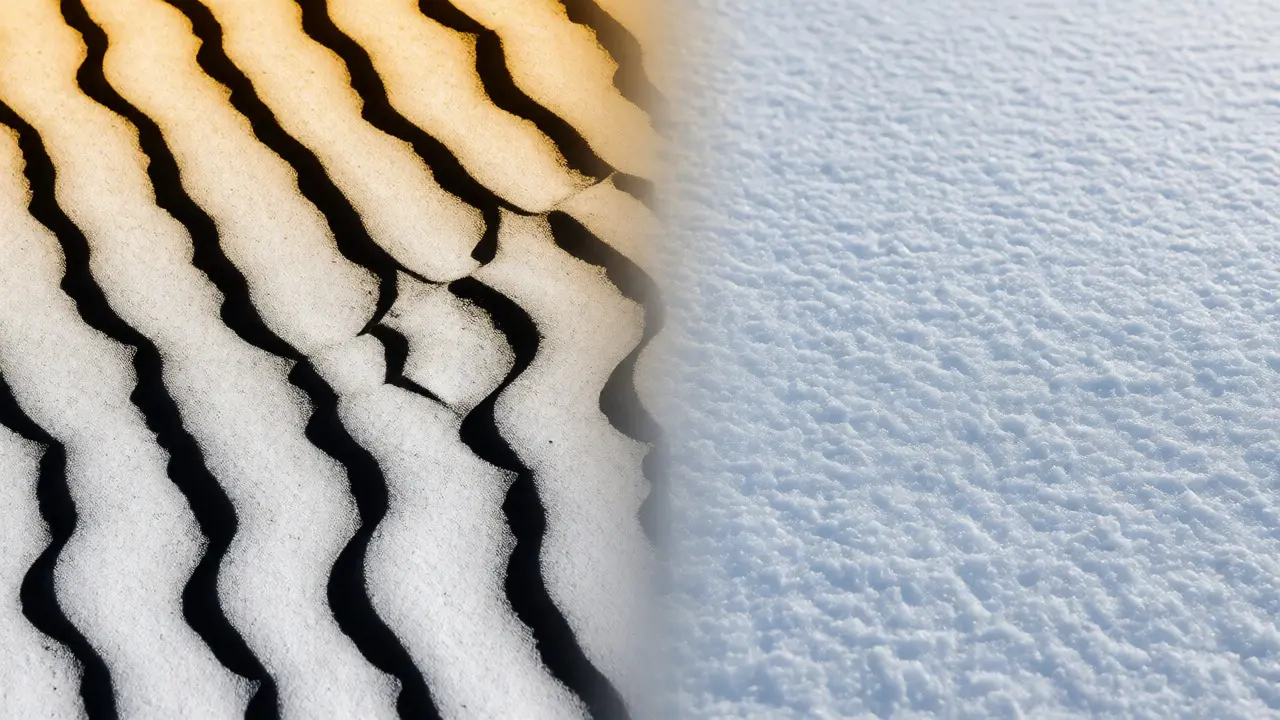
Sand behaves similarly to snow, but it’s trickier because sand isn’t always pure white. Desert sand can be beige, red, or orange. Beach sand ranges from white silica to black volcanic grit. The key here is context.
If you’re shooting white sugar-sand beaches, treat it exactly like snow. Overexpose by 1-1.5 stops. However, if you’re shooting golden desert dunes, overexposing too much will wash out the rich color saturation. Instead, aim for accurate color reproduction. Check your histogram, but don’t push it as aggressively to the right. Let the mid-tones dominate, ensuring the sand retains its warm hue rather than turning pale.
A pro tip for sand: watch out for harsh contrast. Midday sun creates deep, black shadows between ripples. These shadows can trick your meter into thinking the whole scene is darker than it is, leading to overexposed highlights. Use fill flash or a reflector to lift those shadows slightly, balancing the dynamic range.
Common Pitfalls and Quick Fixes
Even with the right settings, things go wrong. Here are the most frequent mistakes photographers make in bright conditions and how to avoid them.
Trusting the LCD Screen: Never judge exposure solely by looking at the back of your camera. Sunlight washes out the screen, making images look darker than they are. Always check the histogram or zoom in to inspect highlight details.
Ignoring Polarizing Filters: A circular polarizer (CPL) is invaluable for snow and sand. It cuts glare off ice crystals and water droplets, revealing deeper blues in the sky and richer textures in the snow. However, CPLs reduce light intake by 1-2 stops. Remember to compensate by slowing your shutter speed or raising ISO when you attach one.
Focusing on Shadows: Autofocus systems struggle in high-contrast, low-texture environments like smooth snowfields. The camera may hunt for focus because it can’t find edges. Switch to manual focus and focus on a distinct element-a footprint, a rock, or a tree branch-to lock in sharpness before recomposing.
Post-Processing Tweaks
No matter how good your capture is, a little editing polish brings it home. In Lightroom or Capture One, start by adjusting the White Point slider. Hold Alt/Option while dragging it until you see color warnings appear, then back off slightly. This ensures you have maximum brightness without losing data.
Next, boost the Clarity and Texture sliders moderately. Snow and sand rely on micro-contrast to show detail. Be careful not to overdo it, or the snow will look crunchy and artificial. Finally, add a subtle vignette to draw the eye inward, preventing the bright edges from distracting from the main subject.
Why does my snow look gray even when I overexpose?
If your snow still looks gray after increasing exposure, your White Balance might be set incorrectly. Cool white balances (like Cloudy or Shade) can sometimes make white objects appear blue-gray if the ambient light is very neutral. Try switching to Daylight WB or customizing the temperature warmer. Also, ensure you aren't underexposing due to large dark areas in the frame pulling the average down; use spot metering on the snow itself to verify.
Should I use HDR for snow photography?
HDR (High Dynamic Range) can be useful if you have a mix of very bright snow and very dark shadows (like pine trees). However, for pure snowscapes, single-exposure bracketing is often unnecessary if you expose to the right (ETTR). Modern sensors handle highlight recovery well. Only use HDR if you plan to print large or need extreme detail in both the brightest whites and deepest blacks simultaneously.
Does a polarizing filter affect snow exposure?
Yes, significantly. A polarizer cuts reflected glare from snow surfaces, which darkens the overall image by 1 to 2 stops. While this helps reveal texture and deepen blue skies, you must compensate by opening your aperture, slowing your shutter speed, or raising your ISO. Without compensation, your snow will end up underexposed and gray again.
What is 'Expose to the Right' (ETTR)?
ETTR is a technique where you intentionally overexpose an image to push the histogram as far right as possible without clipping highlights. Digital sensors capture more data in brighter tones than in shadows. By capturing more data in the highlights, you reduce noise when you pull the exposure back down in post-processing. This is ideal for snow and sand, resulting in cleaner, smoother gradients.
How do I keep sand from looking washed out?
To prevent sand from looking flat, preserve its natural color saturation. Avoid excessive overexposure that clips the color channels. Instead of just pushing brightness, increase local contrast using adjustment brushes in post-processing. Focus on enhancing the texture of the grains. If shooting in harsh midday sun, wait for the golden hour or use a diffuser to soften shadows, allowing the sand's inherent color to shine through without being overwhelmed by glare.