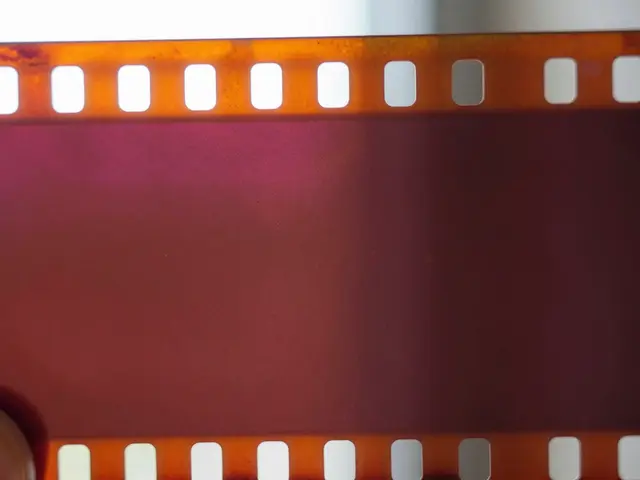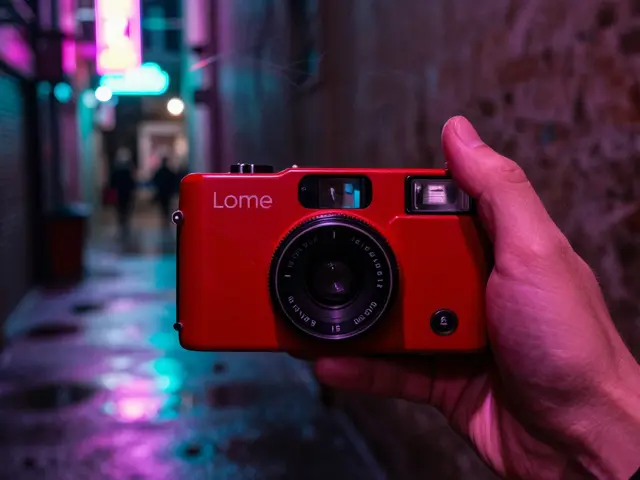
There is a moment in every photo shoot where the digital histogram looks perfect, but the image feels dead. That’s where Lomography is a genre of experimental and artistic film photography that embraces imperfections like light leaks, color shifts, and grain as creative tools rather than technical errors. It doesn’t care about pixel-perfect sharpness. It cares about mood, texture, and the unpredictable magic of chemistry.
If you’ve ever tried to replicate a vintage look in Lightroom and felt frustrated by how flat it still looks, you’re missing the physicality of Lomo. This isn’t just about using an old camera; it’s about changing how you see light and shadow. The goal here is to help you move from "taking pictures" to "making art" using affordable, accessible gear that rewards curiosity over precision.
What Makes Lomography Different from Standard Film?
Standard 35mm film aims for consistency. You want the same white balance and contrast every time. Lomography flips this script. It relies on specific optical flaws and chemical reactions to create a unique aesthetic. Think of it as the difference between a studio portrait and a snapshot taken in a rainstorm with a broken flash.
The core elements that define this style include:
- Light Leaks: Stray light hitting the film during exposure or development, creating bright streaks or washes of color.
- Color Shifts: Unpredictable changes in hue, often turning greens into purples or blues into oranges.
- High Contrast & Grain: A gritty, textured look that adds emotional weight to the image.
- Vignetting: Darkened corners that draw the eye to the center of the frame.
Unlike digital filters that apply these effects uniformly, Lomography produces random results. One roll might be vibrant and punchy; the next might be moody and desaturated. This unpredictability is the point. It forces you to stop controlling every variable and start trusting your instincts.
The Essential Gear: Cameras and Film Stocks
You don’t need a $2,000 medium format camera to get started. In fact, the best Lomo shots often come from the most basic tools. The community revolves around a few key pieces of equipment that are easy to find and cheap to use.
| Camera Model | Type | Film Format | Key Feature | Ideal For |
|---|---|---|---|---|
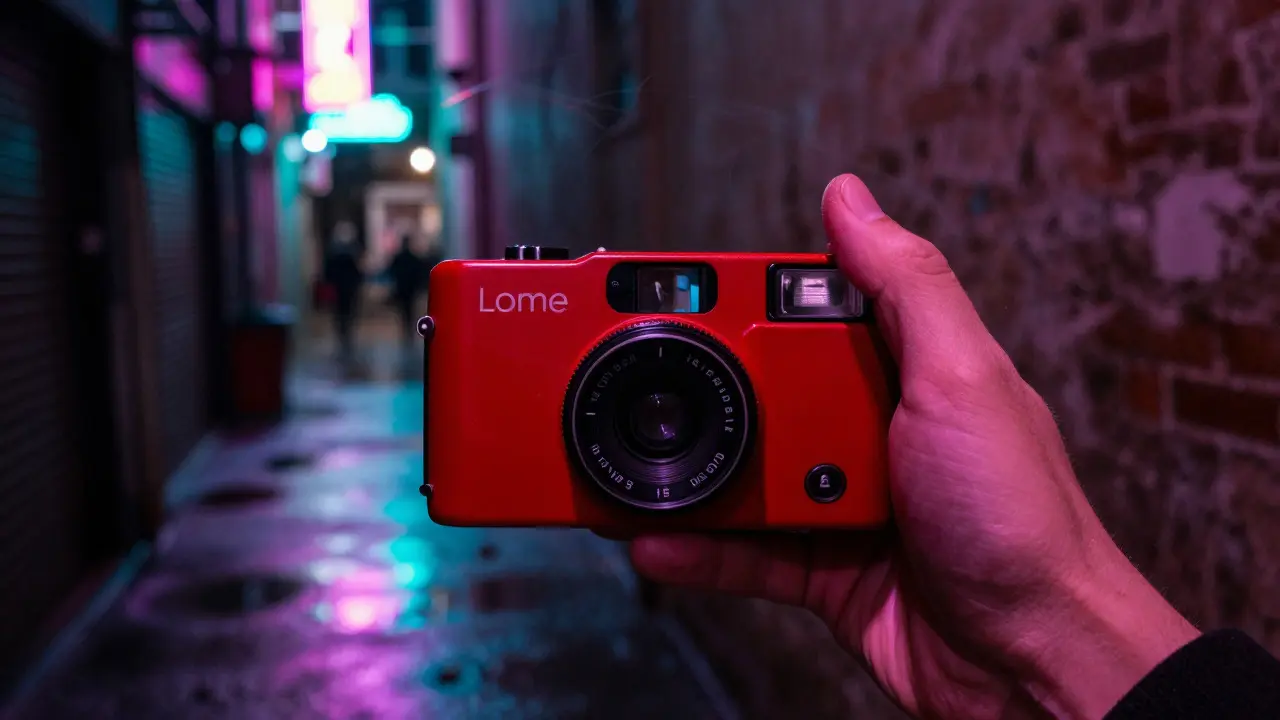
| Lomo LC-A+ | Rangefinder | 35mm | Simple manual controls, compact body | Street photography, beginners |
| Diana F+ | Pinhole | 120 | No lens (pinhole), long exposures | Abstract landscapes, slow shutter effects |
| Splinter | Box Camera | 120 | Fixed focus, wide angle | Candid moments, travel |
| Super Ikkie | Disposable-style | 135 | Ultra-portable, simple operation | Everyday carry, quick snapshots |
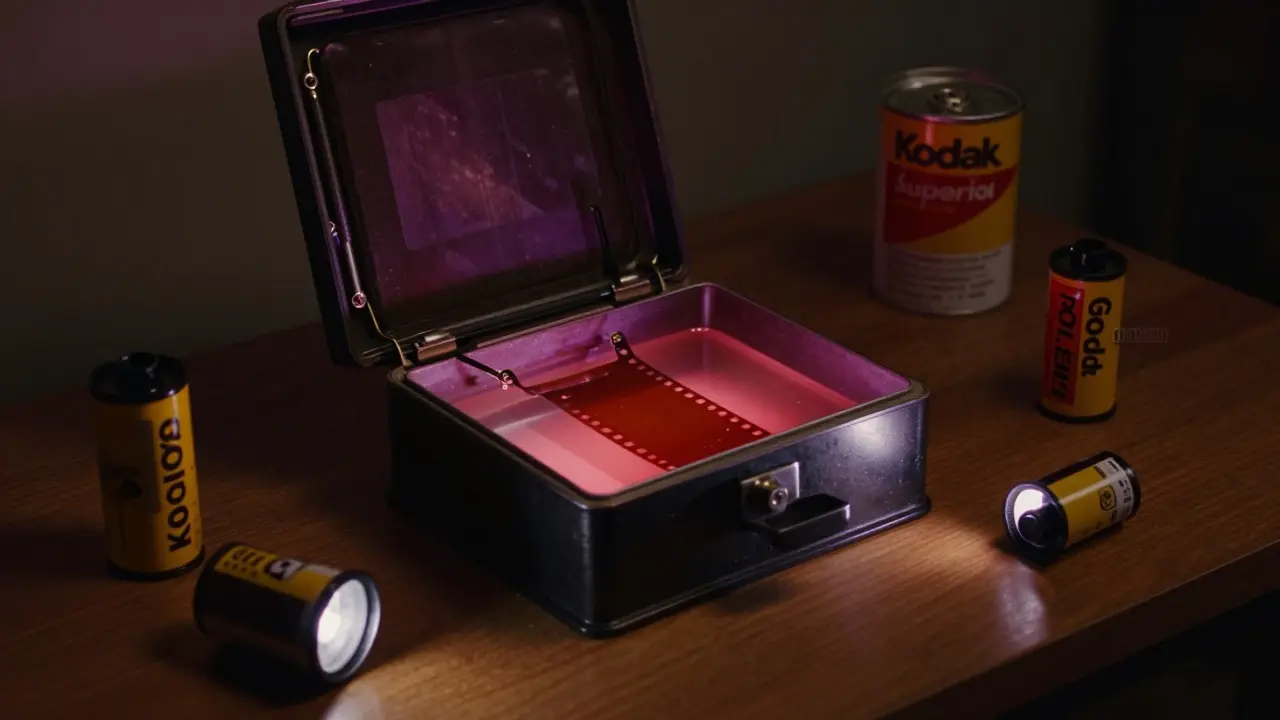
When choosing film, you have two main paths: dedicated Lomo films or standard ISO stocks pushed to their limits. Dedicated Films:
- Lomo Purple Sun 400: Known for high saturation and strong magenta tones. Great for portraits and neon lights.
- Lomo Metro Pan 400: Black and white film with heavy grain and high contrast. Perfect for dramatic street scenes.
- Lomo Color Negative 800: High-speed color negative that handles low light well without losing too much detail.
Techniques to Embrace Imperfection
Knowing which camera to buy is only half the battle. The real magic happens when you break the rules of traditional photography. Here are three techniques that will instantly elevate your work.
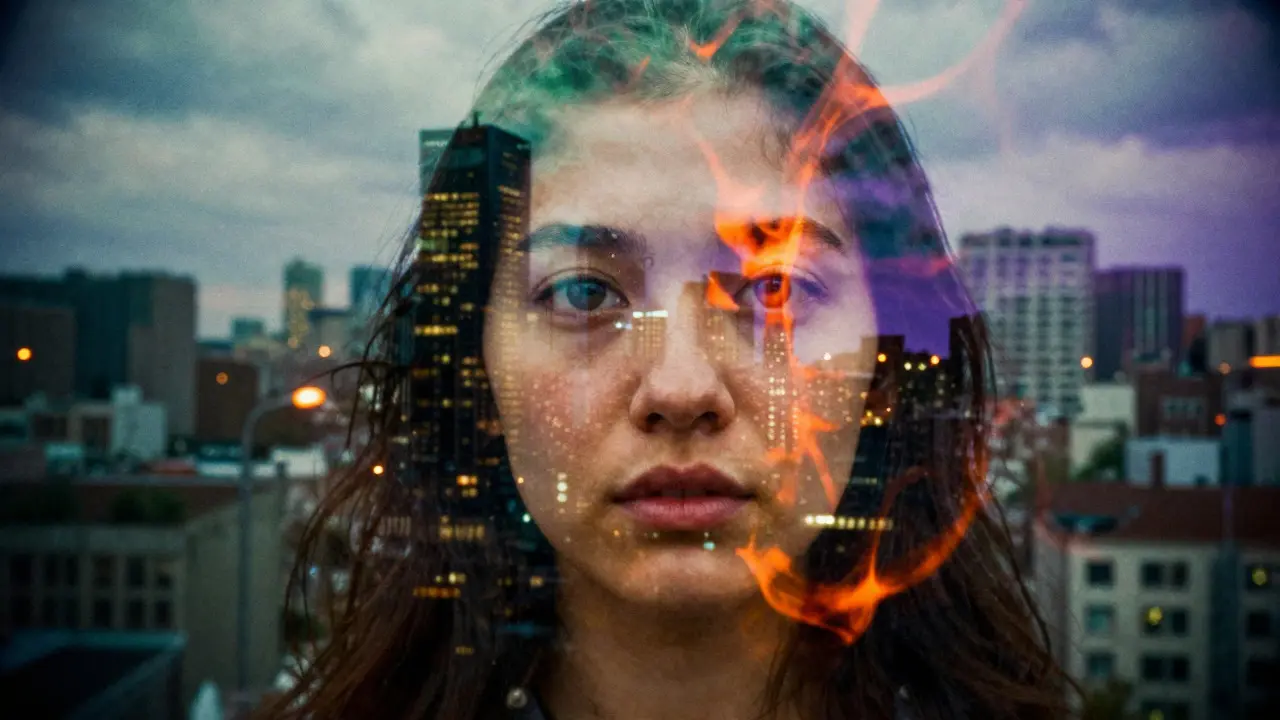
- Double Exposure: Take a picture, rewind the film to the same frame, and take another picture. The two images merge on the negative. Use this for surreal overlays-like shooting a face, then shooting a cityscape over it. The result is a ghostly blend that tells a deeper story.
- Intentional Light Leaks: Instead of letting light sneak in accidentally, do it on purpose. Hold a flashlight near the lens cap opening during development, or leave the back door slightly ajar for a split second after taking a shot. This creates dynamic, colorful streaks that no digital filter can perfectly replicate.
- Close-Up Macro Without a Lens: Many Lomo cameras lack close-up focusing capabilities. Get within inches of your subject. The lack of depth of field creates a dreamy, blurred background that isolates textures like skin, fabric, or petals. It’s not about sharpness; it’s about intimacy.
A pro tip: Don’t be afraid to mix techniques. Try a double exposure with a light leak. The combination can produce abstract compositions that feel like paintings rather than photographs.
Development and Processing Tips
How you process your film matters as much as how you shoot it. If you send your film to a lab, communicate clearly. Ask for "push processing" if you’re using lower ISO film at higher settings. This increases contrast and grain, enhancing the Lomo aesthetic.
If you develop at home, you have even more control. Using a developing tank allows you to agitate the film less, which can lead to softer gradients and more organic grain patterns. Some photographers even add small amounts of dye bath to their fixer stage to introduce subtle color tints across the entire roll.
Remember, there is no "wrong" way to develop Lomo film. If a roll comes out too dark, it’s a moody piece. If it’s too bright, it’s an ethereal study. Trust the process.
Common Mistakes to Avoid
Even experienced shooters make these errors. Watch out for them:
- Overthinking Composition: Lomography thrives on spontaneity. If you spend ten minutes framing a shot, you lose the energy. Shoot fast, shoot loose.
- Ignoring Lighting Conditions: While light leaks are good, total darkness is bad. Ensure your subject has enough ambient light or use a flash. Underexposed Lomo shots can turn muddy and indistinguishable.
- Buying Expensive Gear First: Start with a used Lomo LC-A or even a disposable camera. The technique matters more than the tool. Upgrade once you understand what you like about the look.
Also, keep your expectations flexible. Unlike digital, where you can check the screen immediately, film requires patience. Wait for the scan. Let the surprise be part of the experience.
Building Your Creative Workflow
To make Lomography a sustainable practice, integrate it into your daily life. Carry a small camera everywhere. Set aside one weekend a month to experiment with new techniques. Keep a journal of your settings and intentions, even if the results differ wildly from what you planned.
Share your work online, but don’t compare yourself to polished digital portfolios. The value of Lomography lies in its raw, human touch. Connect with local film communities or online groups dedicated to analog photography. Feedback from others who appreciate the medium will help you refine your voice faster than any tutorial.
Ultimately, Lomography is a reminder that photography isn’t just about recording reality-it’s about interpreting it. By embracing the flaws, you unlock a level of creativity that digital perfection often suppresses. Pick up a camera, load some film, and let the accidents guide you.
Is Lomography expensive to get into?
Not necessarily. Used Lomo cameras like the LC-A can be found for under $100. Film costs vary, but a roll of 35mm film typically ranges from $8 to $20 depending on the brand and ISO. Development and scanning add another $10-$15 per roll. Compared to buying multiple digital lenses, it’s quite affordable.
Can I use Lomography techniques with digital cameras?
Yes, but the effect is different. Digital filters can mimic color shifts and vignettes, but they rarely capture the random nature of light leaks and grain. However, using digital infrared filters or shooting in low light with high ISO can approximate some aspects of the Lomo look digitally.
Which film stock is best for beginners?
Kodak Gold 200 or Fuji Superia 400 are excellent starting points. They are forgiving, widely available, and produce consistent colors. Once comfortable, try pushing them to 400 or 800 ISO to increase grain and contrast, moving closer to the classic Lomo aesthetic.
Do I need to know how to develop film at home?
No. Most photographers send their rolls to local labs or mail-order services. Home development offers more control over the final look but requires additional equipment and time. For beginners, professional processing is sufficient and allows you to focus on shooting.
How many frames should I expect from a roll of film?
A standard 35mm roll contains either 24 or 36 frames. Lomo cameras often encourage double exposures, so you might effectively get fewer unique images per roll. Plan accordingly and treat each frame as precious.