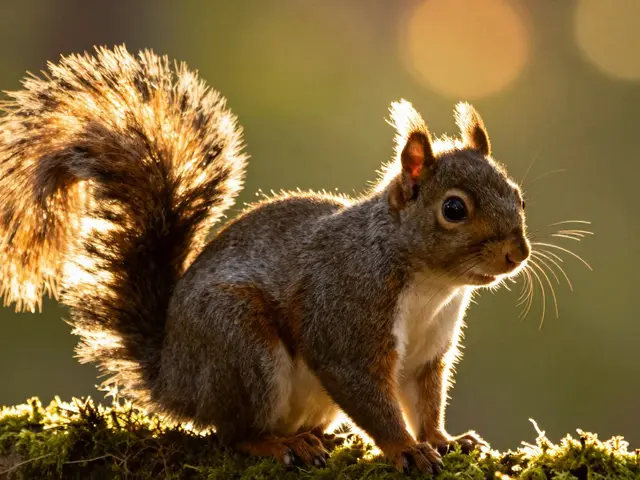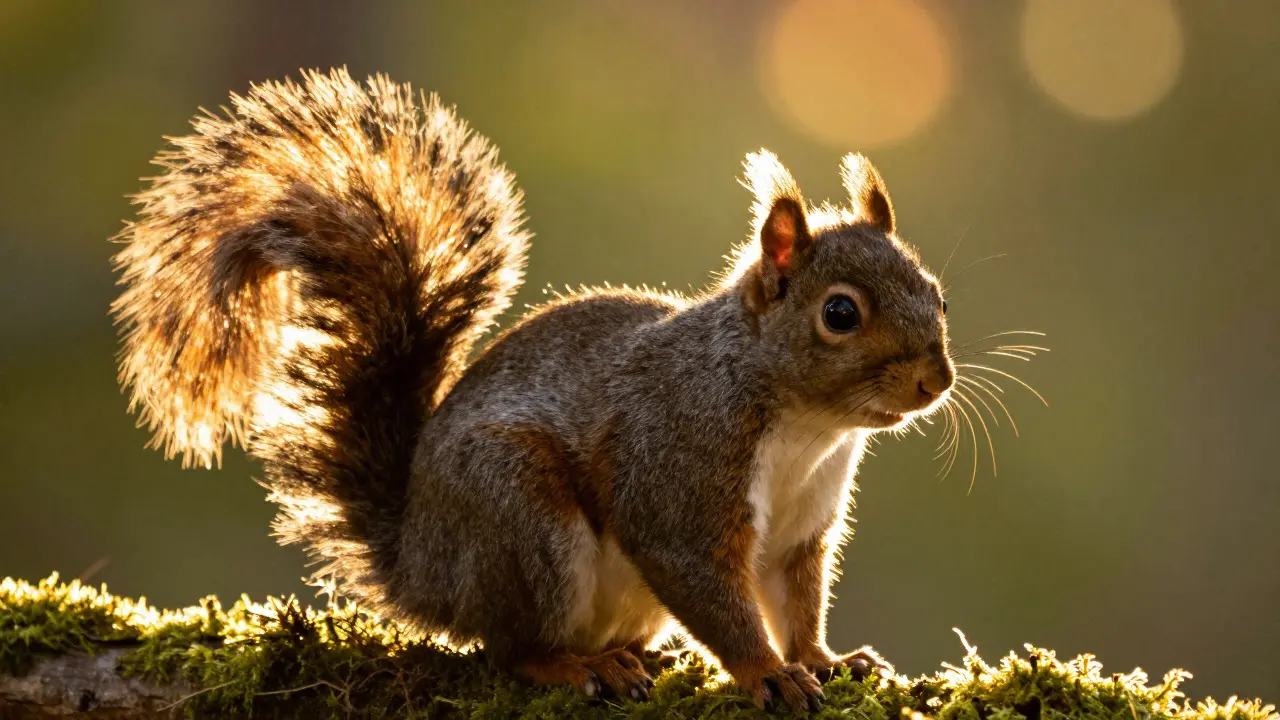
There is a specific moment in the field when the sun drops low enough to turn a gray squirrel into a glowing ember. It’s not magic; it’s physics. When you shoot wildlife against a bright background, you are leveraging backlight a lighting technique where the primary light source is positioned behind the subject, creating a halo or outline effect that separates the animal from its environment. This setup creates what photographers call rim light the bright edge or outline visible on the side of an object facing away from the camera, caused by strong backlighting, which highlights the fine details of fur and feathers that flat, frontal lighting often hides.
Why Backlight Changes Everything for Wildlife
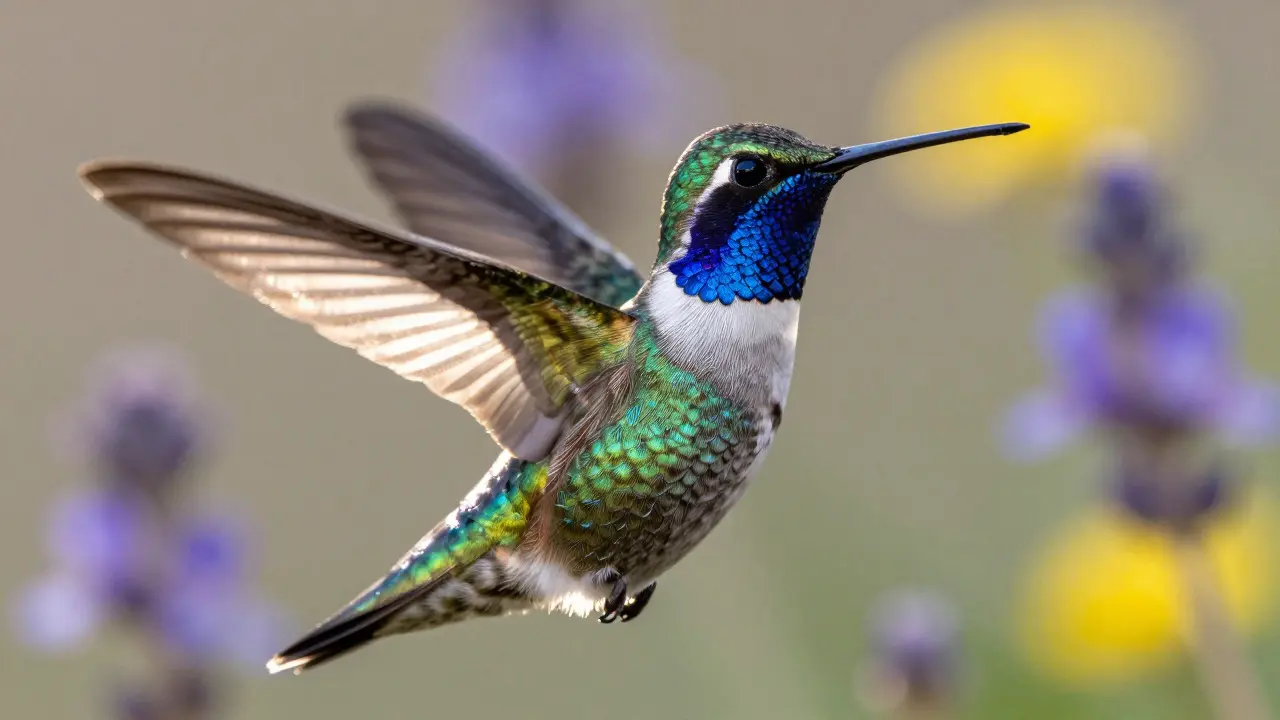
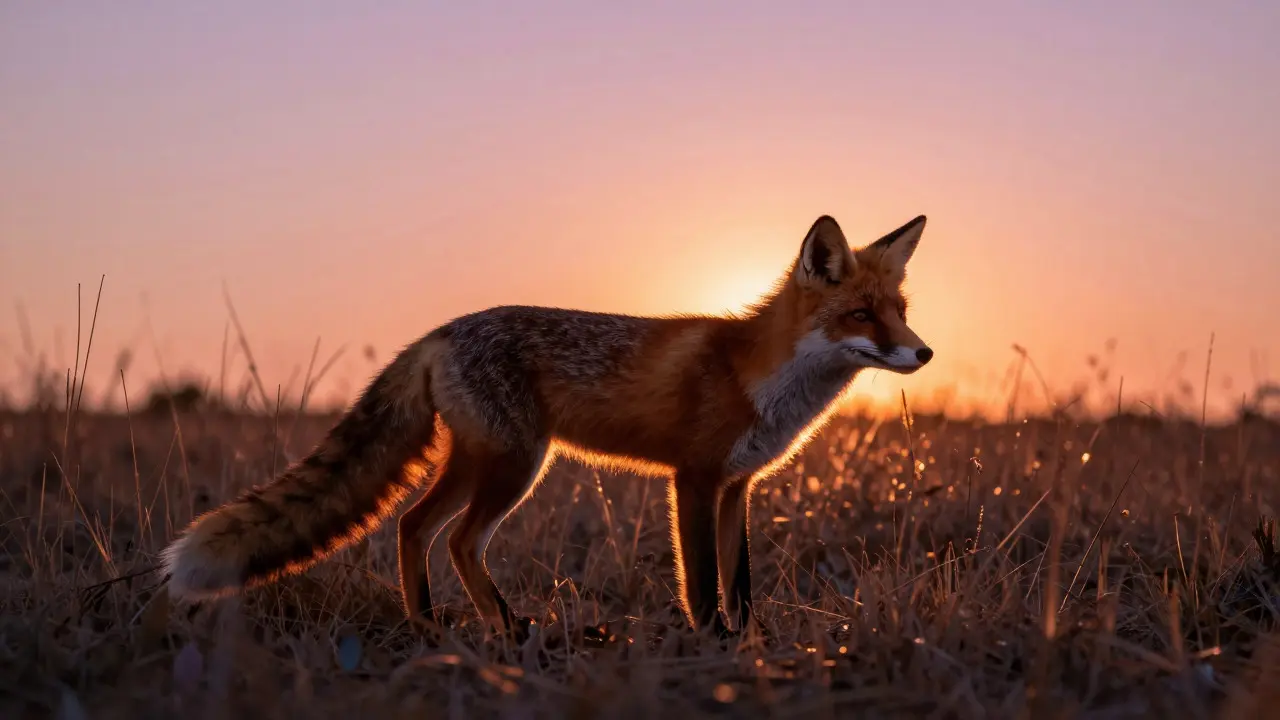
Most beginners avoid backlight because they fear blowing out their exposure or dealing with lens flare. But for wildlife, this is exactly where the money is. Frontal light flattens subjects. It makes a fox look like a brown blob. Backlight reveals structure. It shows the individual strands of hair on a lynx’s ear tuft or the iridescent shift on a hummingbird’s throat. The key difference lies in how light interacts with translucent biological structures. Fur and feathers are not solid surfaces; they are complex, layered materials that scatter light in unique ways when hit from behind.
When light hits a subject from the front, it reflects directly back to your sensor. When it hits from the back, it passes through the edges of the fur or feathers, creating a glow known as translucency the quality of being able to transmit light but not necessarily transparent, allowing objects to be seen through while diffusing the light. This effect is particularly powerful on small mammals and birds with thin, delicate plumage or guard hairs. If you want your images to pop with depth and texture, you need to stop fighting the sun and start using it as a spotlight.
The Physics of Fur and Feather Texture
To get consistent results, you have to understand what you are actually capturing. Animal coats are composed of different types of hair: guard hairs, awn hairs, and underfur. Guard hairs are thick and stiff, designed to protect the skin. Underfur is dense and soft, providing insulation. In backlight, these layers separate visually. The guard hairs catch the direct beam, appearing as bright white or gold lines, while the underfur remains in shadow, creating contrast. This separation gives the image a three-dimensional quality that studio lighting struggles to replicate naturally.
Feathers work similarly but with more complexity. A single feather consists of a central shaft (rachis) and barbs that branch off from it. These barbs are covered in tiny hooks called barbules. In raking backlight, these microscopic structures create a shimmering, almost metallic effect. Think of the way sunlight hits a peacock’s tail or the crown of a male cardinal. The color isn't just pigment; it's structural coloration caused by light interference. Backlight maximizes this interference, making colors appear more saturated and vibrant than they would under overcast skies.
Choosing Your Time and Location
You don’t need exotic locations to practice this. You just need the right angle of the sun. The best time for wildlife backlight is during the "golden hour," which occurs roughly one hour after sunrise and one hour before sunset. During these windows, the sun is low on the horizon, meaning the light travels through more atmosphere. This filters out blue wavelengths and leaves warm reds and oranges. The long shadows also help define the shape of the animal, preventing the scene from looking washed out.
Look for open areas where the background is significantly brighter than the subject. A forest clearing with the sun filtering through trees works well. A field with tall grasses swaying in the wind provides natural movement. Avoid dense foliage directly behind the subject unless you want a chaotic bokeh background. Instead, aim for a clean backdrop-sky, water, or distant trees-that allows the rim light to stand out without visual clutter. If you are shooting in a park, position yourself so the sun is directly behind the bird or mammal you are tracking. Use a compass app if you need to orient yourself relative to the sun’s path.
Camera Settings for High-Contrast Scenes
Backlit scenes are high-contrast challenges. Your camera’s meter will try to expose for the bright background, turning your subject into a silhouette. To prevent this, you need to take control of the exposure manually. Start by switching to Aperture Priority mode if you are new to manual settings, or go fully Manual for precise control. Here is a practical workflow:
- Set your aperture: Choose f/5.6 to f/8 for most wildlife shots. This gives you enough depth of field to keep the eye sharp while still blurring the background slightly. For close-up portraits of small birds, you might go wider at f/4 to isolate the subject completely.
- Lock your shutter speed: Wildlife moves fast. Keep your shutter speed above 1/1000s to freeze motion. If the animal is stationary, you can drop to 1/500s to allow more light in.
- Adjust ISO: Let the camera choose the ISO automatically, but set a maximum limit (e.g., ISO 3200) to manage noise. In bright backlight, you usually don’t need high ISO because there is plenty of ambient light.
- Use Spot Metering: Point your camera’s spot meter at the brightest part of the rim light, then add +1 to +2 stops of exposure compensation. This ensures the highlights aren’t clipped while keeping the subject visible.
If you find the eyes are too dark, consider using a fill flash. A low-power flash (1/8th power) can illuminate the face without killing the mood of the backlight. Just make sure the flash doesn’t overpower the natural rim light; it should only lift the shadows slightly.
Lens Selection and Focal Length Strategy
Your choice of lens dictates how much compression and isolation you get. For most wildlife scenarios, a telephoto zoom between 100mm and 400mm is ideal. Longer focal lengths compress the perspective, making the background appear closer and larger, which enhances the bokeh effect. However, longer lenses also have shallower depth of field, making focus critical. If you miss focus on the eye, the rim light won’t save the shot.
If you are shooting smaller subjects like songbirds, a 70-200mm lens is versatile enough to handle both mid-range and close-up shots. For larger animals like deer or bears, you might need to step up to 400mm or 600mm to fill the frame. Remember, the goal is not just to capture the animal, but to capture the interaction between the animal and the light. Frame your shots so the rim light occupies a significant portion of the subject’s outline. Don’t be afraid to crop in post-production to emphasize the glowing edges.
Post-Processing Techniques to Enhance Rim Light
Even with perfect in-camera settings, post-processing can elevate your images. The goal is to enhance the natural glow without making it look artificial. Start by checking your histogram. You want the highlights to be near the right edge but not clipped. If they are clipped, recover them using the "Highlights" slider in Lightroom or Camera Raw. Next, increase the "Clarity" and "Texture" sliders slightly. This brings out the detail in the fur and feathers, making the rim light look crisper. Be careful not to push these values too high, or the image will look noisy and harsh.
For color grading, lean into the warmth of the backlight. Increase the orange and yellow tones in the HSL panel to mimic the golden hour feel. You can also selectively dodge and burn the image. Dodge (brighten) the rim light areas to make them pop, and burn (darken) the surrounding shadows to create contrast. This technique draws the viewer’s eye directly to the illuminated edges of the animal, reinforcing the sense of depth and dimension.
| Lighting Type | Effect on Fur/Feathers | Best For | Common Pitfalls |
|---|---|---|---|
| Frontal Light | Flattens texture, reduces contrast | Identification shots, documentation | Boring, two-dimensional appearance |
| Sidelight | Creates long shadows, emphasizes surface texture | Dramatic portraits, showing scars or wear | Can be too harsh, requires careful metering |
| Backlight (Rim Light) | Highlights edges, creates glow, separates subject | Artistic portraits, emphasizing beauty and detail | Exposure difficulty, potential lens flare |
Common Mistakes to Avoid
One frequent error is chasing the light instead of the subject. Sometimes, the perfect backlight happens when the animal is moving away from you. Wait for the animal to turn its head or body so that the light catches the side profile. Patience is key. Another mistake is ignoring lens flare. While some flare can add atmosphere, excessive flare reduces contrast and washes out colors. Use a lens hood and check your preview for stray light rays. If flare is unavoidable, consider repositioning slightly to block the direct beam with a nearby tree or rock.
Don’t forget about wind. Moving fur and feathers can blur the rim light if your shutter speed is too slow. If the wind is strong, bump up your shutter speed to 1/2000s or higher, even if it means increasing your ISO. A sharp, grainy image is better than a smooth, blurry one. Finally, pay attention to the background brightness. If the background is too bright, the rim light may disappear into the glare. Look for backgrounds that are bright but not blown out, such as a cloudy sky or shaded foliage.
Frequently Asked Questions
What is the best time of day for wildlife backlight?
The best time is during the golden hour, which occurs approximately one hour after sunrise and one hour before sunset. During these times, the sun is low, producing warm, directional light that enhances the translucency of fur and feathers.
How do I prevent my subject from becoming a silhouette?
Use spot metering on the subject and add exposure compensation (+1 to +2 stops). Alternatively, use a low-power fill flash to illuminate the face while maintaining the backlight effect. Manual mode gives you the most control over balancing highlight and shadow detail.
Which lens is best for capturing rim light on small birds?
A 70-200mm f/2.8 lens is versatile for small birds. It provides enough reach to fill the frame while offering a wide aperture for shallow depth of field, which helps isolate the subject and emphasize the glowing edges created by backlight.
Does weather affect the quality of backlight?
Yes. Clear skies produce hard, distinct rim light, while overcast conditions diffuse the light, resulting in softer, less defined edges. Slight cloud cover can sometimes improve backlight by acting as a natural diffuser, reducing harsh contrasts and allowing for more balanced exposure.
How important is post-processing for backlight images?
Post-processing is crucial for enhancing the impact of backlight. Adjusting highlights, clarity, and color balance can bring out the subtle details in fur and feathers. However, it should enhance, not replace, good in-camera technique. Proper exposure and composition in the field provide the foundation for successful post-processing.