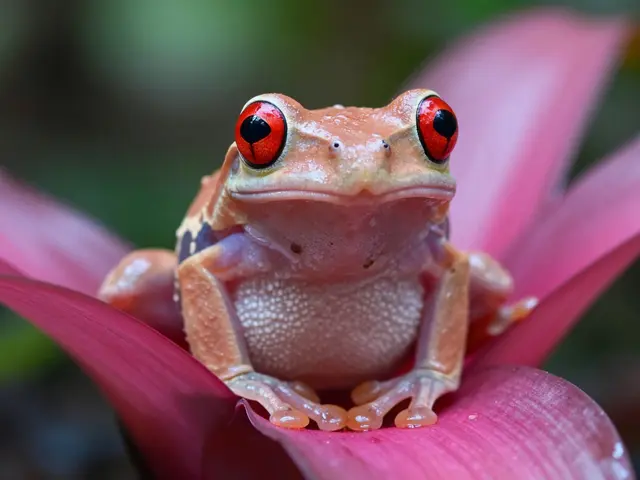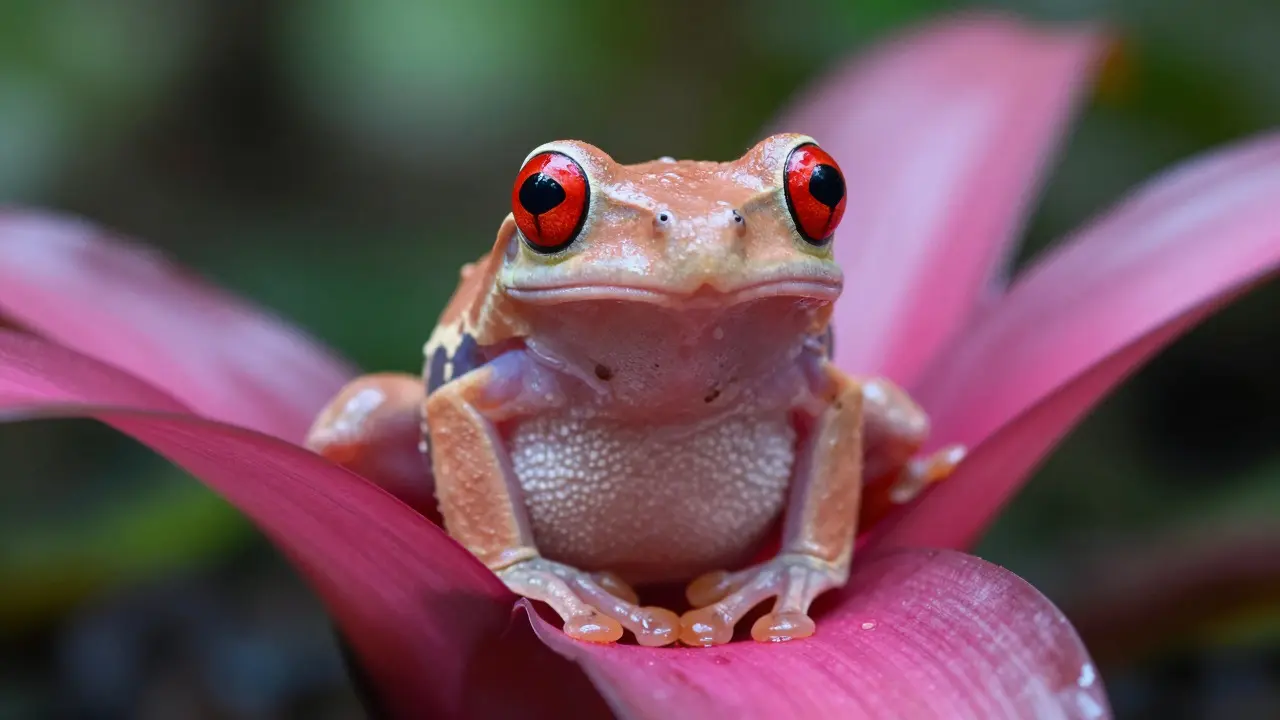
Most photographers miss the best moments with reptiles and amphibians because they treat them like mammals. You wait for movement; you get a blur. Or you zoom in from ten feet away; you lose the texture. To capture the intricate scales of a Rattlesnake is a venomous snake species known for its distinctive tail rattle and defensive posture or the translucent skin of a Red-Eyed Tree Frog is a vibrant nocturnal frog native to Central America, prized by photographers for its bright red eyes and blue toes, you need a different approach. This isn't just about having a long lens. It's about understanding how these cold-blooded animals interact with light, temperature, and time.
Why Cold-Blooded Subjects Change Your Strategy
The biggest mistake beginners make is assuming reptiles and amphibians behave like deer or birds. They don't. Being ectothermic means their body temperature depends on the environment. A Bullfrog is a large North American frog that is highly active during warm evenings and produces loud calls at 75°F (24°C) will move constantly. The same bullfrog at 60°F (15°C) might sit perfectly still for an hour. This gives you a window of opportunity that mammal photography rarely offers.
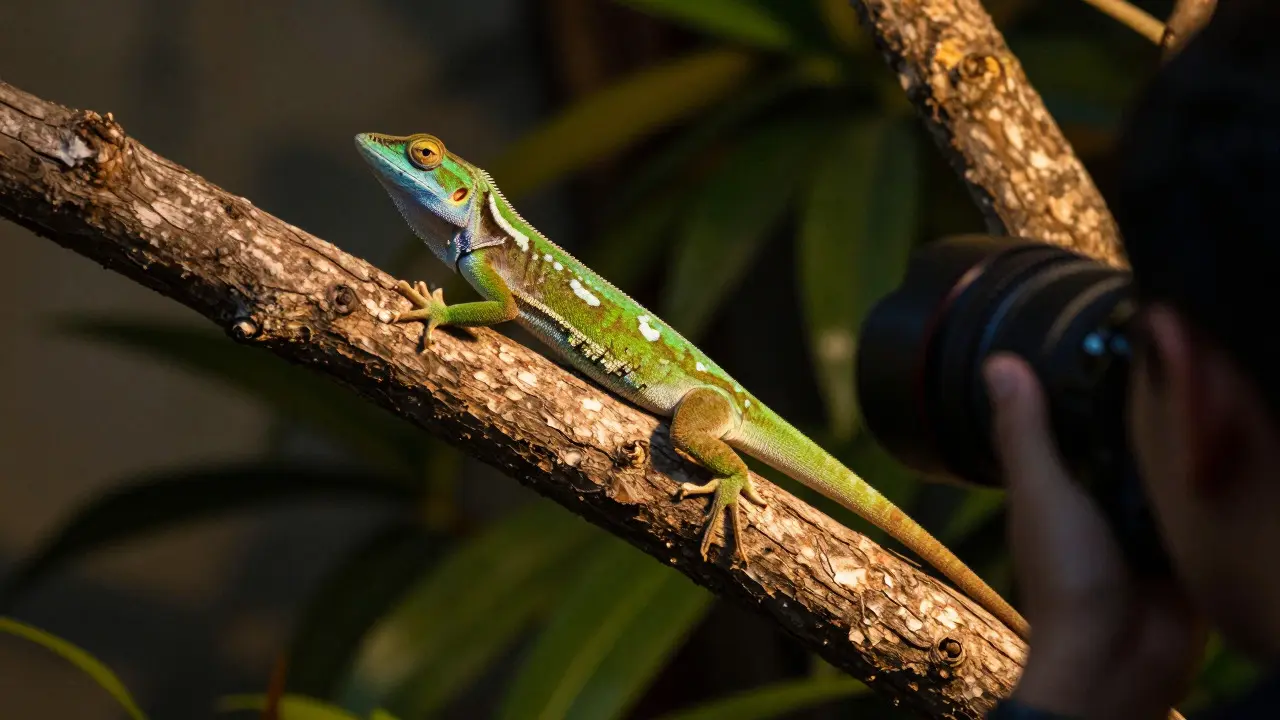
You can use this to your advantage. If you want a sharp shot without chasing the subject, find a cool morning or a cloudy day. The animal will be slower, less twitchy, and more predictable. Conversely, if you want action shots-like a Green Anole is a small, colorful lizard common in the southeastern United States that changes color and moves quickly basking in the sun-you need higher shutter speeds and patience. The key is matching your technical settings to the ambient temperature, not just the light.
Lens Choice: Macro vs. Telephoto
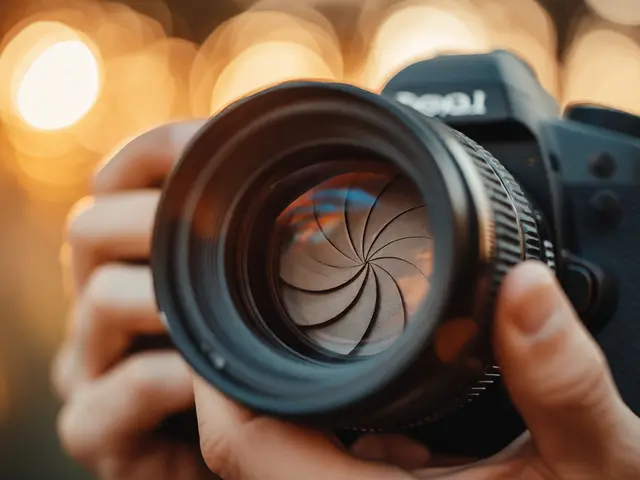
When it comes to close-ups, you have two main tools: a dedicated macro lens or a telephoto lens used at its maximum reach. Each has distinct advantages depending on what you're shooting.
| Feature | Macro Lens (e.g., 90mm-105mm) | Telephoto Lens (e.g., 300mm-600mm) |
|---|---|---|
| Magnification | 1:1 or higher (true close-up detail) | Lower magnification (subject fills frame from distance) |
| Working Distance | Very short (inches); risk of startling subject | Long (yards/meters); safer for skittish animals |
| Depth of Field | Extremely shallow; requires precise focus | Manageable; easier to keep subject in focus |
| Best For | Skin texture, eye details, static subjects | Action shots, shy animals, natural habitat context |
If you're shooting a Western Box Turtle is a slow-moving turtle native to western North America, often found in grassy fields sitting still on a log, a macro lens is unbeatable. You can capture every ridge on its shell and the moisture on its skin. But if you're trying to catch a Water Moccasin is a venomous water snake commonly found near freshwater bodies in the southern US striking at prey, you need the reach of a 400mm or 600mm lens to stay out of range while filling the frame.
Lighting: Working With Nature, Not Against It
Flash is controversial in wildlife photography, but for close-up reptiles and amphibians, it’s often essential. Natural light can be harsh, creating deep shadows under chin folds or inside nostrils. A small, diffused flash unit allows you to control exactly where the light hits.
However, direct flash looks artificial. Use a softbox or shoot through a white umbrella to spread the light. Aim the light slightly off-axis to create dimension rather than flattening the subject. For amphibians, which often have wet, reflective skin, polarizing filters are crucial. They cut glare from the water or damp leaves, revealing the true colors underneath. Without a polarizer, a Pacific Tree Frog is a green tree frog native to the Pacific Northwest, known for its smooth skin and vocalizations might look like a shiny plastic toy instead of a living creature.
Focusing Techniques for Small, Moving Targets
Autofocus can struggle with thin, transparent parts of amphibians or the fine patterns on reptile scales. In many cases, manual focus is more reliable. Here’s a practical workflow:
- Pre-focus on the eye. The eye is the anchor point for any wildlife portrait. If the eye is sharp, the image feels alive.
- Use Live View. Magnify the screen to 10x or 20x. This lets you see exactly where the focus plane sits relative to the scale or pupil.
- Track slowly. If the subject moves, follow it with your hand, not just the camera. Keep the eye centered in the magnified view until you hear the shutter click.
- Shoot in bursts. Even if you think you’ve nailed the focus, take 3-5 frames. Micro-movements happen faster than you can react.
For very small subjects like salamanders or tiny frogs, consider using a rail system. A macro rail allows you to adjust the camera position in millimeter increments, giving you precision that focusing rings simply can’t match.
Composition and Background Management
In close-up wildlife photography, the background is half the story. A cluttered background distracts from the subject. Since depth of field is so shallow with macro lenses, you have some natural separation, but you still need to be intentional.
Look for clean backgrounds before you start shooting. Move around the subject to find a gap between leaves or a patch of uniform color. If you’re using a telephoto lens, compress the background to simplify it. Get closer to the subject and further from the background to push distracting elements out of focus.
Also, pay attention to leading lines. The curve of a branch or the edge of a leaf can guide the viewer’s eye directly to the animal’s face. Don’t fight the natural geometry of the scene; work with it.
Ethical Considerations and Patience
Close-up work requires you to be invasive. You’re getting inches away from creatures that usually hide when humans approach. This brings up ethical questions. Are you disturbing their habitat? Are you stressing the animal?
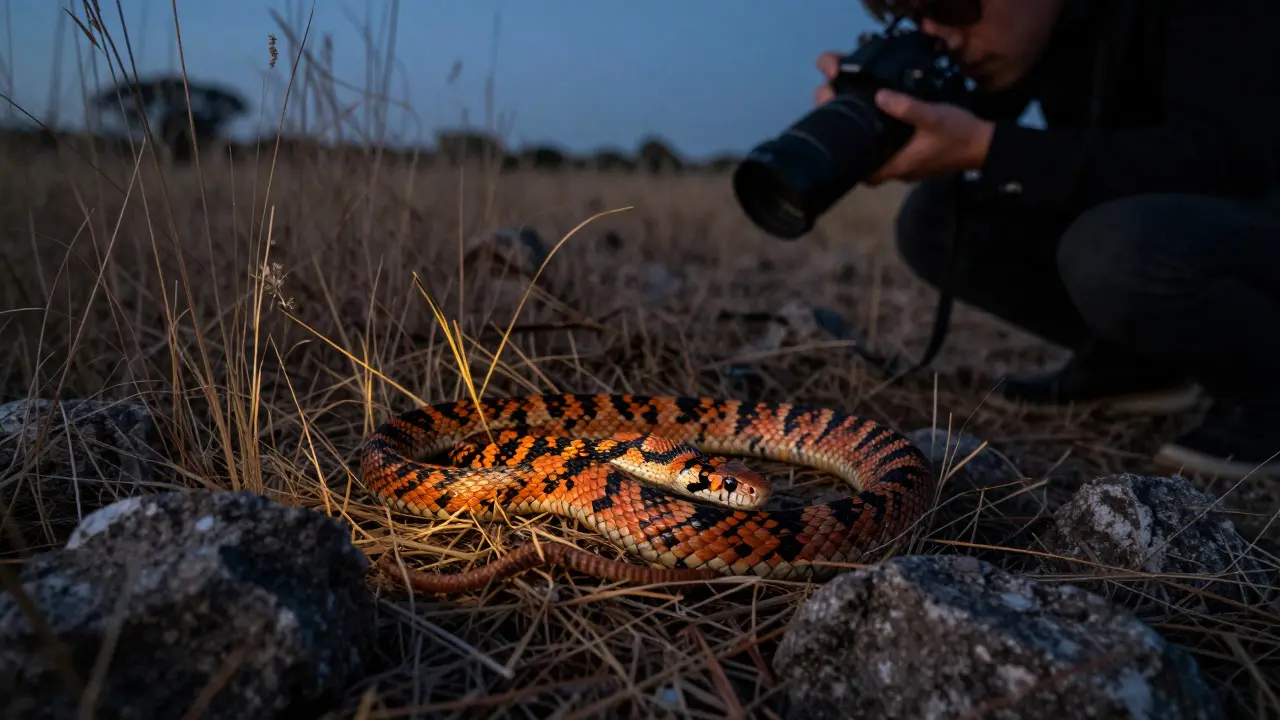
The rule of thumb is: if the animal shows signs of stress (rapid breathing, hiding, aggressive posturing), back off. Give it space. Wait. Often, the best photos come after you’ve stopped moving entirely. Sit down, lower your camera, and wait. A Corn Snake is a non-venomous constrictor snake found across much of the United States, known for its docile nature that has realized you aren’t a threat will relax, allowing you to capture subtle expressions and relaxed poses that are impossible to get otherwise.
Gear Checklist for the Field
You don’t need expensive gear to start, but you do need the right tools. Here’s what I pack for a typical session in the Pacific Northwest:
- Camera Body: Any modern mirrorless or DSLR with good autofocus.
- Lens: One macro (90mm-105mm) and one telephoto (200mm-400mm).
- Support: A sturdy tripod for low-light situations and a monopod for mobility.
- Lighting: A compact speedlight with a diffusion dome.
- Filters: Circular polarizer (essential for cutting glare on wet skin).
- Accessories: Macro rail, extra batteries, and a microfiber cloth for dust.
Frequently Asked Questions
What is the best focal length for photographing small reptiles?
A 90mm to 105mm macro lens is ideal for true close-ups of small reptiles like lizards and snakes. It provides enough working distance to avoid startling the subject while delivering high magnification for detail.
How do I prevent motion blur when shooting fast-moving amphibians?
Increase your shutter speed to at least 1/500s or faster. Use continuous shooting mode and track the subject manually. If lighting is poor, raise your ISO rather than slowing down the shutter speed.
Is flash bad for wildlife photography?
Not necessarily. When diffused and used carefully, flash can fill in shadows and reveal detail without harming the animal. Avoid direct, harsh flash, which can startle subjects and create unnatural highlights.
How close should I get to a reptile for a portrait?
As close as your lens allows without causing stress. For macro work, this might be a few inches. For telephoto work, it could be several yards. Always watch the animal’s behavior-if it hides or hisses, increase your distance.
What settings should I use for low-light amphibian photography?
Use a wide aperture (f/2.8-f/4) to let in more light, a high ISO (3200-6400) to maintain shutter speed, and a stable support like a tripod to avoid camera shake. Fill light with a small flash if possible.