You know that feeling when a portrait looks too sharp? Too clinical? Like you’re looking at a medical scan instead of a human being? That’s where Diffusion Filters come in. They aren’t just for hiding skin flaws; they are tools to manipulate light and mood. Think of them as the secret sauce that turns a standard digital image into something with soul. But here’s the catch: most people use them wrong. They slap on a generic "soft" filter, expect magic, and get back muddy, low-contrast mush. This guide breaks down exactly how diffusion filters work, which ones actually matter, and how to use them without losing your mind.
What Actually Happens When Light Hits a Diffusion Filter?
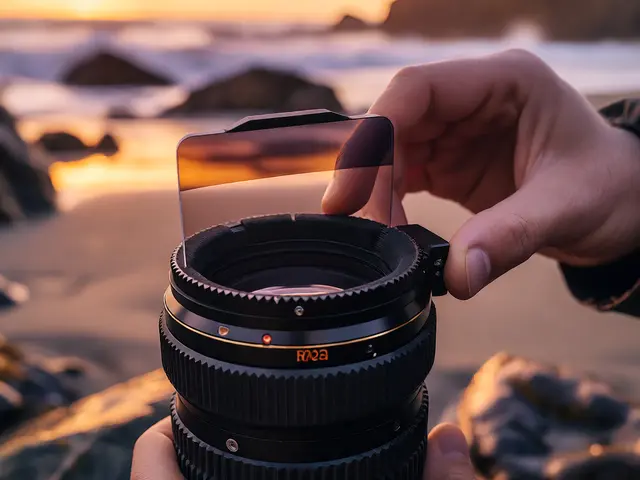
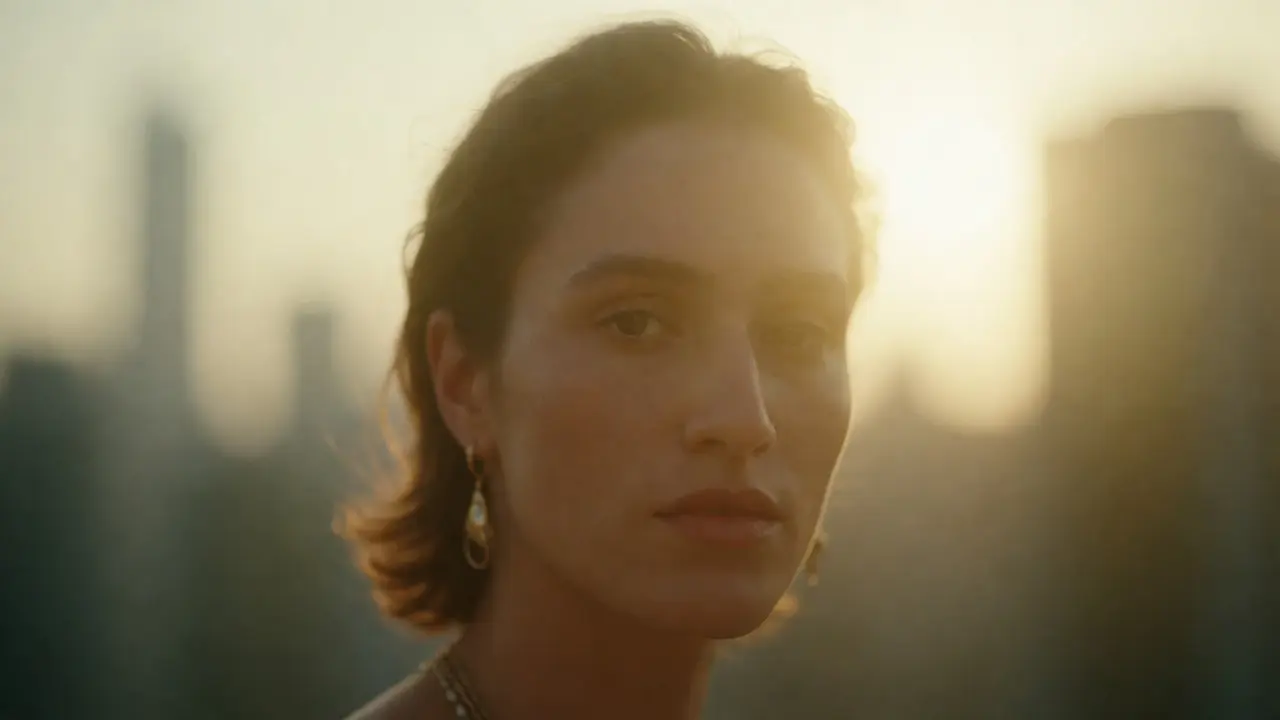
Before you spend money, you need to understand the physics. A diffusion filter is a piece of optical glass or resin placed in front of your lens. Its job is simple but tricky: it scatters light rays slightly before they hit the sensor. Unlike a blur created by a wide aperture (which happens optically inside the lens), diffusion creates a "halo" effect around bright highlights. It keeps the core of the subject relatively sharp while blooming the edges of lights and skin tones. This mimics the look of older film stocks or vintage lenses that didn’t have perfect anti-reflective coatings. The result isn’t just "blurry." It’s a reduction in micro-contrast. High-frequency details-like pores, fine wrinkles, and noise-are softened, while large shapes remain intact. This distinction is crucial. If your image looks like you smeared Vaseline on the lens, you used too much diffusion or the wrong type.
The Big Names: Black Mist vs. Classic Soft Focus
Not all diffusion filters are created equal. The market is flooded with options, but three names dominate professional conversations: Tiffen Black Mist, Pro-Mist, and Hoya Softon. Each serves a different purpose.
| Filter Type | Primary Effect | Best For | Downside |
|---|---|---|---|
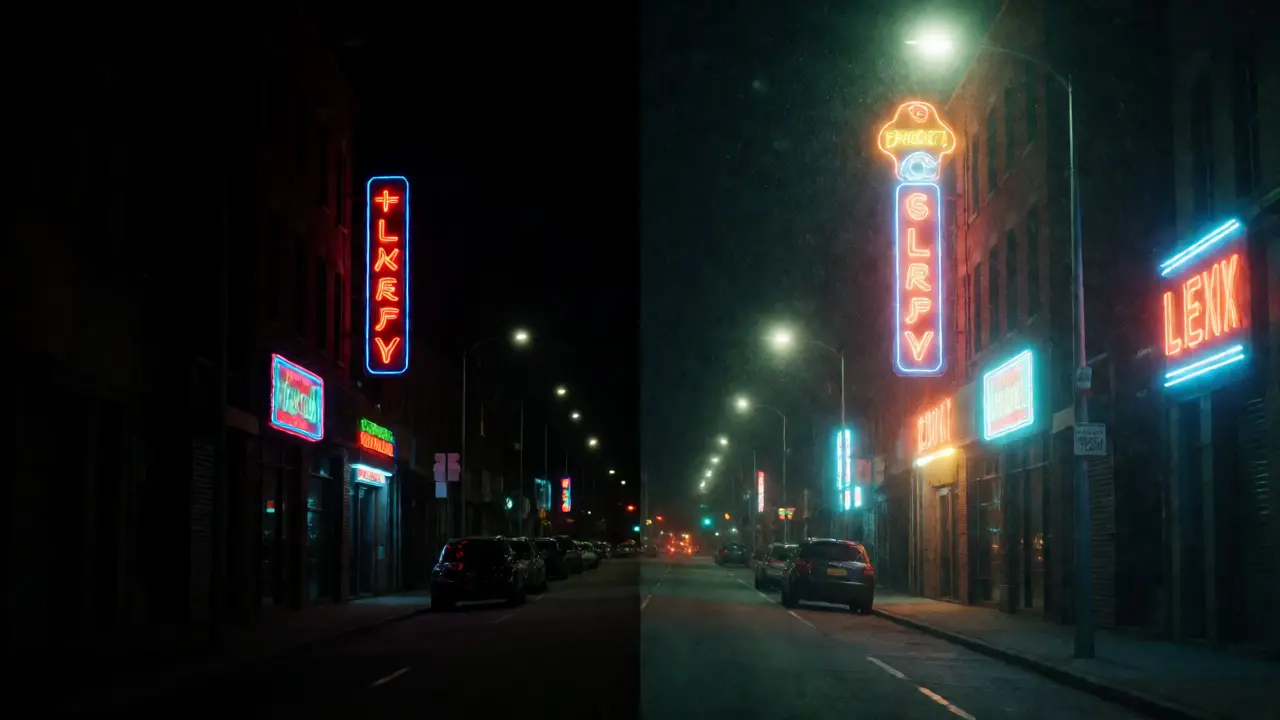
| Tiffen Black Mist | Blooms highlights, reduces harsh contrast, maintains color neutrality. | Night scenes, neon lights, modern cinematic portraits. | Can reduce overall clarity if overused. |
| Pro-Mist | Adds a subtle glow, warms up skin tones slightly. | Weddings, golden hour portraits, romantic moods. | Can make images look hazy in flat lighting. |
| Hoya Softon | Stronger diffusion, distinct halos, more visible texture. | Fine art portraits, artistic expression. | Significant loss of detail; not for landscape purists. |
Let’s talk about the Black Mist filter. It has become the industry standard for a reason. Why? Because it doesn’t wash out colors. Older diffusion filters often added a milky white cast that made skies look gray and skin look pallid. Black Mist uses microscopic particles to scatter light without introducing a strong color shift. It specifically targets blue and violet wavelengths less aggressively than others, preserving the natural warmth of skin tones. If you shoot weddings or corporate headshots, this is your go-to. It removes the "digital sharpness" that makes high-resolution cameras feel cold, without making the photo look dirty.
On the other hand, Pro-Mist filters are warmer. They add a slight yellow/orange tint to the highlights. This sounds bad, but in practice, it enhances skin tones beautifully during sunset. It creates a nostalgic, film-like atmosphere. However, if you are shooting under fluorescent office lights, Pro-Mist can make everyone look sickly. Always test under your specific lighting conditions.
Choosing the Right Strength: 1/8, 1/4, or 1/2?
This is where beginners fail. They buy a "Strong" diffusion filter because they want a dramatic effect, then wonder why their photos look like foggy windows. Diffusion strength is measured in fractions: 1/8, 1/4, 1/2, and sometimes stronger. Here is the rule of thumb:
- 1/8 Strength: Subtle. Good for general portrait work where you want to retain maximum detail but soften the edge. Use this if you are unsure.
- 1/4 Strength: Noticeable. Great for wedding photographers who want that "dreamy" vibe without losing eye contact clarity. This is the sweet spot for most people.
- 1/2 Strength: Heavy. Creates significant halos. Use this only for artistic projects or very harsh lighting situations where you need to crush contrast aggressively.
Start with 1/8. You can always stack two 1/8 filters to approximate a 1/4, but you can’t un-blur a 1/2. Also, consider your lens. Fast prime lenses (like an f/1.4) already produce shallow depth of field. Adding heavy diffusion on top can make the subject disappear. Slower zoom lenses benefit more from diffusion because they tend to render sharper, flatter images.
Practical Application: How to Shoot with Diffusion
Using a diffusion filter changes how you meter and focus. First, autofocus can struggle. Because the filter reduces contrast, your camera might hunt for focus, especially in low light. Switch to manual focus or use single-point autofocus on a high-contrast area, like the eye. Second, exposure. Diffusion filters typically reduce light transmission by about one-third to one-half stop. Check your histogram. You might need to bump your ISO slightly or open your aperture wider to compensate.
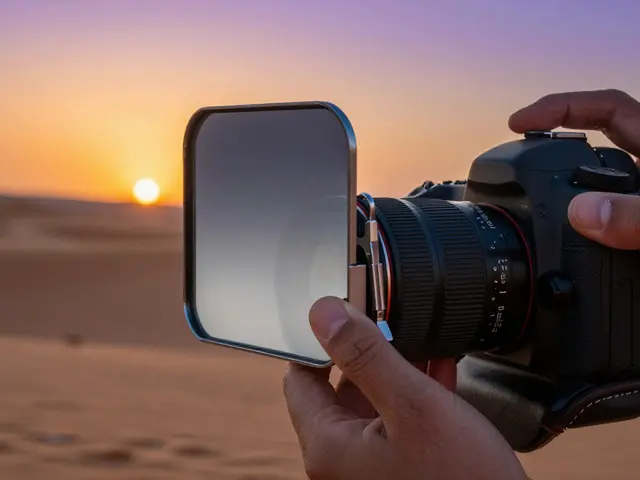
Positioning matters. Place the filter directly against the front element of your lens. If there is a gap between the filter and the hood, you risk flare artifacts that look like random bright spots rather than intentional bloom. And please, clean your filter. Dust on a diffusion filter is amplified. What looks like a speck of dust on clear glass becomes a glowing orb on a diffusion filter. Carry a microfiber cloth and check it before every shoot.
Common Pitfalls and How to Avoid Them
The biggest mistake is using diffusion in the wrong context. Do not use diffusion filters for landscapes where you want crisp foreground details. Mountains should look sharp, not misty. Unless you are going for a specific painterly aesthetic, keep diffusion away from architecture and product photography where clarity sells the item.
Another trap is stacking filters. Photographers often stack a polarizer and a diffusion filter. While possible, this increases the chance of vignetting (dark corners) and internal reflections. If you must stack, use slim-profile filters and ensure the polarizer is closest to the lens. Test for color casts. Sometimes the combination creates unexpected green or magenta shifts that are hard to fix in post-production.
Post-Processing: Enhancing the Look
A diffusion filter does half the work. Your editing software finishes the job. In Lightroom or Capture One, avoid increasing the "Clarity" slider too much. Clarity adds local contrast, which fights against the softening effect of the filter. Instead, use the "Texture" slider sparingly. To enhance the dreamy look, try lifting the shadows slightly and lowering the whites. This compresses the dynamic range, reinforcing the soft atmosphere. Some editors also use a slight Gaussian Blur mask on the background, leaving the eyes untouched, to deepen the separation between subject and environment.
Do diffusion filters ruin image quality?
No, but they alter it intentionally. A high-quality diffusion filter will reduce micro-contrast and sharpness slightly, which is the point. Cheap filters can introduce chromatic aberration or haze that degrades the image unintentionally. Stick to reputable brands like Tiffen, B+W, or Hoya to ensure the degradation is aesthetic, not technical failure.
Can I simulate diffusion filters in Photoshop?
You can approximate the look using blending modes (like Screen or Overlay) and blurring layers, but it won't be identical. Optical diffusion affects the light entering the sensor, creating real halos around bright points that interact with the scene's depth. Software simulation often looks flat or artificial if not done carefully. Many pros prefer getting it right in-camera to save editing time.
Which diffusion filter is best for night photography?
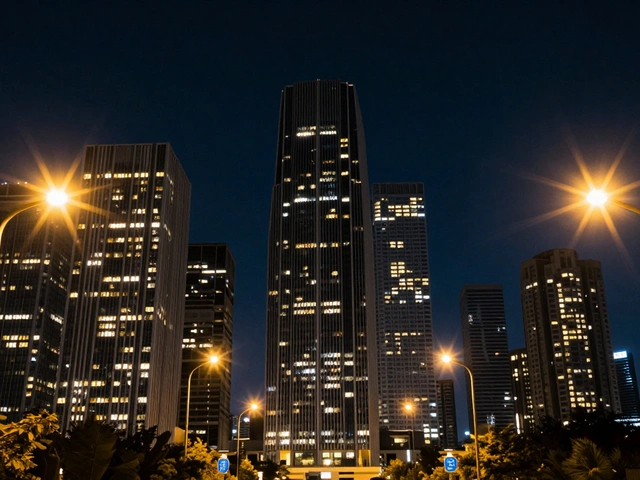
The Tiffen Black Mist 1/4 or 1/8 is widely considered the best for night scenes. It blooms streetlights and neon signs beautifully without washing out the dark areas. Other filters may raise the black levels too much, making night shots look gray and milky.
Do I need a UV filter if I use a diffusion filter?
No. A diffusion filter is thick enough to protect the front element of your lens from scratches and dust. Stacking a UV filter behind it adds another layer of glass, which can degrade image quality and increase flare risks. Just use the diffusion filter alone.
How do I clean a diffusion filter?
Use a gentle air blower first to remove grit. Then, use a microfiber cloth designed for optics. Wipe gently in a circular motion. Do not use paper towels or clothing, as they can scratch the coating. Since diffusion filters rely on surface texture, deep scratches can create unwanted streaks in your photos.