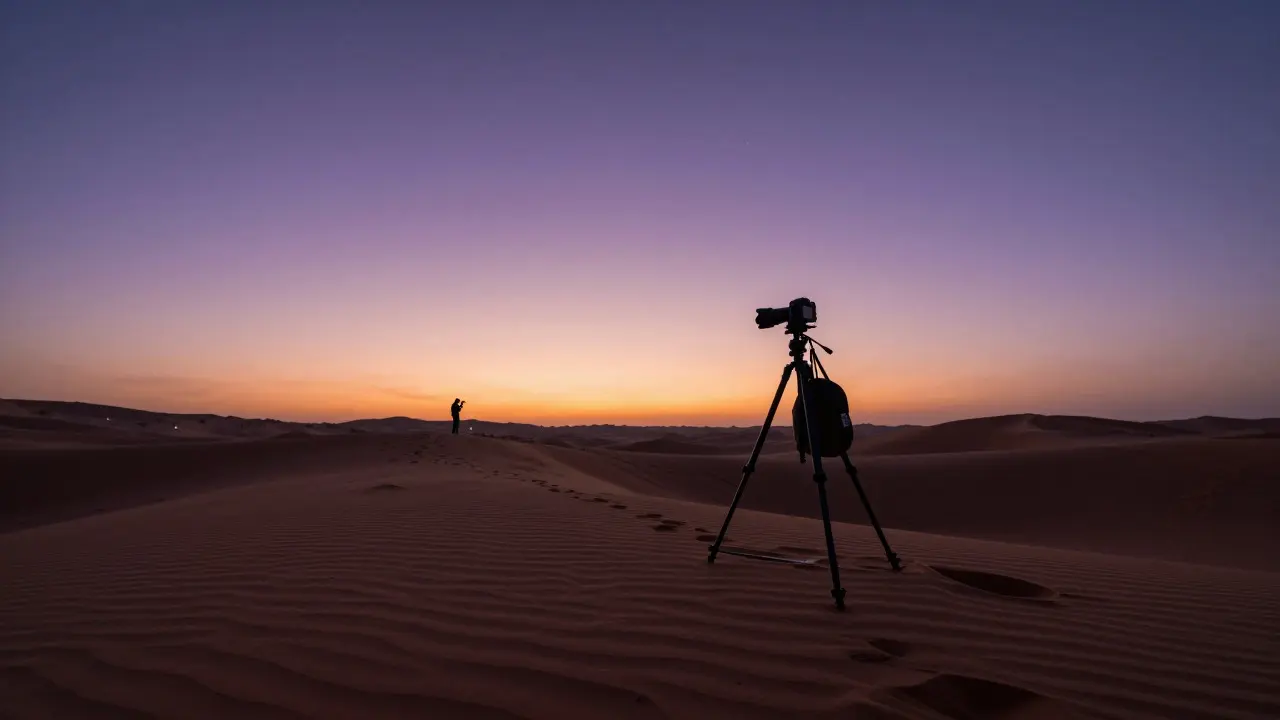
Ever tried to take a sharp photo of the Northern Lights or a starry night sky, only to end up with a blurry mess? The culprit is usually you. Even the gentlest press on a camera button creates enough vibration to ruin a long exposure. This is where hands-free triggering comes in. It’s not just a luxury for landscape pros; it’s a necessity for anyone who wants crisp images in low light or when using slow shutter speeds.
Whether you’re shooting macro flowers, architectural details, or astrophotography, keeping your hand off the camera body changes everything. Let’s break down the tools that make this possible, how they work, and which one actually fits your workflow.
Why Your Finger Ruins Sharp Images
Camera shake isn’t just about holding the camera wrong. It’s about mechanical vibration. When you press the shutter button, the mechanism inside the camera engages. This tiny movement travels through the lens mount and into the sensor. At fast shutter speeds like 1/500th of a second, this doesn’t matter. But at 1/30th of a second or slower, especially on a tripod, that micro-vibration becomes visible as softness or blur.
This is critical for three specific scenarios:
- Long Exposures: Night skies, city lights, and waterfalls often require exposures of 10 seconds or more. Any initial shake ruins the entire frame.
- Macro Photography: At close range, depth of field is razor-thin. A slight shift from pressing the button can move the subject out of focus.
- Bulb Mode: When shooting with the shutter held open manually, you need a way to start and stop the exposure without touching the camera again.
The solution is simple: separate the act of triggering the shutter from the physical contact with the camera body. This is what remote shutters and cable releases do.
Cable Releases: The Mechanical Workhorse
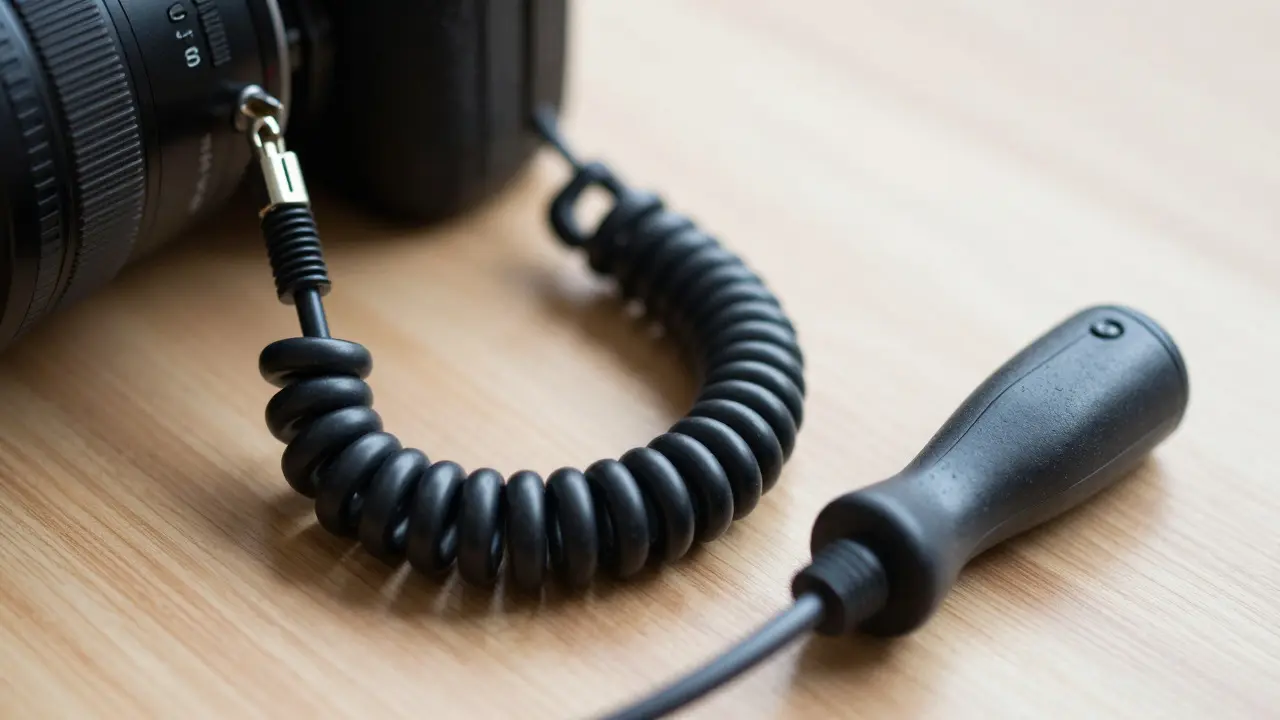
A Cable Release is a mechanical device consisting of a flexible wire connected to a handle or switch that physically presses the camera's shutter button. Think of it as an extension cord for your finger. You hold the handle, pull the lever, and the wire transmits that force directly to the shutter button on your camera.
There are two main types of cable releases you’ll encounter:
- Standard Wired Cables: These have a rigid or semi-rigid wire. They are cheap, durable, and reliable. However, they can be stiff and may transmit some vibration if not handled gently.
- Flexible Coiled Cables: These look like telephone cords. They offer more slack and flexibility, allowing you to position the handle comfortably while keeping the tension low. They are generally preferred for tripod work because they reduce the chance of pulling the camera slightly.
The biggest advantage of a cable release is simplicity. There are no batteries to charge, no software to install, and no pairing issues. If you buy a high-quality coiled cable release, it will likely last longer than your camera does. They are also universal. As long as the connector matches your camera’s port (usually a 2.5mm or 3.5mm jack), it works. Most modern DSLRs and mirrorless cameras use a standard 2.5mm sync port, making compatibility easy.
Wireless Remote Shutter Remotes: Freedom and Range
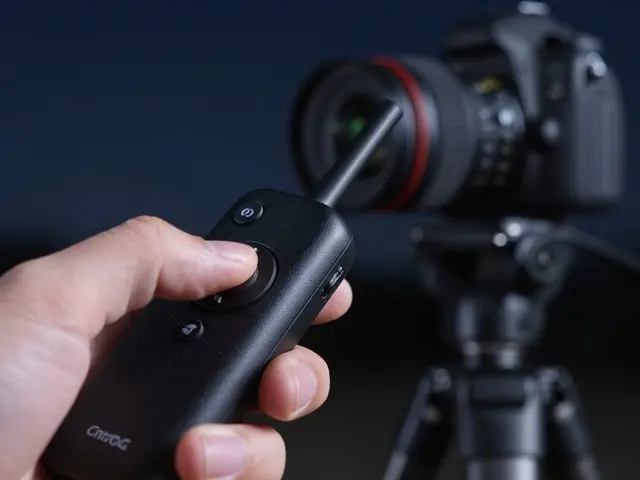
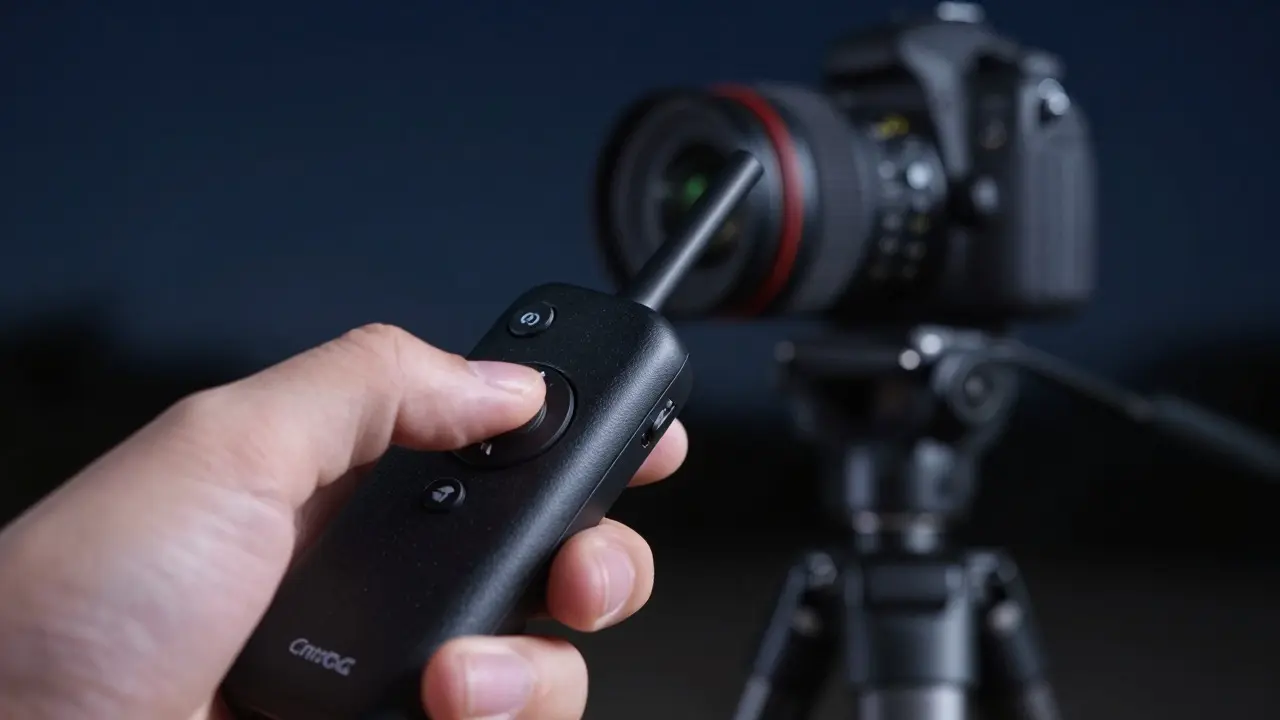
If a cable feels restrictive, a Wireless Remote Shutter is a battery-powered transmitter that sends a signal to a receiver attached to the camera to trigger the shutter electronically. This setup gives you total freedom. You can stand 30 feet away, hide behind a rock, or lie on the ground without dragging a wire across the terrain.
Most wireless remotes come in pairs: a small receiver that plugs into the camera’s sync port and a handheld transmitter. Some systems allow multiple receivers, so you can control several cameras at once. This is incredibly useful for event photography or when setting up multiple angles for a single shot.
Key features to look for in a wireless remote include:
- Range: Standard consumer models offer 30-60 meters. Professional units can go further, but for most photographers, 30 meters is plenty.
- Battery Life: Look for units that use CR2032 coin cells. They last for years. Avoid proprietary batteries that are hard to find.
- Intervalometer Function: Many modern remotes double as intervalometers. This lets you set the camera to take 10 photos every 5 minutes automatically. Perfect for time-lapse sequences.
The trade-off here is reliability. Wireless signals can occasionally drop, especially near large metal structures or in crowded radio environments. For critical shots where failure is not an option, a wired connection is still safer. But for creative flexibility, wireless wins.
Smartphone Apps: The Modern Alternative
You don’t always need extra hardware. If your camera has Wi-Fi or Bluetooth capabilities, you can use a smartphone app to trigger the shutter remotely. Brands like Sony, Canon, and Nikon offer official apps that let you view the live feed and press a virtual shutter button on your phone screen.
This approach is cost-effective since you already own the phone. It also allows you to check focus and composition before taking the shot, which is a huge plus for long exposures where trial and error is expensive.
However, there are downsides. Wi-Fi connections can be unstable over long distances. Battery drain on both the camera and phone can be significant during extended sessions. And not all cameras support remote triggering via Wi-Fi, especially older models. If you’re using a budget point-and-shoot or an older DSLR, this option might not exist at all.
Comparison: Which Trigger Method Fits Your Needs?
Choosing between these methods depends on your specific shooting style. Here’s a quick breakdown to help you decide:
| Feature | Cable Release | Wireless Remote | Smartphone App |
|---|---|---|---|
| Cost | $10 - $30 | $30 - $80 | Free (if supported) |
| Reliability | High | Medium-High | Variable |
| Range | Limited by cable length (1-3m) | 30-60+ meters | 10-30 meters (Wi-Fi dependent) |
| Battery Required | No | Yes (Transmitter & Receiver) | Yes (Phone & Camera) |
| Best For | Tripod work, long exposures, bulkheads | Wildlife, sports, multi-camera setups | Convenience, previewing shots, modern cameras |
Notice how the cable release is the cheapest and most reliable. It’s the go-to for landscape photographers who spend hours waiting for the right light. The wireless remote offers flexibility, making it ideal for wildlife shooters who need to stay hidden. The smartphone app is best for casual users or those who want to verify their settings before committing to a long exposure.
Pro Tips for Using Remote Triggers Effectively
Even with the right tool, technique matters. Here are some practical tips to get the most out of your hands-free setup:
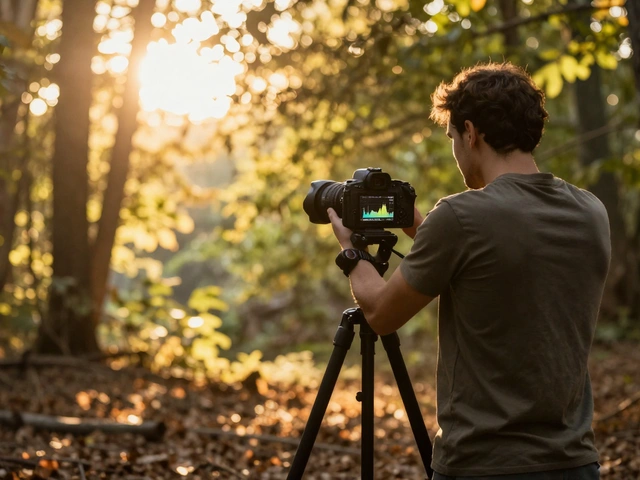
- Use Mirror Lock-Up: If you’re using a DSLR, enable mirror lock-up. The mirror flipping up causes its own vibration. By locking it up first, you eliminate this variable. Wait a few seconds after the mirror locks before triggering the shutter.
- Turn Off Image Stabilization: When the camera is on a sturdy tripod, image stabilization (IS) or vibration reduction (VR) can actually introduce wobble. The system tries to correct for non-existent movement. Turn it off for static tripod shots.
- Check the Connection: Before heading out, test your remote at home. Make sure the cable clicks firmly into the port or that the wireless receiver is paired correctly. Nothing is worse than arriving at a scenic spot and realizing your remote isn’t working.
- Protect the Port: The sync port on your camera is delicate. Dust and dirt can interfere with the connection. Use a cap when not in use, and keep the area clean.
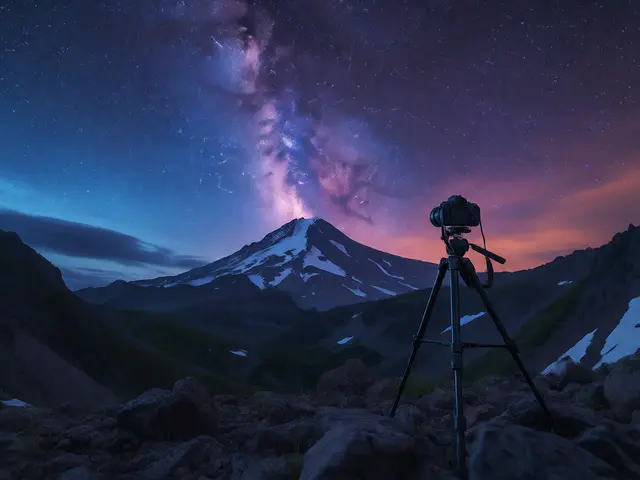
For astrophotography specifically, consider using a remote with a "Bulb" function. This allows you to hold the shutter open indefinitely. You can then stop the exposure manually when you see the stars starting to streak due to Earth’s rotation. This gives you precise control over exposure time, something fixed intervals can’t offer.
Common Pitfalls to Avoid
Many beginners make mistakes that negate the benefits of using a remote trigger. Watch out for these:
- Buying the Wrong Connector: While 2.5mm is common, some cameras use 3.5mm or proprietary ports. Always check your camera manual before buying a cable release. Mismatched connectors won’t fit, and forcing them can damage the port.
- Ignoring Cable Length: A short cable forces you to hunch over the camera, which defeats the purpose of hands-free shooting. Aim for at least 2 meters (6 feet) of length to allow comfortable positioning.
- Overlooking Software Compatibility: If using a smartphone app, ensure it supports your specific camera model. Not all features are available across all brands. For example, some apps only work with certain firmware versions.
- Forgetting About Wind:** On windy days, even a tripod can sway. Pair your remote trigger with a heavy bag hanging from the center hook of your tripod to dampen vibrations. This combination is crucial for sharp results in outdoor conditions.
Remember, the goal is stability. The remote trigger removes human error, but environmental factors like wind and heat still play a role. Addressing these variables ensures your gear performs as intended.
Frequently Asked Questions
Do I really need a remote shutter for indoor photography?
Generally, no. Indoor lighting is usually bright enough for fast shutter speeds (1/60s or faster), where hand-holding is stable. However, if you are shooting low-light events like concerts or weddings with flash, a remote can help avoid disturbing subjects or causing flash bounce issues. For standard indoor portraits, it’s rarely necessary.
Can I use a cable release with a mirrorless camera?
Yes, absolutely. Most mirrorless cameras have a dedicated sync port for cable releases. Since mirrorless cameras don’t have a moving mirror, they are inherently less prone to vibration than DSLRs. Using a remote shutter with a mirrorless camera is even more effective for eliminating the last bit of electronic noise or sensor readout lag.
What is the difference between a remote shutter and a cable release?
A cable release is a physical wire that mechanically presses the shutter button. A remote shutter (often called a wireless remote) uses radio waves or infrared to send a signal to the camera. Cable releases are simpler and cheaper; wireless remotes offer more range and flexibility but require batteries.
How far can a wireless remote shutter work?
Most consumer-grade wireless remotes have a range of 30 to 60 meters (100 to 200 feet). Professional models can extend this to 100 meters or more. Obstacles like walls, trees, or large bodies of water can reduce this range significantly. Always test your range in the environment where you plan to shoot.
Is it better to use a remote shutter or my camera’s self-timer?
For critical sharpness, a remote shutter is better. The self-timer waits a set period (usually 2 or 10 seconds) after you press the button, giving you time to step back. However, you still touched the camera initially, which can cause minor vibration. A remote shutter eliminates any physical contact entirely. That said, for casual snapshots, the self-timer is perfectly fine and requires no extra gear.