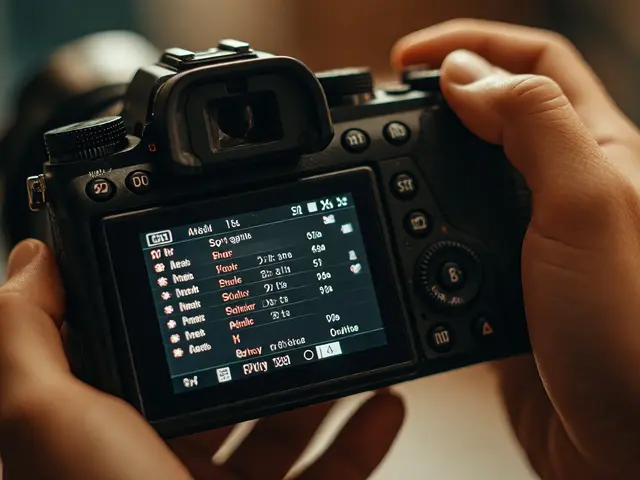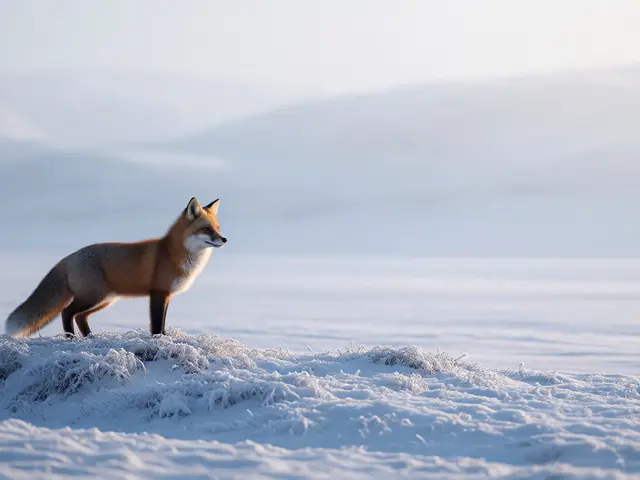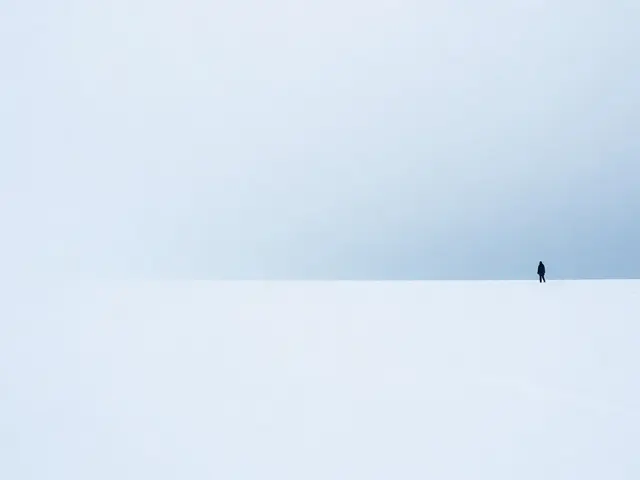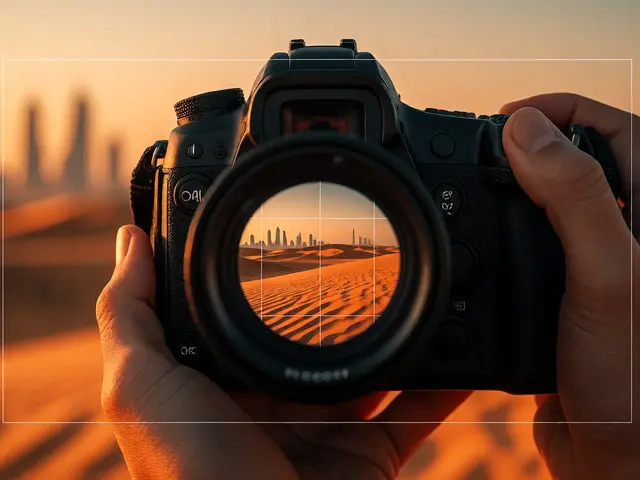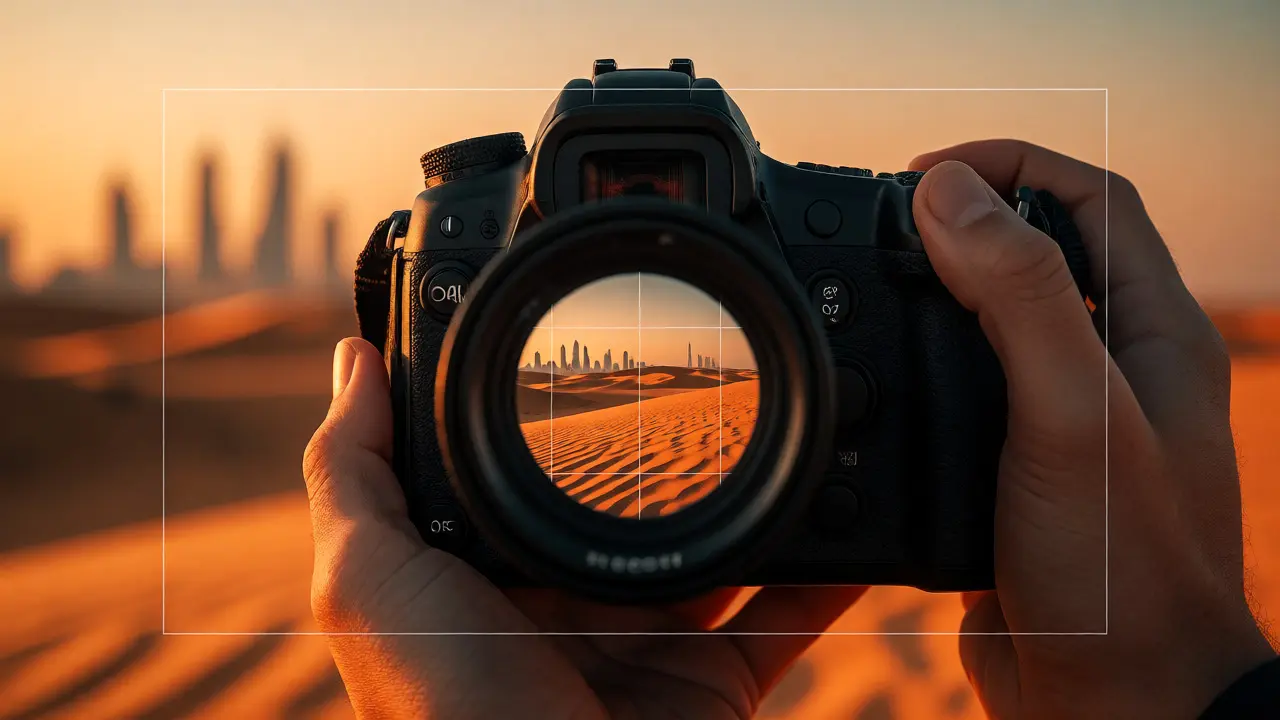
You took the shot. The lighting was perfect, the subject looked great, but when you open the file in your editor, something feels... off. Maybe there’s a distracting trash can in the corner. Maybe the horizon is tilted. Or maybe the image just doesn't have that "pop" it had in your viewfinder. This is where cropping becomes more than just cutting away unwanted edges; it is the final act of composition refinement. Many photographers treat cropping as a rescue mission for bad shots, but pros know it as a creative tool to tighten framing and guide the viewer's eye.
If you want your photos to stop feeling like snapshots and start looking like intentional art, you need to master the balance between what you keep and what you cut. It isn't about deleting pixels randomly. It's about controlling the narrative. Here is how you refine your framing without losing quality or impact.
The Psychology of the Frame
Before you touch the crop tool, understand why we frame things. Our eyes don't scan an image like a scanner; they jump from point of interest to point of interest. A good frame directs this journey. When you crop, you are removing visual noise that competes for attention. If your subject is a portrait, and there is a bright red car in the background pulling focus away from the eyes, cropping out the car restores the hierarchy.
This process relies on visual weight. Dark areas, high contrast, and sharp details carry more weight than blurry backgrounds or muted colors. By cropping tightly around these high-weight elements, you increase the density of interest in the frame. However, be careful not to over-crop. If you remove too much context, the image can feel claustrophobic or confusing. The goal is clarity, not confinement.
Rethinking the Rule of Thirds
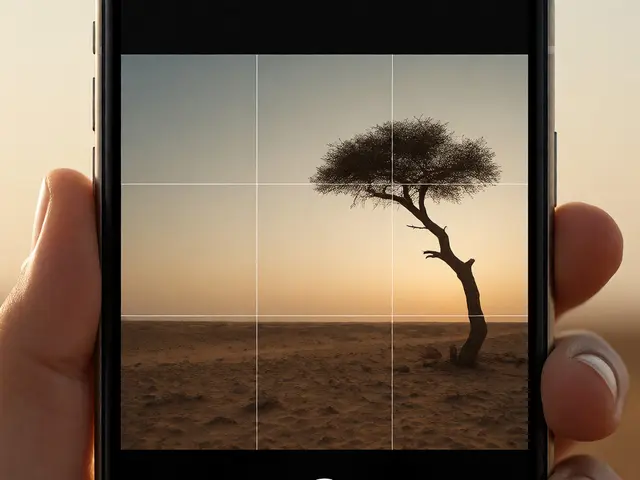
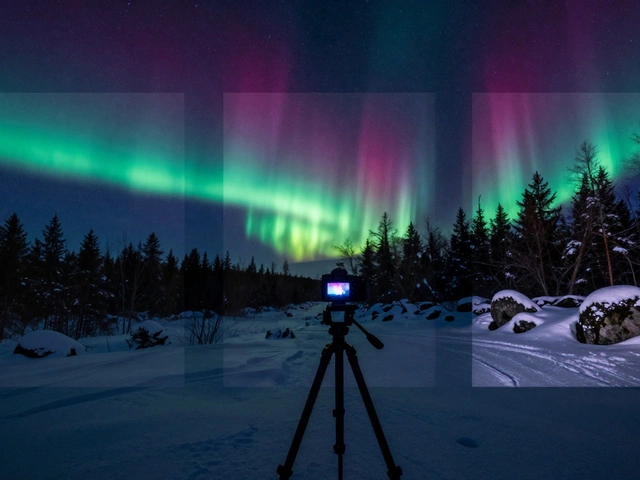
You’ve heard of the rule of thirds, the grid that divides your image into nine equal parts. It’s the most common starting point for composition, but it’s also the most misunderstood. Beginners often force their subject onto an intersection regardless of whether it looks natural. Sometimes, centering the subject creates symmetry and stability that a third-line placement ruins.
Use the rule of thirds as a suggestion, not a law. For example, if you are photographing a lone tree in a vast field, placing it on the left third line might leave too much empty sky on the right, making the image feel unbalanced. In this case, shifting the crop slightly so the tree sits closer to the center-or using negative space intentionally on one side to lead the eye-can create a stronger emotional response. Cropping allows you to adjust this balance post-shoot. You can slide the subject along the horizontal axis until the visual tension feels right.
Aspect Ratios: Choosing Your Canvas
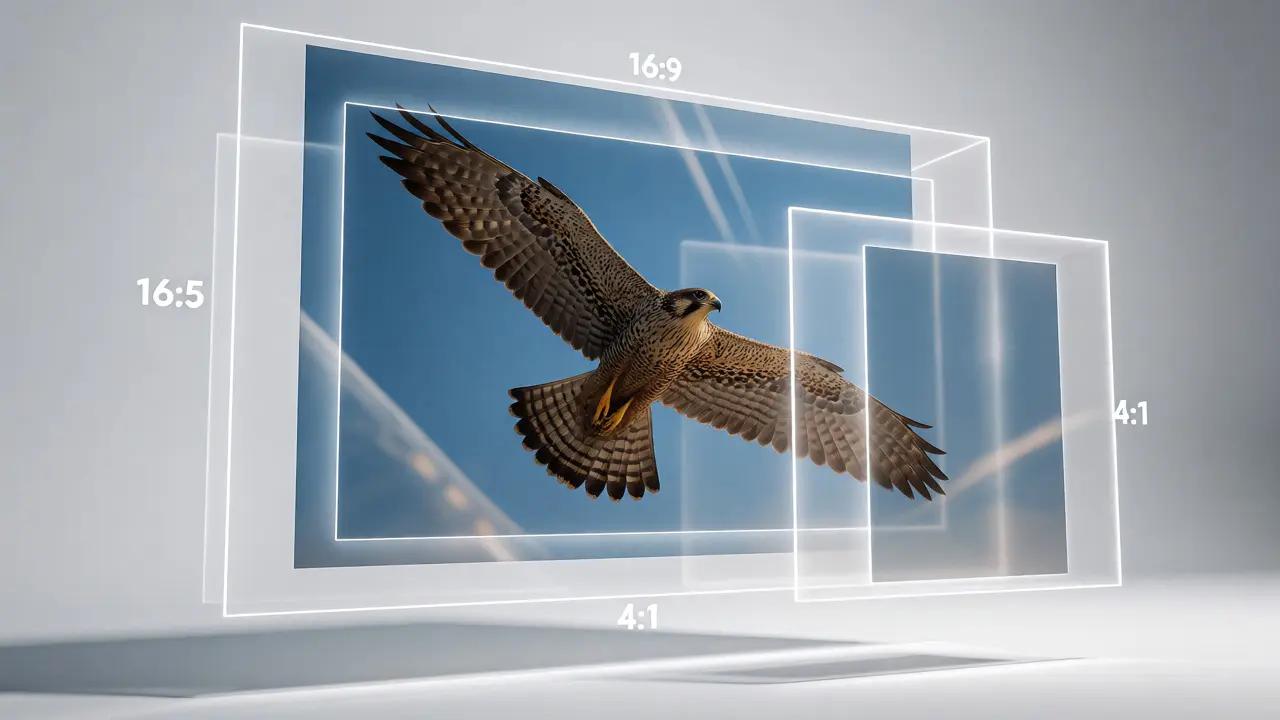
Most cameras shoot in 3:2 (APS-C or Full Frame) or 4:3 (Micro Four Thirds). But social media, print, and personal preference often demand different shapes. Changing the aspect ratio during cropping changes the story.
- 16:9 (Wide): Great for landscapes and cinematic storytelling. It emphasizes width and environment. Use this when the setting is as important as the subject.
- 1:1 (Square): Ideal for Instagram feeds and portraits where symmetry matters. It forces you to get close and personal with the subject.
- 4:5 (Vertical Portrait): Perfect for mobile viewing. It fills the screen better than a square or vertical rectangle, keeping the viewer engaged longer.
Don’t be afraid to break the original sensor ratio. If you shot a landscape in 3:2 but it works better as a panoramic 16:9, crop it. Just remember that aggressive cropping reduces resolution. Always check your pixel dimensions before printing large formats.
Handling Distractions and Edge Issues
One of the fastest ways to ruin a photo is letting a limb or object touch the edge of the frame awkwardly. This is called "chopping." If you crop a person’s arm right at the wrist, it looks unnatural. If you cut through the middle of an elbow, it looks broken. The rule here is simple: crop at joints, not mid-limb. Cut above the knee, below the elbow, or at the waist. This preserves the body’s integrity.
Also, watch for tangents. A tangent occurs when two objects in the frame appear to touch or overlap in a way that confuses the depth perception. For instance, a tree branch appearing to grow out of a person’s head. While you can sometimes fix this by moving the camera next time, cropping can help separate these elements by tightening the frame or changing the angle of the cut. If you can’t remove the distraction entirely, try rotating the crop slightly to alter the relationship between the elements.
The Golden Ratio and Dynamic Symmetry
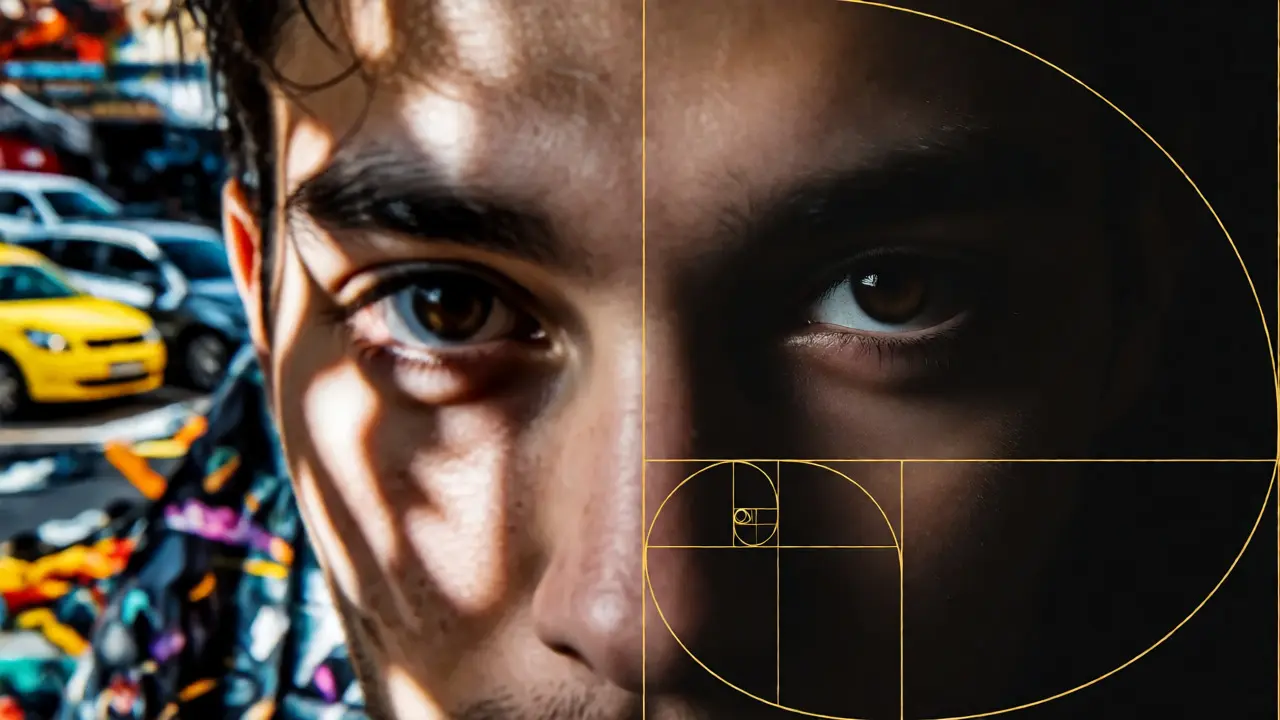
If the rule of thirds feels too rigid, look into the Golden Ratio (also known as Phi, approximately 1.618). Unlike the evenly spaced thirds, the golden spiral places points of interest closer to the center, creating a more organic flow. Many classical paintings and modern logos use this proportion because it aligns with natural growth patterns.
Many editing software tools, like Lightroom or Photoshop, offer overlays for both grids. Try switching between them. You might find that your eye naturally prefers the spiral’s curve over the grid’s intersections. This isn't magic; it's geometry working with human perception. When refining composition, toggle these overlays to see which one makes the image feel more balanced. Often, the best crop is the one where you forget the grid exists because the image just feels right.
Preserving Resolution and Quality
Cropping throws away data. Every pixel you cut is gone forever. If you start with a 24-megapixel image and crop aggressively, you might end up with a 10-megapixel file. For web use, this is fine. For large prints, it might be problematic.
| Original Resolution | Crop Factor | Final Resolution | Max Print Size (at 300 DPI) |
|---|---|---|---|
| 24 MP (6000x4000) | No Crop | 24 MP | 20 x 13 inches |
| 24 MP | 50% Linear | 6 MP | 10 x 6.6 inches |
| 24 MP | 75% Linear | 1.5 MP | 5 x 3.3 inches |
As you can see, a linear 50% reduction cuts your megapixels by 75%. To mitigate this, always shoot RAW files. They contain more dynamic range and detail, allowing you to recover shadows or highlights after cropping. Also, consider using AI upscaling tools if you need to enlarge a heavily cropped image for print. These tools intelligently add pixels based on surrounding data, though they aren't perfect substitutes for optical resolution.
Common Pitfalls to Avoid
Even experienced editors make mistakes. Here are three traps to watch out for:
- Over-Centering: Unless you are going for strict symmetry, avoid placing every subject dead-center. It often looks static and boring. Offset the subject to create movement.
- Ignoring Leading Lines: If your photo has roads, fences, or rivers leading toward the subject, don't crop them out abruptly. Let them enter the frame gracefully. Cutting a leading line at the edge breaks the visual path.
- Tilting Without Reason: Straightening horizons is usually good practice. But sometimes, a slight tilt adds dynamism. Only straighten if the tilt looks accidental. If you deliberately used a Dutch angle, keep it.
Remember, composition refinement is iterative. Step back from your screen. Look at the thumbnail. Does the eye go where you want it? If not, adjust the crop again. Small nudges-a few pixels left or right-can make a huge difference.
Does cropping reduce image quality?
Yes, cropping reduces the total number of pixels, which lowers the resolution. However, for digital display (web, social media), this rarely matters unless you crop extremely aggressively. For printing, ensure your remaining pixel count meets the required DPI (usually 300) for your desired print size.
Should I crop before or after color grading?
It is generally better to crop first. Why spend time adjusting exposure, white balance, and color curves on areas you plan to delete? Cropping early lets you judge the composition and lighting of the final frame accurately. Plus, some adjustments behave differently depending on the histogram, which changes once you remove parts of the image.
Is the rule of thirds outdated?
Not outdated, but overused. It is a helpful training wheel for beginners to learn balance. Advanced photographers often ignore it in favor of center-weighted compositions, golden ratios, or breaking rules entirely for artistic effect. Use it as a baseline, then experiment beyond it.
How do I know if my crop is too tight?
If the subject feels cramped against the edges, or if context is lost (e.g., you can't tell if someone is indoors or outdoors), it is likely too tight. Leave enough breathing room around the subject so they don't feel trapped. Exceptions exist for extreme close-ups or abstract shots, but for general photography, give your subject space to exist within the frame.
Can I change the aspect ratio later without ruining the photo?
You can, but it depends on the content. Converting a wide landscape to a square might cut off key elements on the sides. Converting a portrait to a wide format might require adding fake sky or ground via generative fill. Plan your primary output format when shooting, but minor ratio changes during editing are usually safe if you are mindful of what gets excluded.