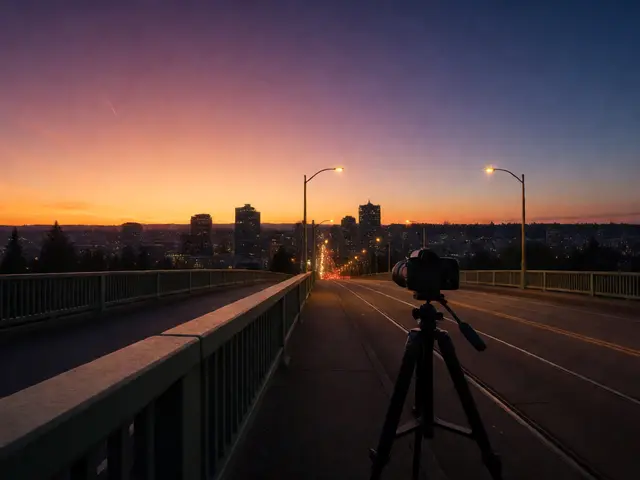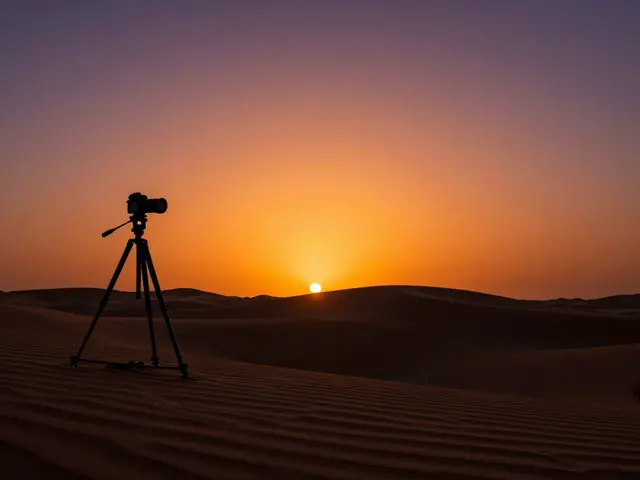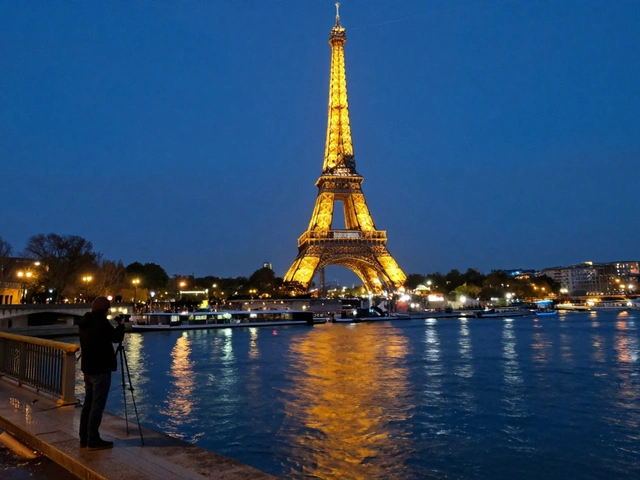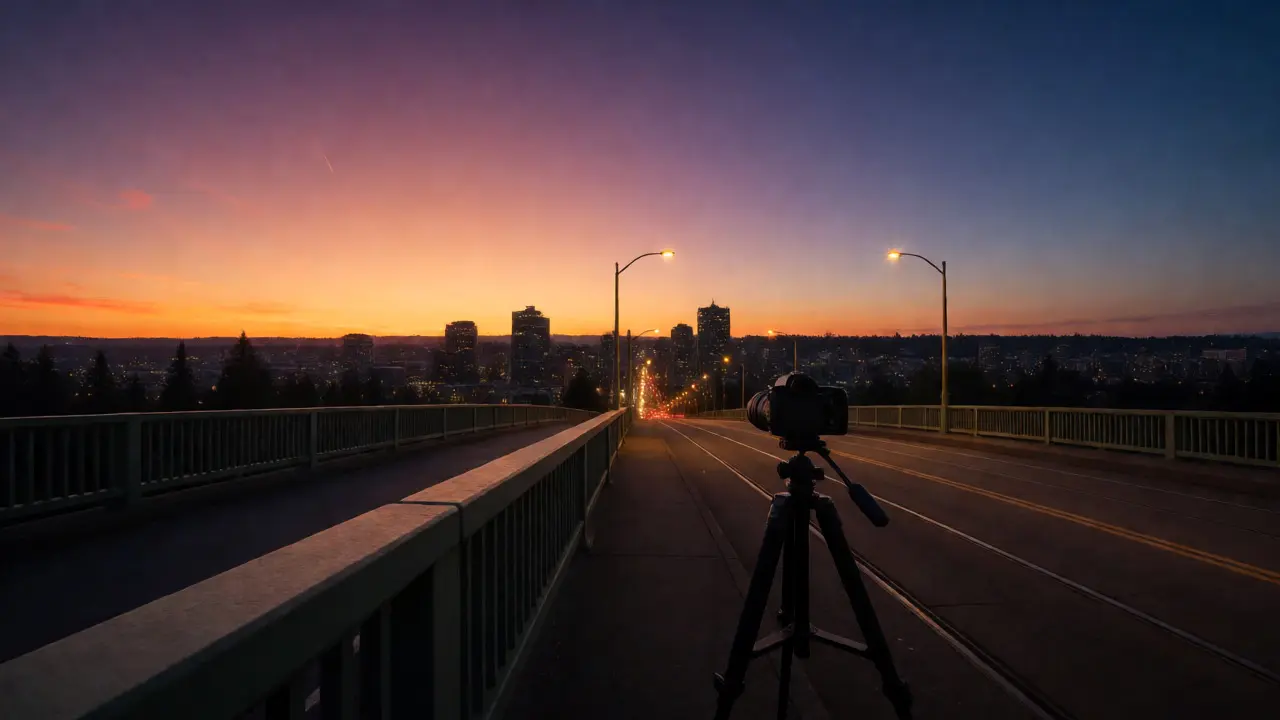
Imagine standing on a bridge in Portland at dusk. The sun is dipping below the horizon, painting the sky in shades of orange and purple. You want that vibrant sky, but you also want the streetlights to be glowing and the car headlights to form those silky light trails. Here’s the problem: if you wait for full darkness, the sky turns black or muddy gray. If you shoot while the sky is bright, the city lights are invisible. You can’t have both in a single shutter click unless you’re willing to underexpose everything into oblivion.
This is where Time Slice Photography, specifically the technique of creating day-to-night composites by blending multiple exposures taken over time, saves the day. It’s not just about stacking photos; it’s about manipulating time itself within your frame. By capturing different lighting conditions at different moments and merging them, you create an image that never actually existed in reality, yet feels perfectly natural to the eye.
Why Single Exposures Fail at Twilight
Let’s look at the physics of why this happens. Your camera sensor has a limited dynamic range. At twilight, the contrast between the sky (which might still be bright) and the ground (where shadows are deepening rapidly) often exceeds what even high-end sensors like the Sony A7R V or Canon EOS R5 can handle in one go.
If you expose for the sky, the city becomes a silhouette. If you expose for the city, the sky blows out to white. Bracketing helps with HDR, but standard HDR merges images taken seconds apart. It doesn’t account for the fact that the quality of light changes significantly over ten or twenty minutes. Time slice photography exploits this change intentionally. You aren’t fixing bad exposure; you’re curating two different moods-daylight clarity and nighttime ambiance-and forcing them to coexist.
The Core Technique: Blue Hour Blending
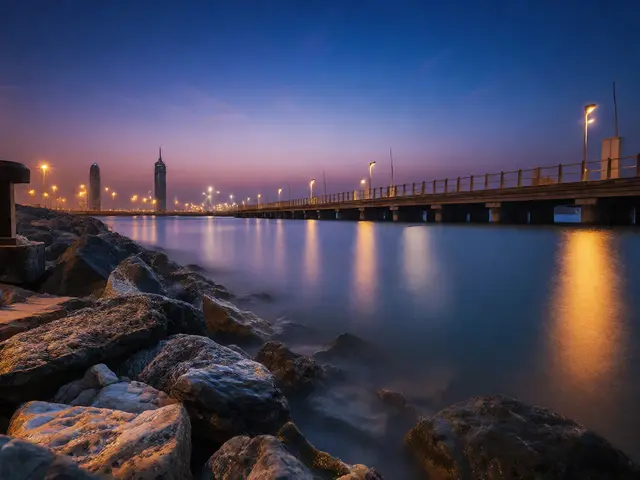
The most common application of time slice photography is Blue Hour Blending. This involves taking a series of shots during the transition from civil twilight to nautical twilight. The goal is to capture the rich blues of the sky before they fade to black, combined with the artificial lights that turn on as darkness falls.
Here is how you execute it properly:
- Lock your tripod: Stability is non-negotiable. Even a millimeter shift will ruin the blend later.
- Shoot Manual Mode: Set your aperture (f/8 to f/11 is usually best for depth and sharpness) and ISO (keep it low, 100-400). Do not let the camera change these settings between frames.
- Adjust Shutter Speed Only: As the ambient light fades, you must increase your shutter speed to maintain proper exposure for the foreground. Start with a fast shutter (e.g., 1/60s) when the sky is bright. End with a slow shutter (e.g., 30s) when it’s dark.
- Capture the Sequence: Take a photo every minute or two. You need enough frames to cover the entire transition period.
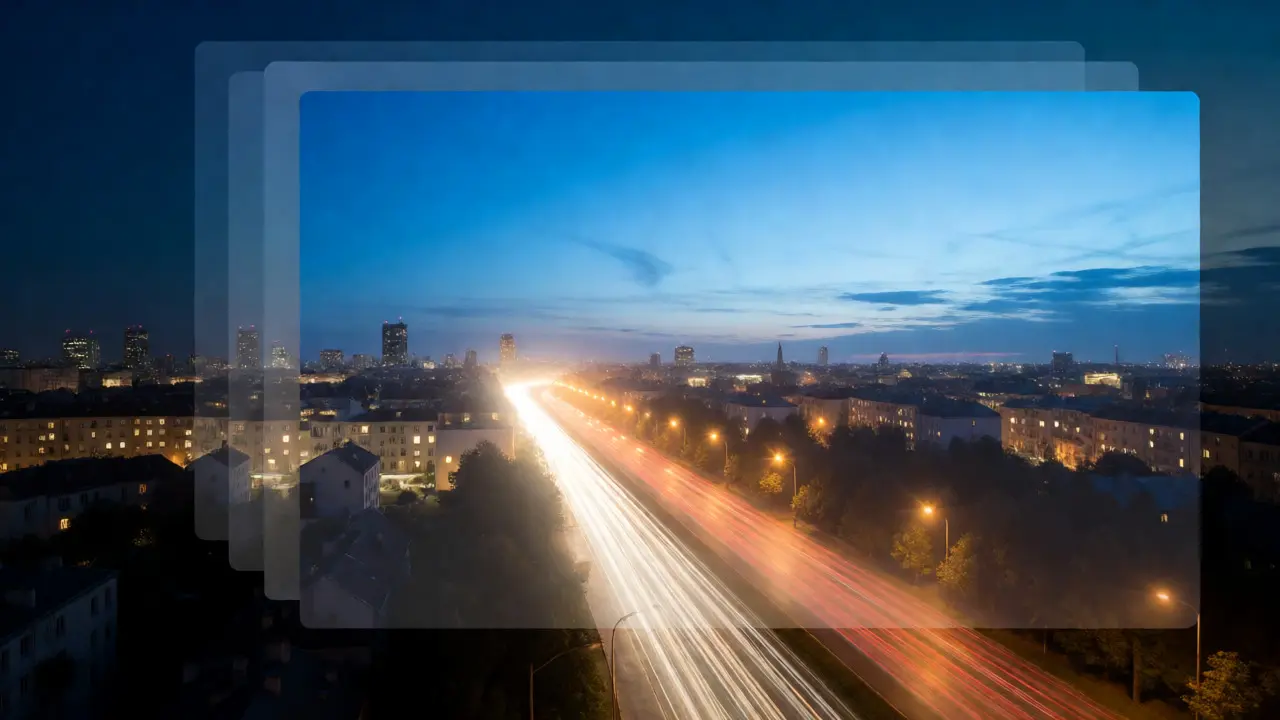
You end up with a stack of images where the first few have great skies but dark streets, and the last few have glowing streets but pitch-black skies. Your job in post-production is to pick the best parts of each.
Post-Processing: Merging the Timelines
Once you’re back at your computer, open Adobe Photoshop. Load all your files as layers. Align them automatically to ensure perfect registration. Now comes the creative decision-making process.
Add a layer mask to your top layer (usually the darkest, longest exposure with the best light trails). Paint with a soft black brush to reveal the sky from the layers underneath. But don’t just paint blindly. Look for areas where the light transitions naturally. For example, keep the streetlights from the longer exposure but use the sky from the shorter exposure. Use gradients in your masks to blend the horizon line seamlessly so there’s no hard edge where the "night" meets the "day."
| Method | Best For | Complexity | Result Quality |
|---|---|---|---|
| Manual Masking | Precise control over horizons and complex scenes | High | Highest realism |
| Luminosity Masks | Blending skies without affecting midtones | Medium | Very High |
| Auto-Blend Layers | Quick fixes with minor movement | Low | Moderate (can create halos) |
Luminosity masks are particularly useful here because they select pixels based on brightness rather than color. Since you are trying to replace a bright sky with a darker one, selecting only the brightest pixels ensures you don’t accidentally erase details in the buildings or trees that happen to be lit by streetlamps.
Common Pitfalls and How to Avoid Them
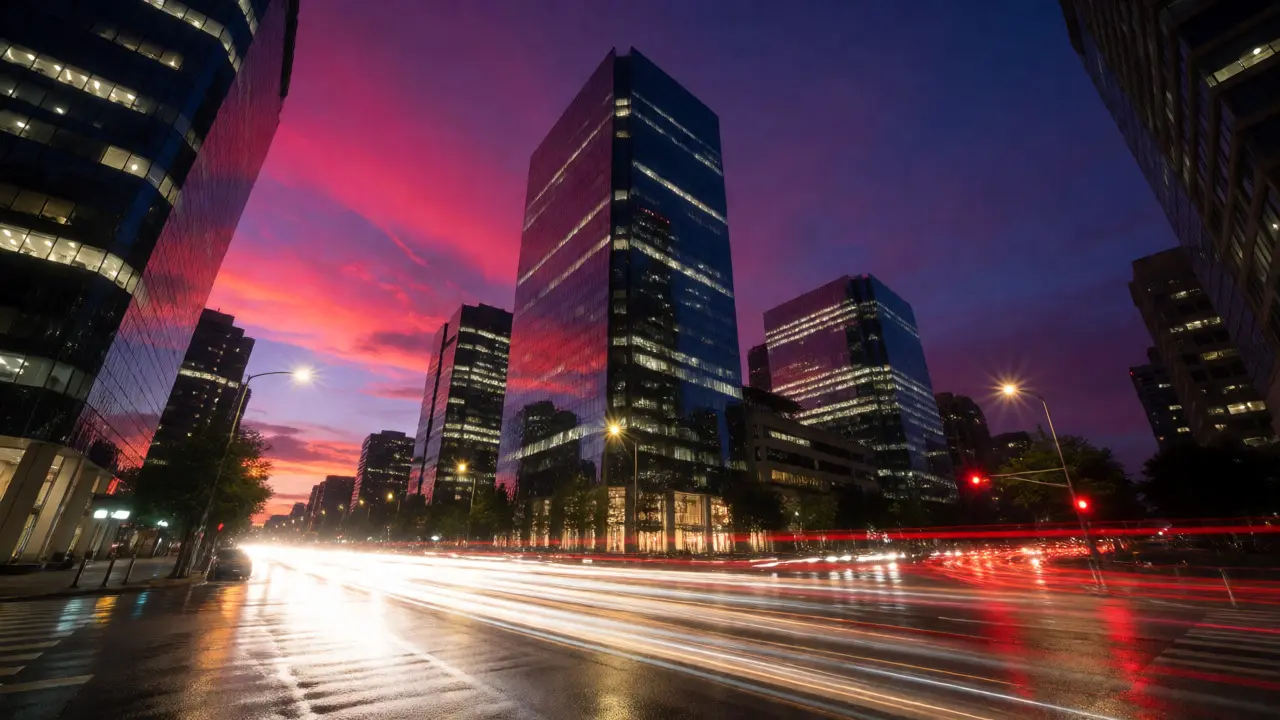
One major issue people face is ghosting. This happens when moving objects-like cars, clouds, or pedestrians-appear in different positions across your sequence. In a standard HDR merge, the software tries to average them out, which looks messy. In time slice photography, you want the light trails, so ghosting is actually desired for vehicles. However, you don’t want ghosting in static elements like buildings.
To fix this, always take a reference shot at the beginning of your sequence when the scene is sharpest and least cluttered. Use this as your base layer for structure. Then, blend in the light trails from the later exposures using lighter blend modes or careful masking. If a cloud moves too much between your chosen sky shot and your ground shot, you might need to manually clone out inconsistencies.
Another trap is mismatched color temperature. The sky shifts from warm oranges to cool blues rapidly. If you blend a sky shot taken at sunset with a ground shot taken ten minutes later, the colors might clash. Shoot in RAW format so you can adjust the white balance globally after merging, ensuring the final image has a cohesive mood.
Advanced Variations: Beyond the Sky
While day-to-night is the classic example, time slice photography applies elsewhere. Consider Light Trail Portraits. Have a subject stand still for a short exposure, then ask them to move slightly during a second exposure. Blend the two to show motion blur around a sharp subject. Or try Seasonal Blends, though this requires locking down a tripod for months to capture the same angle in winter and summer.
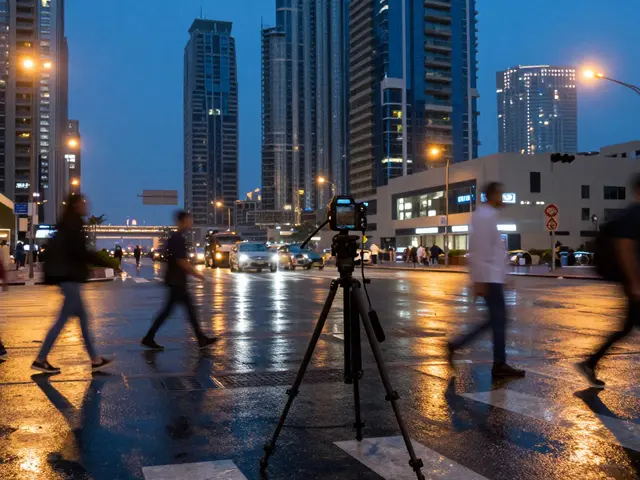
For urban landscapes, you can extend the effect to include traffic flow. Instead of just blending sky and ground, blend three layers: one for the building structure (sharp), one for the sky (vibrant), and one for the traffic (smooth trails). This tri-stack approach gives you maximum flexibility in post-production.
Do I need special equipment for time slice photography?
No, any DSLR or mirrorless camera with manual mode works. The essential gear is a sturdy tripod and a remote shutter release to prevent camera shake. A wide-angle lens is helpful for landscapes, but not required.
How many photos do I need for a good composite?
Typically, 5 to 10 frames spaced evenly through the twilight period are sufficient. You need enough variation in lighting to choose the best sky and the best ground details separately.
Can I do this with smartphone cameras?
Yes, but it is harder. Phones lack robust manual controls for consistent aperture and ISO. Apps like ProCam or Halide allow manual shooting, making time slicing possible, but alignment issues are more common due to smaller sensors and less stable auto-focus.
What is the difference between time slice and HDR?
HDR blends exposures taken seconds apart to recover shadow and highlight detail in a static scene. Time slice photography blends exposures taken minutes apart to combine different lighting moods (like day sky and night lights) that cannot exist simultaneously.
How do I handle moving clouds in the sky layer?
If clouds move significantly between your chosen sky exposure and ground exposure, use a gradient mask to soften the horizon transition. Alternatively, choose a sky exposure closer in time to your ground exposure, even if it means compromising slightly on sky vibrancy, to maintain consistency.