You know the feeling. You walk into a studio apartment or a compact urban condo, and your first instinct isn't "cozy." It's "cramped." For buyers scrolling through listings on their phones, that cramped feeling is a dealbreaker before they even step foot in the door. The challenge for real estate photographers is simple but tricky: how do you make a 400-square-foot room look like it has breathing room without lying about the square footage?
It’s not just about slapping a fisheye lens on your camera and hoping for the best. That distorts reality so much that buyers feel cheated when they visit in person. Instead, making tight spaces feel larger is a mix of physics, psychology, and careful preparation. Whether you are shooting for a listing agent in Portland or handling your own Airbnb portfolio, these techniques will help you sell the dream, not just the dimensions.
Decluttering Is Non-Negotiable
Before you even touch your camera dial, you have to clean. In small spaces, clutter eats visual volume. A chair with a jacket draped over it takes up more perceived space than an empty chair. This isn't just about tidying; it's about strategic removal.
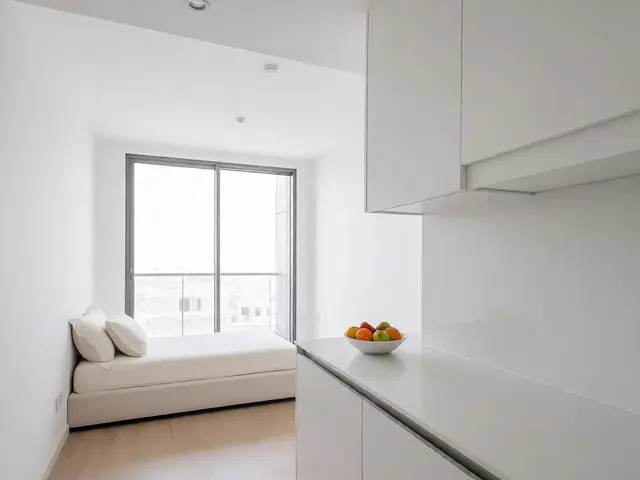
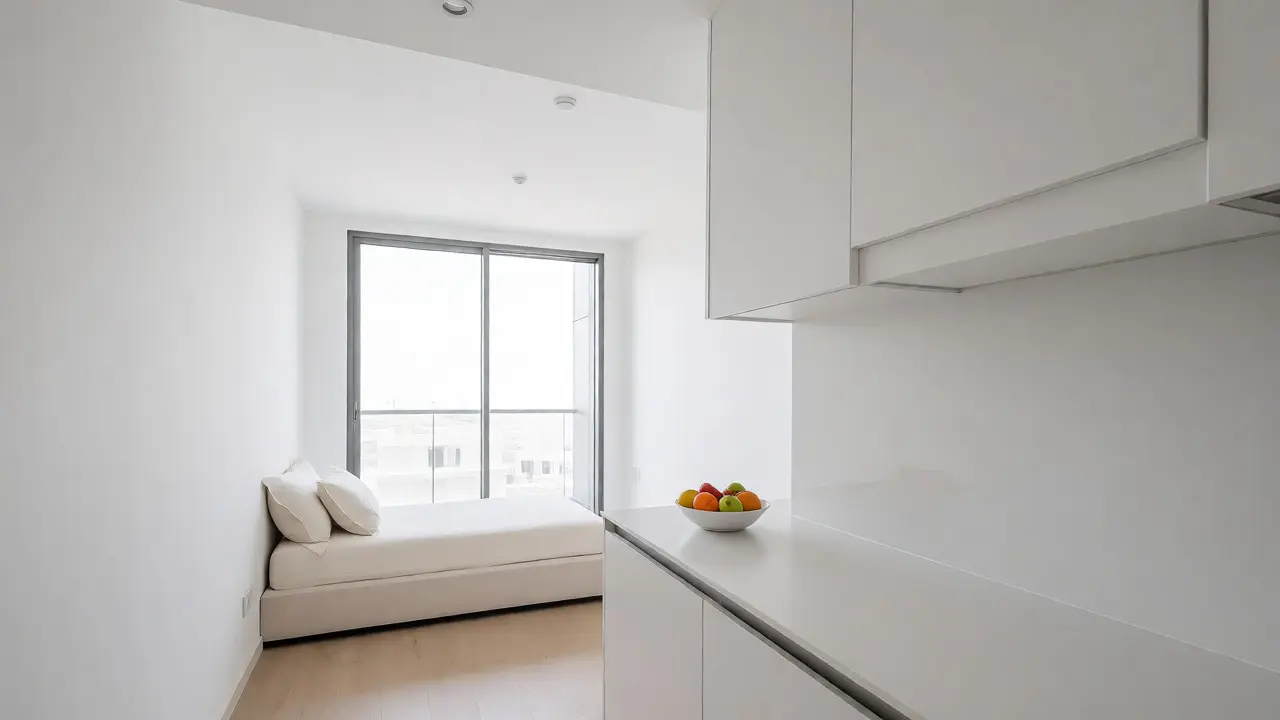
Start with the "Rule of Thirds" applied to objects. If a surface has three items on it, remove one. Then remove another. Leave only what serves a functional purpose or adds essential color. In a tiny kitchen, this means clearing countertops completely except for perhaps one bowl of fruit. In a bedroom, it means hiding all cords, removing excess pillows, and ensuring no clothes are visible unless styled perfectly.
- Remove personal items: Family photos, collections, and knick-knacks distract from the architecture.
- Hide cables: Use gaffer tape to secure wires behind furniture legs or along baseboards.
- Simplify bedding: One flat sheet and two pillows max. Duvets can look bulky in narrow frames.
If you cannot physically remove an item because it belongs to the seller, move it out of the frame entirely. Your job is to show potential, not current storage capacity.
Mastering Light to Expand Perception
Bright rooms feel bigger. Dark corners feel like walls closing in. This is basic human perception, but many photographers underexpose interiors to preserve detail in the windows. Don't do that. You want the light to spill into every corner.
Use natural light whenever possible. Open all blinds and shades. If the weather allows, shoot during the day when sunlight floods the space. But natural light is inconsistent. That’s where artificial lighting comes in. Turn on every single lamp and overhead fixture in the house, even if it looks redundant. These lights fill shadows that would otherwise make the room feel smaller.
Consider adding supplemental lighting. A speedlight bounced off a white ceiling or wall creates soft, diffused light that eliminates harsh shadows. If you’re using continuous LED panels, position them at eye level or slightly higher, angled away from the lens to avoid glare. The goal is uniform illumination. When light hits evenly, the eye doesn’t stop at dark patches, allowing it to travel further across the image.
Choosing the Right Lens and Angle
This is where most beginners mess up. They grab the widest lens they own-often a 10mm or 14mm full-frame equivalent-and shoot straight on. The result? Curved walls, distorted floors, and a sense of vertigo. Buyers notice the distortion subconsciously and distrust the image.
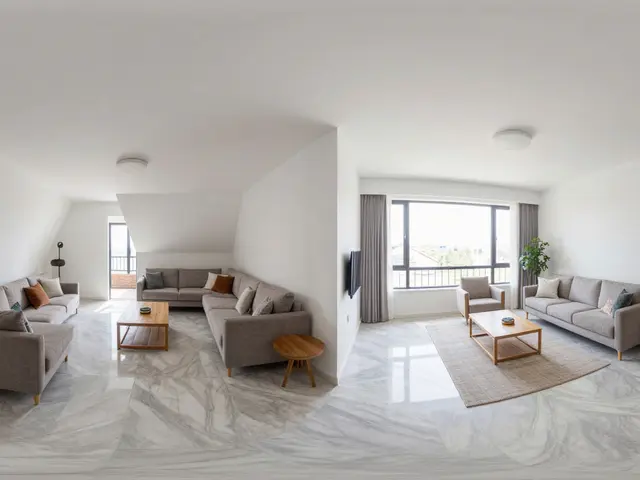
Instead, use a moderate wide-angle lens, typically between 16mm and 24mm on a full-frame camera (or 10-14mm on APS-C). This range captures enough context without excessive barrel distortion. Position yourself in a corner of the room, facing diagonally toward the opposite corner. This technique, often called "shooting into the corner," maximizes the diagonal length of the room, which is always longer than the width or height alone.
| Lens Type | Focal Length (Full Frame) | Best For | Risk Factor |
|---|---|---|---|
| Ultra-Wide | 10-14mm | Extremely tight bathrooms/closets | High distortion; unnatural perspective |
| Moderate Wide | 16-24mm | Living rooms, bedrooms, kitchens | Low; maintains realistic proportions |
| Standard Zoom | 24-70mm | Details, vignettes, close-ups | N/A; too narrow for main room shots |
Keep your camera level. Tilted horizons make rooms look unstable and disorienting. If you don’t have a tripod with a bubble level, use your camera’s digital level feature. Straight lines reassure the buyer that the structure is solid.
Using Vertical Lines and Leading Lines
Human eyes follow lines. If you point those lines upward, the room feels taller. If you point them outward, it feels wider. In small spaces, height is often overlooked. Most people shoot at chest height, ignoring the floor-to-ceiling potential.
Try lowering your camera to waist or hip height. This makes the ceiling appear higher relative to the floor. Alternatively, raise the camera above head height and tilt down slightly. This emphasizes the floor area, which can make a small footprint seem more usable.
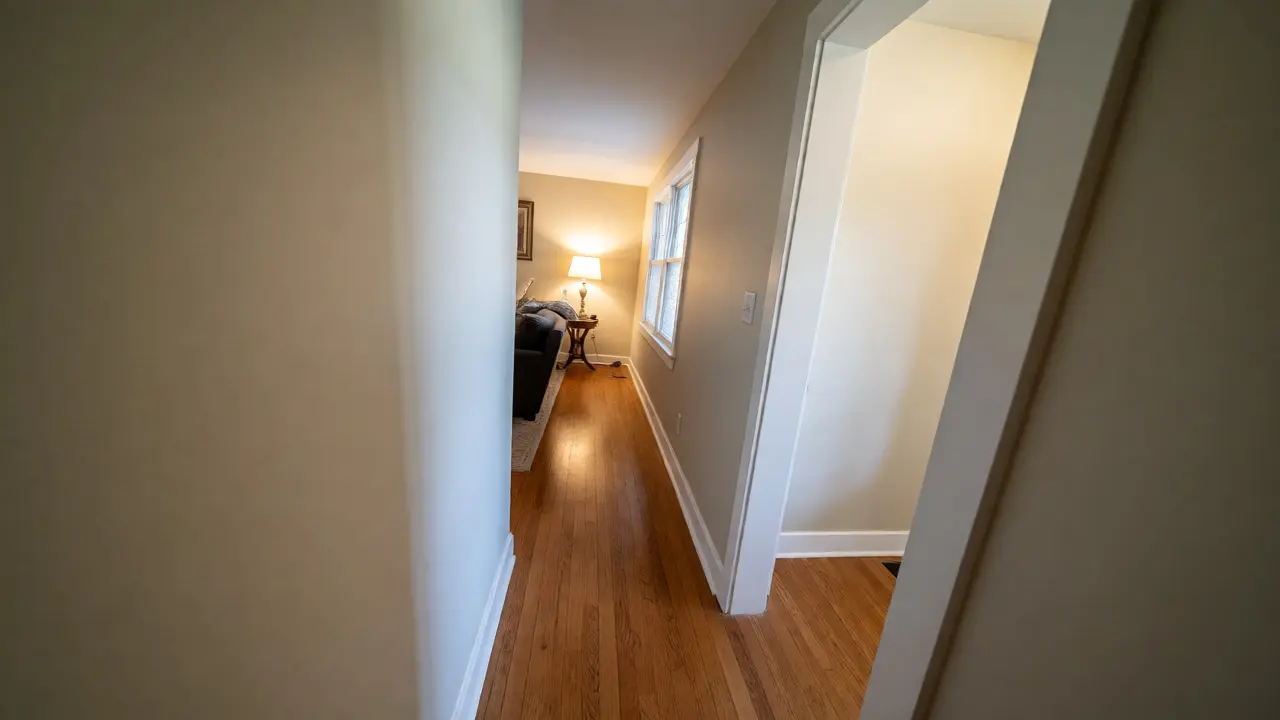
Look for leading lines in the architecture. Baseboards, crown molding, hardwood planks, and window sills all guide the eye deeper into the room. Ensure these lines converge toward the back of the image rather than pointing directly at the camera. This creates depth, tricking the brain into perceiving distance where there is little.
Post-Processing: Subtle Enhancements Only
Editing can save a shot, but it can also ruin credibility. Avoid extreme HDR effects that create halos around windows or make textures look plastic. In small spaces, realism builds trust.
Focus on white balance correction. Mixed lighting (warm lamps plus cool daylight) makes a room look chaotic. Shoot in RAW format so you can adjust temperature accurately. Aim for neutral whites. Clean, crisp images reflect light better digitally, enhancing the sense of openness.
Correct lens distortion lightly. Most software like Adobe Lightroom or Capture One offers profile corrections for specific lenses. Apply these to fix curved walls, but don’t over-correct vertical lines. Sometimes, a slight perspective shift is needed to keep verticals parallel. Use the transform tools to align edges with the frame boundaries.
Brightness adjustments should be gentle. Lift shadows slightly to reveal detail in corners, but don’t crush highlights in windows. Viewers want to see outside, but they don’t want blown-out white blobs. Balance exposure so both interior details and exterior views remain visible.
Composition Tricks for Specific Rooms
Different small rooms require different approaches. A bathroom needs to look hygienic and spacious. A closet needs to look organized.
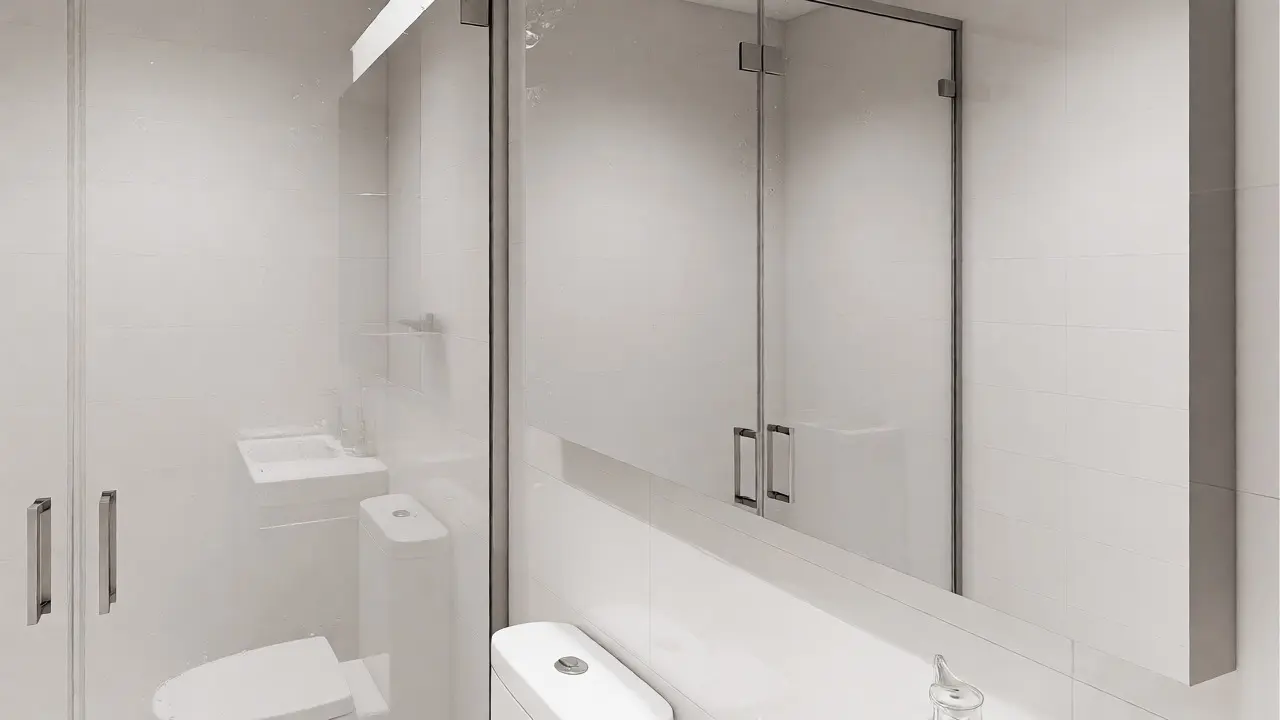
In bathrooms, hide the toilet lid if it’s open. Show the shower glass clearly by wiping fingerprints and water spots. Reflections in mirrors can double the perceived space, so angle your shot to capture a mirror reflecting the rest of the room. Just ensure the photographer isn’t visible in the reflection.
In closets, hang clothes neatly with matching hangers. Remove half the items usually stored there. Leave gaps between hangers. An overstuffed closet signals lack of storage elsewhere. In living areas, push furniture against walls to maximize central floor space. Pull chairs slightly away from tables to suggest conversation zones rather than congestion.
What is the best lens for photographing small apartments?
A 16-24mm wide-angle zoom lens is generally the best choice for small apartments. It provides enough width to capture the entire room while minimizing the unnatural distortion associated with ultra-wide fisheye lenses. This focal length maintains realistic proportions, helping buyers trust the image.
Should I use flash when shooting small real estate interiors?
Yes, but use it carefully. Direct on-camera flash creates harsh shadows and flattens the scene. Instead, bounce your flash off a white ceiling or wall to diffuse the light. Alternatively, turn on all existing house lights and use a tripod with a slower shutter speed to let ambient light do the work. Supplemental LED panels are also excellent for filling shadows without causing glare.
How do I make a low-ceiling room look taller?
Position your camera lower, around waist or hip height, and aim slightly upward. This perspective exaggerates the vertical lines of doors and windows, drawing the eye toward the ceiling. Additionally, ensure curtains hang from high rods near the ceiling rather than just above the window frame, as this visual cue increases perceived height.
Is it okay to edit out clutter in post-production?
Minor edits are acceptable, such as removing power cords, dust spots, or small distractions. However, do not remove significant furniture pieces or structural elements. Buyers expect the home to look as shown. If you remove a sofa in Photoshop, they might feel misled when they visit. Always prioritize physical decluttering before relying on software.
Why do my small room photos look distorted?
Distortion usually comes from using a lens that is too wide for the space or tilting the camera excessively. Barrel distortion curves straight lines, especially near the edges of the frame. To fix this, use a moderate wide-angle lens (16-24mm), keep your camera level, and apply lens profile corrections in editing software to straighten verticals.