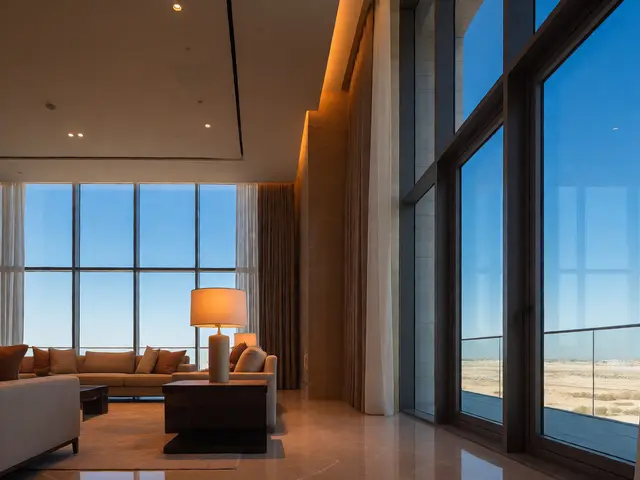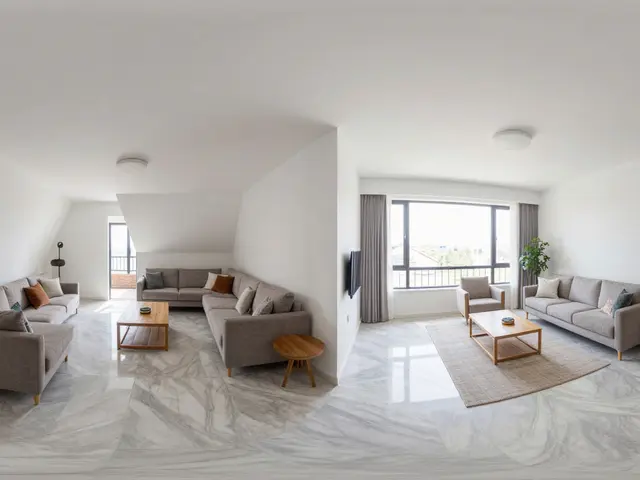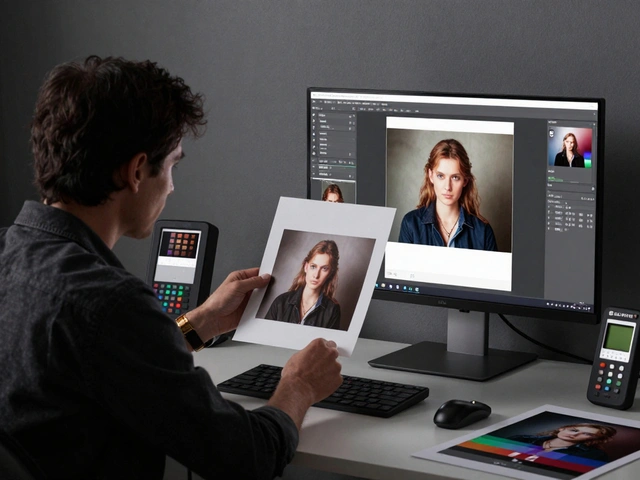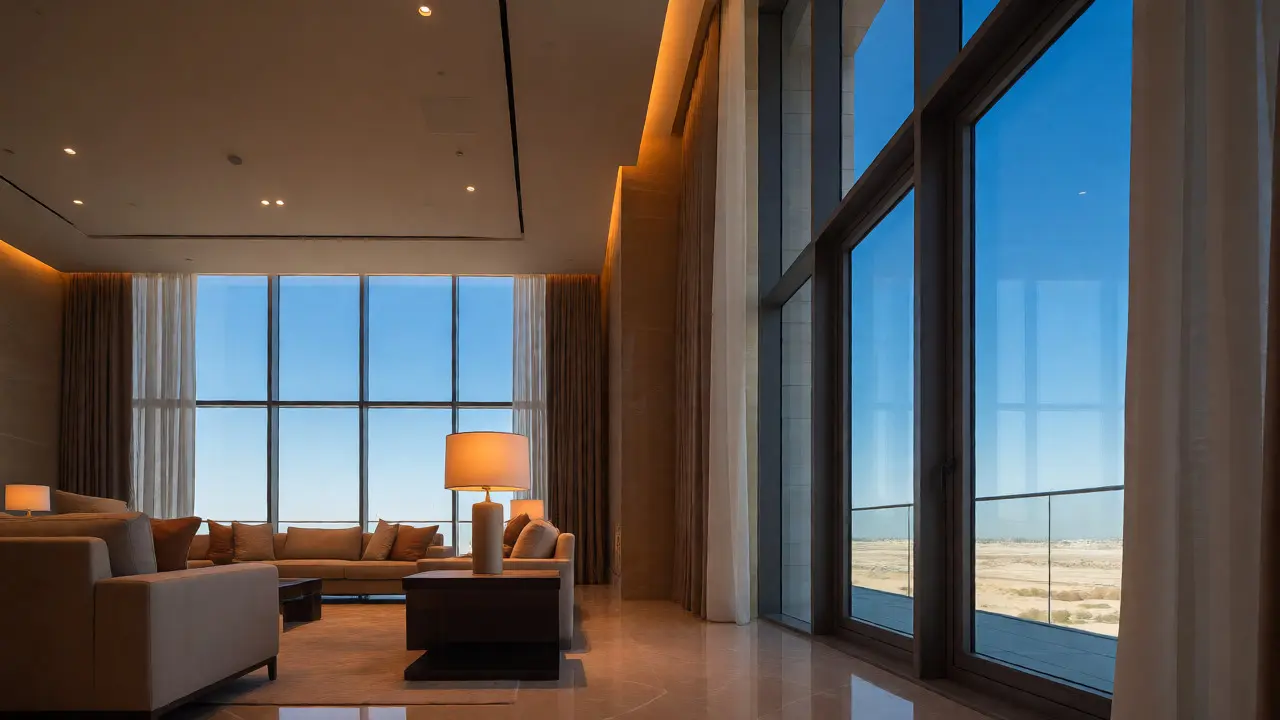
You know that feeling when you walk into a house and the sunlight is so intense it bleaches out the details? Or worse, when the windows are dark holes in an otherwise bright room? That’s the real estate photographer’s nightmare. Real estate window pulls are not just a post-production trick; they are a critical technique for balancing interior exposure with exterior views to create inviting, accurate listing photos. If you’re trying to sell a home, your photos need to tell the truth about the light without lying about the view.
Why Your Camera Can’t See What You See
Human eyes have an incredible dynamic range. We can look at a bright sky through a window and simultaneously see the dark corners of a living room. Our brains process these two exposures instantly. A camera sensor? Not so much. Most standard DSLRs or mirrorless cameras used in real estate photography struggle to capture more than 10-12 stops of light in a single frame. The sky outside might be 15+ stops brighter than the interior shadows.
If you shoot a single RAW file, you face a choice: expose for the interior, and the windows blow out to pure white. Expose for the exterior, and the room turns into a cave. Neither option sells the home. Buyers want to feel the warmth of the sun, but they also want to see if there’s actually a nice garden out there. This gap between human vision and sensor capability is exactly where window pulls come in.
The Three Main Ways to Fix Window Exposure
There isn’t one silver bullet for fixing bright windows. It depends on your gear, your time budget, and the specific lighting conditions of the shoot. Here are the three primary methods pros use, ranked by complexity and result quality.
| Method | Best For | Pros | Cons |
|---|---|---|---|
| Flash Dragging | Single-shot efficiency | Fast workflow, no heavy editing | Can look artificial if overdone; limited range |
| HDR Bracketing | High contrast scenes | Natural look, captures full dynamic range | Requires tripod; risk of ghosting with movement |
| Manual Window Pulls | Precise control & complex lighting | Perfect balance, realistic colors | Time-consuming in Photoshop/Lightroom |
1. Flash Dragging: The Speed Demon’s Choice
Flash dragging involves setting your shutter speed slow enough to let ambient light from the windows register correctly, while using a flash to illuminate the interior. You sync your shutter to the rear curtain (rear-curtain sync) so the flash fires at the end of the exposure. This freezes the interior details while the long exposure captures the daylight outside.
This works great for moderately lit rooms. But if you’re shooting a south-facing kitchen at noon, the difference between the indoor shadows and the outdoor sky might be too extreme for a single flash burst to bridge. Also, any slight camera shake during that longer shutter speed will blur your image. Use this method when you’re tight on time and the contrast isn’t extreme.
2. HDR Bracketing: Capturing the Full Range
High Dynamic Range (HDR) photography takes multiple shots of the same scene at different exposure levels-usually underexposed, correct, and overexposed-and blends them together. Modern software like Lightroom or specialized plugins like Aurora HDR handle this seamlessly.
The key here is stability. You absolutely need a sturdy tripod. If someone walks through the frame between shots, you’ll get "ghosting," where people appear as translucent ghosts in the final image. To avoid this, ensure all doors are closed and pets are secured before you start the bracket sequence. When done right, HDR looks surprisingly natural because it mimics how our eyes adjust to different brightness levels.
3. Manual Window Pulls: The Gold Standard
This is what most high-end real estate photographers do. You take a base exposure for the interior, ensuring the walls and furniture look their best. Then, you take a second shot specifically exposed for the windows. In post-production, you mask out the window areas from the bright shot and blend them into the darker interior shot.
It sounds tedious, and it is. But it gives you total control. You can decide exactly how bright the sky should be. Do you want it slightly blown out for a dreamy effect? Or do you want crisp clouds? With manual pulls, you decide. Tools like the "Luminosity Masks" plugin in Photoshop make this faster, allowing you to select highlights based on brightness values rather than drawing masks by hand.
Staging Tips to Help Your Photos
Photography isn’t just about the camera; it’s about preparation. You can reduce the difficulty of window pulls by preparing the space properly. Here’s what I tell my clients before I arrive:
- Clean the glass inside and out. Smudges on the outside of the window become glaring white spots when you pull up the exposure. Clean them, or accept the distraction.
- Open blinds fully. Unless privacy is an issue, open blinds completely to maximize light entry. Partially closed blinds create ugly vertical stripes across the image.
- Turn off mixed lighting. If the sun is bright, turn off ceiling lights. Mixed color temperatures (warm bulbs vs. cool daylight) make white balance nightmares. Let the natural light do the work.
- Check for reflections. Glass reflects. If your camera is visible in the window, move your position or angle until it disappears. Reflections kill immersion.
Common Mistakes That Ruin Listing Photos
I’ve seen thousands of listing photos, and certain errors pop up repeatedly. Avoid these pitfalls to keep your images professional.
Over-saturating the sky. Beginners often crank the saturation slider to make the blue sky pop. Result? An electric purple sky that looks fake. Keep saturation subtle. Adjust vibrance instead, which protects skin tones and natural colors.
Inconsistent white balance. One photo has warm yellow walls, the next has cold blue walls. This happens when you don’t set a custom white balance or fix it consistently in post. Buyers notice this inconsistency and subconsciously question the accuracy of the entire tour.
Ignoring the horizon line. Tilted horizons make viewers feel uneasy. Always check your level. If you’re shooting handheld, engage your camera’s electronic level or grid lines. Straight lines equal trust.
When to Hire a Pro vs. DIY
Should you hire a professional or try it yourself? If you have a decent camera, a tripod, and patience, you can learn window pulls. It’s a skill worth mastering. However, consider hiring a pro if:
- The property has complex architecture with multiple angles per room.
- You’re selling a luxury home where every detail matters.
- You lack the time to edit 20+ images manually.
- The weather is unpredictable (changing light ruins consistency).
For average homes, DIY with good techniques can save money. Just remember: bad photos cost more than good ones in lost interest.
Troubleshooting Specific Scenarios
What if it’s cloudy? Great news! Cloudy days are perfect for real estate photography. The cloud cover acts as a giant softbox, reducing the contrast between indoors and outdoors. You might not even need window pulls. Just shoot normally and adjust exposure slightly.
What if the windows face north? North-facing windows provide soft, consistent light but less intensity. You’ll likely need to boost ISO or use wider apertures. Be careful with noise at high ISO settings; modern cameras handle ISO 800-1600 well, but go higher and grain becomes visible.
What about twilight shoots? Twilight (blue hour) photos are stunning but tricky. You need two exposures: one for the interior lights (long exposure) and one for the exterior sky (shorter exposure). Blend them carefully so the transition looks seamless. Never leave interior lights off during twilight; the house looks dead.
Do I really need a tripod for window pulls?
Yes, especially for HDR or manual blending. Even slight camera movement between shots makes aligning layers in Photoshop difficult. A tripod ensures pixel-perfect alignment, saving you hours of frustration.
Can I fix blown-out windows in a single JPEG?
Rarely. JPEGs compress data heavily, losing highlight detail. If the sky is pure white (255,255,255) in a JPEG, there’s no data to recover. Shooting RAW preserves highlight information, giving you more flexibility to recover details.
How many brackets should I take for HDR?
Three to five brackets spaced 1-2 EV apart usually suffice. Start with -2, 0, +2. If the scene is extremely high contrast, add -4 and +4. More brackets mean larger files and longer processing times, so use only what’s necessary.
Is it cheating to use window pulls?
No. It’s correcting for camera limitations. Human eyes see balanced light naturally. Window pulls recreate that visual experience for buyers who aren’t physically present. As long as you don’t exaggerate the view beyond reality, it’s honest representation.
What software is best for window pulls?
Adobe Lightroom Classic combined with Photoshop is the industry standard. Plugins like LR/Mogrify or dedicated tools like PTGui help automate stitching. For beginners, free alternatives like GIMP or Darktable offer similar capabilities but steeper learning curves.