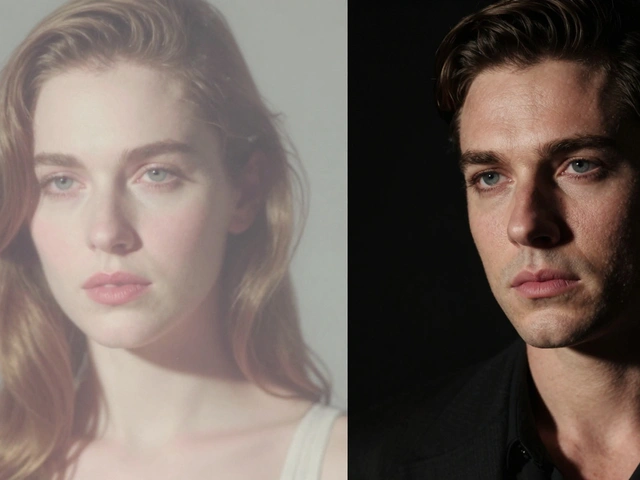
There is nothing worse than a beautiful subject ruined by bad lighting. You get the right angle, the perfect smile, and the exposure looks good on the histogram, but the person just looks tired or awkward. That harsh shadow under the nose, the deep bags under the eyes, or the flat two-dimensional look-all of it comes down to one thing: where you put the light. Portrait lighting setup isn't about buying the most expensive gear; it is about understanding how light hits skin and bone structure to create dimension.
Portrait Lighting Setup is the strategic placement and modification of light sources to create visually flattering illumination on subjects' faces during photography sessions. The goal is simple: enhance facial features, add dimension, and minimize things we usually try to hide, like wrinkles or uneven skin texture. Whether you are shooting in a studio with strobes or standing by a window using natural daylight, the principles remain exactly the same. Getting this right separates your work from the casual snapshots everyone else takes.
Understanding Light Quality First
Before you even think about where to place your flash, you have to understand the size of your light source relative to your subject. This concept dictates everything else. A small light source creates hard light. Think of direct sunlight on a cloudless day or a bare bulb. It casts sharp edges on shadows and emphasizes every pore, wrinkle, and blemish. While there is artistic use for this, it is rarely flattering for general portraits.
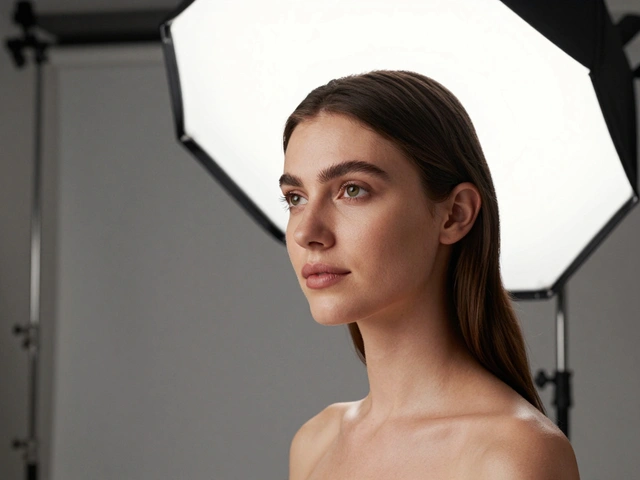
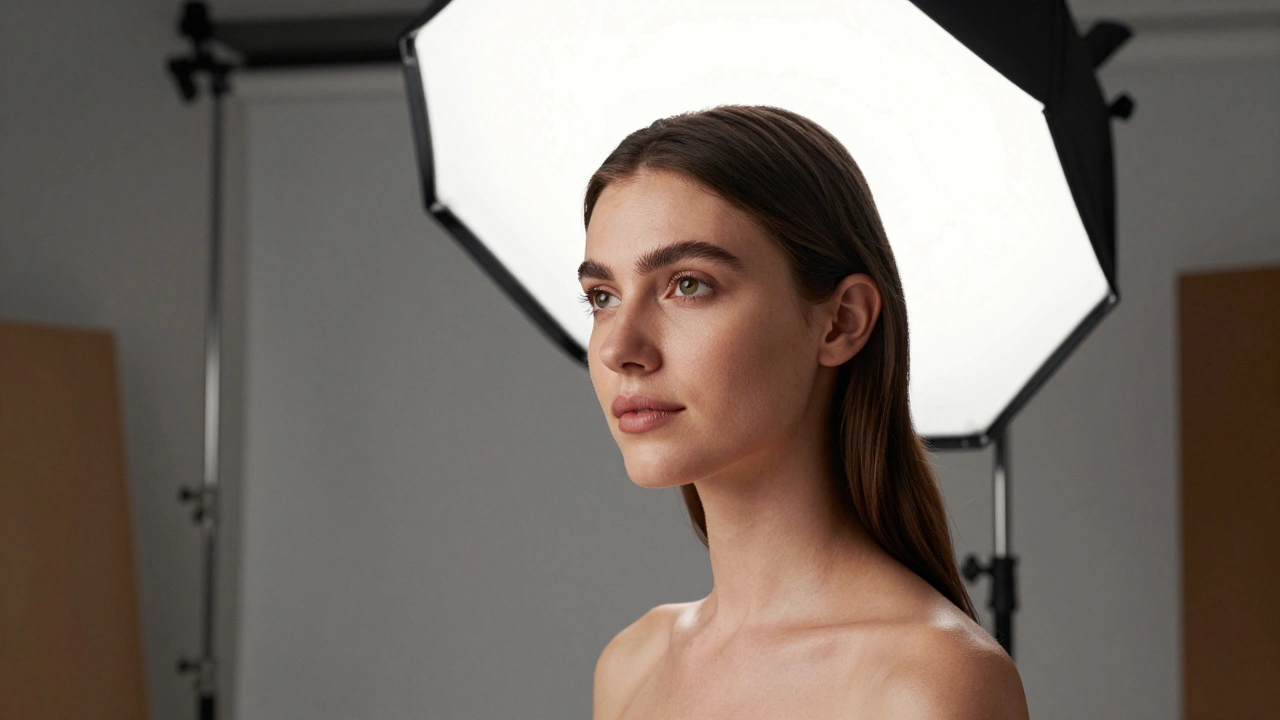
What you really want is Soft Light. Soft light wraps around the face rather than striking it flatly. It fills in crevices gently and smooths transitions between highlights and shadows. You create this by enlarging the light source. In a studio, this means using a Softbox. A large softbox acts like a cloudy sky, scattering the light rays so they come from many angles simultaneously.
You don't need a professional modifier to achieve this effect. In a home setting, a white sheet draped over a window or a bounce card placed near your subject works on the same physics. If you photograph people indoors without a window, the ceiling light is often too small and far away, creating unflattering shadows under the eyes. Moving a large umbrella closer to the face increases the effective size of the source, making the light softer and more forgiving.
The Five Core Lighting Patterns
Once you have softened your light, you need to position it. Photographers rely on specific patterns named after their visual effect. These setups dictate where shadows fall and which side of the face is emphasized.
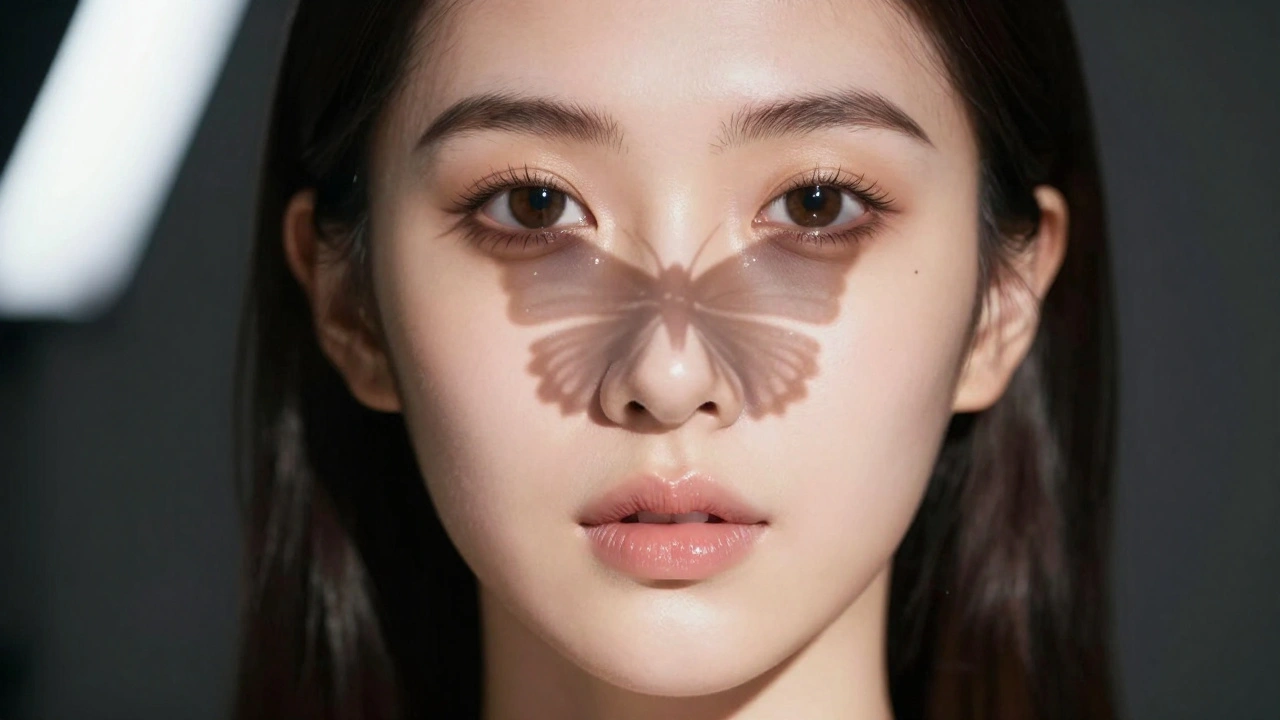
Butterfly Lighting
This technique places the light source directly above the subject and pointed downward. It gets its name from the butterfly-shaped shadow cast under the nose. It is arguably the most flattering setup for most people because it minimizes shadows on the sides of the face. The shadows go down toward the neck, sculpting the cheekbones beautifully. It works exceptionally well for editorial shoots or beauty portraits where you want a clean, bright look.
Loop Lighting
If Butterfly feels too symmetrical, move the light slightly to the side and down. Loop lighting creates a small shadow of the nose that loops onto the cheek. It avoids the symmetry of Butterfly but keeps the face fully visible. This is an all-rounder that benefits nearly all face shapes by adding dimension without excessive drama. It is the go-to choice for lifestyle photography and client headshots because it feels balanced.
Rembrandt Lighting
Named after the Dutch painter who popularized the look, this setup uses intense shadows to add mood. The light is positioned higher and further to the side so that a small triangle of light appears on the dark cheek. It helps disguise blemishes and adds significant drama. It suits rugged features or male portraits well, but requires care not to lose too much detail in the shadowed area.
| Pattern Name | Light Position | Best For | Mood |
|---|---|---|---|
| Butterfly | High, Center | Broad foreheads, high cheeks | Clean, Editorial |
| Loop | Eye level, 45-degree angle | Most face shapes, Headshots | Natural, Balanced |
| Rembrandt | High, Side | Dramatic portraits, Men | Moody, Artistic |
| Split | Directly to the side | Character studies | High Contrast, Edgy |
Sometimes you need more contrast. Split lighting keeps half of the model's face in shadow while the other half is illuminated. This creates a dramatic effect suited for character studies. If you feel it is too extreme, add a Reflector. Placing a white board opposite the light bounces some fill back into the shadowed side, keeping details visible without losing the dramatic shape.
Controlling Shadows with Distance
Positioning the light vertically changes how the face looks. Higher positions beautifully sculpt cheekbones and jawlines but create deeper shadows under the eyes. Lower positions illuminate the face evenly but can emphasize jowls or double chins. The distance of your light from the subject matters just as much as the angle.
This relationship follows the Inverse Square Law. Essentially, as you double the distance between your light and the subject, the light intensity drops significantly. This law controls exposure differences and helps balance subjects with different skin tones. If you shoot two people close together, moving the light back ensures both faces receive similar exposure levels. Keeping the light close makes the falloff steeper, which allows for stronger creative control over specific parts of the face.
Don't forget about fill light. Strategic fill lifts shadows without eliminating them entirely. This preserves bone structure while making wrinkles appear softer. You do not always need a second flash for this. White foam core boards or V-Flats generate results that look natural. They produce soft, wrapping light smoothing transitions between highlights and shadows. Using a V-Flat underneath and to the side creates incredibly subtle fill that does not look obviously lit.
The Importance of Catchlights
Eyes tell the story of a portrait. Without catchlights, eyes appear dull and dead. A catchlight is simply the reflection of the light source visible in the pupil. You might notice this naturally when someone looks at a window. When shooting indoors, check your monitor or screen. If the eyes look black glass, move the light until you see a sparkle.
The vertical position of light and modifier choice affect these reflections. Large umbrellas or scrims create broad, attractive catchlights. Small bulbs create tiny dots that look unnatural. Thoughtful bounce techniques help create these reflections across different skin tones. When shooting multiple people or subjects with different complexions, consistent lighting principles create flattering, even, and luminous portraits where every pair of eyes engages the viewer.
Background and Subject Interaction
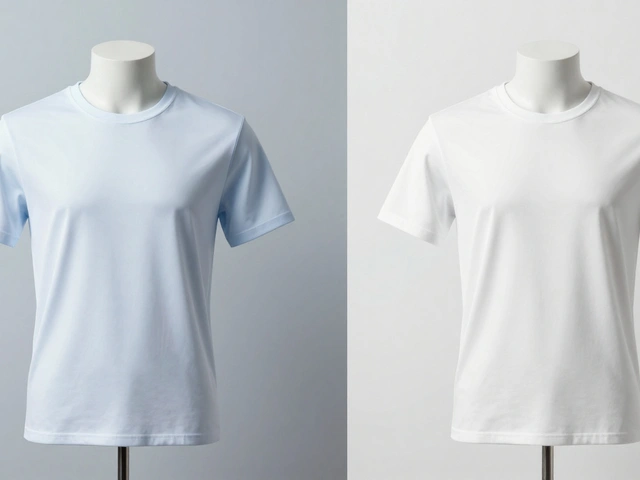
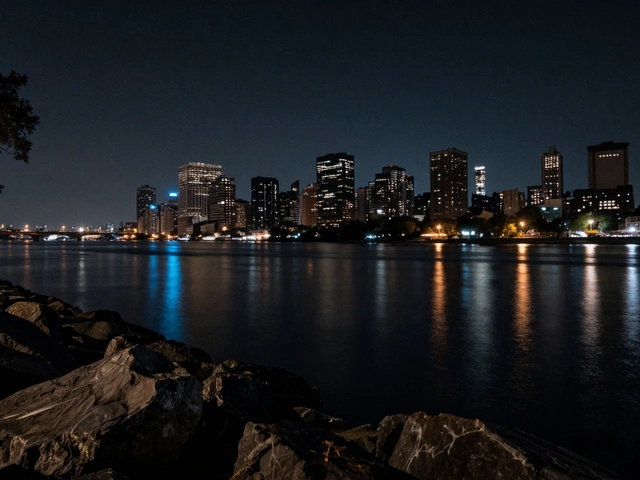
A common mistake is ignoring the space behind the subject. Background choice significantly impacts portrait composition. Darker backgrounds create focus on the subject, pulling attention inward to the face and catchlights. Lighter backgrounds add a brighter, more casual feel. You control this through exposure and light positioning.
If you want a dark background, place your subject further from it and light only the person. The background stays underexposed and falls away into shadow. Conversely, lighting the wall or backdrop separately gives you separation. Consider whether light hits background surfaces; stray light can flatten the image. Proper separation ensures the subject pops off the background rather than blending into the wall.

Working with Natural Features
Not every face reacts the same way to light. Round faces benefit from short lighting, where the side of the face turned away from the camera is lit, narrowing the appearance. Narrow faces might look better with loop lighting that shows more surface area. Different face shapes benefit from specific lighting arrangements.
Broad lighting, for instance, highlights the broad side of the subject's face-the side closest to the camera showing the most detail. This can add dimension but might widen a round face visually. Adjust your angle based on the features you are trying to highlight or minimize. Expert photographers prioritize the subject's comfort and genuine expression. The best lighting cannot replace a genuine smile or relaxed posture. Balancing technical control with creating a comfortable atmosphere yields the strongest results.
Troubleshooting Common Issues
Even with a good plan, things go wrong. Harsh shadows under the eyes? Move the light closer and lift it slightly less, or add diffusion. Spotty shadows across the cheek? Your light modifier is too small; enlarge it or bring it physically closer to the subject. Uneven skin tone exposure? Adjust the distance to balance the falloff between two subjects.
If skin looks washed out, reduce the power of your light or increase the distance. If texture is too prominent, change your modifier to something larger, like an octabox instead of a standard square softbox. Post-processing helps refine these elements, but getting it right in-camera saves hours later. Lindsay Adler, a fashion and beauty photographer, notes that post-processing refinements work best when the base file is captured correctly.
Frequently Asked Questions
What is the best lighting setup for a beginner?
Loop lighting is generally the easiest starting point. It provides dimension without requiring precise positioning like Rembrandt. It works for almost every face shape and hides imperfections effectively. Use a large softbox or umbrella for the most forgiving results.
Can I use natural light for portrait lighting?
Yes. A north-facing window provides excellent diffused soft light similar to a softbox. Position the subject sideways to the window to control shadows. Use a reflector on the opposite side to fill in shadows without introducing artificial color casts.
Why do my portraits look flat?
Flat images usually mean the light source is directly facing the subject. Move the light to a 45-degree angle to create shadow separation between the nose, cheekbone, and jawline. Add dimension by lowering the fill light ratio.
How do I prevent shadows under the eyes?
Shadows form when light is too high. Bring the light source down to eye level or just slightly above. Also, ensure the light source is large enough relative to the face to soften the transition between light and shadow.
Is Rembrandt lighting suitable for women?
It depends on the desired mood. While traditionally used for men, it works for women when aiming for a moody, artistic style. Just be careful not to let the shadows obscure important facial details, especially in beauty work.